一、准备
Window10系统+Ubuntu16.10系统、Anaconda3.5(python3.6)
二、流程
(1)由于墙的问题,用conda安装Pytorch过程中会连接失败,这是因为Anaconda.org的服务器在国外。在这里可以用清华TUNA镜像源,包含Anaconda仓库的镜像,将其加入conda的配置,配置如下:
# 添加Anaconda的TUNA镜像
$  conda config --add channels https://mirrors.tuna.tsinghua.edu.cn/anaconda/pkgs/free/
# TUNA的help中镜像地址加有引号,需要去掉

# 设置搜索时显示通道地址
$  conda config --set show_channel_urls yes
执行完上述命令后,会生成~/.condarc文件,记录着对conda的配置,直接手动创建、编辑该文件是相同的效果。
(2)此时,为避免后面出现An HTTP error occurred when trying to retrieve this URL. 的错误,更改.condarc文件,操作如下:
cd
sudo gedit .condarc

删除 - default 所在的行

.condarc的内容应该是:

channels:
  - https://mirrors.tuna.tsinghua.edu.cn/anaconda/cloud/msys2/
  - https://mirrors.tuna.tsinghua.edu.cn/anaconda/cloud/conda-forge/
  - https://mirrors.tuna.tsinghua.edu.cn/anaconda/pkgs/free/
show_channel_urls: true
(3)Pytorch安装:
在这里的安装,我采用conda安装:
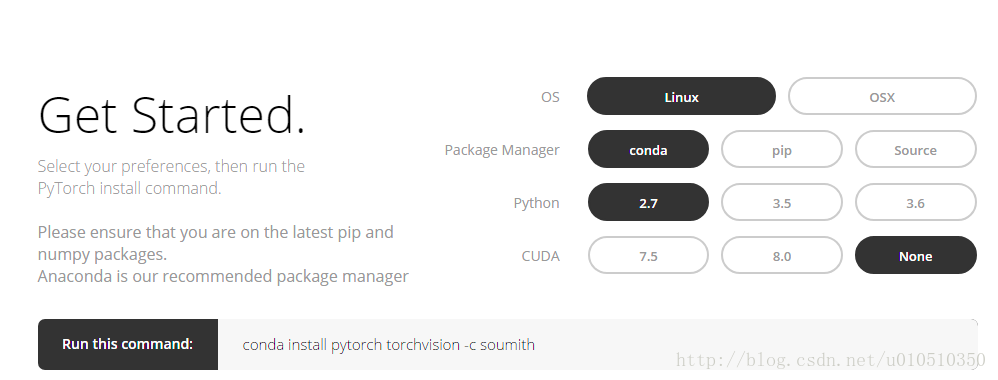
跟据自身电脑的配置,按照 https://ptorch.com/news/30.html
安装方法:conda,服务器:linux,Cuda版本:cudanone,Python版本:python3.6
conda install pytorch torchvision -c soumith
(4)测试
进入python模式下,看能否导入torch成功:
$  python
>  import torch