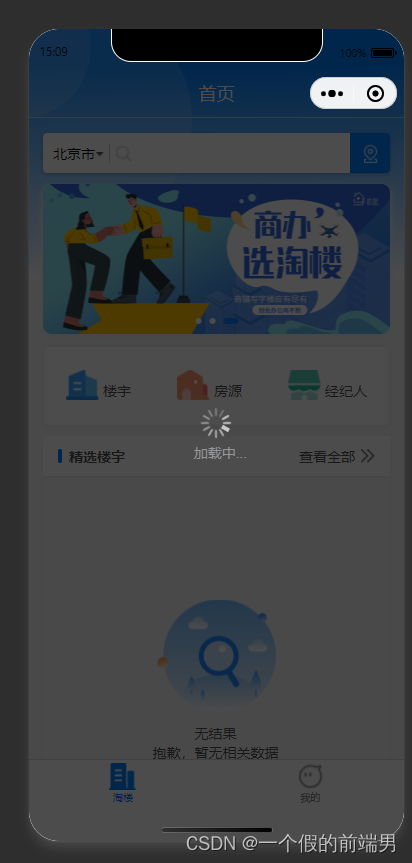
一、先上效果
二 方法
1、自定义底部tabbar
实现:
https://developers.weixin.qq.com/miniprogram/dev/framework/ability/custom-tabbar.html 官网去抄
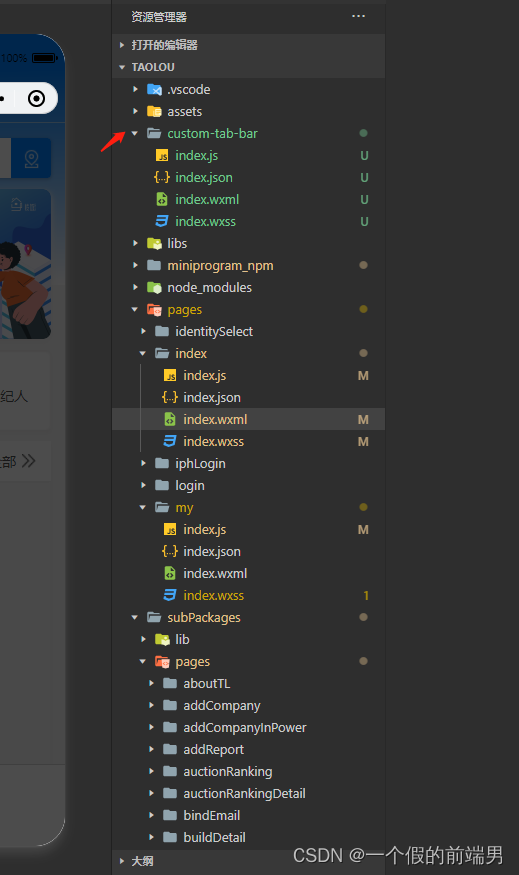
简单写下:在代码根目录下添加入口文件 除了js 文件的list 需要调整 其他原封不动
代码:
js部分
Component({


  data: {


    selected: 0,
    color: "#7A7E83",
    selectedColor: "#0081FF",
    list: [{

      // 同app.json下的tabbar列表
        "iconPath": "/assets/img/build.png",
        "selectedIconPath": "/assets/img/buildSelect.png",
        "pagePath": "/pages/index/index",
        "text": "淘楼"
      },
      {


        "iconPath": "/assets/img/my.png",
        "selectedIconPath": "/assets/img/selectMy.png",
        "pagePath": "/pages/my/index",
        "text": "我的"
      }
    ]
  },
  attached() {

    },
  methods: {


    switchTab(e) {


      console.log(e.currentTarget)
      const data = e.currentTarget.dataset
      const url = data.path
      wx.switchTab({


        url
      })
      this.setData({


        selected: data.index
      })
    }
  }
})
json
{


  "component": true,
  "usingComponents": {

    }
}
wxml
<!--miniprogram/custom-tab-bar/index.wxml-->
<view class="tab-bar">
  <view class="tab-bar-border"></view>
  <view wx:for="{

     {list}}" wx:key="index" class="tab-bar-item" data-path="{

     {item.pagePath}}" data-index="{

     {index}}" bindtap="switchTab">
    <image src="{

     {selected === index ? item.selectedIconPath : item.iconPath}}"></image>
    <view style="color: {
        {
        selected === index ? selectedColor : color}}">{

   {item.text}}</view>
  </view>
</view>
wxss
  position: fixed;
  bottom: 0;
  left: 0;
  right: 0;
  height: 48px;
  background: white;
  display: flex;
  padding-bottom: env(safe-area-inset-bottom);
  z-index: 99;
}

.tab-bar-border {
  background-color: rgba(0, 0, 0, 0.33);
  position: absolute;
  left: 0;
  top: 0;
  width: 100%;
  height: 1px;
  transform: scaleY(0.5);
}

.tab-bar-item {
  flex: 1;
  text-align: center;
  display: flex;
  justify-content: center;
  align-items: center;
  flex-direction: column;
}

.tab-bar-item image {
  width: 27px;
  height: 27px;
}

.tab-bar-item view {
  font-size: 10px;
}

.tab-bar {
  position: fixed;
  bottom: 0;
  left: 0;
  right: 0;
  height: 48px;
  background: white;
  display: flex;
  padding-bottom: env(safe-area-inset-bottom);
  z-index: 99;
}

.tab-bar-border {
  background-color: rgba(0, 0, 0, 0.33);
  position: absolute;
  left: 0;
  top: 0;
  width: 100%;
  height: 1px;
  transform: scaleY(0.5);
}

.tab-bar-item {
  flex: 1;
  text-align: center;
  display: flex;
  justify-content: center;
  align-items: center;
  flex-direction: column;
}

.tab-bar-item image {
  width: 27px;
  height: 27px;
}

.tab-bar-item view {
  font-size: 10px;
}
2、 list 的中的页面 都需要在onShow中加入一下方法
    if (typeof this.getTabBar === 'function' &&
      this.getTabBar()) {


      this.getTabBar().setData({


        selected: 0
      })
    }
三、遮罩层 盖住底部tabbar 自己实现一个遮罩层或者使用组件 我这儿用的组件 只需要让z-index:的值大于99999 即可
<!-- 遮罩层 -->
<van-overlay show="{

     { overlayShow }}" vertical z-index="{

     {999999}}">
  <view class="overlay-content">
    <van-loading type="spinner">加载中...</van-loading>
  </view>
</van-overlay>