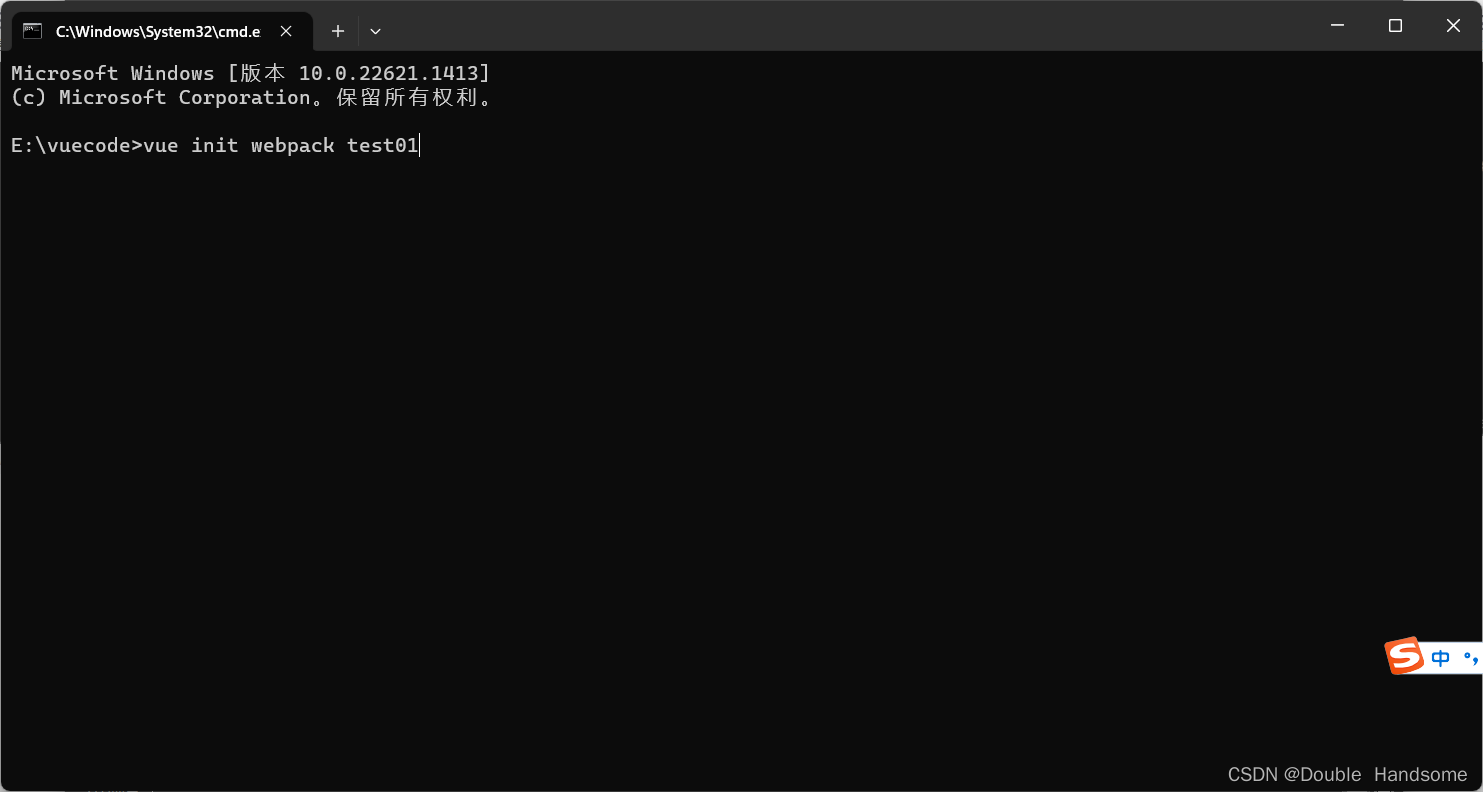
1、在目标文件夹的下,直接输入cmd回车,出现如下dos窗口后,直接输入如下命令,新建一个基于webpack的vue项目, 配置步骤略过,本文的重点在嵌套路由以及参数的传递
vue init webpack test01
2、使用编辑器(我用的是idea)打开新建的项目,在src目录下,新建一个views文件夹,在该文件夹下,创建文件About.vue作为父路由,创建AboutUs.vue和AboutCon.vue两个文件作为子路由代码如下,
其中, to=“/about/con/通知2”,通知2是父路由向子路由传递的参数,
About.vue
<template>
  <div>
  <!--    添加子路由的跳转连接-->
    <router-link to="/about/us">关于我们</router-link>
    <router-link to="/about/con/通知2">联系我们</router-link>
 <!--    指定子路由的加载位置-->
    <router-view/>
  </div>
</template>

<script>
export default {
  name: 'About'
}
</script>

<style scoped>

</style>
AboutUs.vue
<template>
  <div>
    <p>关于我们</p>
  </div>
</template>

<script>
export default {
  name: 'AboutUs'A
}
</script>

<style scoped>

</style>
AboutCon.vue,其中{ {$route.params.info}}用来来接收父路由about传来的数据,其中info为自定义的参数名
<template>
  <div>
    <p>联系我们{

   {$route.params.info}}</p>
  </div>
</template>

<script>
export default {
  name: 'AboutCon'
}
</script>

<style scoped>

</style>
3、在路由配置文件(router文件夹下的index.js)中添加子路由,其中path: ‘con/:info’,表示向con的子路由传递参数,自定义参数名为info,注意不能缺少冒号,
import Vue from 'vue'
import Router from 'vue-router'
import HelloWorld from '@/components/HelloWorld'

Vue.use(Router)

export default new Router({
  routes: [
    {
      path: '/',
      name: 'HelloWorld',
      component: HelloWorld
    },
    {
      path: '/about',
      name: 'About',
      // 异步加载页面,减轻前端负载
      component: () => import('../views/About'),
      // 重定向us的对应页面为about下的子路由首页
      redirect: '/about/us/',
      children: [
        {
          // 注意:二级路由不要/
          path: 'us',
          name: 'us',
          component: () => import('../views/AboutUs')
        },
        {
          path: 'con/:info',
          name: 'con',
          component: () => import('../views/AboutCon')
        }
      ]
    }
  ]
})
4、最后修改一下App.vue页面,代码如下,
<template>
  <div id="app">
<!--    添加子路由的跳转连接-->
    <router-link to="/about">关于</router-link>
<!--    指定子路由的加载位置-->
    <router-view></router-view>
  </div>
</template>

<script>
import HelloWorld from './components/HelloWorld'
export default {
  name: 'App',
  components: {
    HelloWorld
  },
  data () {
    return {
      message: '你好,Vue!'
    }
  }
}
</script>

<style>
#app {
  font-family: 'Avenir', Helvetica, Arial, sans-serif;
  -webkit-font-smoothing: antialiased;
  -moz-osx-font-smoothing: grayscale;
  text-align: center;
  color: #2c3e50;
  margin-top: 60px;
}
</style>
5、终端输入npm run dev/server启动项目即可