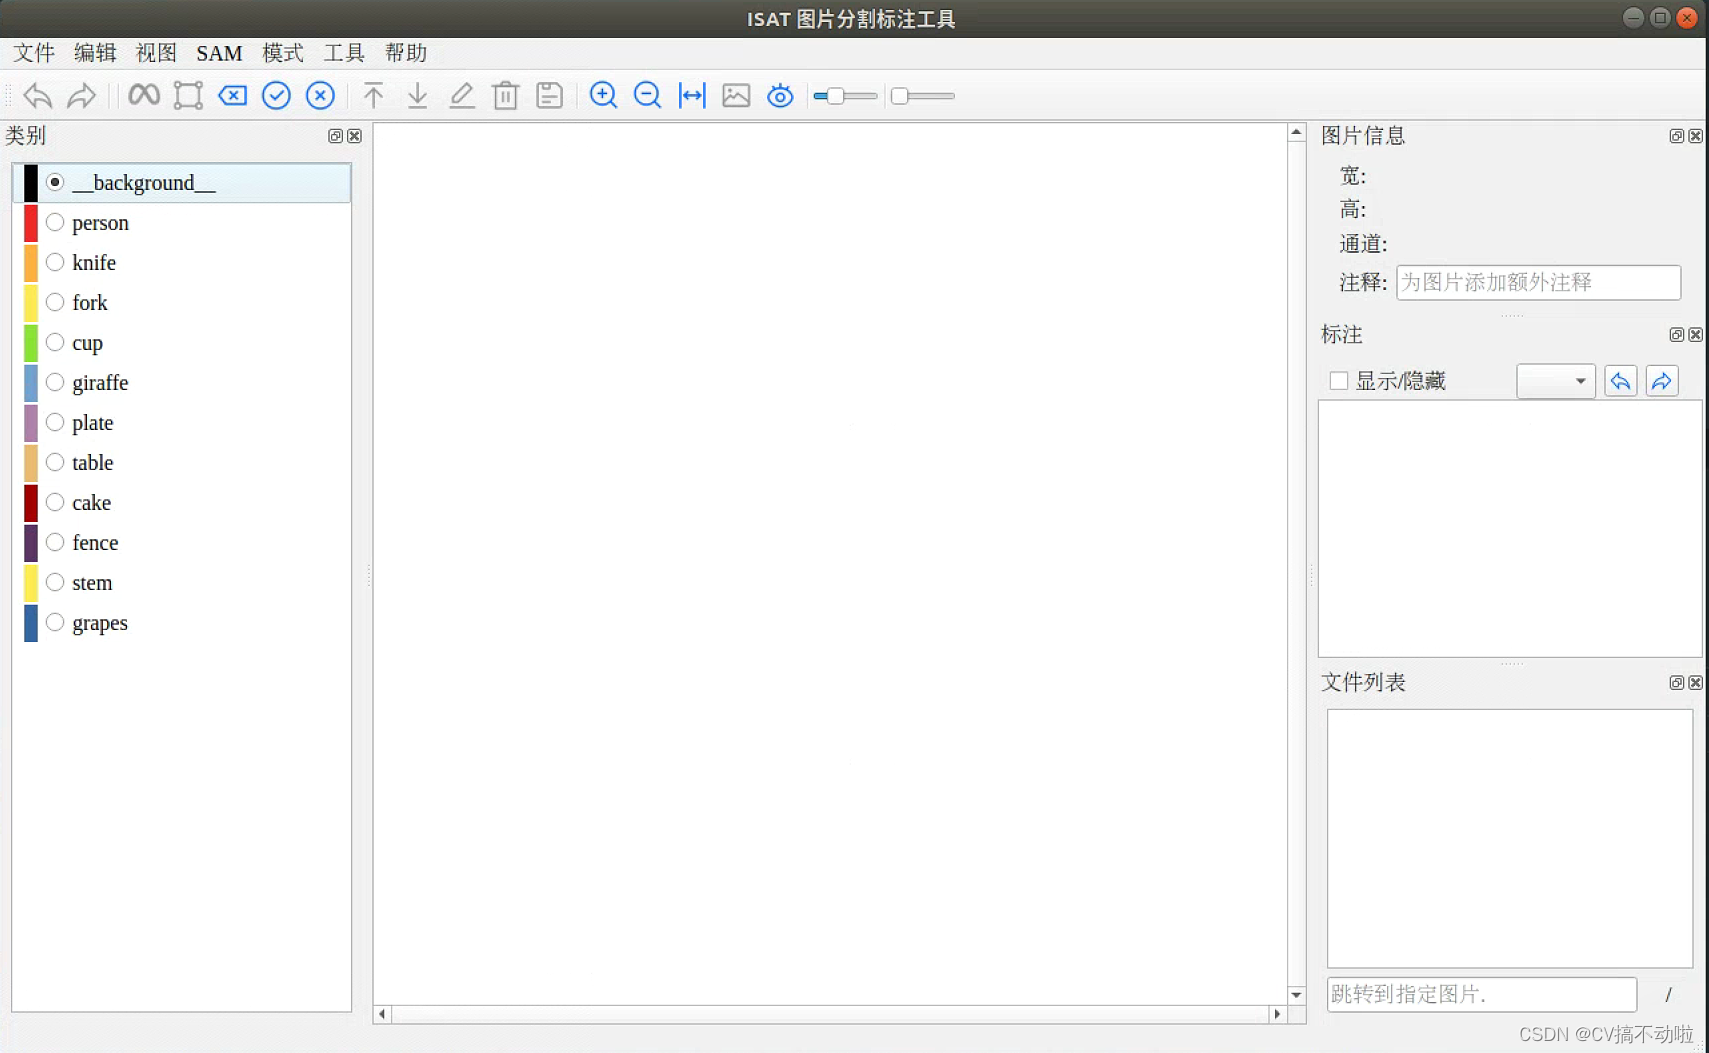
1.软件安装与使用
ISAT为segment anything衍生的半自动分割标注软件,github地址:https://github.com/yatengLG/ISAT_with_segment_anything.git
按照作者的readme安装好相应的依赖以及对应的权重,软件界面如下:
使用过程:
1.选取图片文件夹
2.确定标签保存文件夹
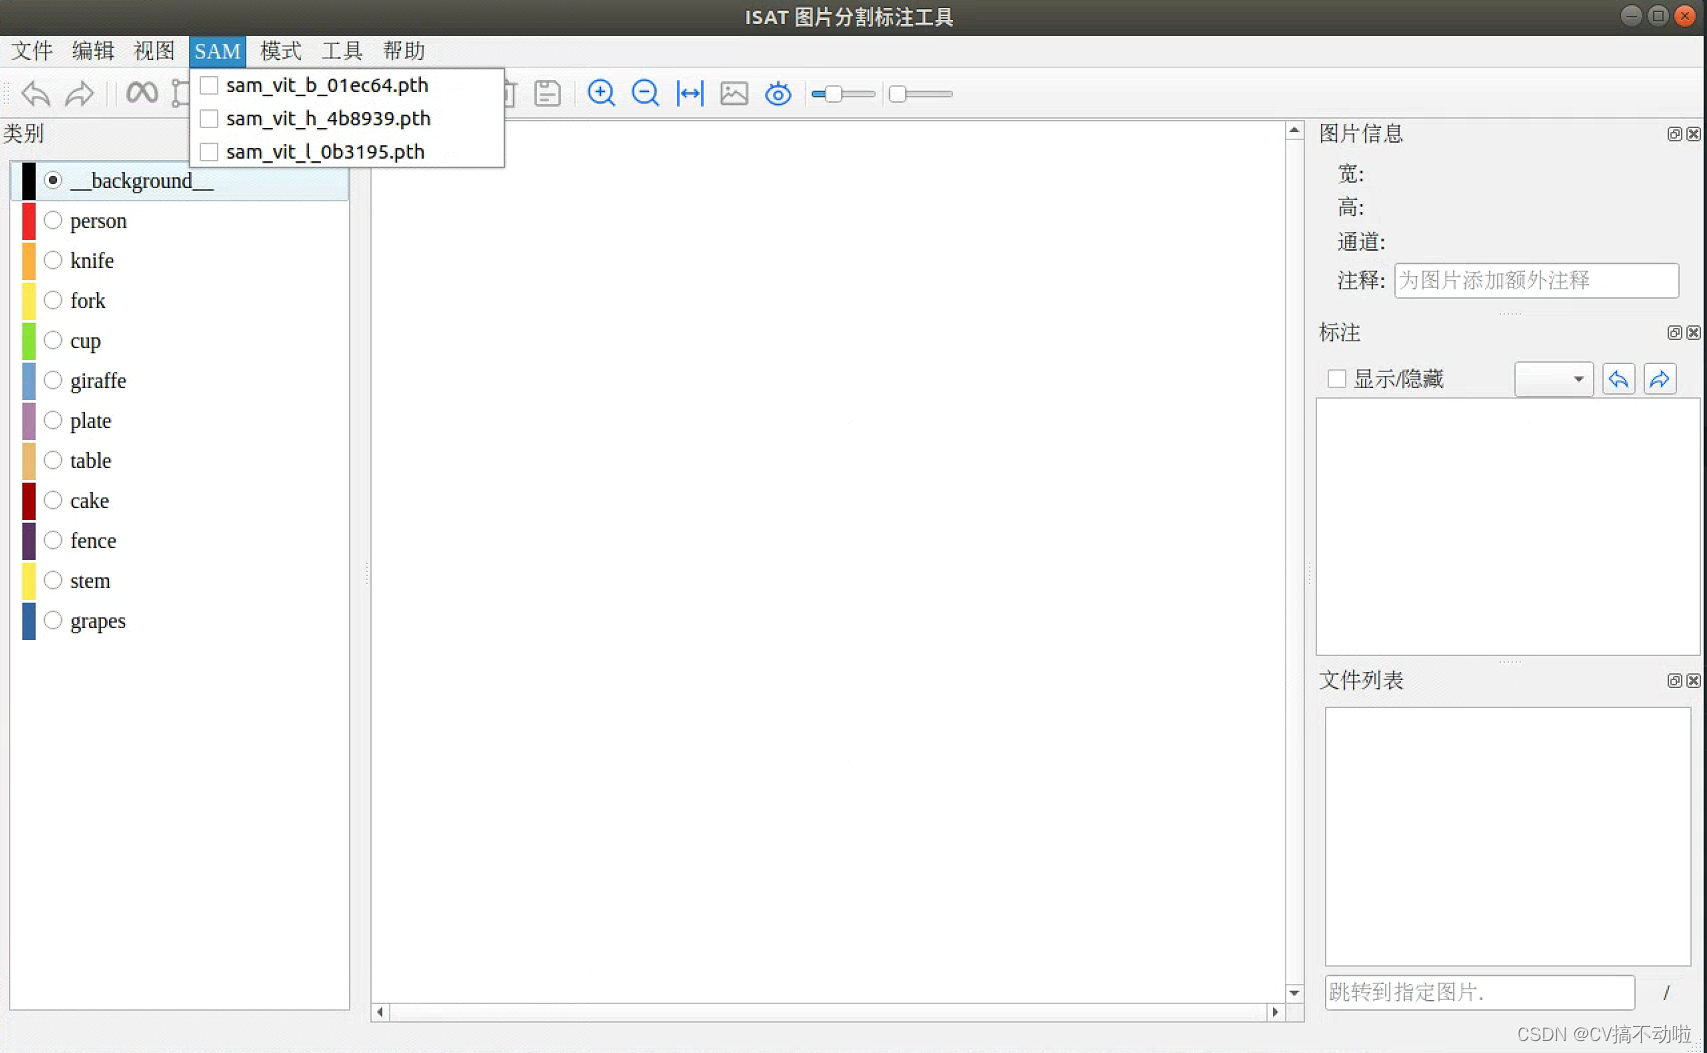
3.点击SAM,选择下载好的模型(完成标注前的准备工作)
快捷键:
Q:开始标注
E:完成标注
S:保存标签
Z:返回上一步
A:上一张图片
D:下一张图片
鼠标左键:选取感兴趣区域
鼠标右键:选取不感兴趣区域
标注实例:

选取对勾完成标注,按S保存标签,标签文件为json格式,但与COCO格式不相同,软件自带ISAT转成COCO格式,但有bug,没用;
2.数据类型转换
以下为另一个GitHub地址:GitHub - mushroom-x/SegConvert: 实例分割标注文件格式转换脚本工具集
针对ISAT转COCO格式,另外也包括直接转成YOLO格式。
将下面代码中的路径改成前面的图片路径和标签路径,将标签名和序号改为自己的类别名。
ISAT2COCO:
import json
import os
import numpy as np
from collections import defaultdict

# ISAT标注数据路径
ISAT_FOLDER = "./annotations"
# 图像所在的路径
IMAGE_FOLDER = "./images"
# COCO格式的JSON文件存放路径
# 可以自己指定,这里是直接定义在图像文件夹下
COCO_PATH = os.path.join(IMAGE_FOLDER, "coco.json")

# 定义类别名称与ID号的映射
# 需要注意的是,不需要按照ISAT的classesition.txt里面的定义来
# 可以选择部分自己需要的类别, ID序号也可以重新填写(从0开始)
category_mapping = {"color_block": 0}
# 定义COCO格式的字典
# - "info"/"description" 里面写一下,你这个是什么的数据集
coco = {
    "info": {
        "description": "Color Block Segmentation",
        "version": "1.0",
        "year": 2023,
        "contributor": "",
        "date_created": ""
    },
    "images": [],
    "annotations": [],
    "categories": []
}
# 填写annotations栏目
for class_id, class_name in category_mapping.items():
    coco["categories"].append({"id": class_id, "name": class_name, "supercategory": "object"})
# 图像序号
image_id = 1
# 遍历所有的ISAT文件夹
for filename in os.listdir(ISAT_FOLDER):
    # 判断是否为ISAT格式数据
    if not filename.endswith(".json"):
        continue
    # 载入ISAT数据
    with open(os.path.join(ISAT_FOLDER, filename), "r") as f:
        isat = json.load(f)
    # 获取图像名称
    image_filename = isat["info"]["name"]

    # 填写文件路径
    image_path = os.path.join(IMAGE_FOLDER, image_filename)
    image_info = {
        "id": image_id,
        "file_name": image_filename,
        "width": isat["info"]["width"],
        "height": isat["info"]["height"]
    }
    image_id += 1
    # 添加图像信息
    coco["images"].append(image_info)
    # 标注序号
    annotation_id = 1
    # 遍历标注信息
    for annotation in isat["objects"]:
        # 获取类别名称
        category_name = annotation["category"]
        # 位置类别名称(选择跳过)
        if category_name not in category_mapping:
            # print(f"未知类别名称: {category_name}")
            continue
        # 获取类别ID
        category_id = category_mapping[category_name]
        # 提取分割信息
        segmentation = annotation["segmentation"]
        segmentation = np.uint32(segmentation)
        # 转换为一行的形式 [[x1, y1, x2, y2, ..., xn, yn]]
        segmentation = [(segmentation.reshape(-1)).tolist()]
        # 提取面积信息
        area = annotation["area"]
        # 定义标注信息
        annotation_info = {
            "id": annotation_id,
            "image_id": image_id,
            "category_id": category_id,
            "segmentation": segmentation,
            "area": area,
            "iscrowd": 0
        }
        # 追加到annotations列表
        coco["annotations"].append(annotation_info)
        # 标注编号自增1
        annotation_id += 1
# 保存coco格式
with open(COCO_PATH, "w") as f:
    json.dump(coco, f)
运行结果是生成一个json文件。
ISAT2YOLO:
import json
import os

# 定义类别名称与ID号的映射
# 需要注意的是,不需要按照ISAT的classesition.txt里面的定义来
# 可以选择部分自己需要的类别, ID序号也可以重新填写(从0开始)
category_mapping = {"color_block": 0}
# ISAT格式的实例分割标注文件
ISAT_FOLDER = "./annotations/"
# YOLO格式的实例分割标注文件
YOLO_FOLDER = "./labels"

# 创建YoloV8标注的文件夹
if not os.path.exists(YOLO_FOLDER):
    os.makedirs(YOLO_FOLDER)

# 载入所有的ISAT的JSON文件
for filename in os.listdir(ISAT_FOLDER):
    if not filename.endswith(".json"):
        # 不是json格式, 跳过
        continue
    # 载入ISAT的JSON文件
    with open(os.path.join(ISAT_FOLDER, filename), "r") as f:
        isat = json.load(f)
    # 提取文件名(不带文件后缀)
    image_name = filename.split(".")[0]
    # Yolo格式的标注文件名, 后缀是txt
    yolo_filename = f"{image_name}.txt"
    # 写入信息
    with open(os.path.join(YOLO_FOLDER, yolo_filename), "w") as f:
        # 获取图像信息
        # - 图像宽度
        image_width = isat["info"]["width"]
        # - 图像高度
        image_height = isat["info"]["height"]
        # 获取实例标注数据
        for annotation in isat["objects"]:
            # 获取类别名称
            category_name = annotation["category"]
            # 如果不在类别名称字典里面,跳过
            if category_name not in category_mapping:
                continue
            # 从字典里面查询类别ID
            category_id = category_mapping[category_name]
            # 提取分割信息
            segmentation = annotation["segmentation"]
            segmentation_yolo = []
            # 遍历所有的轮廓点
            for segment in segmentation:
                # 提取轮廓点的像素坐标 x, y
                x, y = segment
                # 归一化处理
                x_center = x/image_width
                y_center = y/image_height
                # 添加到segmentation_yolo里面
                segmentation_yolo.append(f"{x_center:.4f} {y_center:.4f}")
            segmentation_yolo_str = " ".join(segmentation_yolo)
            # 添加一行Yolo格式的实例分割数据
            # 格式如下: class_id x1 y1 x2 y2 ... xn yn\n
            f.write(f"{category_id} {segmentation_yolo_str}\n")
运行结果是所有标签对应的txt文件

第一个为标签编号,后面的数为标签点的归一化坐标。
3.训练集、验证集、测试集划分
代码:main函数的default内填入对应的自定义路径
# 将图片和标注数据按比例切分为 训练集和测试集
import shutil
import random
import os
import argparse

# 检查文件夹是否存在
def mkdir(path):
    if not os.path.exists(path):
        os.makedirs(path)


def main(image_dir, txt_dir, save_dir):
    # 创建文件夹
    mkdir(save_dir)
    images_dir = os.path.join(save_dir, 'images')
    labels_dir = os.path.join(save_dir, 'labels')

    img_train_path = os.path.join(images_dir, 'train')
    img_test_path = os.path.join(images_dir, 'test')
    img_val_path = os.path.join(images_dir, 'val')

    label_train_path = os.path.join(labels_dir, 'train')
    label_test_path = os.path.join(labels_dir, 'test')
    label_val_path = os.path.join(labels_dir, 'val')

    mkdir(images_dir);mkdir(labels_dir);mkdir(img_train_path);mkdir(img_test_path);mkdir(img_val_path);mkdir(label_train_path);mkdir(label_test_path);mkdir(label_val_path);


    # 数据集划分比例,训练集75%,验证集15%,测试集15%,按需修改
    train_percent = 0.8
    val_percent = 0.1
    test_percent = 0.1


    total_txt = os.listdir(txt_dir)
    num_txt = len(total_txt)
    list_all_txt = range(num_txt)  # 范围 range(0, num)

    num_train = int(num_txt * train_percent)
    num_val = int(num_txt * val_percent)
    num_test = num_txt - num_train - num_val

    train = random.sample(list_all_txt, num_train)
    # 在全部数据集中取出train
    val_test = [i for i in list_all_txt if not i in train]
    # 再从val_test取出num_val个元素,val_test剩下的元素就是test
    val = random.sample(val_test, num_val)

    print("训练集数目:{}, 验证集数目:{},测试集数目:{}".format(len(train), len(val), len(val_test) - len(val)))
    for i in list_all_txt:
        name = total_txt[i][:-4]

        srcImage = os.path.join(image_dir, name+'.jpg')
        srcLabel = os.path.join(txt_dir, name + '.txt')

        if i in train:
            dst_train_Image = os.path.join(img_train_path, name + '.jpg')
            dst_train_Label = os.path.join(label_train_path, name + '.txt')
            shutil.copyfile(srcImage, dst_train_Image)
            shutil.copyfile(srcLabel, dst_train_Label)
        elif i in val:
            dst_val_Image = os.path.join(img_val_path, name + '.jpg')
            dst_val_Label = os.path.join(label_val_path, name + '.txt')
            shutil.copyfile(srcImage, dst_val_Image)
            shutil.copyfile(srcLabel, dst_val_Label)
        else:
            dst_test_Image = os.path.join(img_test_path, name + '.jpg')
            dst_test_Label = os.path.join(label_test_path, name + '.txt')
            shutil.copyfile(srcImage, dst_test_Image)
            shutil.copyfile(srcLabel, dst_test_Label)


if __name__ == '__main__':
    """
    python split_datasets.py --image-dir my_datasets/color_rings/imgs --txt-dir my_datasets/color_rings/txts --save-dir my_datasets/color_rings/train_data
    """
    parser = argparse.ArgumentParser(description='split datasets to train,val,test params')
    parser.add_argument('--image-dir', default = '', type=str, help='image path dir')
    parser.add_argument('--txt-dir', default = '', type=str, help='txt path dir')
    parser.add_argument('--save-dir', default = '', type=str, help='save dir')
    args = parser.parse_args()
    image_dir = args.image_dir
    txt_dir = args.txt_dir
    save_dir = args.save_dir

    main(image_dir, txt_dir, save_dir)
完成数据集划分
4.yolov5模型训练
data文件夹里面有yaml文件,下面图片是data/coco128-seg.yaml的内容。
path:是上面--save-dir切分图片存放的路径;
train、val、test分别对于images里面的文件夹,按实际填入;
names:是类别名称和赋予的下标,跟上面转txt顺序相同

完成数据集的创建
训练:
python segment/train.py --epochs 300 --data coco128-seg.yaml --weights yolov5m-seg.pt --img 640 --cfg models/segment/yolov5m-seg.yaml --batch-size 16 --device 2参考链接:YOLOv5-7.0实例分割训练自己的数据,切分mask图并摆正_yolov5图像分割_jin__9981的博客-CSDN博客