使用OpenCV调整图像大小。要调整图像的大小,可以根据每个轴(高度和宽度)进行缩放,考虑指定的缩放因素,或者只需设置所需的高度和宽度。
调整图像大小时:
- 如果想在调整后的图像中保持相同的宽高比,请务必记住图像的原始宽高比(即宽度和高度)。
- 缩小图像的大小需要重新采样像素。
- 增加图像的大小需要重建图像。这意味着需要插值新像素。
各种插值技术发挥作用来完成这些操作。OpenCV中有几种方法可供选择,选择通常取决于特定的应用程序。
使用OpenCV调整尺寸大小
通过调整自定义高度和宽度的大小来使图像越来越小。随着您的进一步发展,我们将讨论使用不同的比例因子和插值方法调整大小。
1.图像尺寸信息
Python
# let's start with the Imports
import cv2
import numpy as np

# Read the image using imread function
image = cv2.imread('image.jpg')
cv2.imshow('Original Image', image)

# let's downscale the image using new  width and height
down_width = 300
down_height = 200
down_points = (down_width, down_height)
resized_down = cv2.resize(image, down_points, interpolation= cv2.INTER_LINEAR)

# let's upscale the image using new  width and height
up_width = 600
up_height = 400
up_points = (up_width, up_height)
resized_up = cv2.resize(image, up_points, interpolation= cv2.INTER_LINEAR)

# Display images
cv2.imshow('Resized Down by defining height and width', resized_down)
cv2.waitKey()
cv2.imshow('Resized Up image by defining height and width', resized_up)
cv2.waitKey()

#press any key to close the windows
cv2.destroyAllWindows()
C++
// let's start with including libraries
#include<opencv2/opencv.hpp>
#include<iostream>

// Namespace to nullify use of cv::function(); syntax
using namespace std;
using namespace cv;

int main()
{


  // Read the image using imread function
  Mat image = imread("image.jpg");
  imshow("Original Image", image);


  // let's downscale the image using new  width and height
  int down_width = 300;
  int down_height = 200;
  Mat resized_down;
  //resize down
  resize(image, resized_down, Size(down_width, down_height), INTER_LINEAR);
  // let's upscale the image using new  width and height
  int up_width = 600;
  int up_height = 400;
  Mat resized_up;
  //resize up
  resize(image, resized_up, Size(up_width, up_height), INTER_LINEAR);
  // Display Images and press any key to continue
  imshow("Resized Down by defining height and width", resized_down);
  waitKey();
  imshow("Resized Up image by defining height and width", resized_up);
  waitKey();


  destroyAllWindows();
  return 0;
}
在开始调整图像的大小之前,先了解其原始尺寸。要获取图像的大小:
- 在Python中使用shape方法
- C++中的rows和cols参数
Python中的image.shape返回三个值:高度、宽度和通道数。
在C++中:
- image.rows:图像的高度
- image.columns:图像的宽度
也可以使用size()函数获得上述结果。
- image.size().width 返回宽度
- image.size().height 返回高度
Python
# Get original height and width
h,w,c = image.shape
print("Original Height and Width:", h,"x", w)
C++
// Get height and width
cout << "Original Height and Width :" << image.rows << "x" << image.cols << endl;
这里需要注意的一件重要事情是,OpenCV以 h e i g h t ∗ w i d t h ∗ c h a n n e l s height*width*channels height∗width∗channels格式输出图像的形状,而其他一些图像处理库则以宽度、高度的形式输出。对此有合乎逻辑的看法。
当使用OpenCV读取图像时,它们表示为NumPy数组。一般来说,总是用 r o w s ∗ c o l u m n s rows*columns rows∗columns(表示其高度的行和表示其宽度的列)来引用数组的形状。因此,即使使用OpenCV读取图像以获得其形状,相同的NumPy数组规则也会发挥作用。你得到形状的形状是 h e i g h t ∗ w i d t h ∗ c h a n n e l s height*width*channels height∗width∗channels。
OpenCV resize()函数语法
OpenCV resize()函数语法需要两个输入参数:
- 源图像。
- 调整大小图像的所需大小,d大小。
我们将在以下各节中讨论各种输入参数选项。
resize(src, dsize[, dst[, fx[, fy[, interpolation]]]])
- src:这是必需的输入图像,它可以是具有输入图像路径的字符串(例如:“test_image.png”)。
- dsize:它是输出图像的理想尺寸,它可以是新的高度和宽度。
- fx:沿水平轴的缩放因子。
- fy:沿垂直轴的缩放因子。
- interpolation:它为我们提供了调整图像大小的不同方法的选择。
2.使用自定义宽度和高度调整图像大小
在第一个示例中,让我们通过指定一个新的宽度和高度来调整图像的大小,这将缩小图像的缩放。在以下代码中:
- 我们将所需的宽度设置为300,所需的高度设置为200。
- 这两个值组合成一个二维向量,这是resize()函数所要求的。
- 我们还指定了插值方法,恰好是默认值。
Python
# Set rows and columns
# lets downsize the image using new  width and height
down_width = 300
down_height = 200
down_points = (down_width, down_height)
resized_down = cv2.resize(image, down_points, interpolation= cv2.INTER_LINEAR)
C++
// Set rows and columns
// lets downsize the image using new width and height
   int down_width = 300;
   int down_height = 200;
   Mat resize_down;

   // resize down
   resize(image, resize_down, Size(down_width, down_height), INTER_LINEAR);
接下来,我们创建另一个变量来增加图像的大小。
Python
# Set rows and columns
up_width = 600
up_height = 400
up_points = (up_width, up_height)
# resize the image
resized_up = cv2.resize(image, up_points, interpolation = cv2.INTER_LINEAR)
C++
// Set rows and columns
int up_width = 600;
int up_height = 400;
Mat resized_up;
//resize up
resize(image, resized_up, Size(up_width, up_height), INTER_LINEAR);
在上面的Python代码中,我们正在使用resize()函数定义新的宽度和高度来升级图像。过程和步骤与之前的片段相似。
在C++代码中:
- 我们定义了用于升级的宽度和高度的新整数。
- 给出输出图像的矩阵。
- 然后使用resize()函数,与之前的代码相同。
现在,让我们使用OpenCV的imshow()函数显示所有图像。
Python
# Display images
cv2.imshow('Resized Down by defining height and width', resized_down)
cv2.waitKey()
cv2.imshow('Resized Up image by defining height and width', resized_up)
cv2.waitKey()
cv2.destroyAllWindows()
C++
// Display Images and press any key to continue
imshow("Resized Down by defining height and width", resized_down);
waitKey();
imshow("Resized Up image by defining height and width", resized_up);
waitKey();
destroyAllWindows();

3.使用缩放因子调整图像的大小
现在我们用缩放因子调整图像的大小。但在更进一步之前,你需要了解什么是缩放因素。
缩放因子通常是尺度缩放或乘以某些数量的数字,在图像中尺寸是图像的宽度和高度。缩放因子有助于保持宽高比完好无损,并保持显示质量。因此,在您升级或缩小缩放图像时,图像不会显得失真。
Python
# Scaling Up the image 1.2 times by specifying both scaling factors
scale_up_x = 1.2
scale_up_y = 1.2
# Scaling Down the image 0.6 times specifying a single scale factor.
scale_down = 0.6

scaled_f_down = cv2.resize(image, None, fx= scale_down, fy= scale_down, interpolation= cv2.INTER_LINEAR)
scaled_f_up = cv2.resize(image, None, fx= scale_up_x, fy= scale_up_y, interpolation= cv2.INTER_LINEAR)
C++
// Scaling Up the image 1.2 times by specifying both scaling factors
double scale_up_x = 1.2;
double scale_up_y = 1.2;
// Scaling Down the image 0.6 times specifying a single scale factor.
double scale_down = 0.6;
Mat scaled_f_up, scaled_f_down;
//resize
resize(image,scaled_f_down, Size(), scale_down, scale_down, INTER_LINEAR);
resize(image, scaled_f_up, Size(), scale_up_x, scale_up_y, INTER_LINEAR);
在上面的Python代码中:
- 我们沿着水平和垂直轴定义了新的缩放因素。
- 定义缩放因子,就不需要对增加新的图像宽度和高度。因此,值为None。
在上面的C++代码中:
- 我们定义了新的缩放因子以及新图像的矩阵。
- 由于我们不需要新的宽度和高度点,我们保持Size()为空,并使用resize()函数
现在,让我们展示图像,以便可视化和更好地理解。
Python
# Display images and press any key to check next image
cv2.imshow('Resized Down by defining scaling factor', scaled_f_down)
cv2.waitKey()
cv2.imshow('Resized Up image by defining scaling factor', scaled_f_up)
cv2.waitKey()
C++
// Display images and Press any key to continue check next image
imshow("Resized Down by defining scaling factor", scaled_f_down);
waitKey();
imshow("Resized Up by defining scaling factor", scaled_f_up);
waitKey();
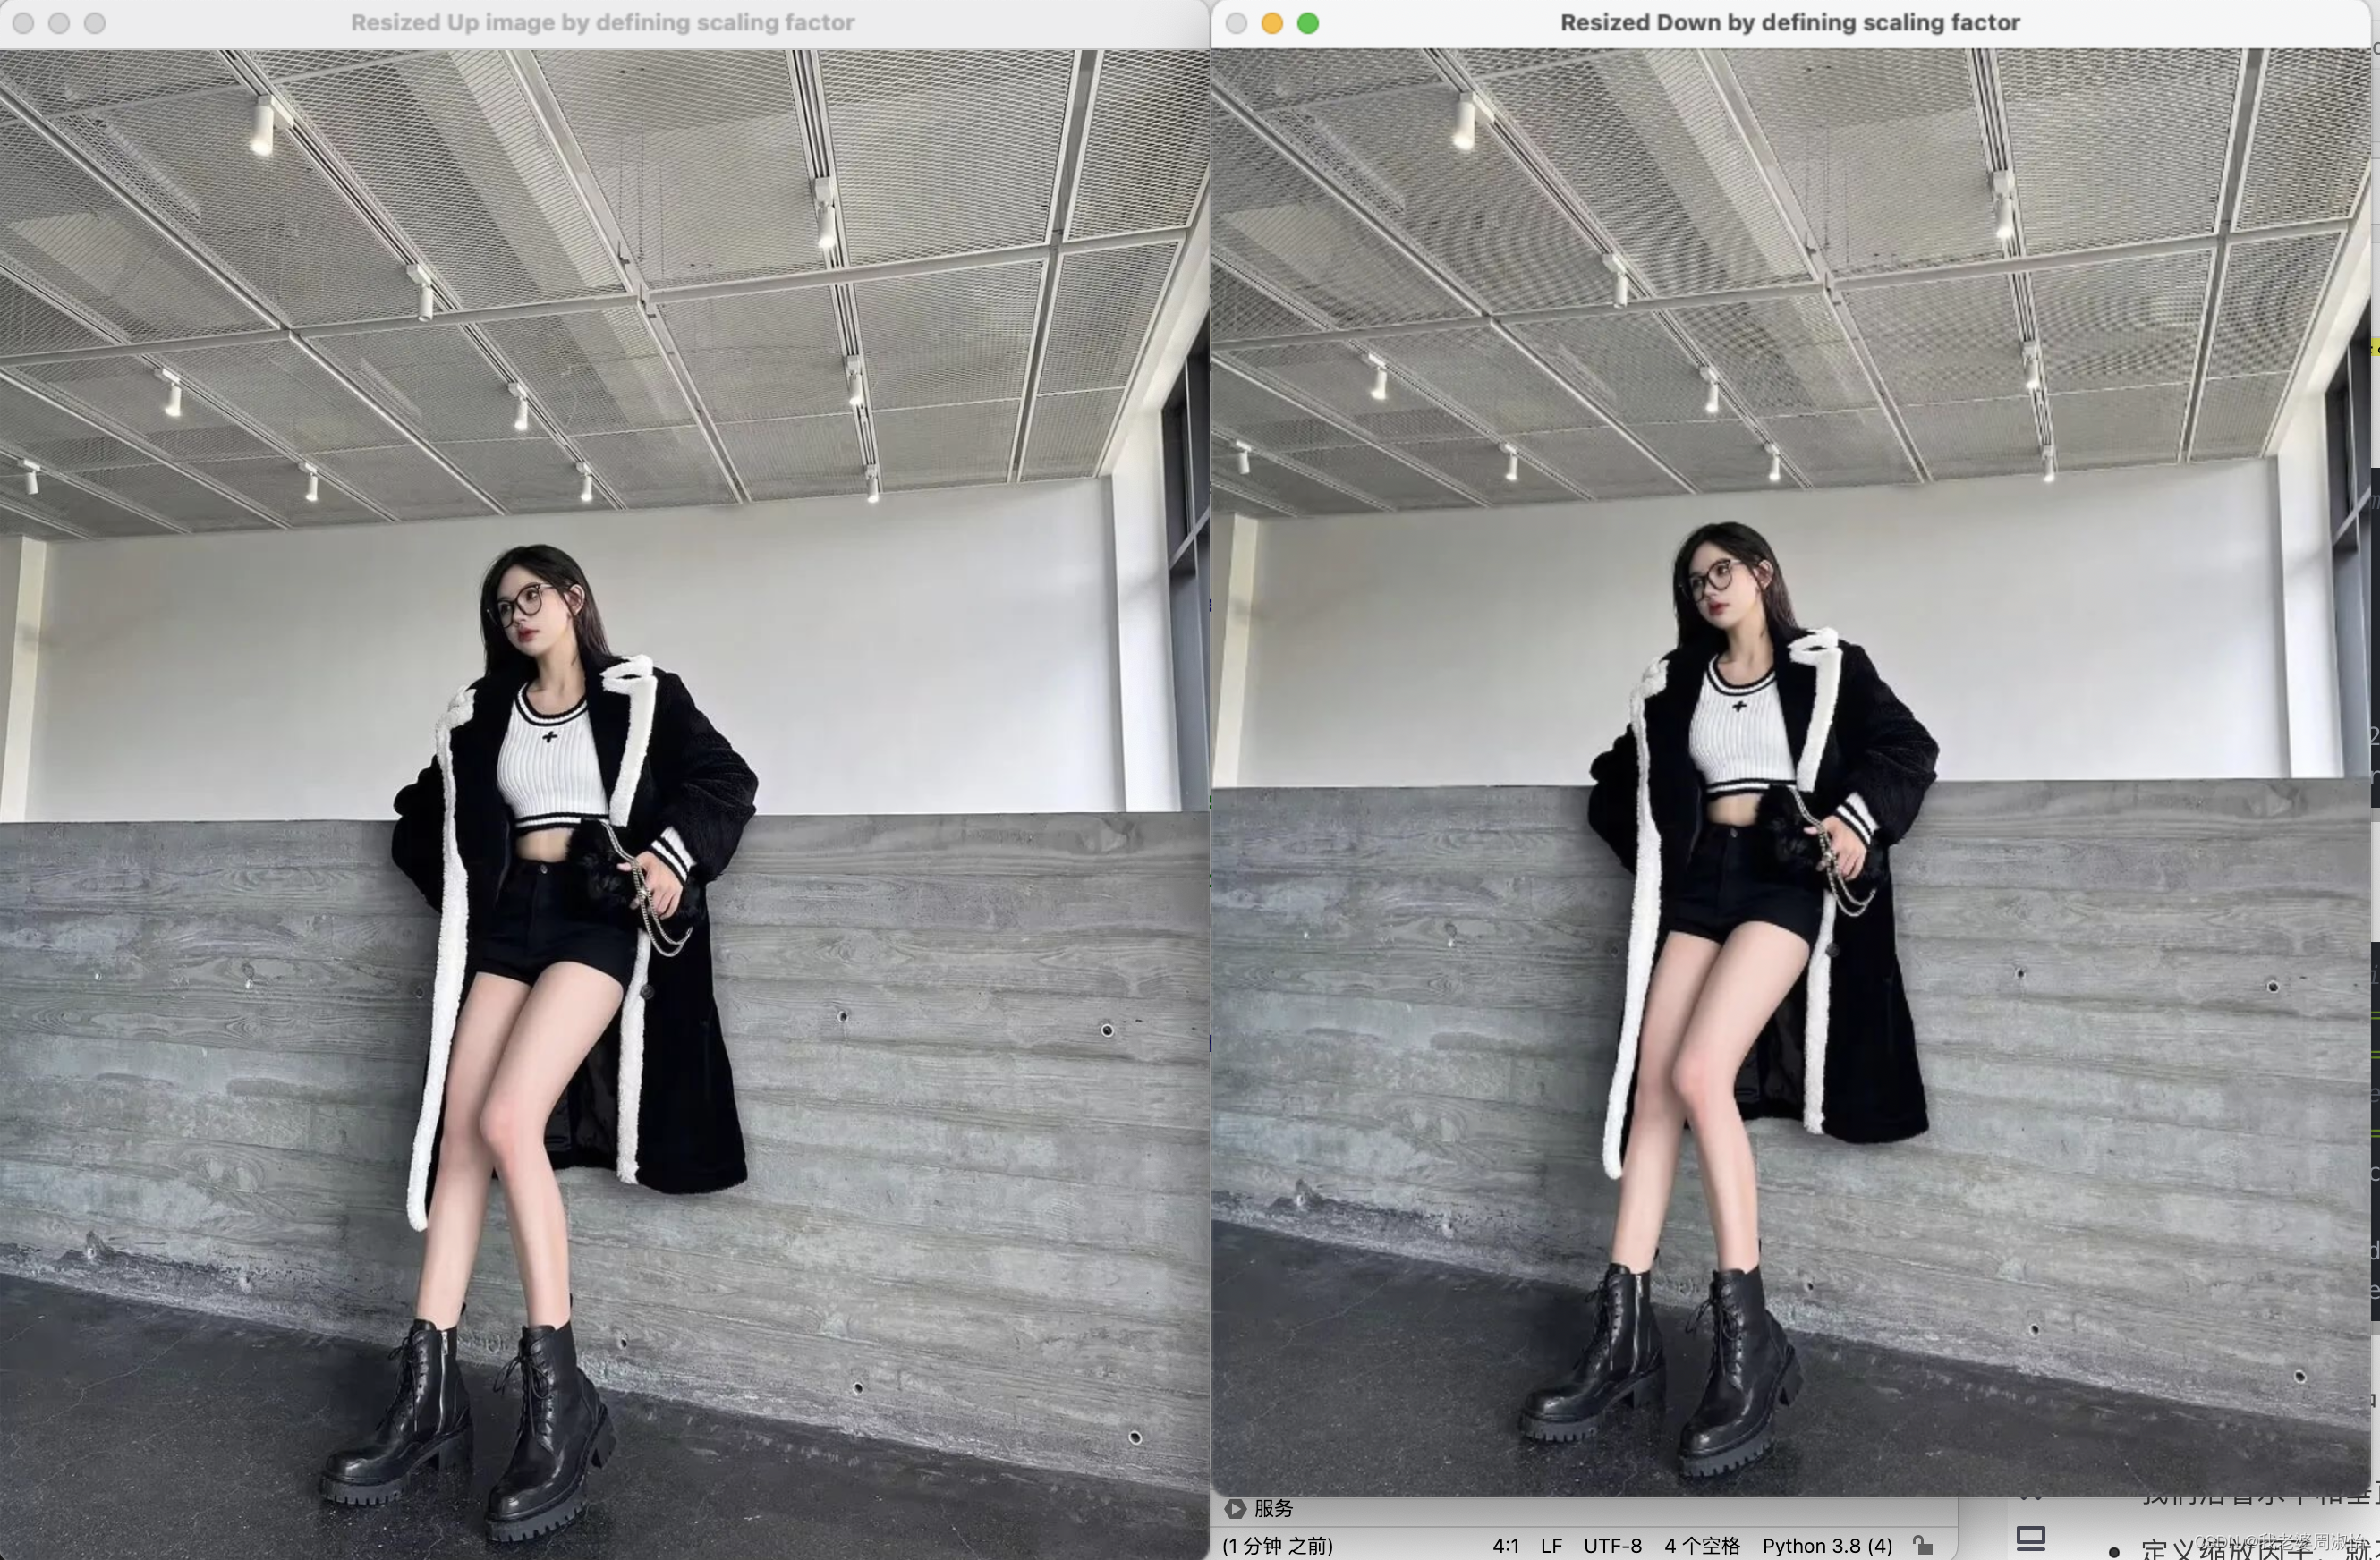
左侧图像是缩小版本,右侧是缩放版本。
4.使用不同的插值方法调整大小
不同的插值方法用于调整不同的尺寸大小。
- INTER_AREA:INTER_AREA使用像素区域关系进行重新采样。这最适合缩小图像的大小(缩小)。当用于放大图像时,它使用INTER_NEAREST方法。
- INTER_CUBIC:这使用双立方插值来调整图像的大小。在调整新像素的大小和插值时,此方法作用于图像的4×4相邻像素。然后,需要16像素的平均权重来创建新的插值像素
- INTER_LINEAR:此方法与INTER_CUBIC插值有点相似。但与INTER_CUBIC不同,这使用2×2相邻像素来获得插值像素的加权平均值。
- INTER_NEAREST:INTER_NEAREST方法使用最近的邻居概念进行插值。这是最简单的方法之一,仅使用图像中的一个相邻像素进行插值。
如果您不完全理解插值方法,请不要担心。我们将在一个单独的例子中解释它们。
Python
# Scaling Down the image 0.6 times using different Interpolation Method
res_inter_nearest = cv2.resize(image, None, fx= scale_down, fy= scale_down, interpolation= cv2.INTER_NEAREST)
res_inter_linear = cv2.resize(image, None, fx= scale_down, fy= scale_down, interpolation= cv2.INTER_LINEAR)
res_inter_area = cv2.resize(image, None, fx= scale_down, fy= scale_down, interpolation= cv2.INTER_AREA)
C++
# Scaling Down the image 0.6 using different Interpolation Method
Mat res_inter_linear, res_inter_nearest, res_inter_area;
resize(image, res_inter_linear, Size(), scale_down, scale_down, INTER_LINEAR);
resize(image, res_inter_nearest, Size(), scale_down, scale_down, INTER_NEAREST);
resize(image, res_inter_area, Size(), scale_down, scale_down, INTER_AREA);
在上面的Python片段中,我们正在使用不同的插值方法调整图像的大小。同样,在C++片段中,我们首先为输出图像定义新矩阵,然后使用不同的插值方法调整它们的大小。现在让我们显示图像。
Python
# Concatenate images in horizontal axis for comparison
vertical= np.concatenate((res_inter_nearest, res_inter_linear, res_inter_area), axis = 0)
# Display the image Press any key to continue
cv2.imshow('Inter Nearest :: Inter Linear :: Inter Area', vertical)
C++
Mat a,b,c;
vconcat(res_inter_linear, res_inter_nearest, a);
vconcat(res_inter_area, res_inter_area, b);
vconcat(a, b, c);
// Display the image Press any key to continue
imshow("Inter Linear :: Inter Nearest :: Inter Area :: Inter Area", c);

INTER_LINEAR在左边,INTER_NEAREST在中间,INTER_AREA在右边