目录
介绍
ros开发是机器人开发中必不可少的工作,语言选择可以是c++,也可以是python。工具的话,不能像windows系统那样丰富多彩,qtcreate,visual studio,clion。因为ros环境绝大部分是在ubuntu系统之下的,所以这里就限制了只能在linux环境下使用IDE,这里就选择vscode。
前提
本文不是从无到有,从安装ros环境到搭建vscode工具,然后编写代码,编译调试,这里的前提是我们系统安装了ros-melodic-desktop-full,可以运行ros相关命令。
vscode安装
首先安装vscode,推荐使用官方地址下载,然后手动切换到国内加速器。
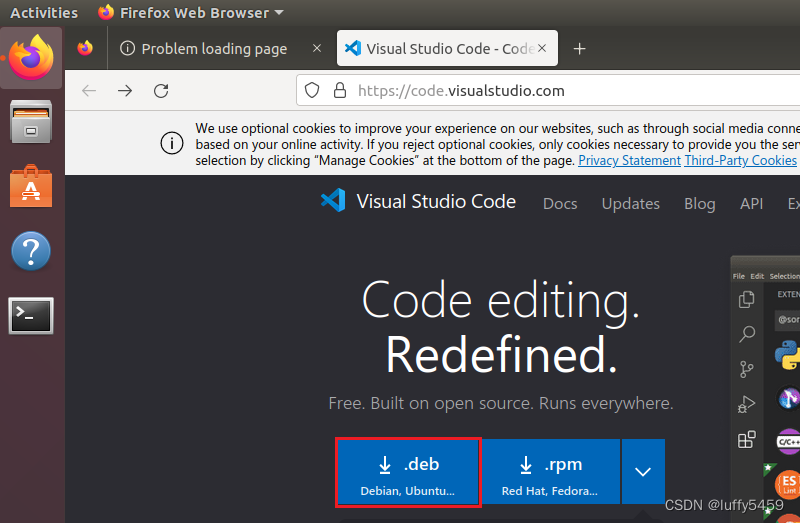
点击下载之后,因为官方地址下载很慢,这里直接在浏览器下载里找到下载项,拷贝下载链接,然后粘贴到浏览器地址栏,修改为国内地址。
比如:
下载的deb安装文件直接通过dpkg -i xxx.deb安装即可。
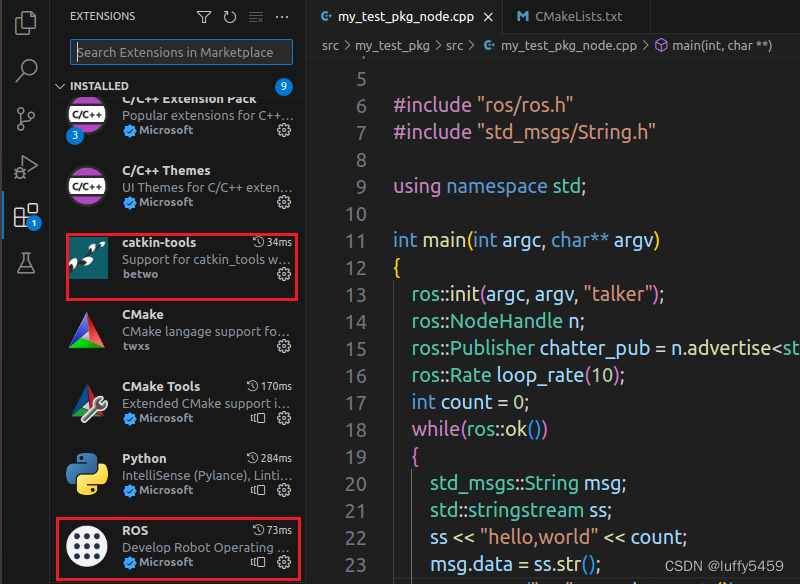
vscode插件安装
我们在插件扩展Extensions这里需要安装ros,catkin-tools两个插件。
工作空间准备
mkdir -p roshelloworld/src
cd roshelloworld/src
catkin_init_workspace
cd ..
catkin_make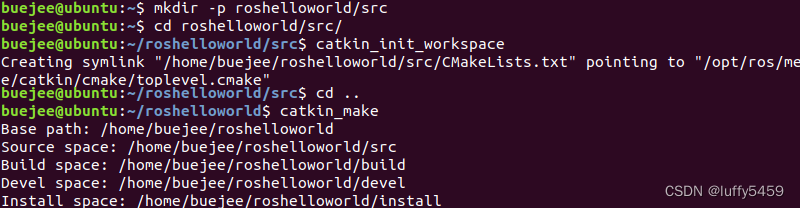
注意,这里如果catkin_init_workspace命令提示没有的话,就是环境的问题,其实ros安装的时候已经有了,我们需要把它设置上,运行:
echo "source /opt/ros/melodic/setup.bash" >> /etc/profile 打开vscode
code .在当前编译过的工作空间下,通过命令行打开vscode
创建catkin包
右键src->Create Catkin Package

后续操作中,需要输入包名,依赖名,这里包名是my_test_pkg,依赖就是 roscpp,rospy,std_msgs。
之后包结构变为如下所示:
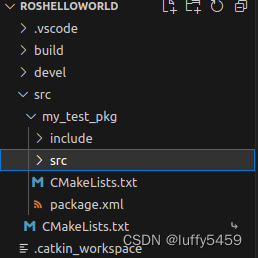
原本的roshelloworld/src下面多了my_test_pkg,然后my_test_pkg也有src,CMakeLists.txt文件。这里的CMakeLists.txt和roshelloworld下的CMakeLists.txt作用不同,后面我们会修改my_test_pkg包下的这个CMakeLists.txt文件。
编写cpp代码
我们在my_test_pkg/src目录下新建 my_test_pkg_node.cpp,添加代码如下:
#include <iostream>
#include <string>
#include <sstream>


#include "ros/ros.h"
#include "std_msgs/String.h"

using namespace std;

int main(int argc, char** argv)
{
    ros::init(argc, argv, "talker");
    ros::NodeHandle n;
    ros::Publisher chatter_pub = n.advertise<std_msgs::String>("chatter", 1000);
    ros::Rate loop_rate(10);
    int count = 0;
    while(ros::ok())
    {
        std_msgs::String msg;
        std::stringstream ss;
        ss << "hello,world" << count;
        msg.data = ss.str();
        ROS_INFO("%s", msg.data.c_str());
        chatter_pub.publish(msg);
        ros::spinOnce();
        loop_rate.sleep();
        count++;
    }
    return 0;
}
这段代码发布了/chatter话题,并且间隔10ms发送一次hello,world + count,后面测试的话,可以订阅/chatter话题,看收到的消息。
修改CMakeLists.txt:
include_directories(
  include
  ${catkin_INCLUDE_DIRS}
)


add_executable(${PROJECT_NAME}_node src/my_test_pkg_node.cpp)

target_link_libraries(${PROJECT_NAME}_node
  ${catkin_LIBRARIES}
)
这些配置CMakeLists.txt都有,只需要打开对应注释即可。
编译
命令行下运行 catkin_make

运行
启动ros服务
roscore监听话题
rostopic echo /chatter启动ros测试
rosrun my_test_pkg my_test_pkg_node
vscode+ros开发环境就介绍到这里了,我没有对代码进行调试,直接复制的别人代码。