其他软件都可以通过nginx直接做代理添加鉴权,但是这个hass果然是用户安全隐私很强,做代理需要配置白名单,而且支持的三方鉴权都不太适合我的需求,非要改源码才行,后来我发现不用改源码的折中方式
参考文章
- External Authentication
- Authenticating with external auth and oauth2_proxy to bypass homeassistant auth
- Authentication Providers
- HTTP(nginx代理hass)
在containerd中部署hass并集成sso
我是部署到kubernetes中的,参考链接
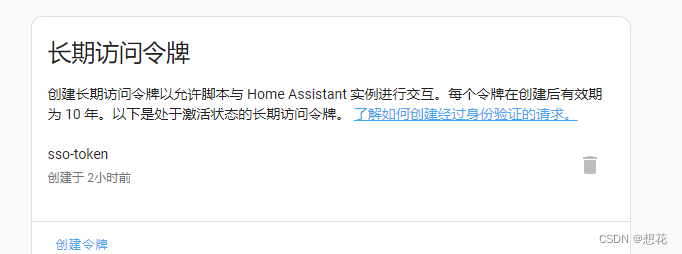
本地登录hass并创建一个长期的令牌
hass配置文件
# 配置nginx代理
http:
  use_x_forwarded_for: true
  trusted_proxies:
    - 10.234.104.88 #这个地址是nginx服务的ip地址
nginx配置文件
server {


    listen       86;
    listen  [::]:86;
    server_name  localhost;
	#替换响应中的内容,类似于string.replace函数
    sub_filter '<head>' '<head><script>window.externalApp={getExternalAuth:function(){window.externalAuthSetToken(true,{"access_token":"第一步创建长期的令牌","expires_in":248832000});},revokeExternalAuth:function(){window.externalAuthRevokeToken(false);}};</script>';
    sub_filter_once on;

    location / {


        proxy_pass http://localhost:8123;#hass地址
        auth_request http://xxx/sso/auth;#sso鉴权接口地址
        proxy_set_header Host $host;
        proxy_set_header Accept-Encoding "";
        proxy_http_version 1.1;
        proxy_set_header Upgrade $http_upgrade;
        proxy_set_header Connection $http_connection;
        proxy_set_header X-Real-IP $remote_addr; # //一层代理时是用户真实ip,二层代理时是第一台nginxip
        proxy_set_header X-Forwarded-For $proxy_add_x_forwarded_for; # //一层代理时没有值,多层代理里面会存储多个ip值,第一个值就是真实用户ip
        proxy_set_header X-Forwarded-Proto $scheme;
    }

    location /api/websocket {


        proxy_pass http://localhost:8123/api/websocket;
        auth_request http://xxx/sso/auth;#sso鉴权接口地址
        proxy_set_header Host $host;
        proxy_set_header Accept-Encoding "";
        proxy_http_version 1.1;
        proxy_set_header Upgrade $http_upgrade;
        proxy_set_header Connection $http_connection;
        proxy_set_header X-Real-IP $remote_addr; # //一层代理时是用户真实ip,二层代理时是第一台nginxip
        proxy_set_header X-Forwarded-For $proxy_add_x_forwarded_for; # //一层代理时没有值,多层代理里面会存储多个ip值,第一个值就是真实用户ip
        proxy_set_header X-Forwarded-Proto $scheme;
    }

    location /auth/authorize {


        # tell nginx that this request requires authentication with oauth2_proxy
        auth_request http://xxx/sso/auth;#sso鉴权接口地址
        # redirect back to the frontend and tell it to use external_auth
        return 301 /?external_auth=1;
    }
}
格式一下:
<script>
    window.externalApp = {


        getExternalAuth: function() {


            window.externalAuthSetToken(true, {


                "access_token": "第一步创建长期的令牌",
                "expires_in": 248832000
            });
        },
        revokeExternalAuth: function() {


            window.externalAuthRevokeToken(false);
        }
    };
</script>
执行流程
- 用户访问nginx的86端口
- nginx会首先请求http://xxx/sso/auth这个地址,进行鉴权操作,响应码是200则会把请求转发到hass地址http://localhost:8123
- 如果鉴权失败返回了401等未授权响应码,那么nginx会直接返回给浏览器401错误,禁止访问hass,请先去sso登录认证
- 这里nginx代理hass的时候替换了响应的内容,添加了
sub_filter中<head><script>window.externalApp.......的内容,这里就是为了告诉hass执行外部授权认证,就会执行getExternalAuth函数获取token,这里直接返回我的长期令牌。因为我们在nginx做了鉴权了,这里不再鉴权。