一.项目全局配置
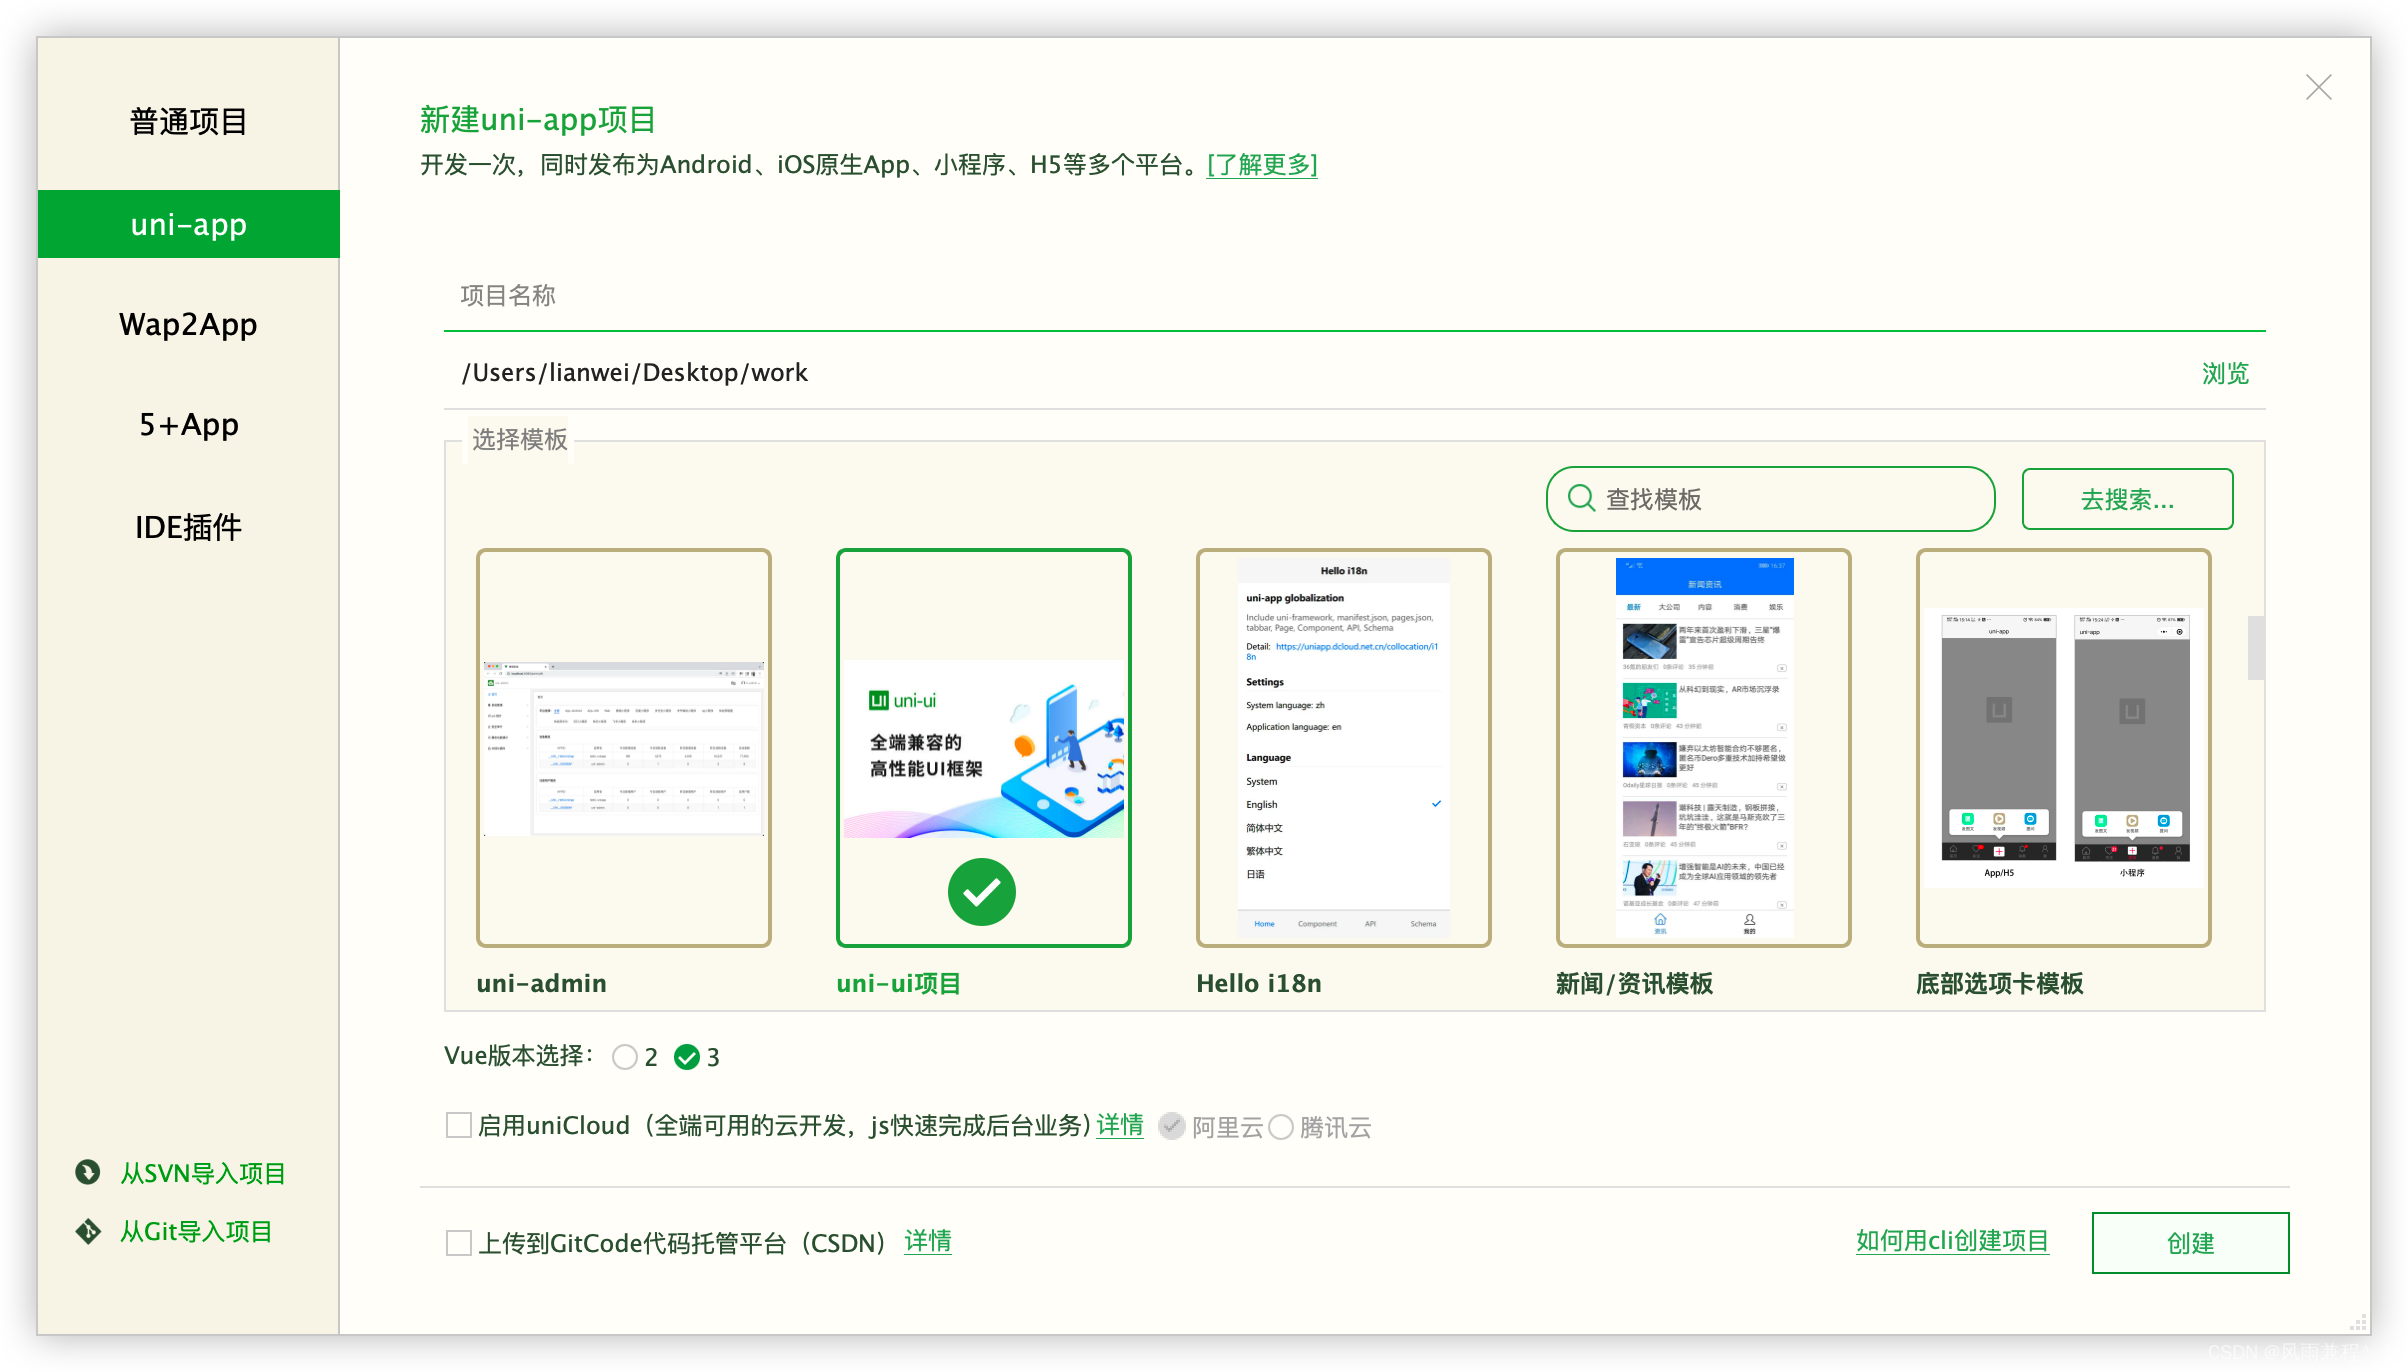
1. 创建项目
使用Hbuilderx工具创建项目,
使用Hbuilderx工具创建项目,选择uni-ui项目模版,VUE3
2.底部菜单栏配置tabBar
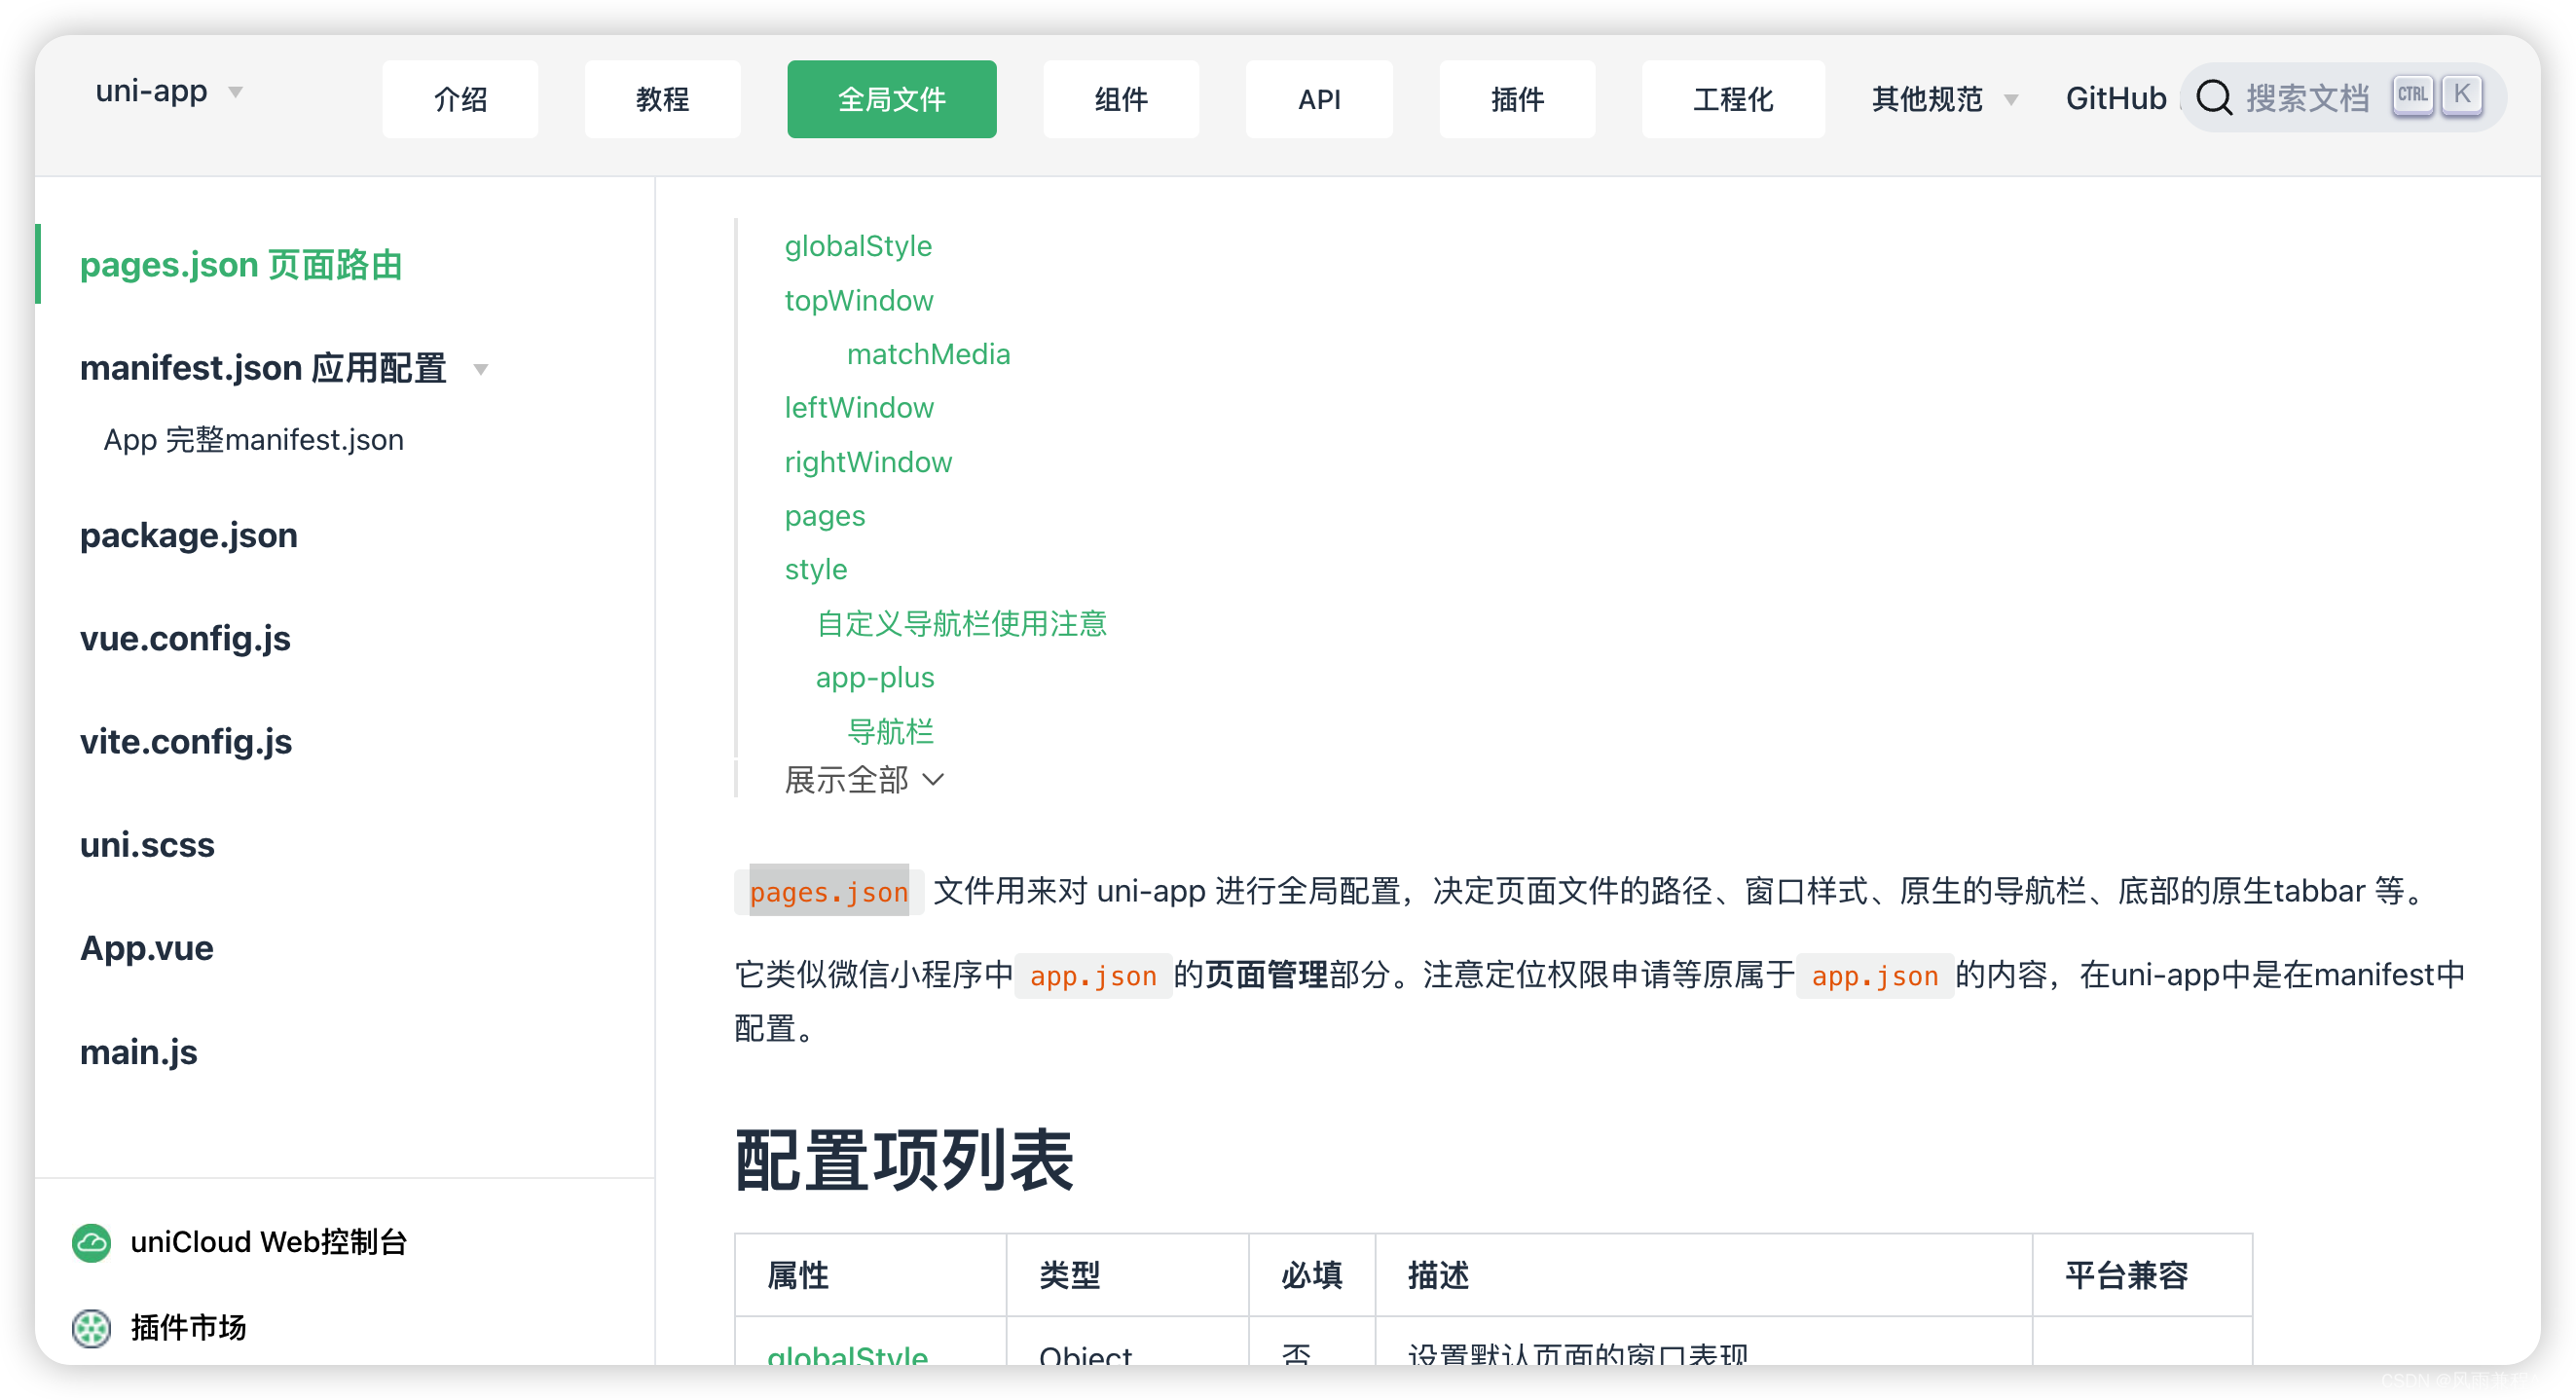
uniapp官网: 全局文件--pages.json页面路由 -- tabBar
项目文件:pages.json--文件底部添加,list配置2-5
"tabBar": {
		"color": "#7A7E83",
		"selectedColor": "#3cc51f",
		"borderStyle": "black",
		"backgroundColor": "#ffffff",
		"list": [{
			"pagePath": "pages/index/index",
			"iconPath": "static/c1.png",
			"selectedIconPath": "static/c2.png",
			"text": "首页"
		}, {
			"pagePath": "pages/index2/index",
			"iconPath": "static/c3.png",
			"selectedIconPath": "static/c4.png",
			"text": "页面"
		}]
	}
注:配置tabBar时所加页面一定要在pages中注册,否则会报错
报错:app.json: "tabBar"["pagePath"]: "pages/index2/index" need in ["pages"]
3.路由配置
app.json文件 -- pages页面配置项
4.全局样式配置
uniapp官网: 全局文件--pages.json页面路由 -- globalStyle
app.json文件 -- globalStyle
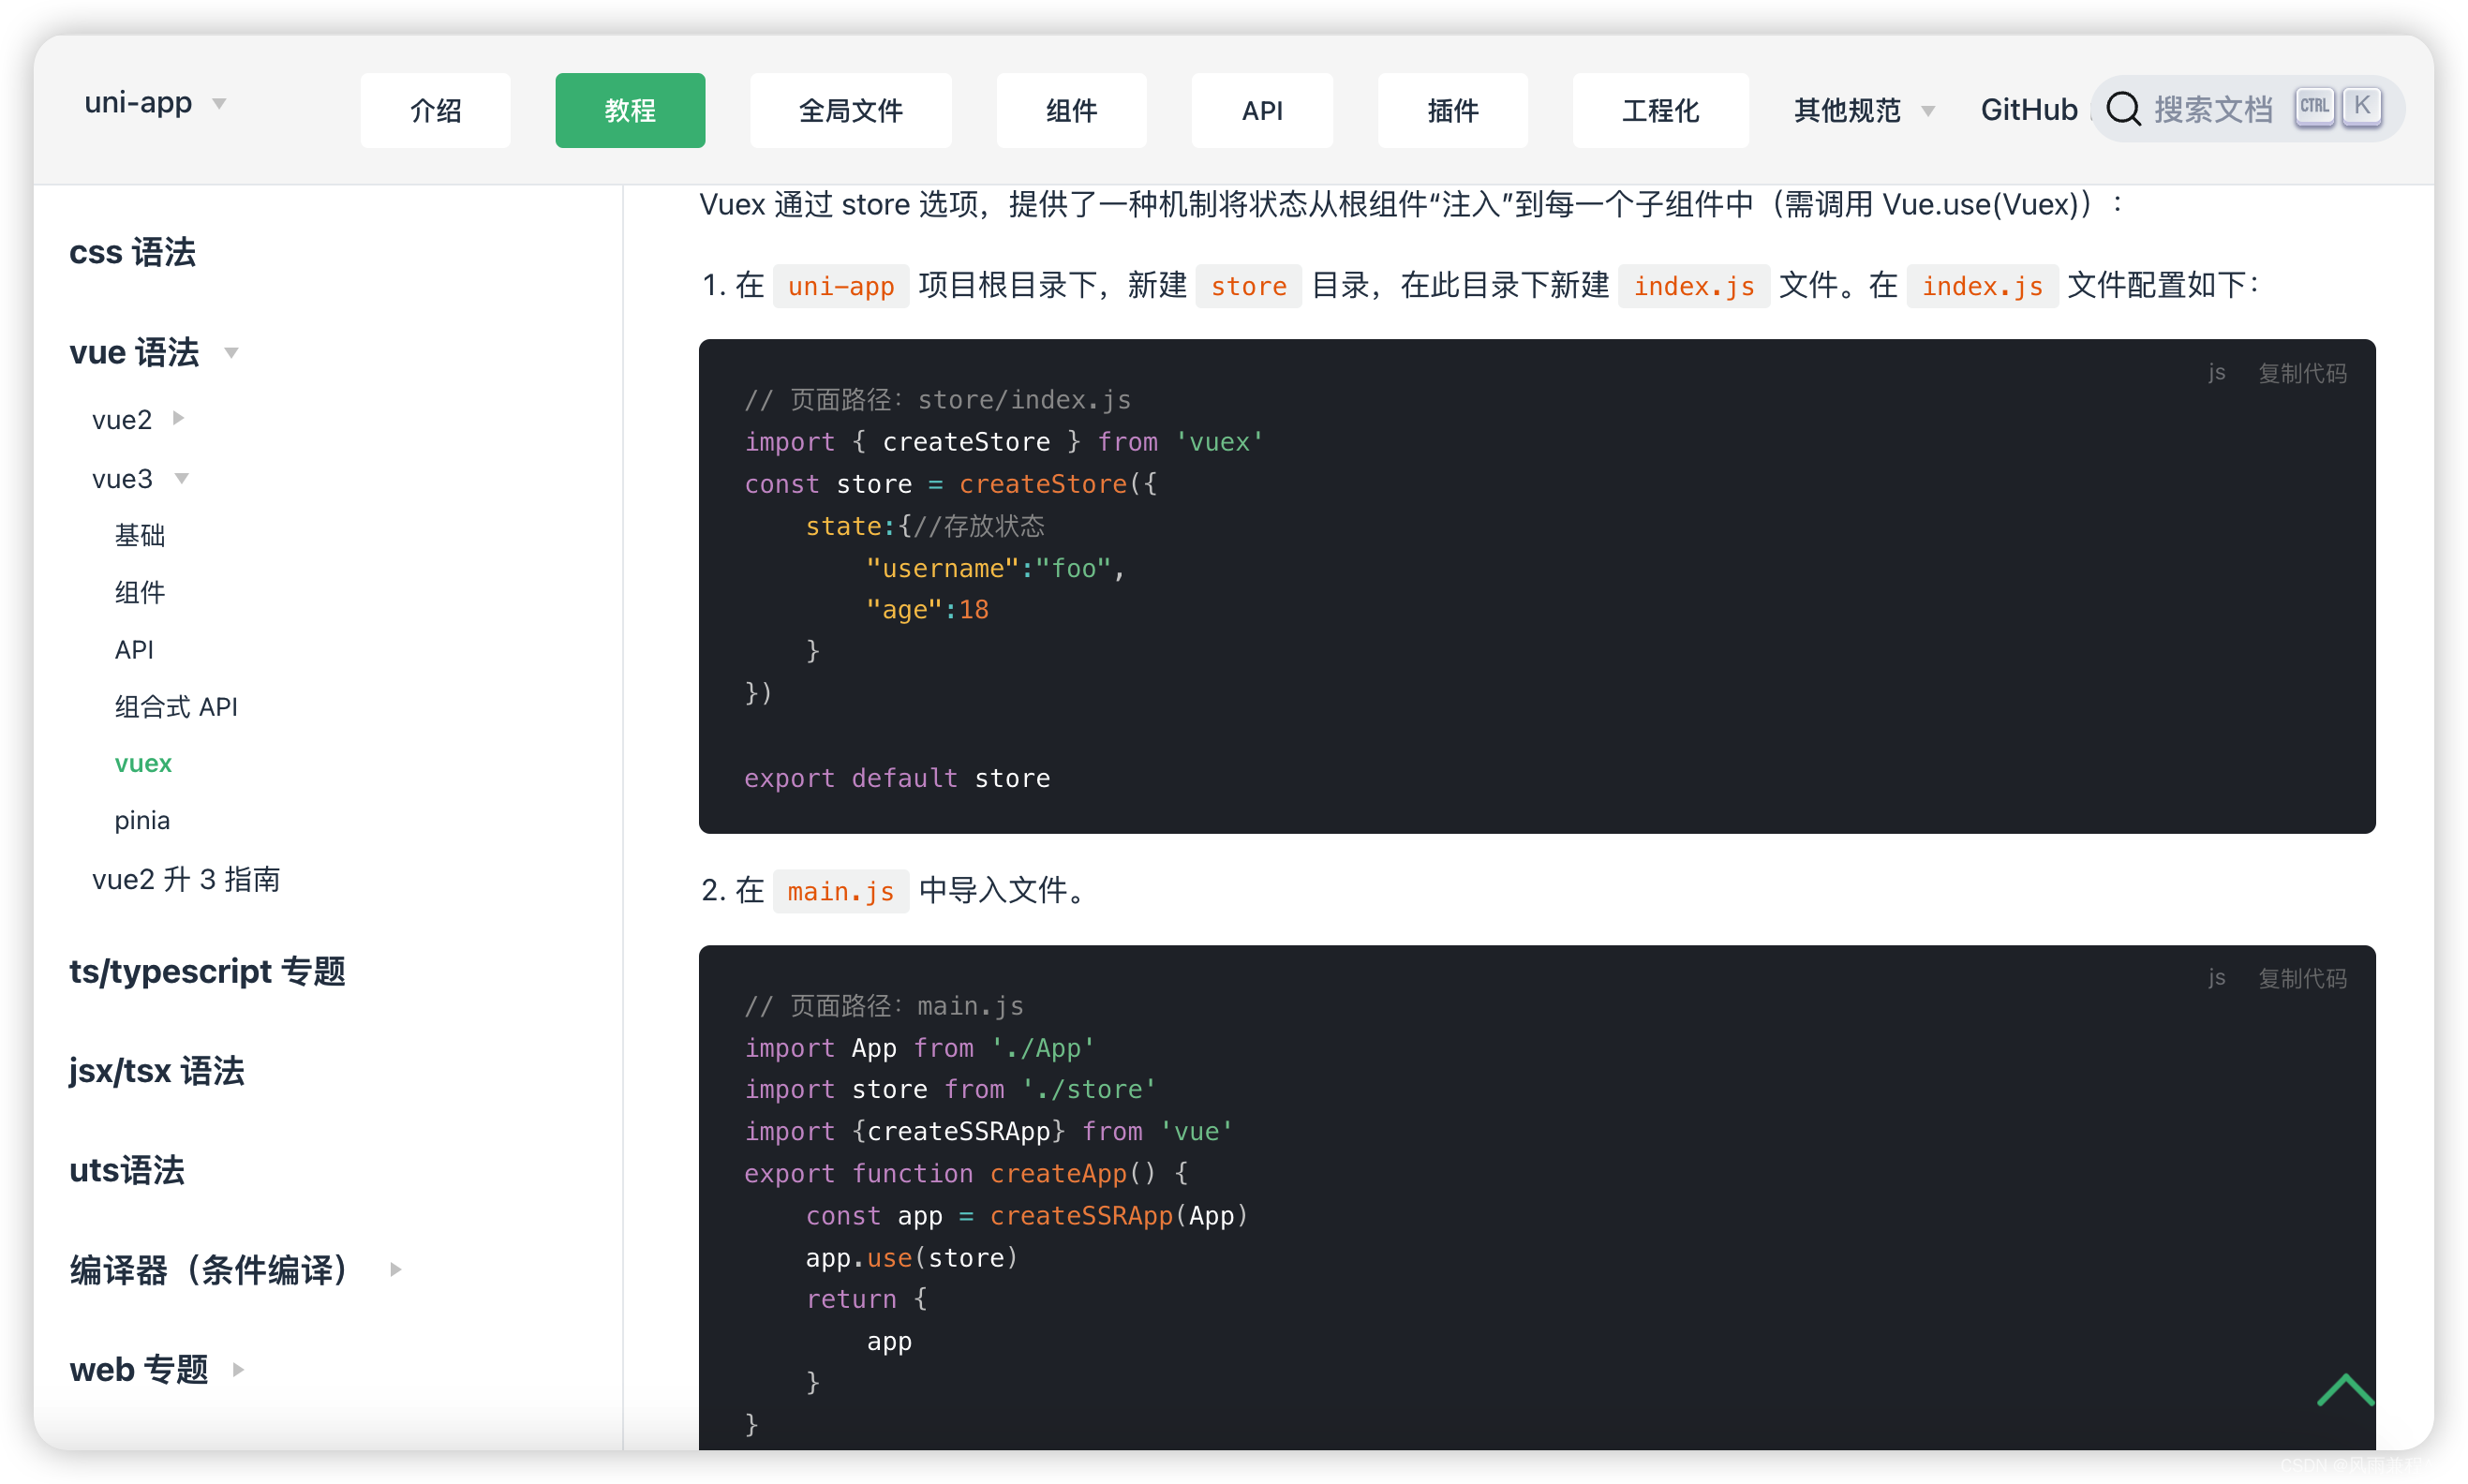
5.VUEX配置
store-->index.js
// 页面路径:store/index.js
import { createStore } from 'vuex'

// import moduleA from '@/store/modules/moduleA'

const store = createStore({
	state:{},
	getters: {},
	mutations: {},
	actions: {},
	modules: {
		// moduleA
	}
})

export default store
main.js 文件挂载全局
Vue2/Vue3配置根据文档来修改
6.全局样式配置
uni-scss文件

7.请求接口封装

api -- reuest.js
const http = {
	// baseUrl 地址
	baseUrl: 'http://192.168.0.1:28002',

	// 请求方法
	request(config) {
		// config:请求配置对象,具体参照uniapp文档

		config = beforeRequest(config)

		// 请求地址拼接
		config.url = this.baseUrl + config.url

		// 异步请求
		return new Promise((resolve, reject) => {
			uni.request(config).then(res => { // 成功
				let [error, resp] = res
				// 响应拦截
				const response = beforeResponse(resp)
				resolve(response)
			}).catch(err => { // 失败
				errorHandle(err)
				reject(err)
			})
		})

	},
	get(url, data, auth) {
		/*
		url:接口地址
		data:查询参数
		auth:请求是否携带token进行认证(true/false)
		method:请求方式
		*/
		return this.request({
			url: url,
			data: data,
			auth: auth,
			method: 'GET'
		})
	},
	post(url, data, auth) {
		/*
		url:接口地址
		data:请求体参数
		auth:请求是否携带token进行认证(true/false)
		method:请求方式
		*/
		return this.request({
			url: url,
			data: data,
			auth: auth,
			method: 'POST'
		})
	},
	put(url, data, auth) {
		/*
		url:接口地址
		data:请求体参数
		auth:请求是否携带token进行认证(true/false)
		method:请求方式
		*/
		return this.request({
			url: url,
			data: data,
			auth: auth,
			method: 'PUT'
		})
	},
	delete(url, data, auth) {
		/*
		url:接口地址
		auth:请求是否携带token进行认证(true/false)
		method:请求方式
		*/
		return this.request({
			url: url,
			auth: auth,
			method: 'DELETE'
		})
	}
}

// 请求拦截器
const beforeRequest = (config) => {
	// 请求之前拦截操作
	console.log('请求拦截器', config)
	return config
}

// 响应拦截器
const beforeResponse = (response) => {
	// 请求之后操作
	console.log('响应拦截器', response)
	return response
}

// 请求异常处理器
const errorHandle = ((err) => {
	console.log('请求异常', err)
})

export default http api -- index.js
// 封装具体接口调用
import http from 'request.js'
export default{
// 登陆接口
login(params){
return http.post('/api/users/login',params)
}
// 注册接口
// 刷新token
// 获取用户信息
// 获取信息
}挂载全局$api方法
// 导入封装的请求对象
import api from '@/api/index.js'
// 将请求对象设置为全局属性
Vue.prototype.$api = api
使用
async fn(){
  const response = await this.$api.login()
}
使用模块,写法用法变化
api -- index.js
// 封装具体接口调用
import http from 'request.js'
import user from './modules/user.js'
import goods from './modules/goods.js'
export default{
user,
goods
}使用
async fn(){
  const response = await this.$api.user.login()
}
二.主要功能实现
1.tabBar导航页面实现,主要页面实现
2.登陆功能实现,token及登陆状态
uni.login 微信登录
1.校验判断
2.调用登录接口,存储登陆的用户信息
saveLoginInfo(){} 存储登陆信息 存储token和refresh,userInfo isAuth 是否登录
3.数据缓存,持久化
// 数据持久化,存储到缓存中
uni.setStorage({
key: 'token',
data: userInfo.token
});
uni.setStorage({
key: 'isAuth',
data: isAuth
});
uni.setStorage({
key: 'refresh',
data: userInfo.refresh
});
// 异步
uni.setStorageSync('token', userInfo.token);4.请求拦截器携带token
// 请求拦截器
const beforeRequest = (config) => {
// 请求之前拦截操作
console.log('请求拦截器', config)
config.header = {}
if (config.auth) {
// 请求头中添加token
if (uni.getStorageSync('token')) {
// Authorization Bearer 根据情况修改
config.header['Authorization'] = 'Bearer' + uni.getStorageSync('token')
} else {
// 为登陆则跳转登陆 重定向
uni.navigateTo({
url: '/pages/index/index'
})
}
}
return config
}5.响应拦截器,错误信息提示
// 响应拦截器
const beforeResponse = (response) => {
  // 请求之后操作
  console.log('响应拦截器', response)
  // 判断请求返回的状态码
  if(response.status !== 200 && response.status !== 201 && response.status !== 204){
    // 给出对应的提示
    if(response.data.error){
      uni.showToast({
        title:response.data.error.toString(),
        icon:'none',
        duration:2000
      })
    }
  }
  return response
}
6.VUEX刷新后数据丢失处理
App.vue ,根据需求更改
<script>
  import {mapMutations} from 'vuex'
  export default {
    onLaunch: function() {
      console.warn('当前组件仅支持 uni_modules 目录结构 ,请升级 HBuilderX 到 3.1.0 版本以上!')
      console.log('App Launch')
    },
    onShow: function() {
      console.log('App Show')

      // 读取本地缓存,存储到VUEX中
      uni.getStorageSync('userInfo')

      // 调用保存登陆信息 操作
      // 存储相应的token,isAuth,userInfo等数据
    },
    onHide: function() {
      console.log('App Hide')
    },
    methods:{
      ...mapMutations(['保存登陆信息'])
    }
  }
</script>
7.退出登陆效果
将登录时存储的数据清空,跳转相应的登陆页面或者首页
8.用户信息修改
调用相应的修改接口,拿到成功状态后更新VUEX用户信息及本地Storage存储的用户信息
3.登陆功能实现
三.支付功能实现
1.微信
2.支付宝
3.混合支付
注:内容不全,缺少的话需要客官自行查询!谨慎食用哦!!!
相关文章: