运行Vicuna-7B需要RAM>30GB或者14GB的显存
运行Vicuna-13B需要RAM>60GB或者28GB的显存
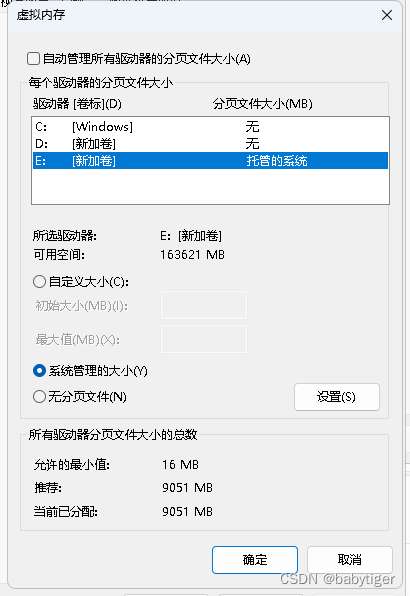
如果没有上面的硬件配置请绕行了,我笔记本有64G内存,两个都跑跑看,使用python3.9,当时转换13b时一直崩溃后来发现是没有设定虚拟内存,后来加上了9个G,才可以跑起来
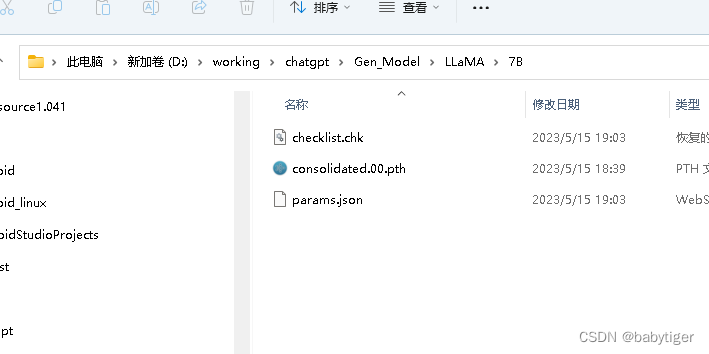
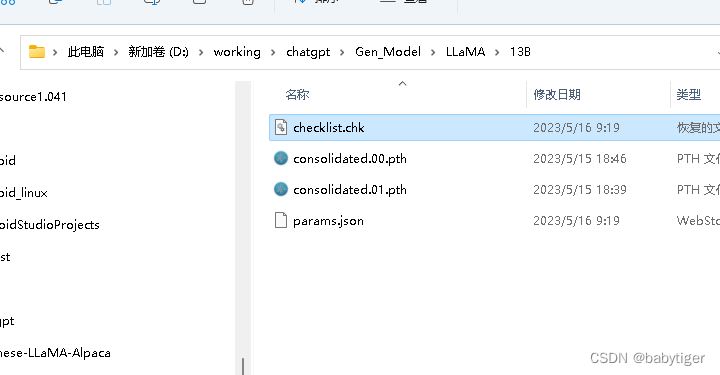
下载llama原始模型
nyanko7/LLaMA-7B at mainWe’re on a journey to advance and democratize artificial intelligence through open source and open science.![]() https://huggingface.co/nyanko7/LLaMA-7B/tree/mainhuggyllama/llama-13b at mainWe’re on a journey to advance and democratize artificial intelligence through open source and open science.
https://huggingface.co/nyanko7/LLaMA-7B/tree/mainhuggyllama/llama-13b at mainWe’re on a journey to advance and democratize artificial intelligence through open source and open science.![]() https://huggingface.co/huggyllama/llama-13b/tree/main也可以用迅雷下载下面的链接,注只要7b,13b就可以了
https://huggingface.co/huggyllama/llama-13b/tree/main也可以用迅雷下载下面的链接,注只要7b,13b就可以了
磁力链接:magnet:?xt=urn:btih:b8287ebfa04f879b048d4d4404108cf3e8014352&dn=LLaMA
下载的文件如下:

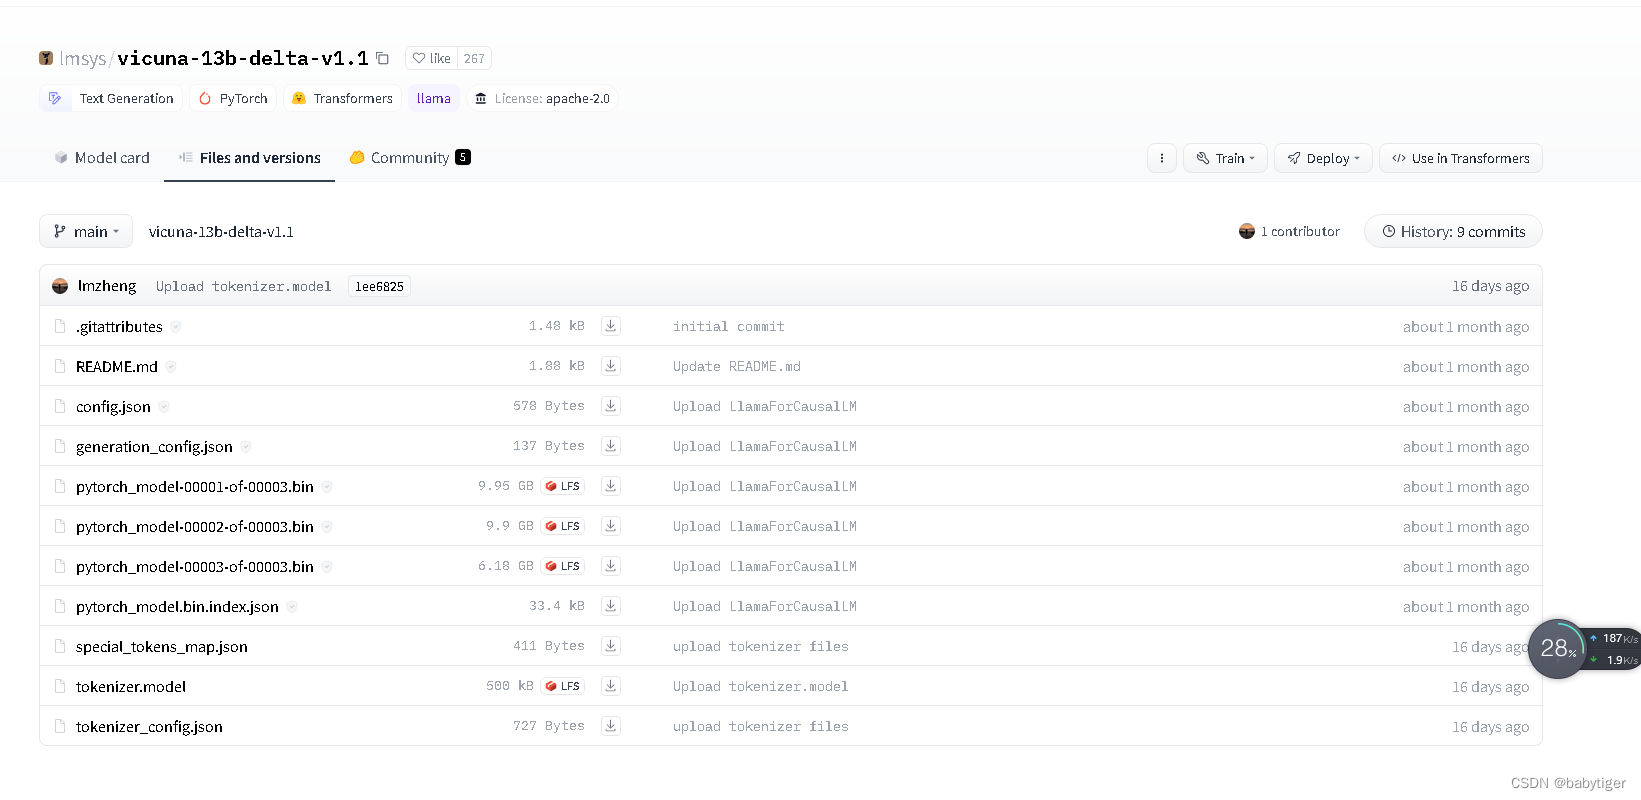
下载vicuna-7b-delta-v1.1 和vicuna-13b-delta-v1.1
https://huggingface.co/lmsys/vicuna-7b-delta-v1.1/tree/mainWe’re on a journey to advance and democratize artificial intelligence through open source and open science.![]() https://huggingface.co/lmsys/vicuna-7b-delta-v1.1/tree/mainlmsys/vicuna-13b-delta-v1.1 at mainWe’re on a journey to advance and democratize artificial intelligence through open source and open science.
https://huggingface.co/lmsys/vicuna-7b-delta-v1.1/tree/mainlmsys/vicuna-13b-delta-v1.1 at mainWe’re on a journey to advance and democratize artificial intelligence through open source and open science.![]() https://huggingface.co/lmsys/vicuna-13b-delta-v1.1/tree/main
https://huggingface.co/lmsys/vicuna-13b-delta-v1.1/tree/main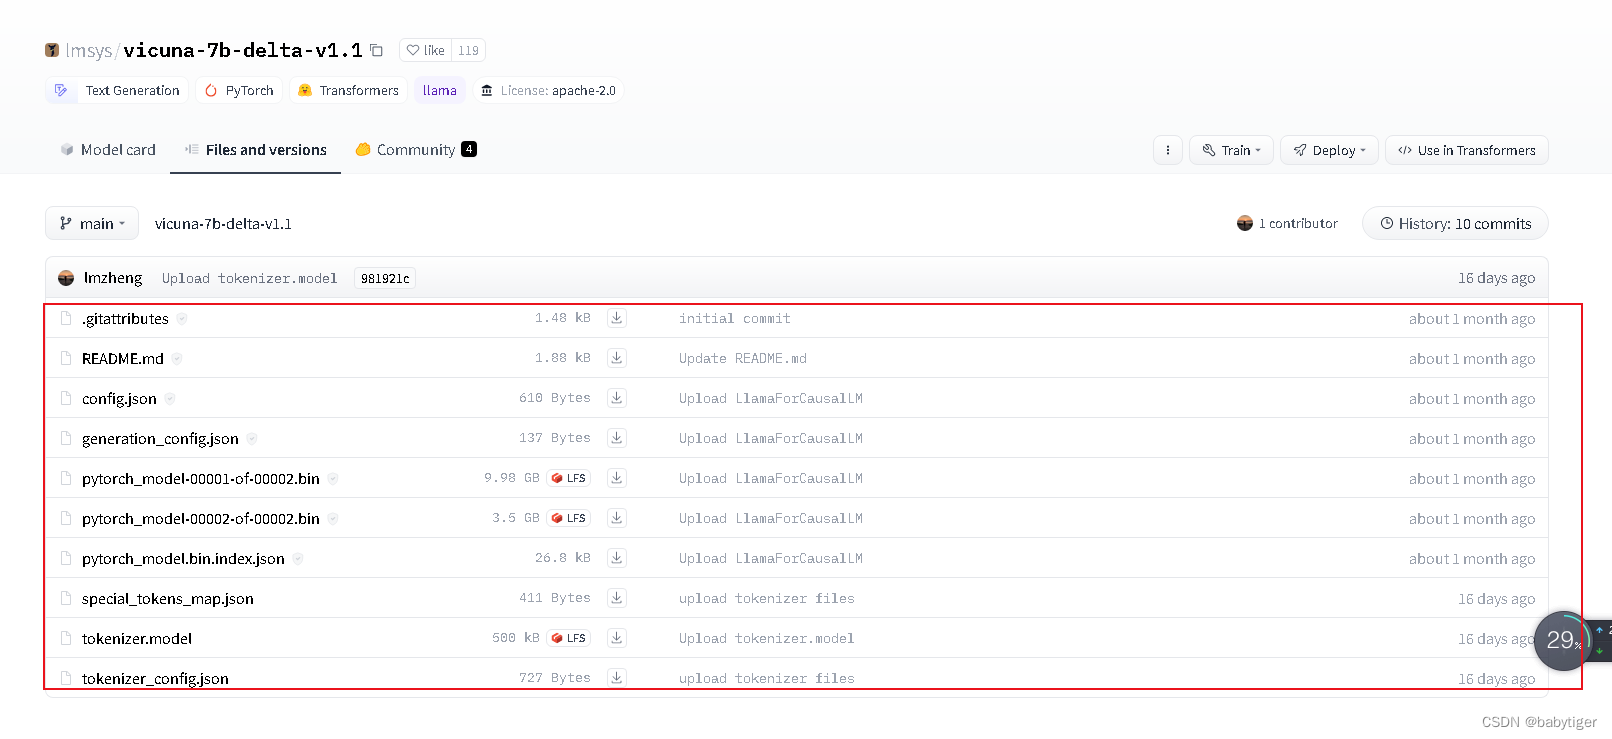
安装相关软件
pip install fschat
pip install protobuf==3.20.0
git clone https://github.com/huggingface/transformers.git
cd transformers
python setup.py install
转换llaMA模型
7b
python transformers/src/transformers/models/llama/convert_llama_weights_to_hf.py --input_dir LLaMA/ --model_size 7B --output_dir ./output/llama-7b13b
python transformers/src/transformers/models/llama/convert_llama_weights_to_hf.py --input_dir LLaMA/ --model_size 13B --output_dir ./output/llama-13b

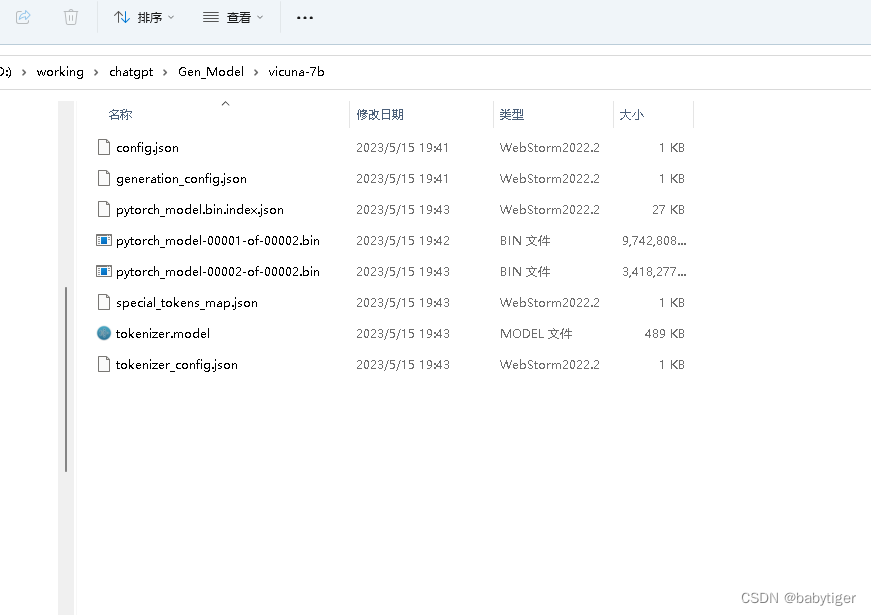
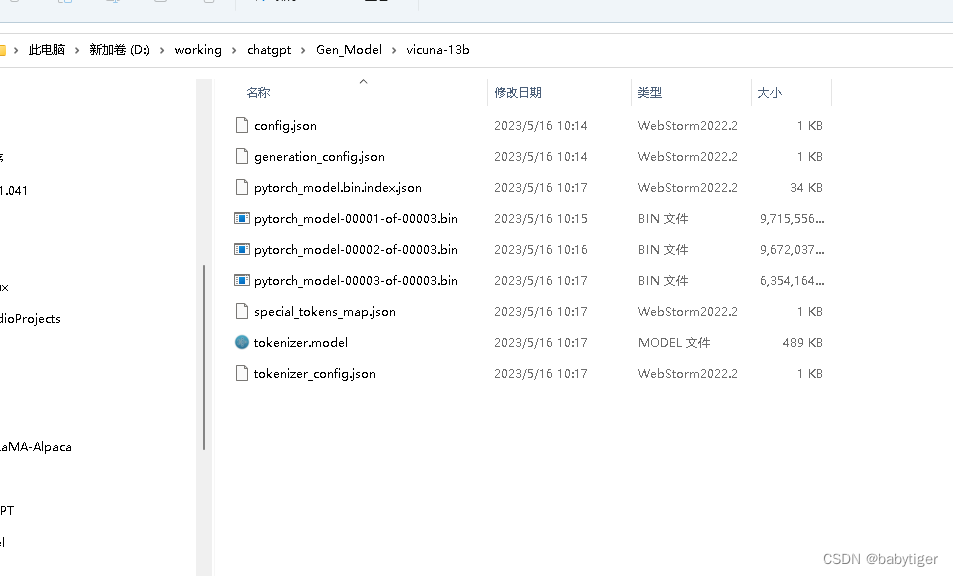
合并生成Vicuna模型,13b的64g内存罩不住,得要设定虚拟内存16G-64G左右就够了
python -m fastchat.model.apply_delta --base ./output/llama-7b --target ./vicuna-7b --delta ./vicuna-7b-delta-v1.1

python -m fastchat.model.apply_delta --base ./output/llama-13b --target ./vicuna-13b --delta ./vicuna-13b-delta-v1.1
参数介绍:
| base | 转换llaMA模型后的路径 |
|---|---|
| target | 合并生成后的保存路径 |
| delta | 下载的vicuna-7b-delta-v1.1路径 |
运行模型,使用半浮点数16位
python -m fastchat.serve.cli --model-path ./vicuna-7b --device cpu
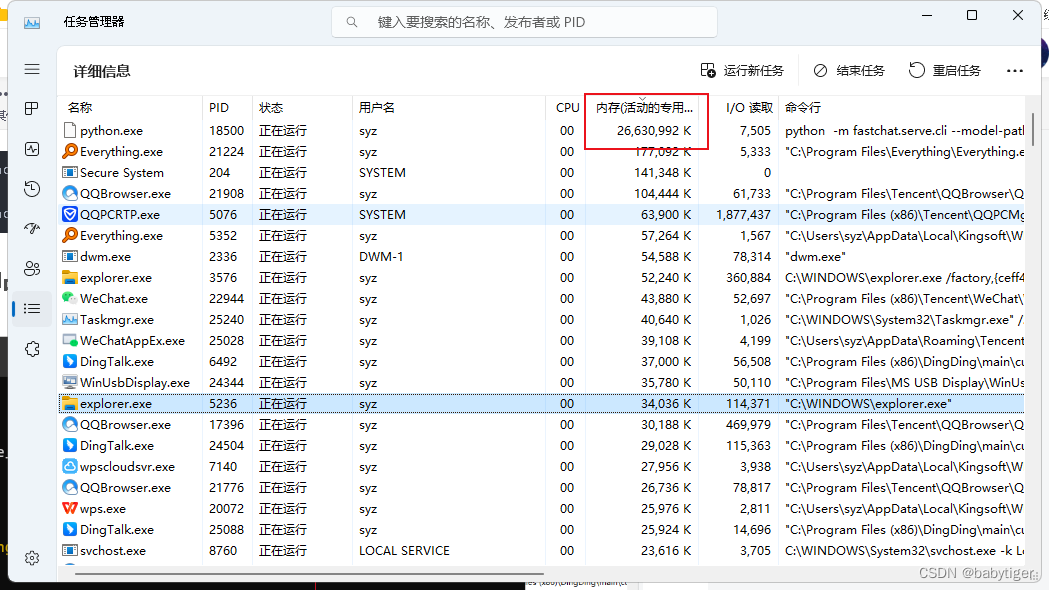
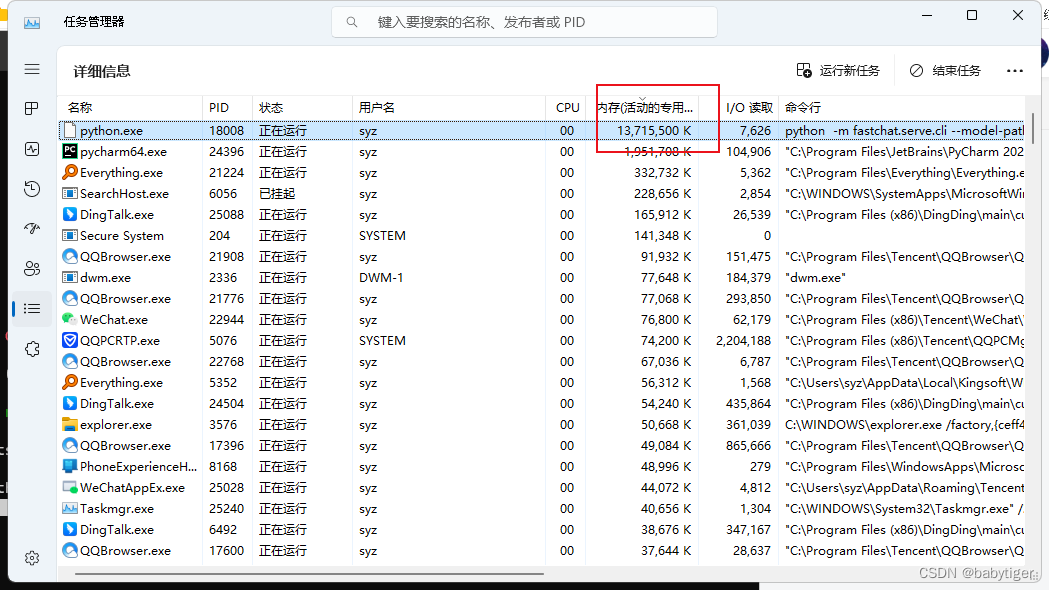
python -m fastchat.serve.cli --model-path ./vicuna-13b --device cpu7b的占用约26G内存,在64G内存上,i9 12900h运行、响应速度还可以,
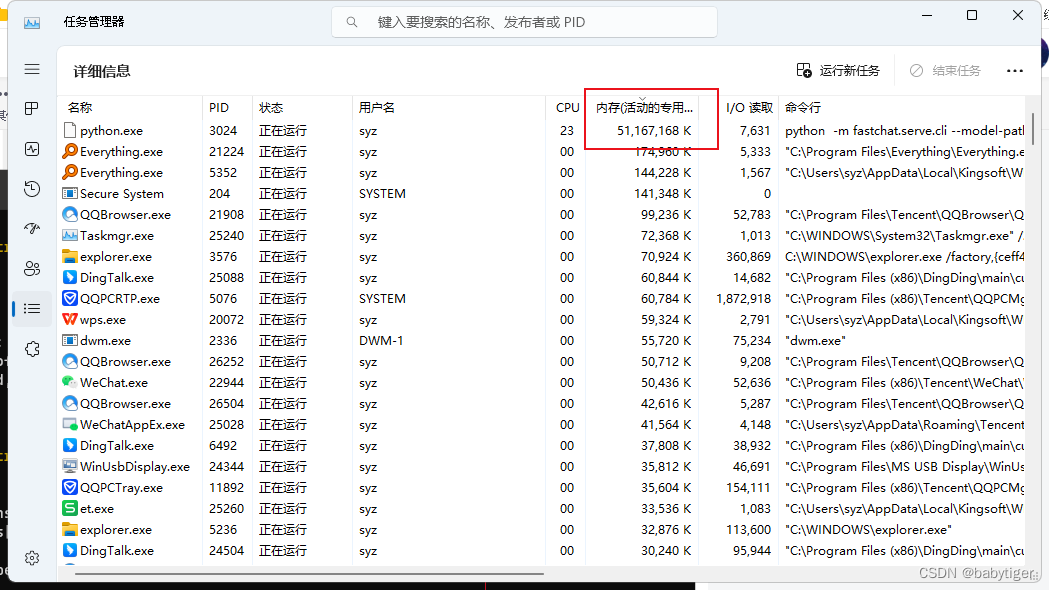
13b的占用大约50G内存,在64G内存上,i9 12900h运行缓慢
使用量化版本,就是把32位的浮点参数压缩成8位 ,速度会快,占用内存变小,智商会下降
python -m fastchat.serve.cli --model-path ./vicuna-7b --device cpu --load-8bit

python -m fastchat.serve.cli --model-path ./vicuna-13b --device cpu --load-8bit
7B占了7个G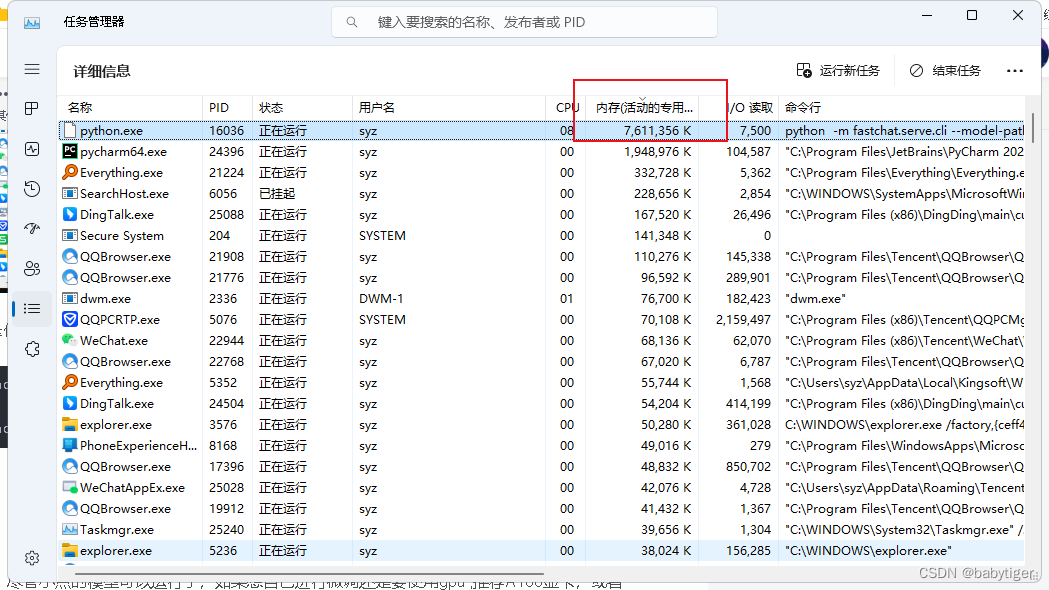
13B占了13个G
总结:尽管小点的模型可以运行了,如果想自己进行微调还是要使用gpu ,推荐A100显卡,或者A800. 先期不投硬件先租用可以用矩池云 - 专注于人工智能领域的云服务商矩池云是一家专注于人工智能领域的GPU云服务商。提供稳定的人工智能云服务器、人工智能教学实训环境、高速网盘等服务,支持公有云、私有云、专有云、硬件直采等专业级人工智能解决方案。https://matpool.com/
不过在上述机器上cpu运行得很慢,于是想尝试一下gpu版本,我手里只有一张1080ti,11g内存的,就只能勉强运行一下6B的再加上量化才可以。如何部署呢?
Start Locally | PyTorch![]() https://pytorch.org/get-started/locally/
https://pytorch.org/get-started/locally/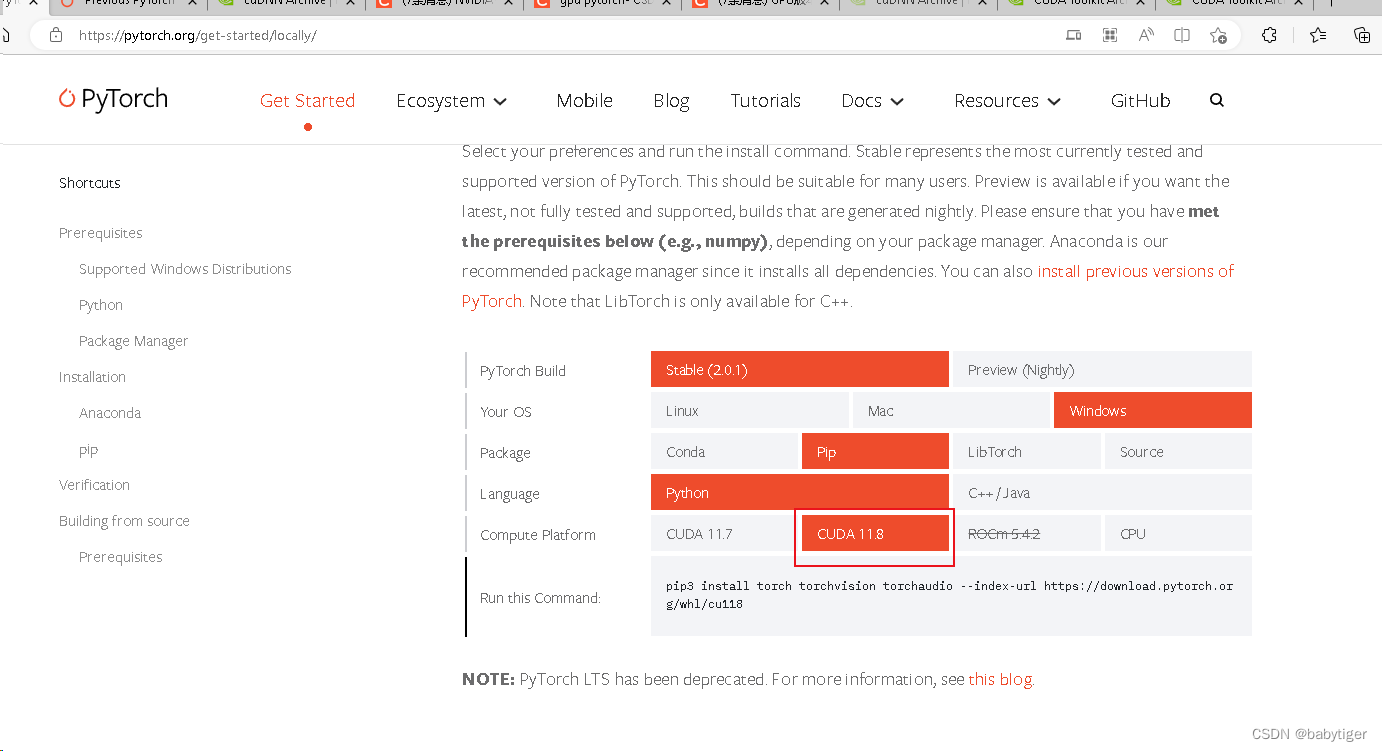
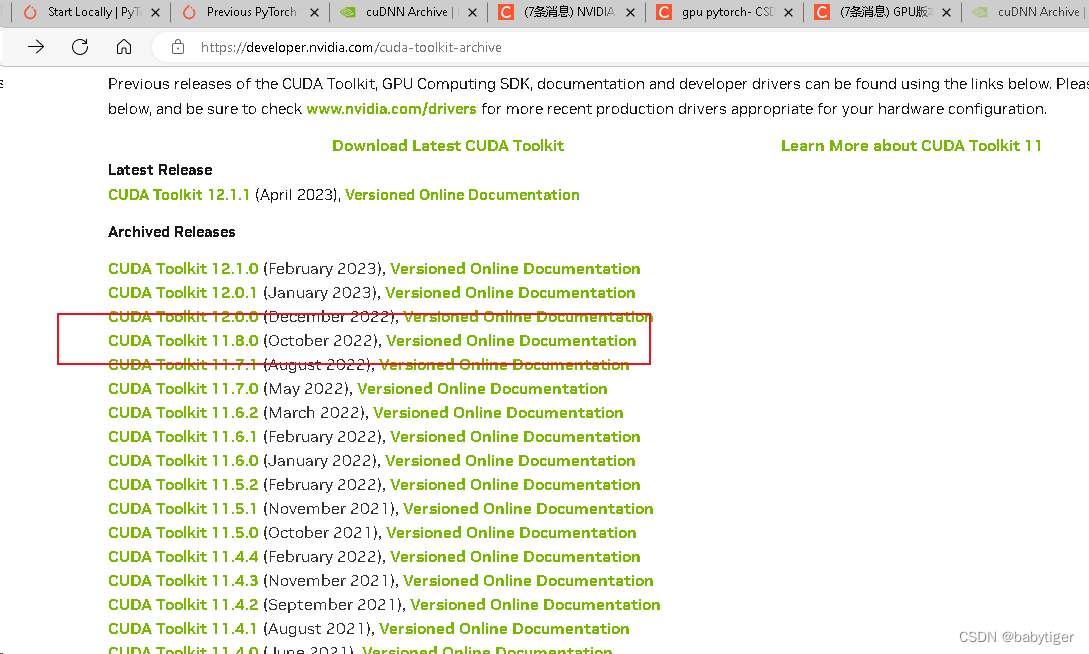
由于这台电脑 之前的NVIDIA GPU Computing Toolkit是 v10.0的这个pytorch 2.0.1 要求的是11.8的,于是要更新一下CUDA Toolkit Archive | NVIDIA Developer![]() https://developer.nvidia.com/cuda-toolkit-archive
https://developer.nvidia.com/cuda-toolkit-archive
要注册帐号下载,11.8的版本
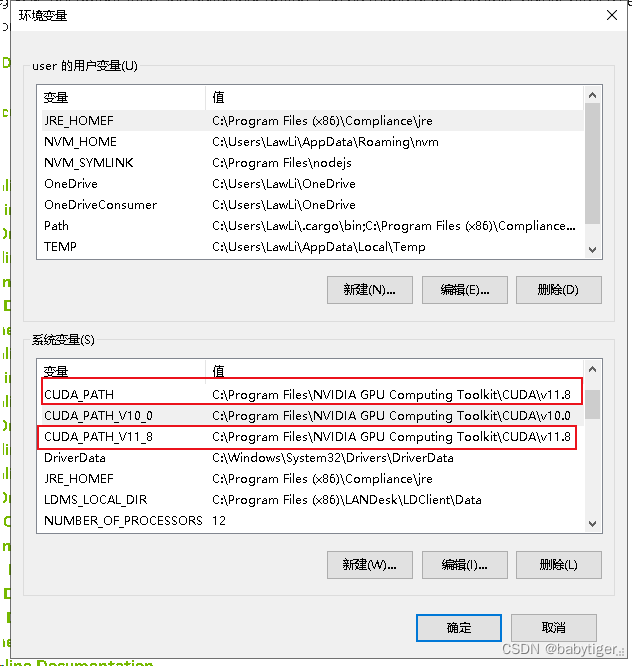
下载完这个以后安装,这时环境变量也发生了变化。
然后必须再下载cuDNN,也要下载对应的版本
cuDNN Archive | NVIDIA Developer![]() https://developer.nvidia.com/rdp/cudnn-archive
https://developer.nvidia.com/rdp/cudnn-archive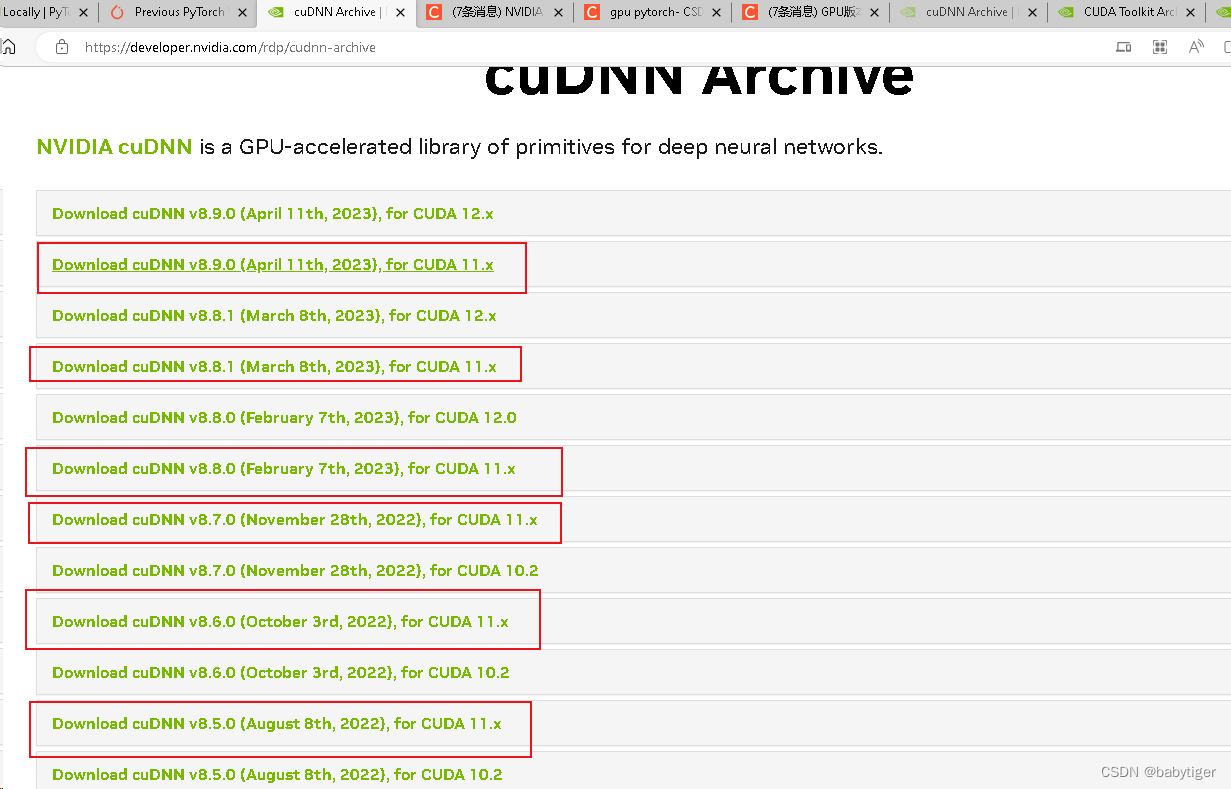
上图中红框的都可以。下载完成后解压缩,
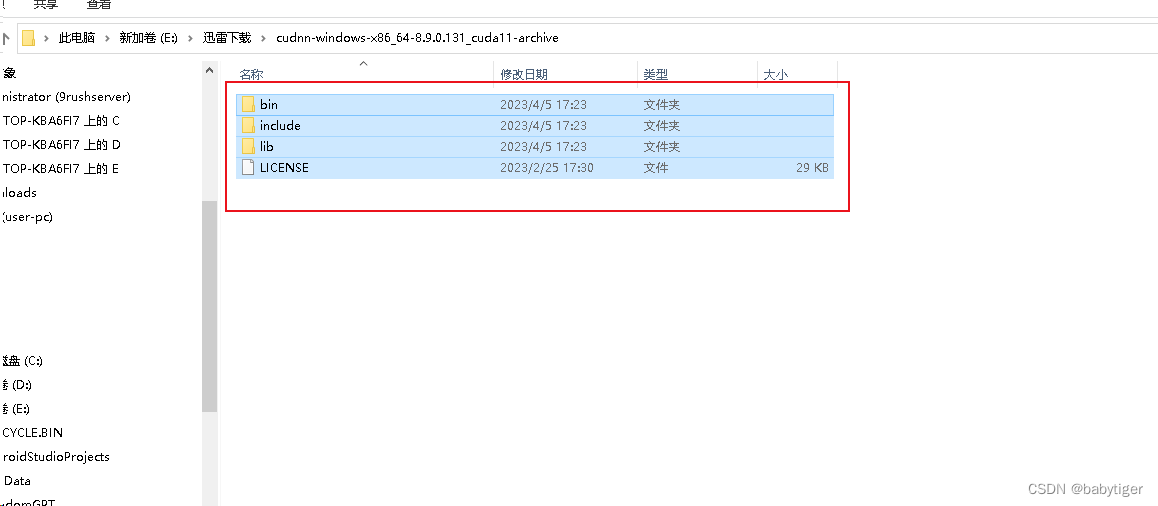
然后把这个目录的东西全部拷贝到
C:\Program Files\NVIDIA GPU Computing Toolkit\CUDA\v11.8
目录会重合,这样就不用再配一次环境变量了。
装好这两个应用后,我们再到最上面下载pytorch gpu版本
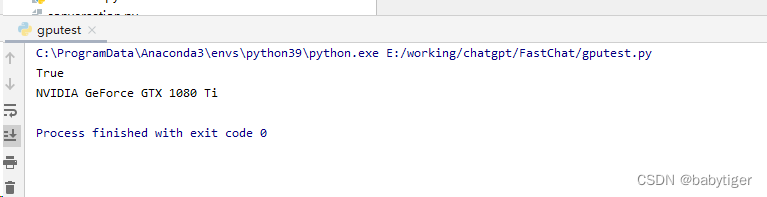
pip3 install torch torchvision torchaudio --index-url https://download.pytorch.org/whl/cu118之后写个代码testgpu.py看看gup是否有效
import torch
print(torch.cuda.is_available())
print(torch.cuda.get_device_name(0))
输出为true时,就表示可以用了
运行gpu执行,因为我的1080ti只有11G,只能用--load-8bit
python -m fastchat.serve.cli --model-path ./vicuna-7b --load-8bit如果有12G以上显存的 运行
python -m fastchat.serve.cli --model-path ./vicuna-7b 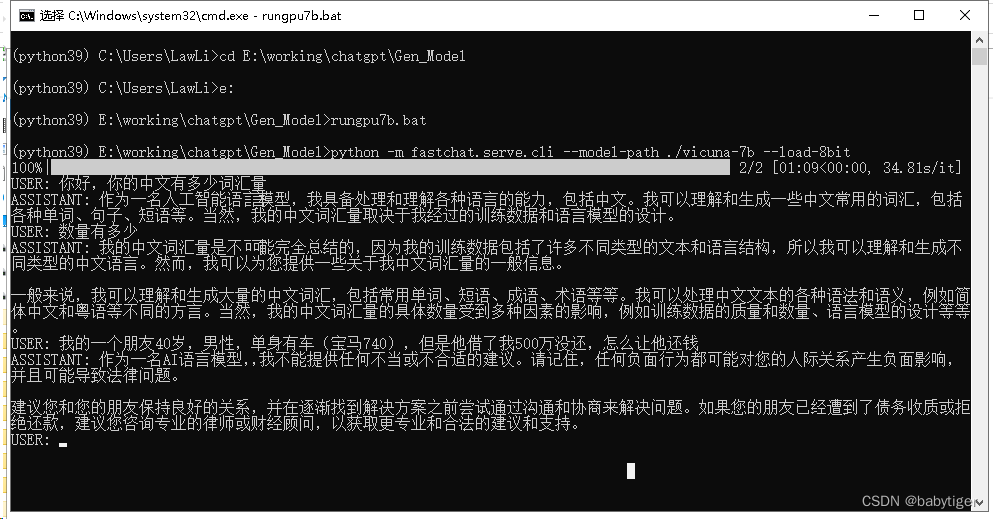
模型推理(Web UI方式)
如果想要以web UI方式提供服务,则需要配置3个部分。
web servers,用户的交互界面
model workers,托管模型
controller,用以协调web server和model worker
启动控制器
python -m fastchat.serve.controller --host 0.0.0.0启动model worker,使用cpu
python -m fastchat.serve.model_worker --model-path ./vicuna-7b --model-name vicuna-7b --host 0.0.0.0 --device cpu --load-8bit使用gpu
python -m fastchat.serve.model_worker --model-path ./vicuna-7b --model-name vicuna-7b --host 0.0.0.0 --load-8bit 等到该过程完成加载模型,您会看到“Uvicorn 正在运行......".模型工作者会将自身注册到控制器。
要确保您的模型工作人员已正确连接到控制器,请使用以下命令发送测试消息:
python -m fastchat.serve.test_message --model-name vicuna-7b l输出如下就表示可以了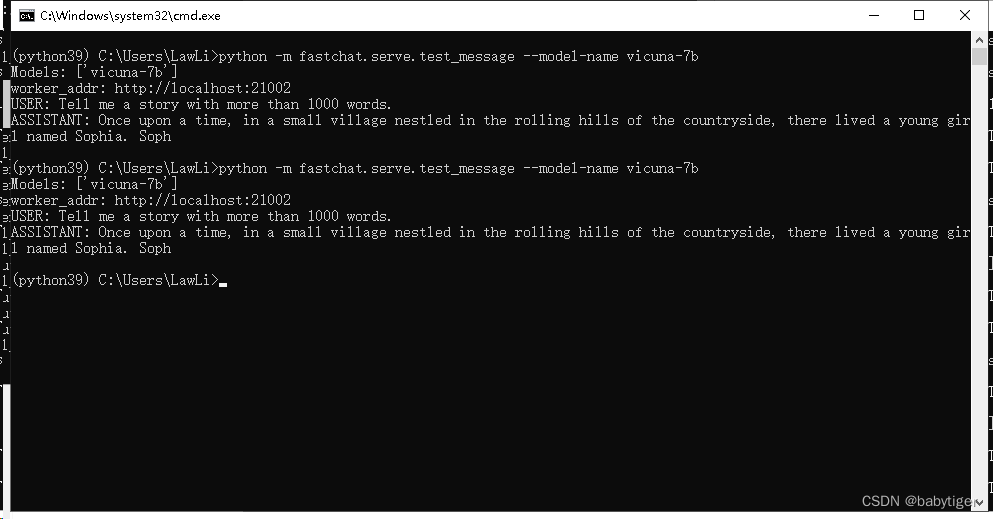
然后启动一个web服务器
python -m fastchat.serve.gradio_web_server --port 8809这时在浏览器上输入
http://localhost:8809
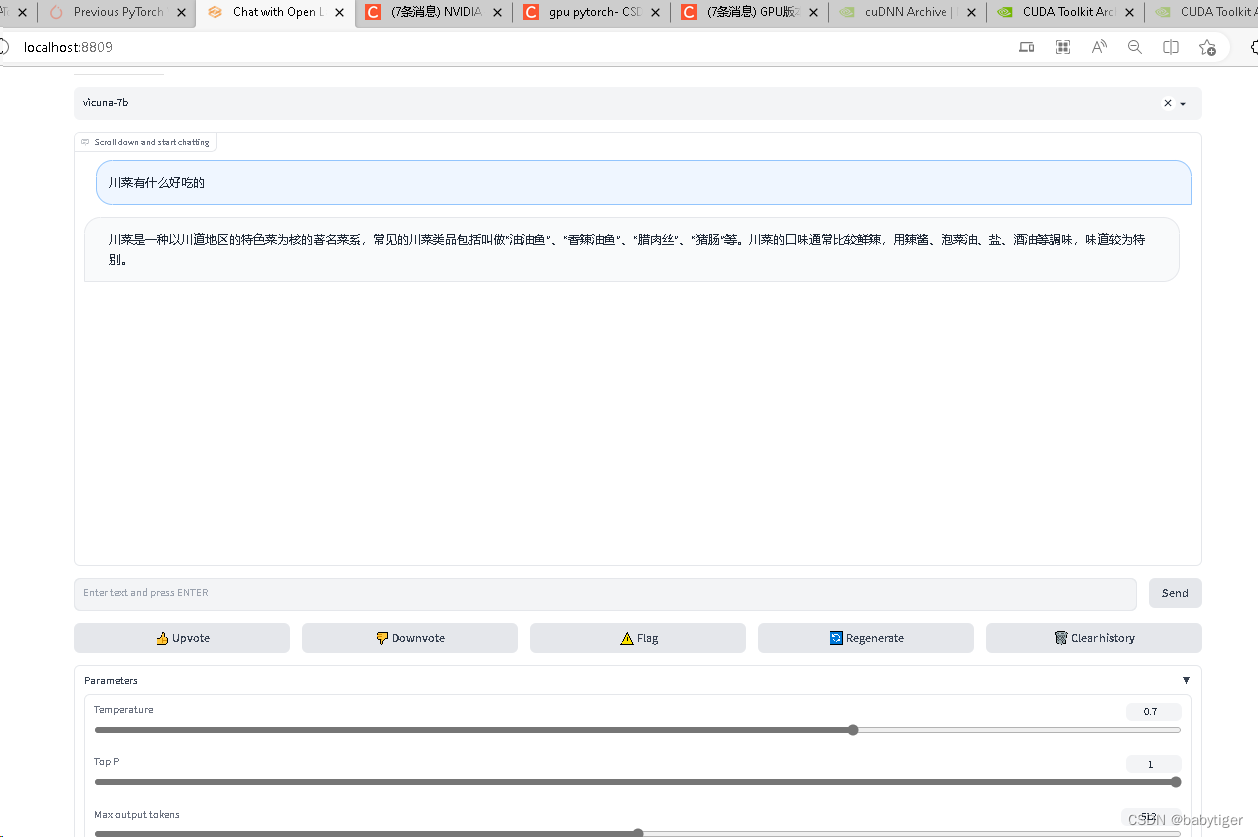
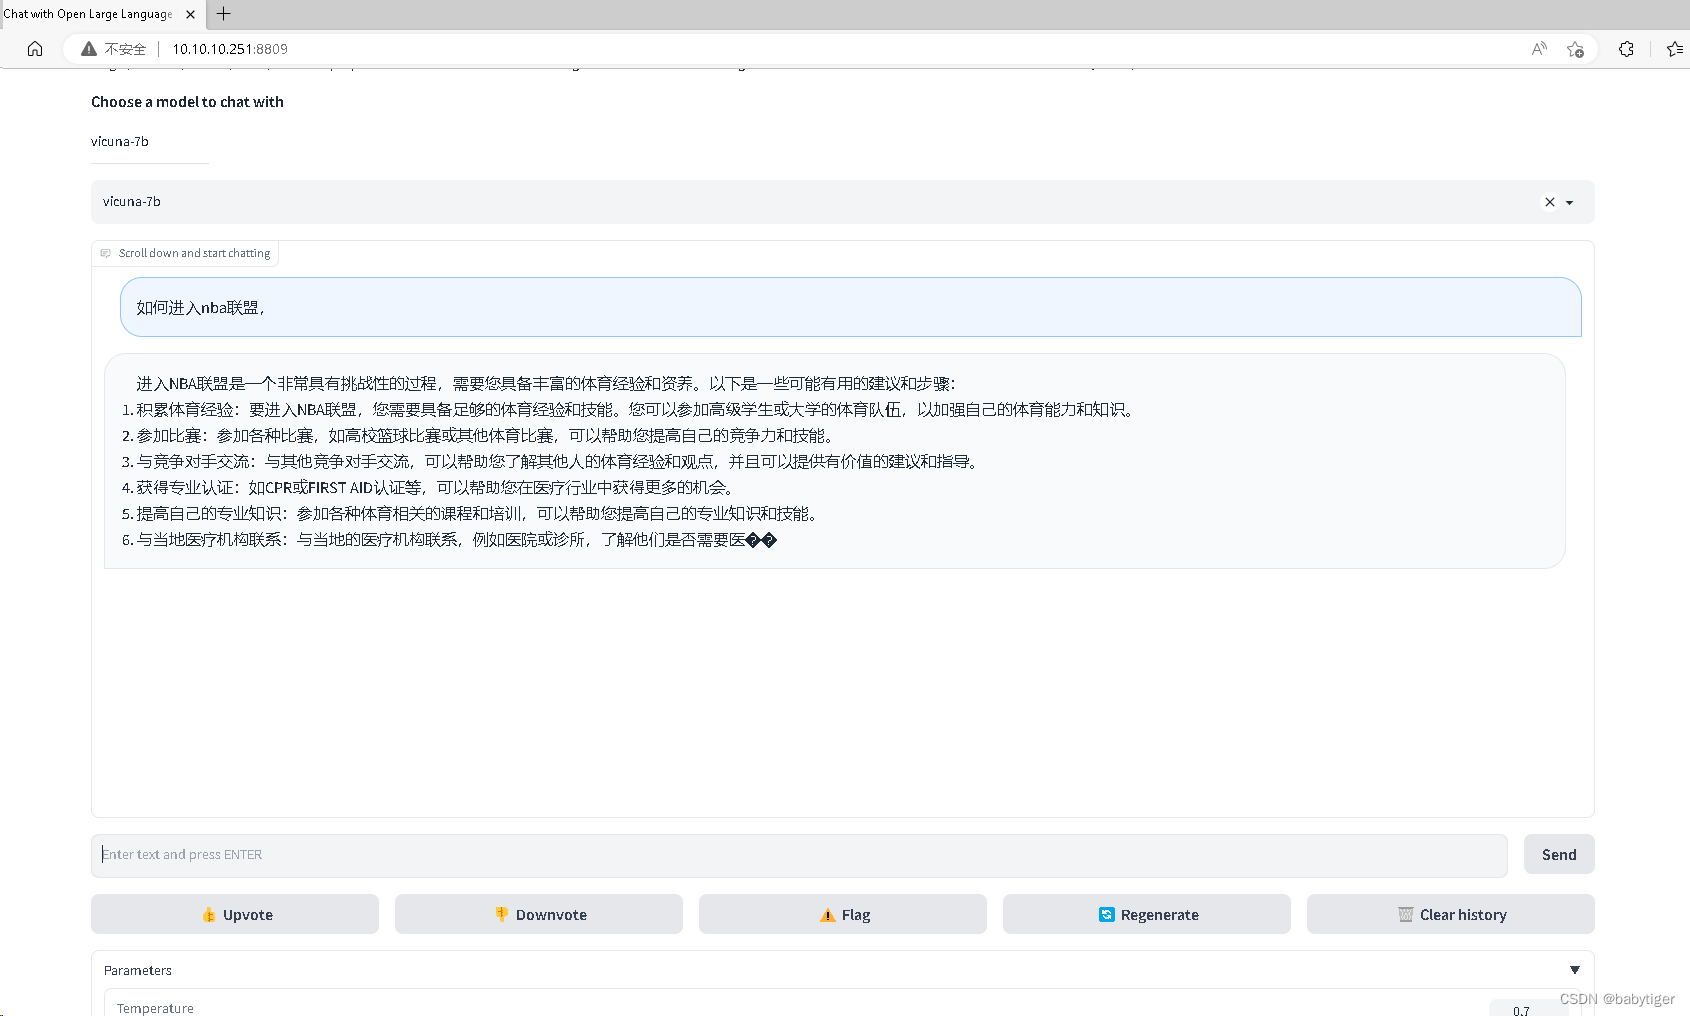
就可以使用了!好像用gpu可以支持多路用户并行访问!下图两个请求是同时发的