简介
windows下编译ffmpeg据说得用cygwin虚拟环境,而且在之前我还把VS卸载了,手头上又有一个算法需要ffmpeg编译出来的libavformat,又不想在破旧的办公电脑上分出几个G内存重装虚拟机,于是我选择了云服务器,随便一搜索腾讯云的个人服务器只要40元一年,在经过实名认证后顺利下单,选择了ubuntu20.04LTS作为启动系统,原以为一切水到渠成,不成想…这里面的坑是真多啊,花了我一上午时间查找。。。那么我来介绍一下采坑无数后正确的安装方法吧。为了写这个,我还顺便重装了一下系统。
从0开始
首先的首先,给大家看一下我的云服务器配置,名称中的lw表示light weight,也就是我的这个服务器是轻量应用服务器(最便宜的,而且新用户专享),一年40。

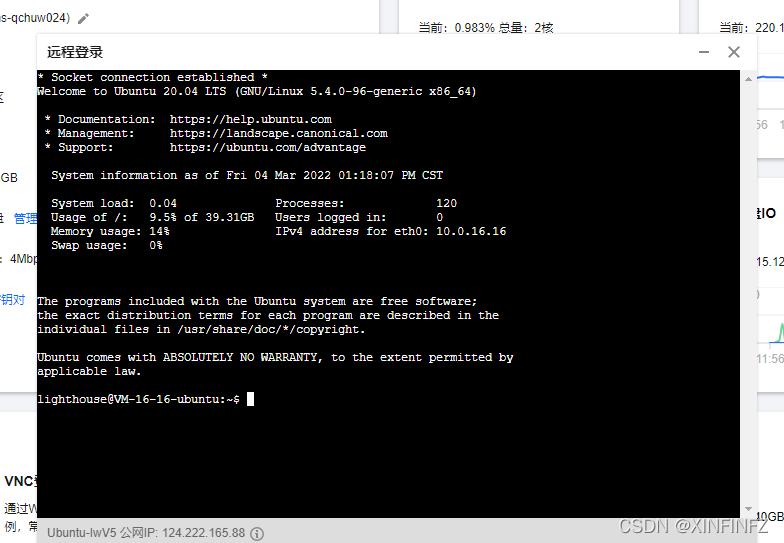
点击左下角的一键登录,弹出了熟悉又陌生的命令行:
接下来先让我们把最新的ffmpeg Git下来:
git clone https://github.com/FFmpeg/FFmpeg.git
等待的同时先来看一下当前系统的目录结构,免得跟我一样找文件东找西找:
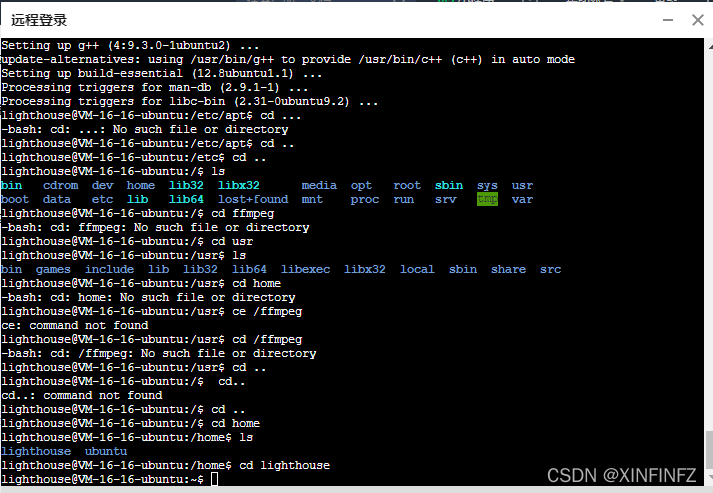
以系统根目录为/,我们当前的目录(也就是登录命令行就在的那个目录)其实是/home/lighthouse/…,当前目录下是没有文件的,所以ls命令啥也没有返回,我一开始还以为它坏了。。
经过漫长的等待clone好之后,不要急着make install,必报错,这里注意很多教程在make install之前都会先./configure配置一些东西,还会告诉你要安装yasm才不会报错之类的,根本就是扯淡!(他们根本不知道还有–disable-yasm这个选项)
中间报错
./configure报错:gcc is unable to create an executable file c compiler test failed

make报错:/tests/Makefile:No such file or directory, No rule to make target

这两条看似原因不相关,实际上只有一个原因:这个腾讯云服务器没有装C的基础组件,所以需要:
sudo apt-get install build-essential
会提示你安装大约73.7MB,然后输入Y就可安装,但是腾讯自家的源部分组件有可能会404,如果不行请多试几次,或者把源换成阿里源,怎么换源(装好没报错的请跳至下一部分)见如下:
cd /etc/apt #进入目录
sudo rm -f sources.list #强制删除原来的源
touch sources.list #创建新文件用来写入源
chmod 777 sources.list #赋予最大权限777,即三种用户都能读写
vi sources.list #用vi编辑器打开进行写入
vi的话输入i进入输入模式,在输入模式下鼠标右键粘贴以下内容:
deb http://mirrors.aliyun.com/ubuntu/ focal main restricted universe multiverse
deb-src http://mirrors.aliyun.com/ubuntu/ focal main restricted universe multiverse

deb http://mirrors.aliyun.com/ubuntu/ focal-security main restricted universe multiverse
deb-src http://mirrors.aliyun.com/ubuntu/ focal-security main restricted universe multiverse

deb http://mirrors.aliyun.com/ubuntu/ focal-updates main restricted universe multiverse
deb-src http://mirrors.aliyun.com/ubuntu/ focal-updates main restricted universe multiverse

deb http://mirrors.aliyun.com/ubuntu/ focal-proposed main restricted universe multiverse
deb-src http://mirrors.aliyun.com/ubuntu/ focal-proposed main restricted universe multiverse

deb http://mirrors.aliyun.com/ubuntu/ focal-backports main restricted universe multiverse
deb-src http://mirrors.aliyun.com/ubuntu/ focal-backports main restricted universe multiverse
再按esc退出输入模式,输入:wq(写入并保存,注意前面的:号),写好源之后别急着apt-get install,需要先:
sudo apt-get update
更新软件列表之后,再重复之前的sudo apt-get install build-essential即可。
最后一步
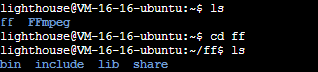
./configure --prefix=/home/lighthouse/ff --enable-pic --disable-yasm --enable-shared
先配置好你安装的目录–prefix=xxxxxxxxxx,后面的选项照抄就完事了,正常的情况会出现一整页的信息提醒你已经配置好了,然后再:
make install
在漫长的等待过后(中间可能会有一些warning信息是正常的)就成功的编译完成了!
如下图: