1.什么是pxe
PXE(preboot execute environment,预启动执行环境)是由Intel公司开发的技术,
并由此支持通过网络启动操作系统,在启动过程中,终端要求服务器分配IP地址,
再用TFTP(trivial file transfer protocol)或MTFTP(multicast trivial file transfer protocol)
下载一个启动软件包到本机内存中执行,由这个启动软件包完成终端(客户端)基本软件设置,
从而引导预先安装在服务器中的终端操作系统。
2.流程图

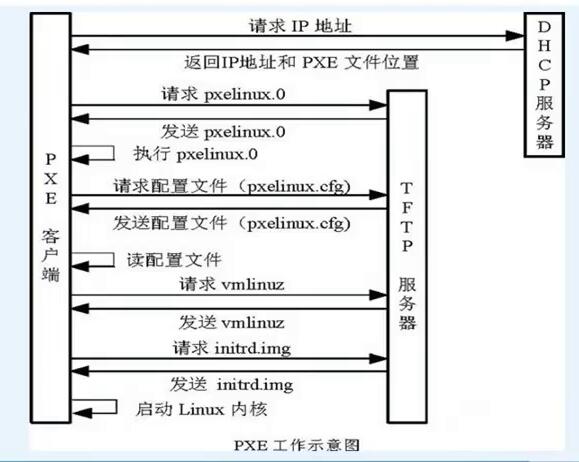
原理介绍:
1.Client向PXE Server上的DHCP发送IP地址请求消息,DHCP检测Client是否合法(主要是检测Client的网卡MAC地址),如果合法则返回Client的IP地址,同时将启动文件pxelinux.0的位置信息一并传送给Client
2.Client向PXE Server上的TFTP发送获取pxelinux.0请求消息,TFTP接收到消息之后再向Client发送pxelinux.0大小信息,试探Client是否满意,当TFTP收到Client发回的同意大小信息之后,正式向Client发送pxelinux.0
3.Client执行接收到的pxelinux.0文件
4.Client向TFTP Server发送针对本机的配置信息文件(在TFTP服务的pxelinux.cfg目录下,这是系统菜单文件,格式和isolinux.cfg格式一样,功能也是类似),TFTP将配置文件发回Client,继而Client根据配置文件执行后续操作。
5.Client向TFTP发送Linux内核请求信息,TFTP接收到消息之后将内核文件发送给Client
6.Client向TFTP发送根文件请求信息,TFTP接收到消息之后返回Linux根文件系统
7.Client启动Linux内核
8.Client下载安装源文件,读取自动化安装脚本
二、安装步骤:
1.需要安装的服务
①.DHCP
②.TFTP
③.HTTP
④.PXE
⑤.syslinux
2.系统环境
2.1系统版本
[root@liang ~]# cat /etc/redhat-release
CentOS Linux release 7.2.1511 (Core)
2.2系统ip
[root@liang ~]# ifconfig eno16777736
eno16777736: flags=4163<UP,BROADCAST,RUNNING,MULTICAST> mtu 1500
inet 10.0.0.134 netmask 255.255.255.0 broadcast 10.0.0.255
inet6 fe80::20c:29ff:fe03:1e48 prefixlen 64 scopeid 0x20<link
2.3系统内核版本
[root@liang ~]# uname -r
3.10.0-327.el7.x86_64
3.关闭防火墙与selinux
[root@liang ~]# systemctl disable firewalld
Removed symlink /etc/systemd/system/dbus-org.fedoraproject.FirewallD1.service.
Removed symlink /etc/systemd/system/basic.target.wants/firewalld.service.
[root@liang ~]# setenforce 0
4.安装服务,我这里使用的是阿里云的ym源。
[root@liang ~]# yum install dhcp httpd tftp-server httpd xinetd -y
5.创建目录并挂载镜像
[root@liang ~]# mkdir /var/www/html/Centos-7.2
[root@liang ~]# mount /dev/cdrom /var/www/html/Centos-7.2/
mount: /dev/sr0 is write-protected, mounting read-only
6.启动http服务
[root@liang ~]# rm -f /etc/httpd/conf.d/welcome.conf
[root@liang ~]# systemctl start httpd
[root@liang ~]# systemctl enable httpd
Created symlink from /etc/systemd/system/multi-user.target.wants/httpd.service to /usr/lib/systemd/system/httpd.service.
[root@liang ~]# vim /etc/xinetd.d/tftp
service tftp
{
socket_type = dgram
protocol = udp
wait = yes
user = root
server = /usr/sbin/in.tftpd
server_args = -s /var/lib/tftpboot
disable = no(yes改为no)
per_source = 11
cps = 100 2
flags = IPv4
}
7.1启动tftp服务
[root@liang ~]# systemctl enable xinetd
[root@liang ~]# systemctl start xinetd
7.2将pxelinux.0 复制到tftpboot/目录下
[root@liang ~]# cp /usr/share/syslinux/pxelinux.0 /var/lib/tftpboot/
7.3创建pxelinux.cfg目录,将镜像文件拷到/var/lib/tftpboot/目录下
[root@liang ~]# mkdir /var/lib/tftpboot/pxelinux.cfg[root@liang ~]# cp /var/www/html/Centos-7.2/isolinux/* /var/lib/tftpboot/
[root@liang ~]# cp /var/lib/tftpboot/isolinux.cfg /var/lib/tftpboot/pxelinux.cfg/default
8.配置dhcp
[root@liang ~]# cat /usr/share/doc/dhcp-4.2.5/dhcpd.conf.example >>/etc/dhcp/dhcpd.conf
[root@liang ~]# vim /etc/dhcp/dhcpd.conf
45 subnet 10.0.0.0 netmask 255.255.255.0{
46 range dynamic-bootp 10.0.0.100 10.0.0.200;
47 option subnet-mask 255.255.255.0;
48 next-server 10.0.0.134;
49 filename "pxelinux.0";
50 }
8.1启动dhcp服务
[root@liang ~]# systemctl start dhcpd
[root@liang ~]# systemctl enable dhcpd
9.配置ks.cfg文件
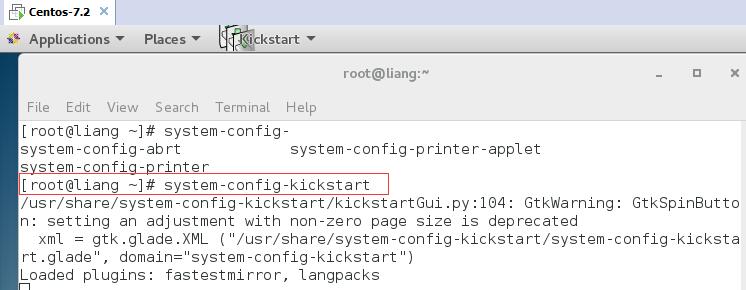
[root@liang ~]# yum install system-config-kickstart -y
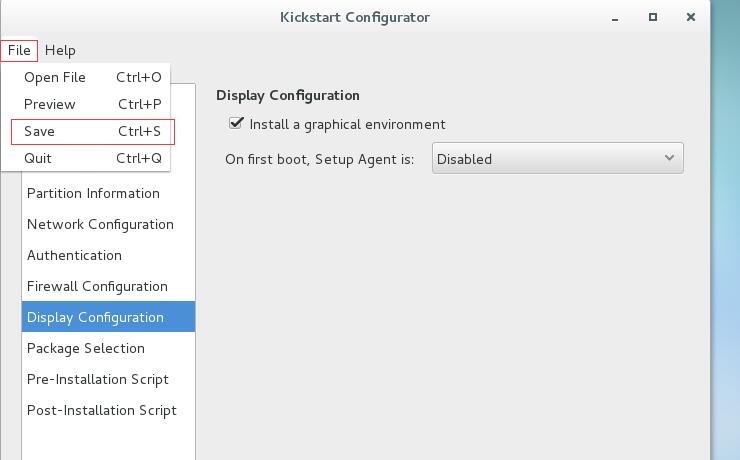
9.1安装完成后,在桌面环境下,执行system-config-kickstart开始配置ks.cfg文件
[root@liang ~]# system-config-kickstart
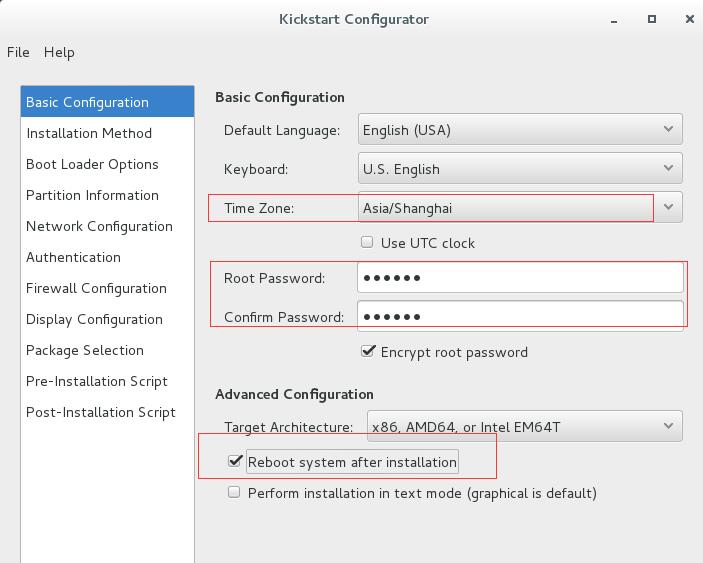
9.2配置时区与登录密码
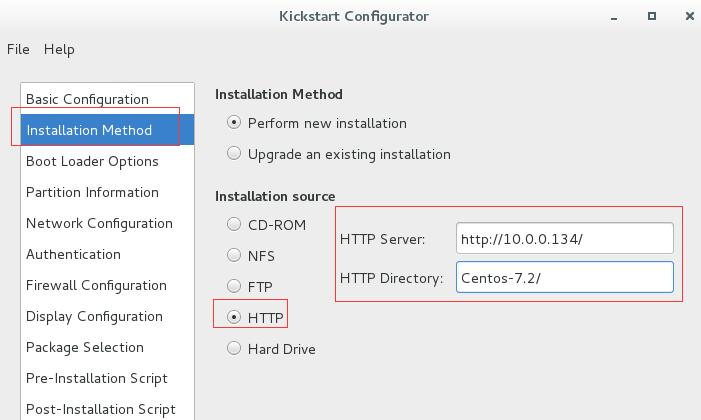
9.3镜像挂载的http地址
9.4后面的不再多做解释,没有截图的即是不需要配置


9.5将ks文件复制到/var/www/html/目录下
[root@liang ~]# cp ks2.cfg /var/www/html/
在ks文件最后添加(最小化安装)
39 %packages --nobase
40
41 @core
42
43 %end
通过网址验证:

10.修改default文件(修改大概第64行,并删除大概第69行的“menu default”)
[root@liang ~]# vim /var/lib/tftpboot/pxelinux.cfg/default
61 label linux
62 menu label ^Install CentOS 7
63 kernel vmlinuz
64 append initrd=initrd.img repo=http://10.0.0.134/Centos-7.2/ ks=http://10.0.0.134/ks2.cfg
65
66 label check
67 menu label Test this ^media & install CentOS 7
68 kernel vmlinuz
69 append initrd=initrd.img inst.stage2=hd:LABEL=CentOS\x207\x20x86_64 rd.live.check quiet
70
11.重启服务
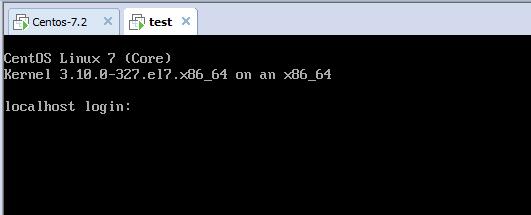
[root@liang ~]# systemctl restart xinetd dhcpd httpd12.创建虚拟机测试

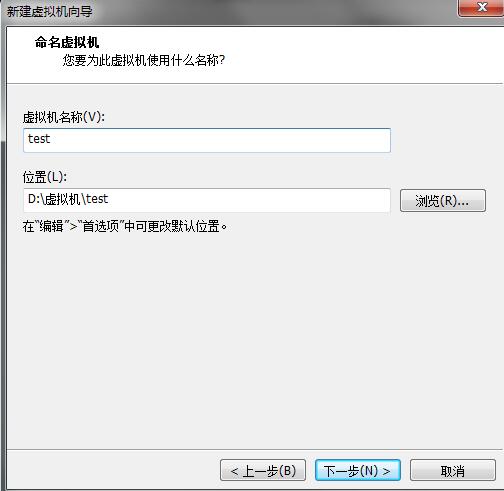
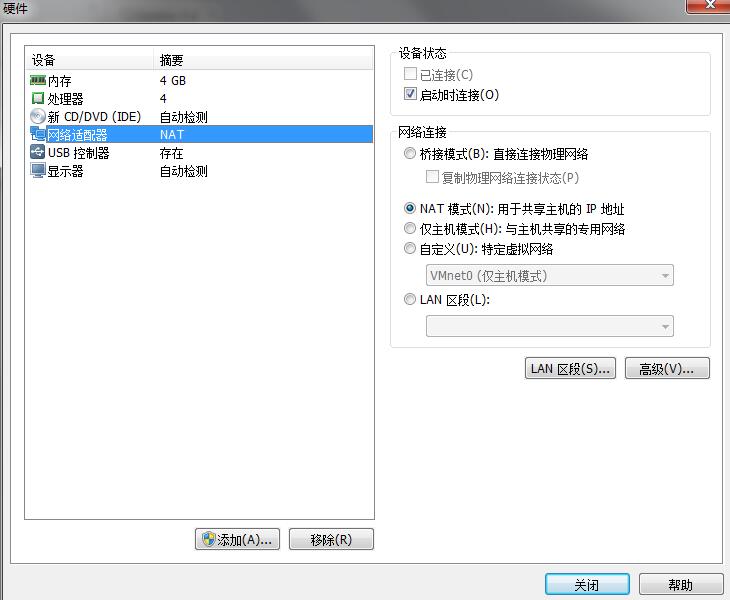
因为我的服务端使用的是nat地址转换网络模式,所以客户机也设置一样

13.ks文件配置
[root@liang ~]# cat /var/www/html/ks2.cfg
#platform=x86, AMD64, 或 Intel EM64T
#version=DEVEL
# Install OS instead of upgrade
install
# Keyboard layouts
keyboard 'us'
# Root password
rootpw --iscrypted $1$4PiIy2LI$sfi.D9Pn4VueLuayH1sRF/
# System timezone
timezone Asia/Shanghai
# Use network installation
url --url="http://10.0.0.134/Centos-7.2/"
# System language
lang en_US
# Firewall configuration
firewall --disabled
# System authorization information
auth --useshadow --passalgo=sha512
# Use graphical install
graphical
firstboot --disable
# SELinux configuration
selinux --disabled
# Network information
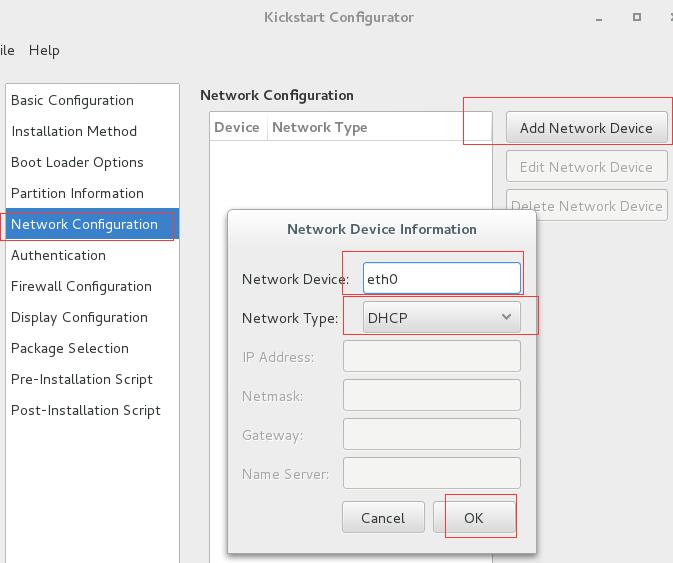
network --bootproto=dhcp --device=eth0
# Reboot after installation
reboot
# System bootloader configuration
bootloader --location=mbr
# Clear the Master Boot Record
zerombr
# Partition clearing information
clearpart --all --initlabel
# Disk partitioning information
part /boot --fstype="xfs" --size=200
part swap --fstype="swap" --size=4096
part / --fstype="xfs" --grow --size=1
%packages --nobase
@core
%end
借鉴博客:https://blog.csdn.net/ghost_leader/article/details/52985811