什么是kickstart
kickstart是一种无人值守安装操作系统的方式,他的工作原理就是在安装的过程中记录人工干预填写的各种参数,并会生成一个ks.cfg的文件,如果在自动化安装的过程中出现需要填选参数的情况,安装程序就会去找ks.cfg,如果找到相对应的参数,就采用所匹配的参数,若找不到,则需要人工进行填写。所以,如果ks.cfg文件中涵盖了所需的参数,那么安装着就可以了告诉系统去哪下载ks.cfg文件,然后就可以等待安装完毕。
什么是PXE
PXE(preboot execute environment,预启动执行环境)是由Intel公司开发的最新技术,工作于Client/Server的网络模式,支持工作站通过网络从远端服务器下载映像,并由此支持通过网络启动操作系统,在启动过程中,终端要求服务器分配IP地址,再用TFTP(trivial file transfer protocol)或MTFTP(multicast trivial file transfer protocol)协议下载一个启动软件包到本机内存中执行,由这个启动软件包完成终端(客户端)基本软件设置,从而引导预先安装在服务器中的终端操作系统。PXE可以引导多种操作系统。PXE可以引导多种操作系统,如:Windows95/98/2000/windows2003/windows2008/winXP/win7/win8,linux系列系统等。
环境准备
| 实验环境 | vmware Workstation12 |
|---|---|
| 系统平台 | CentOS6.9图形化 |
| 网络模式 | NAT |
| 防火墙 | iptables:not running,selinux:disabled |
准备工作
如果没有安装图形化界面的话,可以按照以下执行在线安装图像化界面
yum groupinstall "X Window System"
yum groupinstall "Desktop"
yum groupinstall chinese-support
reboot
安装HTTP
yum install -y httpd
rpm -qa|grep httpd
/etc/init.d/httpd start
chkconfig --level 35 httpd on
加载ISO镜像
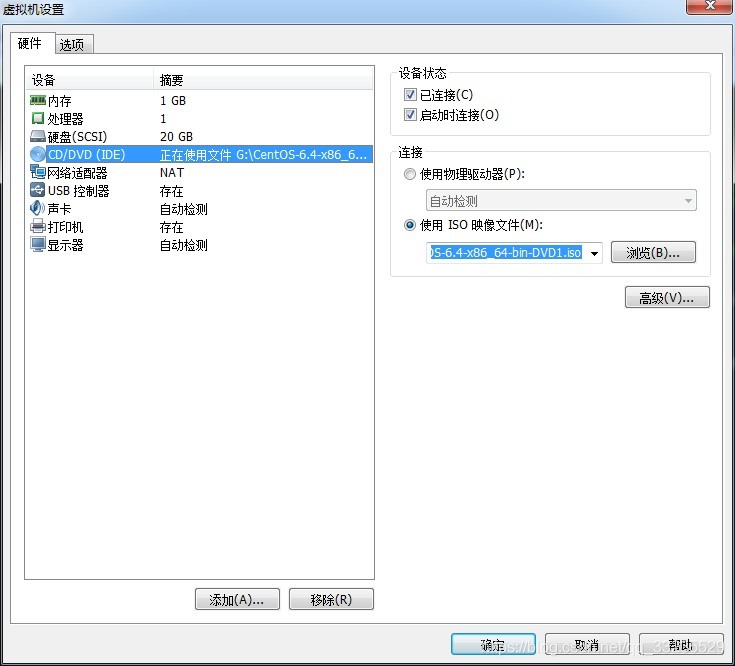
这里选择的镜像就是要安装哪个系统选择哪个镜像
- 复制镜像内容支html目录下
[root@lcx ~]# df -h
Filesystem      Size  Used Avail Use% Mounted on
/dev/sda2        19G  2.3G   16G  14% /
tmpfs           491M  224K  491M   1% /dev/shm
/dev/sda1       477M   35M  417M   8% /boot
/dev/sr0        3.7G  3.7G     0 100% /media/CentOS_6.9_Final
[root@lcx ~]# cp -r /media/CentOS_6.9_Final/ /var/www/html/
安装TFTP
yum install tftp-server -y
- 启动
vim /etc/xinetd.d/tftp
service tftp
{
        socket_type             = dgram
        protocol                = udp
        wait                    = yes
        user                    = root
        server                  = /usr/sbin/in.tftpd
        server_args             = -s /var/lib/tftpboot
        disable                 = no
        per_source              = 11
        cps                     = 100 2
        flags                   = IPv4
}
配置支持PEX的启动程序
[root@lcx ~]# cp /usr/share/syslinux/{pxelinux.0,vesamenu.c32} /var/lib/tftpboot/
复制iso镜像中initrd.img和vmlinux至指定文件中
[root@lcx ~]# cp /var/www/html/CentOS_6.9_Final/images/pxeboot/{initrd.img,vmlinuz} /var/lib/tftpboot/
复制ISO镜像中的*.msg到指定文件
[root@lcx ~]# cp /var/www/html/CentOS_6.9_Final/isolinux/*.msg /var/lib/tftpboot/
- 在/var/lib/tftpboot/中新建一个pxelinux.cfg目录
[root@lcx ~]# mkdir /var/lib/tftpboot/pxelinux.cfg
[root@lcx ~]# cp /var/www/html/CentOS_6.9_Final/isolinux/isolinux.cfg /var/lib/tftpboot/pxelinux.cfg/default
- 修改default文件
vim /var/lib/tftpboot/pxelinux.cfg/default
default ks
prompt 1
timeout 6

display boot.msg

menu background splash.jpg
menu title Welcome to CentOS 6.9!
menu color border 0 #ffffffff #00000000
menu color sel 7 #ffffffff #ff000000
menu color title 0 #ffffffff #00000000
menu color tabmsg 0 #ffffffff #00000000
menu color unsel 0 #ffffffff #00000000
menu color hotsel 0 #ff000000 #ffffffff
menu color hotkey 7 #ffffffff #ff000000
menu color scrollbar 0 #ffffffff #00000000

label linux
  menu label ^Install or upgrade an existing system
  menu default
  kernel vmlinuz
  append initrd=initrd.img
label rescue
  menu label ^Rescue installed system
  kernel vmlinuz
  append initrd=initrd.img rescue
label ks
  kernel vmlinuz
  append ks=http://10.0.0.200/ks.cfg initrd=initrd.img ksdevice=eth0
label local
  menu label Boot from ^local drive
  localboot 1
label memtest86
  menu label ^Memory test
  kernel memtest
  append -
安装DHCP
yum install -y dhcp
- 修改dhcp配置文件
[root@lcx ~]# vim /etc/dhcp/dhcpd.conf

# ******************************************************************
# Cobbler managed dhcpd.conf file
# generated from cobbler dhcp.conf template (Tue Sep 25 06:55:49 2018)
# Do NOT make changes to /etc/dhcpd.conf. Instead, make your changes
# in /etc/cobbler/dhcp.template, as /etc/dhcpd.conf will be
# overwritten.
# ******************************************************************

ddns-update-style interim;

allow booting;
allow bootp;

ignore client-updates;
set vendorclass = option vendor-class-identifier;

option pxe-system-type code 93 = unsigned integer 16;

subnet 10.0.0.0 netmask 255.255.255.0 {
     option subnet-mask         255.255.255.0;
     range dynamic-bootp        10.0.0.100 10.0.0.254;
     default-lease-time         21600;
     max-lease-time             43200;
     next-server                10.0.0.200;
     class "pxeclients" {
          match if substring (option vendor-class-identifier, 0, 9) = "PXEClient";
          if option pxe-system-type = 00:02 {
                  filename "ia64/elilo.efi";
          } else if option pxe-system-type = 00:06 {
                  filename "grub/grub-x86.efi";
          } else if option pxe-system-type = 00:07 {
                  filename "grub/grub-x86_64.efi";
          } else {
                  filename "pxelinux.0";
          }
     }

}

# group for Cobbler DHCP tag: default
group {
}
- 启动dhcp
/etc/init.d/dhcpd start
安装kickstart
yum install system-config-kickstart
- 在图形化界面启动kickstart
startx
system-config-kickstart
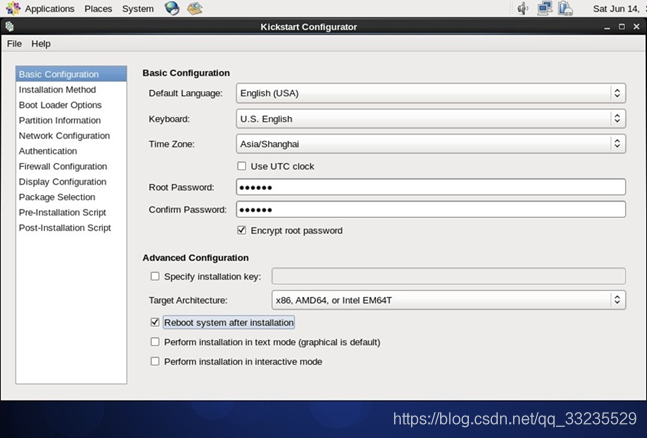
- 安装方式选择HTTP

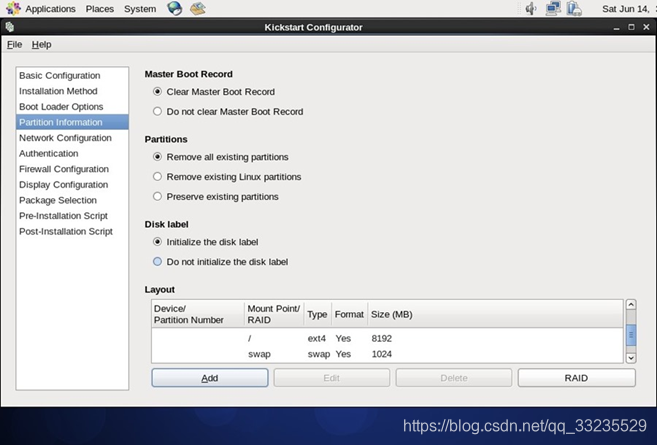
- 分区设置
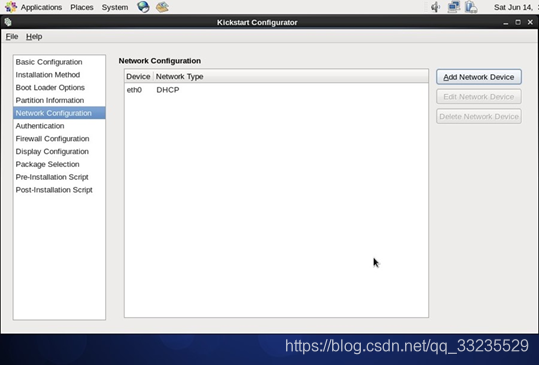
- 网络配置
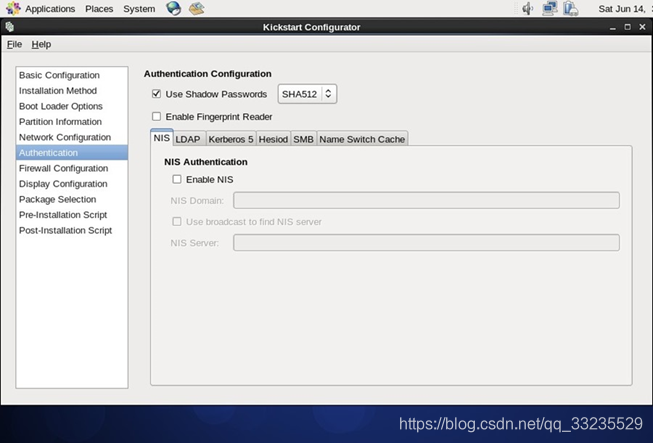
- 认证配置
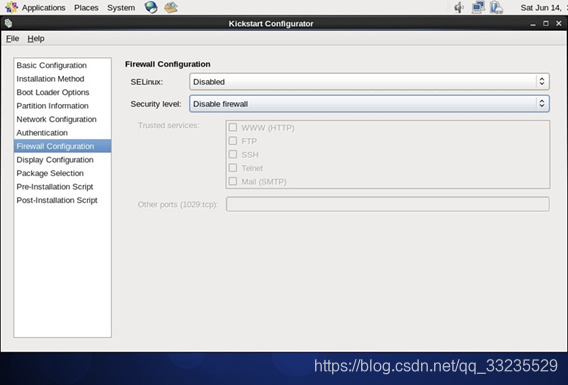
- 防火墙配置
- 图形环境配置

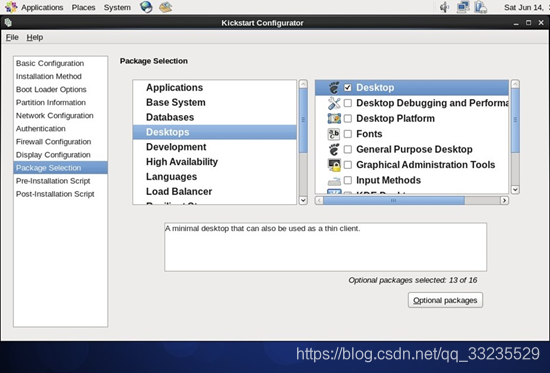
- 需要安装的软件包
- 预览
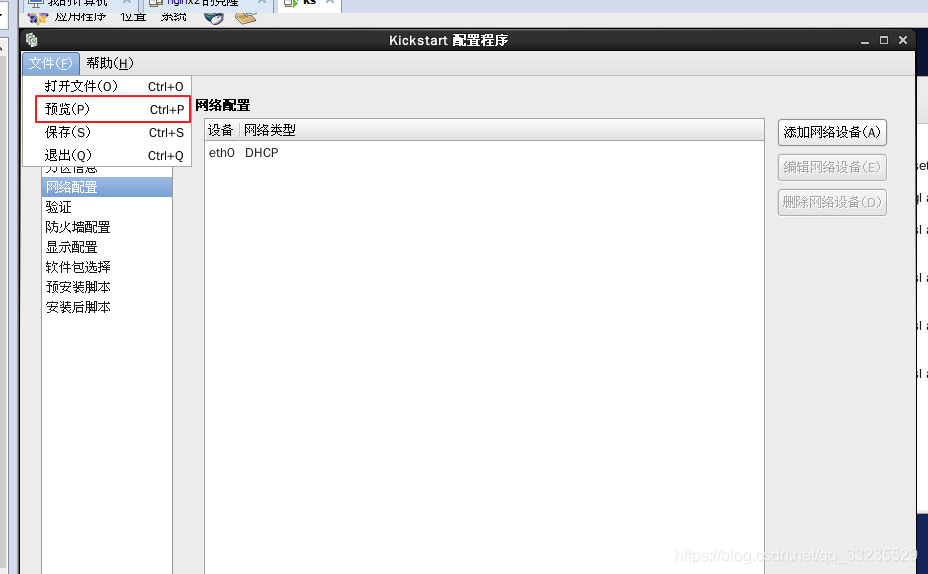

- 生成ks.cfg文件,保存到/var/www/html/文件夹下
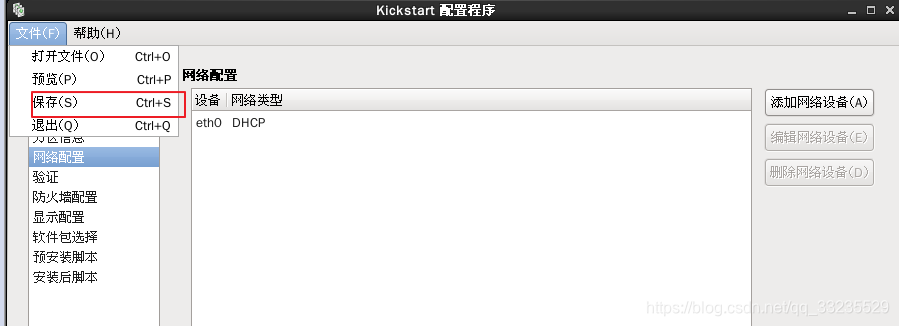
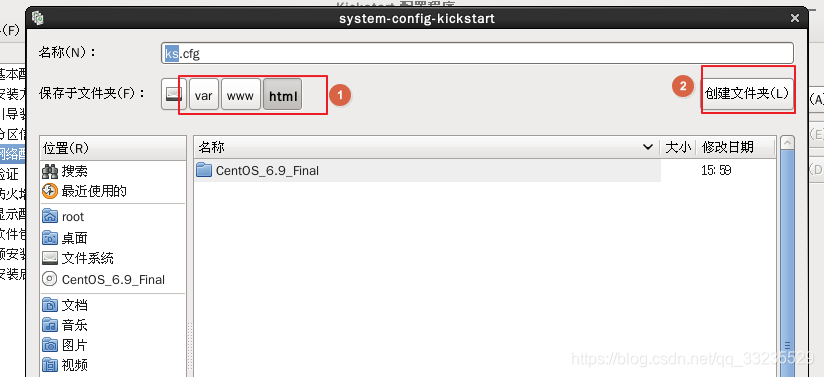
回车保存 - 编辑ks.cfg文件
[root@lcx ~]# vim /var/www/html/ks.cfg
#platform=x86, AMD64, or Intel EM64T
#version=DEVEL
# Firewall configuration
firewall --disabled
# Install OS instead of upgrade
install
# Use network installation
url --url="http://10.0.0.200/CentOS_6.9_Final"
# Root password
rootpw --iscrypted $1$lJSsh5pq$MAcK5hMrCQkUYXCR0dnjC/
# System authorization information
auth  --useshadow  --passalgo=sha512
# Use graphical install
graphical
firstboot --disable
# System keyboard
keyboard us
# System language
lang en_US
# SELinux configuration
selinux --disabled
# Installation logging level
logging --level=info
# Reboot after installation
reboot
# System timezone
timezone  Africa/Abidjan
# Network information
network  --bootproto=dhcp --device=eth0 --onboot=on
# System bootloader configuration
key --skip
bootloader --append="rhgb quiet" --location=mbr --driveorder=sda
# Clear the Master Boot Record
zerombr
# Partition clearing information
clearpart --all --initlabel
# Disk partitioning information
part / --fstype="ext4" --size=2048
part /home --fstype="ext4" --size=1024

%packages
@mysql-client

%end
key --skip如果是红帽系统,此选项可以跳过输入序号过程;如果是Centos系列,则可以不保留此项内容
reboot此选项必须存在,也必须在文中设定位置,不然kickstart显示一条消息,并等待用户按任意键后才重新引导
clearpart --all --initlable此条命令必须添加,不然系统会让用户手动选择是否清楚所有数据,这就需要人为干预了,从而导致自动化过程失败
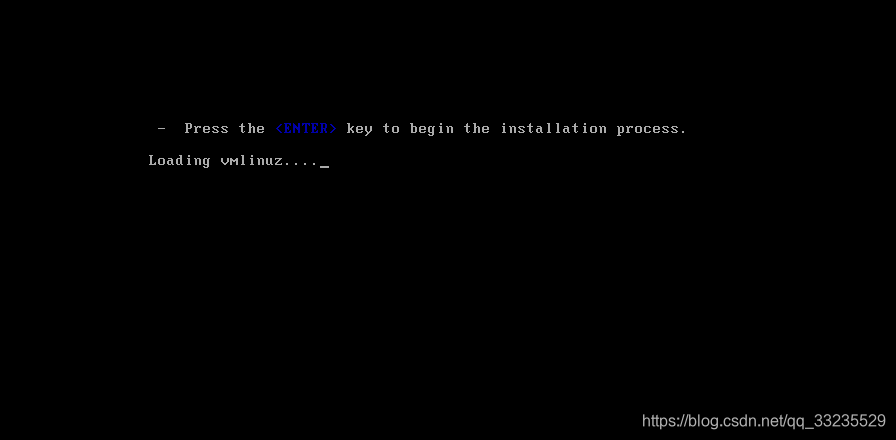
测试
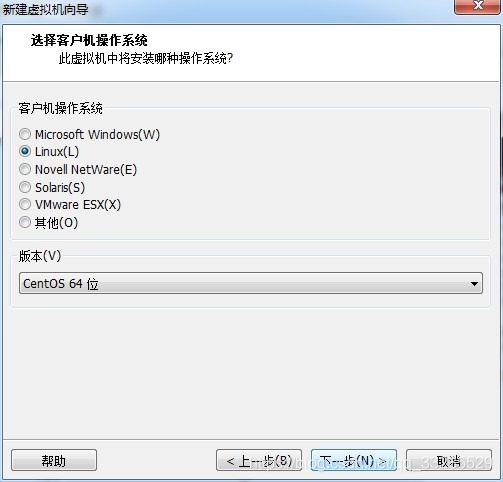
- 新加一台虚拟机,网络模式选择nat
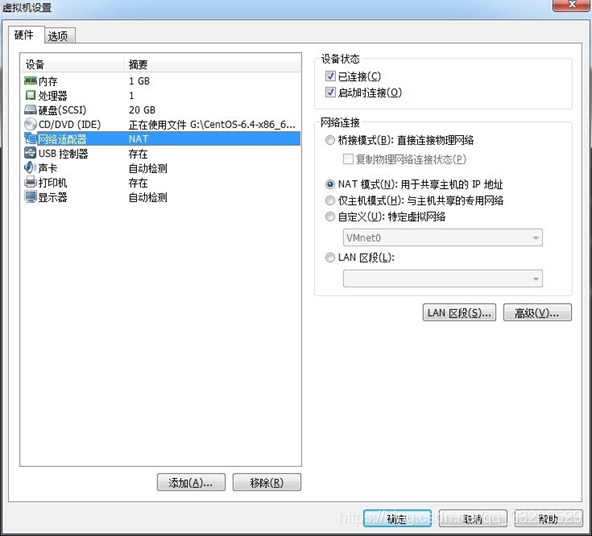
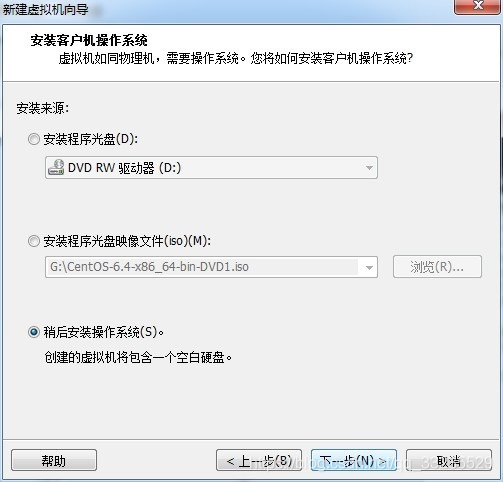

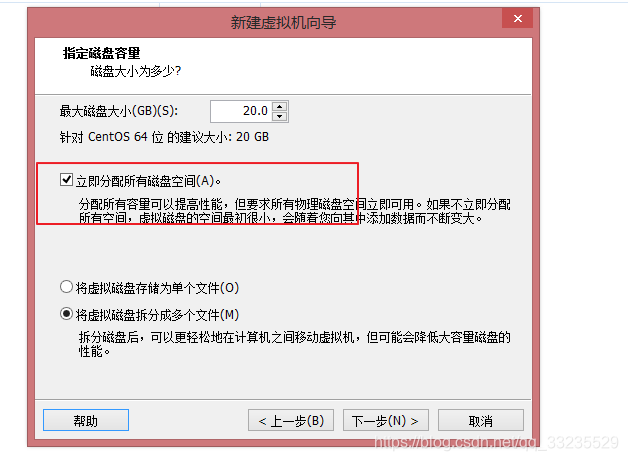
指定磁盘大小,ks.cfg 文件中,我们定义了/ 大小为2GB,/home 分区为1GB,所以这里的磁盘大小至少要为3GB。而且,一定要勾选上“立即分配所有磁盘空间”,不然在后来安装的时候将提示没有磁盘空间。
- 新建完成后即可开机测试