(一)实现步骤:
1.界面布局(activity_main)
<?xml version="1.0" encoding="utf-8"?>
<RelativeLayout xmlns:android="http://schemas.android.com/apk/res/android"
    xmlns:app="http://schemas.android.com/apk/res-auto"
    xmlns:tools="http://schemas.android.com/tools"
    android:layout_width="match_parent"
    android:layout_height="match_parent"
    tools:context=".MainActivity"
    android:orientation="vertical"
    android:background="#D3D3D3"
    tools:ignore="ResourceName">

    <FrameLayout
        android:id="@+id/frame_layout"
        android:layout_width="match_parent"
        android:layout_height="match_parent"
        android:layout_above="@+id/tab_bar"/>

    <RadioGroup
        android:id="@+id/tab_bar"
        android:layout_width="match_parent"
        android:layout_height="50dp"
        android:background="@color/white"
        android:orientation="horizontal"
        android:layout_alignParentBottom="true">
        <RadioButton
            android:id="@+id/tab_home"
            android:gravity="center"
            android:button="@null"
            android:drawableTop="@drawable/home_selector"
            android:layout_width="0dp"
            android:layout_weight="1"
            android:layout_height="match_parent"
            android:textColor="@drawable/text_color"
            android:text="首页"
            android:layout_marginTop="5dp"
            android:layout_marginBottom="5dp"/>
        <RadioButton
            android:id="@+id/tab_my"
            android:gravity="center"
            android:button="@null"
            android:drawableTop="@drawable/my_selector"
            android:layout_width="0dp"
            android:layout_weight="1"
            android:layout_height="match_parent"
            android:textColor="@drawable/text_color"
            android:text="个人中心"
            android:layout_marginTop="5dp"
            android:layout_marginBottom="5dp"/>
    </RadioGroup>
</RelativeLayout>
2.点击改变图标
<?xml version="1.0" encoding="utf-8"?>
<selector xmlns:android="http://schemas.android.com/apk/res/android">
    <item android:drawable="@mipmap/home_select" android:state_checked="true" />
    <item android:drawable="@mipmap/home_unselect" android:state_checked="false" />
</selector>
3.点击改变文字颜色
<?xml version="1.0" encoding="utf-8"?>
<selector xmlns:android="http://schemas.android.com/apk/res/android">
    <item android:state_checked="true" android:color="#F1890A"/>
    <item android:state_checked="false" android:color="#000000"/>
</selector>
4.内嵌fragment布局(根据需要创建不同的fragment)
<?xml version="1.0" encoding="utf-8"?>
<RelativeLayout xmlns:android="http://schemas.android.com/apk/res/android"
    xmlns:tools="http://schemas.android.com/tools"
    android:layout_width="match_parent"
    android:layout_height="match_parent"
    tools:context=".HomeFragment">

    <TextView
        android:layout_width="match_parent"
        android:layout_height="match_parent"
        android:text="首页"
        android:textSize="40sp"
        android:gravity="center"/>

</RelativeLayout>
5.fragment的activity
public class HomeFragment extends Fragment {

    @Override
    public View onCreateView(LayoutInflater inflater, ViewGroup container,
                             Bundle savedInstanceState) {
        // Inflate the layout for this fragment
        View view = LayoutInflater.from(getActivity()).inflate(R.layout.fragment_home, container, false);
        return view;
    }
}
6.装载fragment界面的activity
public class MainActivity extends FragmentActivity implements RadioGroup.OnCheckedChangeListener {

    private FragmentManager manager;
    private FragmentTransaction transaction;
    private HomeFragment frHome;
    private MyFragment frMy;

    @Override
    protected void onCreate(Bundle savedInstanceState) {
        super.onCreate(savedInstanceState);
        setContentView(R.layout.activity_main);

        FrameLayout frameLayout = findViewById(R.id.frame_layout);
        RadioGroup tabBar = findViewById(R.id.tab_bar);
        RadioButton tabHome = findViewById(R.id.tab_home);
        RadioButton tabMy = findViewById(R.id.tab_my);

        tabHome = (RadioButton) tabBar.getChildAt(0);
        tabHome.setChecked(true);
        tabBar.setOnCheckedChangeListener((RadioGroup.OnCheckedChangeListener) this);

        initFrament();
    }

    private void initFrament() {
        manager = getSupportFragmentManager();
        transaction = manager.beginTransaction();
        frHome = new HomeFragment();
        transaction.add(R.id.fram_layout,frHome);
        transaction.commit();
    }

    @Override
    public void onCheckedChanged(RadioGroup radioGroup, int checkedId) {
        switch (checkedId) {
            case R.id.tab_home:
                FragmentTransaction ft1 = manager.beginTransaction();
                hideAll(ft1);
                if (frHome != null) {
                    ft1.show(frHome);
                } else {
                    frHome = new HomeFragment();
                    ft1.add(R.id.fram_layout,frHome);
                }
                ft1.commit();
                break;
            case R.id.tab_my:
                FragmentTransaction ft2 = manager.beginTransaction();
                hideAll(ft2);
                if (frMy != null) {
                    ft2.show(frMy);
                } else {
                    frMy = new MyFragment();
                    ft2.add(R.id.fram_layout,frMy);
                }
                ft2.commit();
                break;
        }
    }

    private void hideAll(FragmentTransaction ft){
        if (ft==null){
            return;
        }
        if (frHome!=null){
            ft.hide(frHome);
        }
        if (frMy!=null){
            ft.hide(frMy);
        }
    }
}
注:此导航栏只能点击不能左右滑动
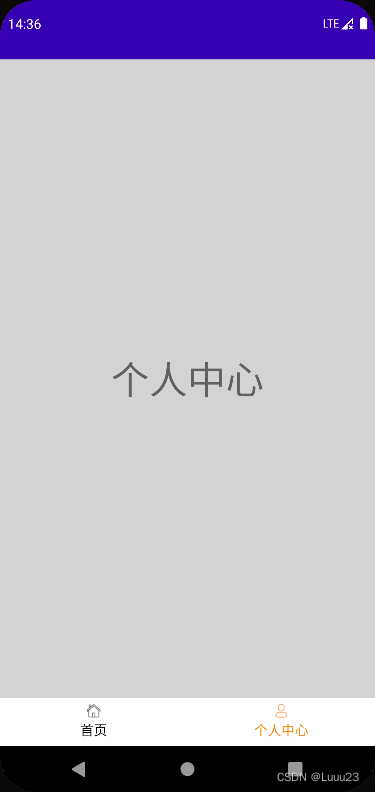
(二)效果图