条件渲染:
wx:if = "{ { newlist.length == 0 }}"
wx:else

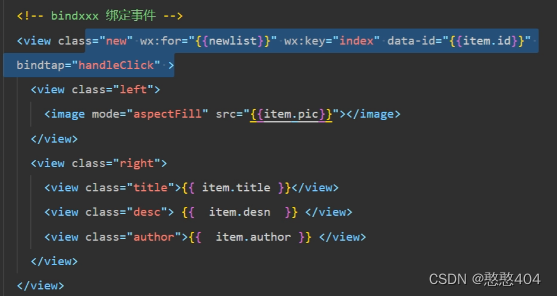
跳路由:绑定点击事件,执行跳转页面
bindtap
data-id="{ { item.id }}" 添加id
wx.navigateTo
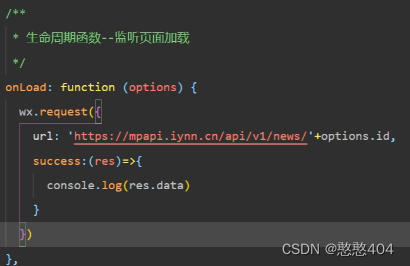
跳路由并传参, 下一个路由 onLoad生命周期可以获得参数。到达详情页面
跳

接
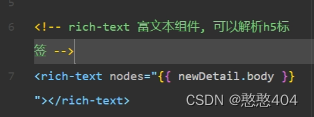
详情页:
rich-text 解析 html5 标签,组件,基础内容:富文本组件
把图片替换带有样式的图片

公共:::
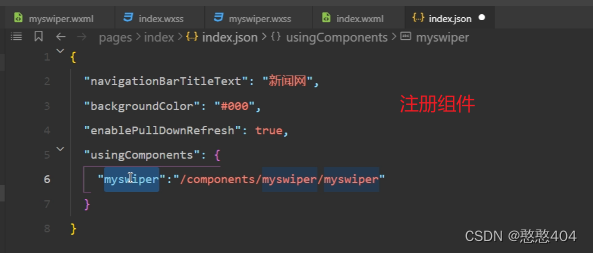
封装轮播图
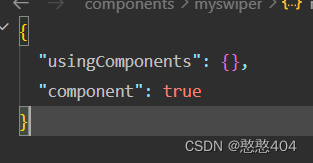
1.创建组件,Component。properties接收父传来的值
2.注册组件,(在哪个页面中使用就在哪个页面的json文件中进行注册)
3.渲染组件
子开启,子接收,子使用


父注册,父使用(父中发请求,传递给子组件)

![]()
二次封装请求(加快开发效率)
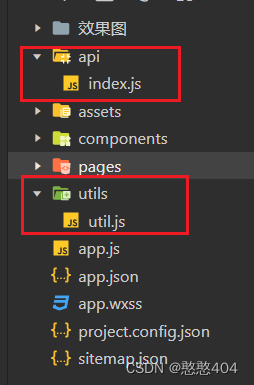
// util.js文件夹下 ajax 方法用来发请求
function ajax(url,method='GET',data={}){
    return new Promise((resolve,reject)=>{
        wx.request({
          url,
          method,
          data,
          success:(res)=>{
              resolve(res);
          }
        })
    })
}
// 导出ajax方法
export default ajax;
// api文件夹下
// 导入二次封装的ajax
import service from '../utils/request'
//一个请求封装成一个函数
export function news_hot(){
return service('https://mpapi.iynn.cn/api/v1/news/hot');
}
export function news_list(payload = {}){
return service('https://mpapi.iynn.cn/api/v1/news','GET', payload );
}
export function news_detail(payload = {}){
return service('https://mpapi.iynn.cn/api/v1/news/'+payload.id,'GET', payload );
}
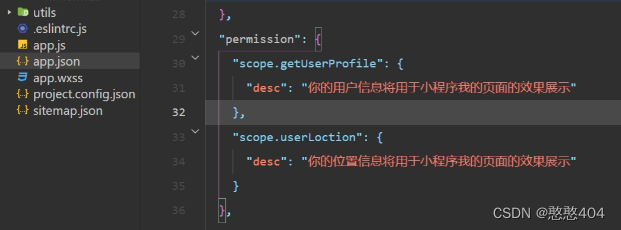
授权头像,昵称:这里看

<view class="box" wx:if="{

   {!userInfo.nickName}}">
  <button open-type="getUserInfo" bindgetuserinfo="handleClick" style="background-color: #07c160;color: white;">去登录</button>
</view>
<view class="userinfo" wx:else>
  <image mode="aspectFill" src="{

   {userInfo.avatarUrl}}"></image>
  <text>{

   {userInfo.nickName}}</text>
</view>
/**index.wxss**/
page{
background-color: #eeeeee;
}
.box{
padding: 80rpx 0;
}
.userinfo{
display: flex;
align-items: center;
padding: 60rpx;
}
.userinfo image{
width: 100rpx;
height: 100rpx;
border-radius: 50%;
margin-right: 10rpx;
}