艺赛旗 RPA10.0全新首发免费下载 点击下载
www.i-search.com.cn/index.html?from=line1
同时设置一个 excel 多个 sheet 页的格式
项目实施过程中,遇到需要设置表格格式的需求,大致有以下几类:
- 将数值转换为千分位,并保留两位小数
- 将表格的头设置背景色与字体色
- 将第一列日期值一样的合并
- 设置列宽
- 设置行高
- 添加边框
踩过的坑(很重要)
- 若 python 环境无 XlsxWriter 库,则会使用 openpyxl, 但是,若要使用以下方法进行表格的渲染,则应该先升级 pip(若已是最新的版本,则无需更新),再下载 XlsxWriter 包。具体方法如下:
- 升级 pip:
C:\ueba\plugin\Com.Isearch.Func.Python\python.exe -m pip install –upgrade pip - 下载 XlsxWriter:
C:\ueba\plugin\Com.Isearch.Func.Python\Scripts\pip3.6.exe install XlsxWriter
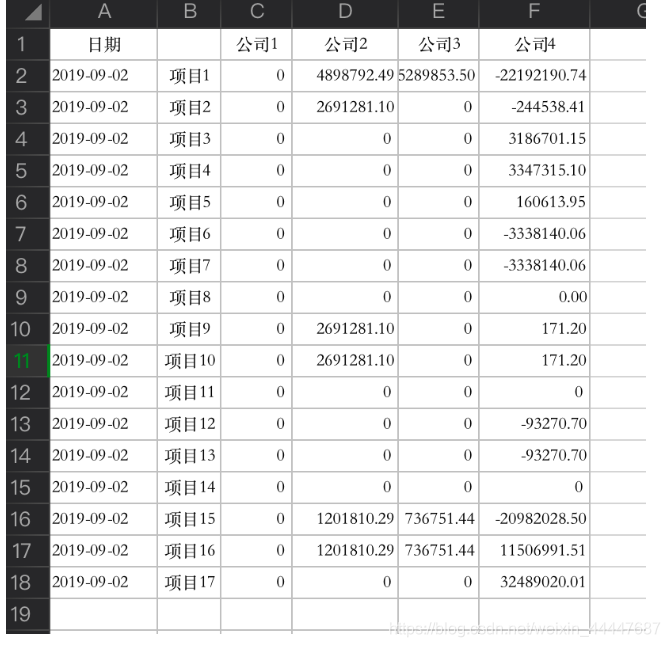
—未设置的表格—
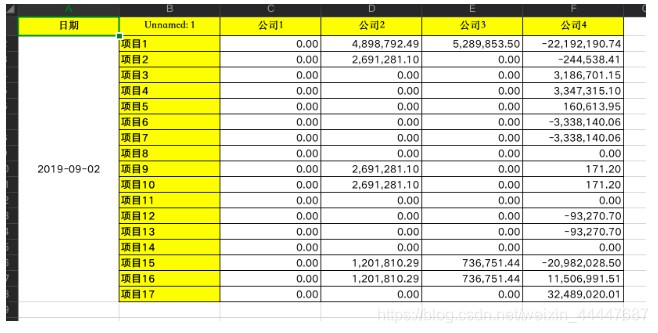
—设置后的表格—
代码如下(仅适用于本表格,供参考):
import pandas as pd
def set_foramt():
1.多个sheet页
sheet_list = [‘Sheet1’, ‘Sheet2’, ‘Sheet3’, ‘Sheet4’, ‘Sheet5’]
2.要写入的excel路径
writer = pd.ExcelWriter(‘test_new.xlsx’)
workbook = writer.book
3.循环遍历sheet取数据
for sheet in sheet_list:
df1 = pd.read_excel(‘test.xlsx’, sheet_name=sheet)
  # 4.设置格式
  fmt = workbook.add_format({"font_name": u"微软雅黑"})
  percent_fmt = workbook.add_format({'num_format': '0.00%'})
  amt_fmt = workbook.add_format({'num_format': '#,##0.00'})
  border_format = workbook.add_format({'border': 1})
  bg_format = workbook.add_format({'bold': True, 'font_name': u'微软雅黑', 'bg_color': 'yellow',
								   'align': 'center', 'valign': 'vcenter', 'font_color': 'black',
								   'font_size': 10})
  date_fmt = workbook.add_format({'bold': False, 'font_name': u'微软雅黑', 'num_format': 'yyyy-mm-dd',
								  'align': 'center', 'valign': 'vcenter'})
  # 5.写入excel
  l_end = len(df1.index) + 1
  df1.to_excel(writer, sheet_name=sheet, encoding='utf8', header=df1.columns.values.tolist(),
			   index=False, startcol=0, startrow=0)
  worksheet1 = writer.sheets[sheet]

  # 6.生效单元格格式
  # 设置行高
  worksheet1.set_row(0, 20, fmt)  # 从第0行开始,行高为20,格式为fmt
  # 设置列宽
  worksheet1.set_column('A:F', 20, fmt)  # 从A列到F列,行高为10,格式为fmt
  # 加边框
  worksheet1.conditional_format(f'A1:F{l_end}', {'type': 'no_blanks', 'format': border_format})
							  # A1单元格到F(索引值), 'type': 'no_blanks'指非空的单元格加格式
  # 设置背景色
  worksheet1.conditional_format('A1:F1', {'type': 'no_blanks', 'format': bg_format})
  worksheet1.conditional_format(f'B2:B{l_end}', {'type': 'no_blanks', 'format': bg_format})
  # 合并日期单元格
  worksheet1.merge_range(f'A2:A{l_end}', df1['日期'][0], date_fmt)
  # 设置数值格式千分位,并保留两位小数
  worksheet1.conditional_format(f'C2:F{l_end}', {'type': 'no_blanks', 'format': amt_fmt})
7.所有的sheet页设置好后再保存
writer.save()