图像预处理
通过对图像的预处理,可以尽量避免模型受到无关因素的影响。在大部分图像识别问题中,通过图像预处理过程可以提高模型的准确率
图像预处理有很多过程。这里只介绍函数。方便使用。
- 图像读取原始
- tf.gfile.FastGFile().read()
- 图像格式的编码解码 :图像不直接记录图像上的不同位置,不同颜色的亮度。而是记录压缩编码之后的结果。所以要还原成三维矩阵,需要解码。
- tf.image.decode_jpeg()
- tf.image.encode_jpeg()
- 转换函数 tf.image.convert_image_dtype
- 图像大小调整
- tf.image.resize_images(image,[size],method)
- method 0:双线性插值 1:最近邻居法 2: 双三次插值法 3:面积差值法
- 对于图像缩放算法来说,最近临插值算法是最简单的。最近临插值算法的原理是在原图像中找到最近临的一个点,然后把这个点的像素值插入到目标图像中,最近临插值算法优点是算法简单,易于实现,但是缺点是由于相邻像素点的像素值相同,容易出现色块现象。
那么如何在原图像中找这个目标点呢,算法公式如下:
src_x = dst_x * (src_width / dst_width);
src_y = dst_y * (src_height / dst_height);
那么算出来呢,可能会是小数点,需要四舍五入取整,那么下面来看一个例子(一个3*3的矩阵):
234     38      22
67      44      12
89      65      63
这里呢,我们需要将上面的一个3*3矩阵变换成一个4*4的矩阵,我们根据上面的公式来计算一下,首先是目标点为(0,0),那么原图像的坐标点为(0,0),那么这个坐标点的值就应该为234,然后再来看(0,1)这个坐标点,那么纵坐标点还是0,但是横坐标点变成了1*(3/4) = 0.75,四舍五入得1,那么得到的原图像坐标为(0,1),那么这个坐标点值就应该为38,同理,最后得到的矩阵结果如下:
234	38	22	22
67	44	12	12
89	65	63	63
89	65	63	63
- tf.image.resize_image_with_crop_pad 自动裁剪或者填充
- 图像翻转
- tf.image.flip_up_down()
- tf.image.filp_left_right()
- tf.image.transpose_image()
- 图像色彩调整
- 亮度调整 tf.image.adjust_brightness(image,brightness)
- 随机亮度调整 tf.image.random_brightness(image,max_delta)
- 同理调整,tf.image.adjust_contrast,tf.image.adjust_hue,tf.image.
saturation. - 图像标准化 tf.image.per_image_whitening(image)
标注框
- tf.image.draw_bounding_boxes(batch,boxes) 这个函数要求图像矩阵的数字为实数,而且输入是一个batch的数据,即多张图像组成的四维矩阵,所以将编码后的图像矩阵加一维。
- tf.expand_dims() 这个加的维度大家自己要看api去理解
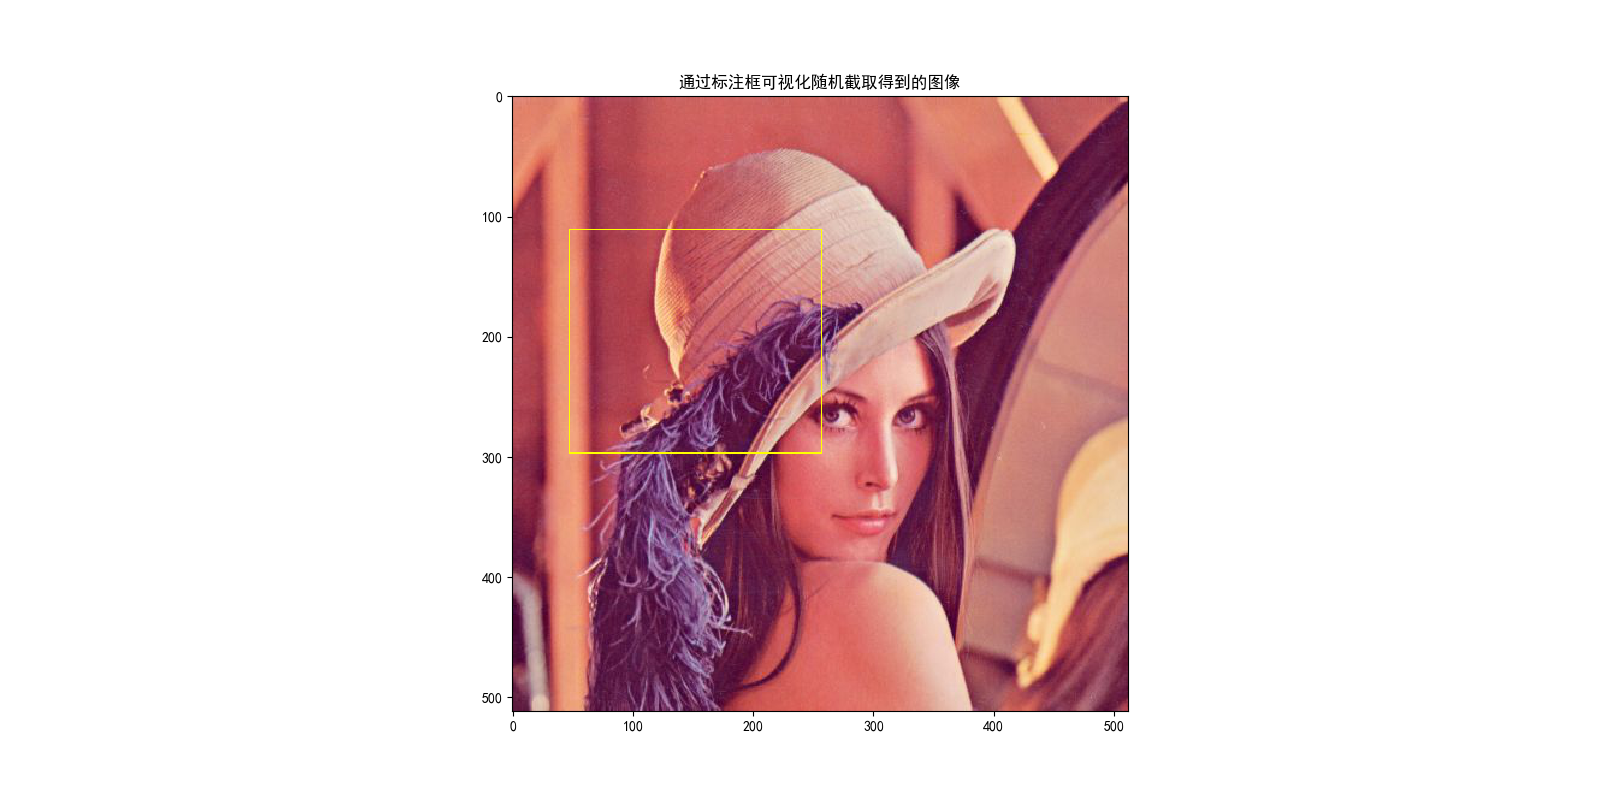
tf.image.sample_distorted_bounding_box(size,boxes) 随机截取图像信息
随机翻转图像,随机调整颜色,随机截图图像中的有信息含量的部分,这些事提高模型健壮性的一种方式。这样可以使是训练得到的模型不受被识别物体大小的影响。
下面贴出完整代码:
'''编码与解码
图像解码与编码:一张RGB三通道的彩色图像可以看成一个三维矩阵,矩阵中的不位置上的数字代表图像的像素值。
然后图像在存储时并不是直接记录这些矩阵中的数字,而是经过了压缩编码。
所以将一张图像还原成一个三维矩阵的过程就是解码的过程,反之就是编码了。
其实如果大家熟悉opencv的话,imread和imwrite就是一个解码和编码的过程。
TensorFlow提供了常用图片格式的解码和编码操作,下面用一个jpeg的图像演示:'''
import matplotlib.pyplot as plt
import tensorflow as tf
plt.rcParams['font.sans-serif']=['SimHei'] #用来正常显示中文标签
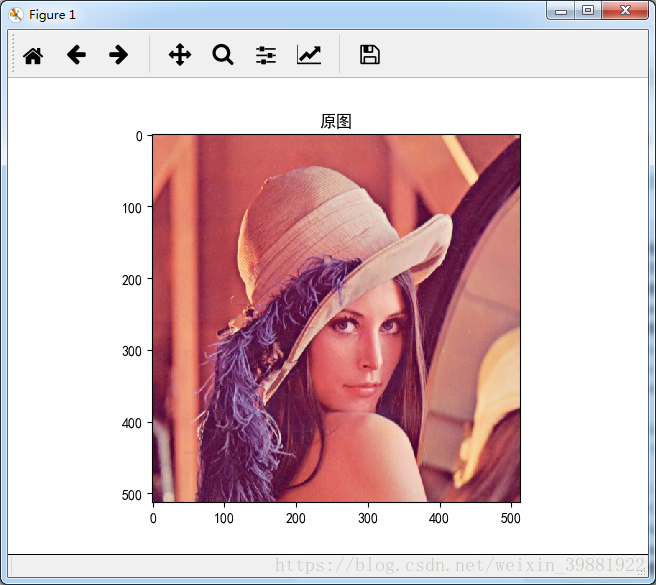
#tf.gfile.FastGFile读取或保存图像文件
image_raw_data = tf.gfile.FastGFile("lena.jpeg",'rb').read()
with tf.Session() as sess: #图形解码(可以解码jpeg, png,编码为encode_jpeg)
img_data = tf.image.decode_jpeg(image_raw_data)
print(img_data.eval())
plt.imshow(img_data.eval())
plt.title('原图')
plt.show()
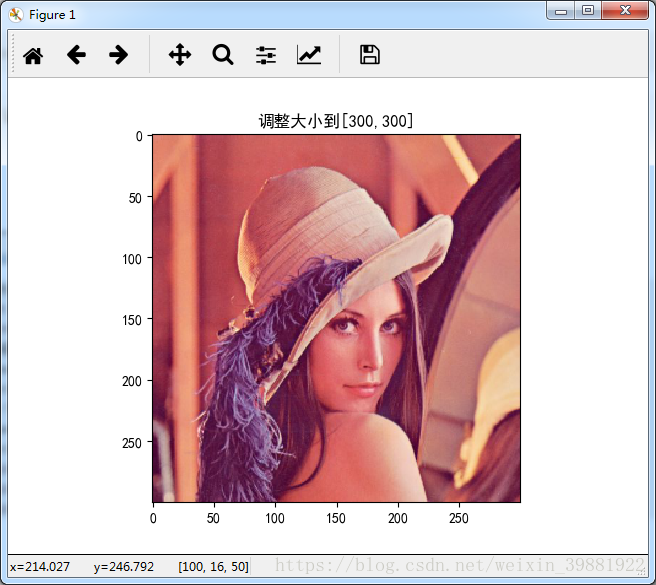
#图像大小调整
import numpy as np
with tf.Session() as sess:
    #设定图片大小,method有4种插值,0-双线性插值 1-最近邻居法 2-双三次插值法 3-面积差值法
    resized = tf.image.resize_images(img_data, [300, 300], method=0)
    print("Digital dtype: %s" % resized.dtype)
    # TensorFlow的函数处理图片后存储的数据是float32格式的,需要转换成uint8才能正确打印图片。
    lena = np.asarray(resized.eval(), dtype="uint8")
    print(resized.get_shape())
    plt.imshow(lena)
    plt.title('调整大小到[300,300]')
    plt.show()
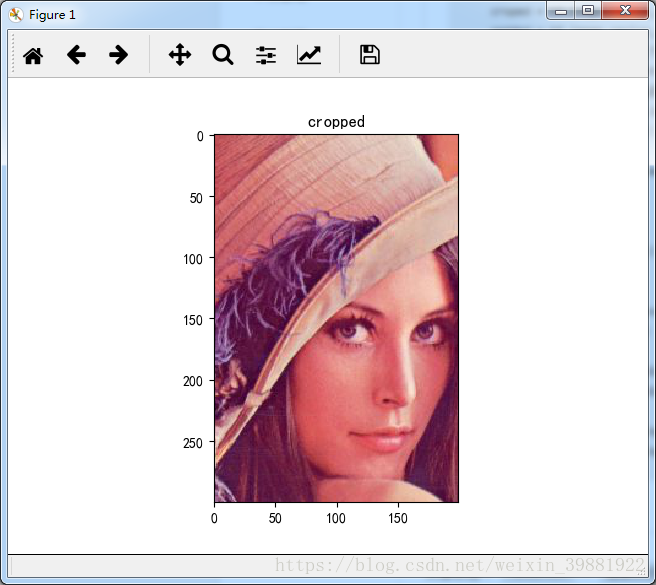
#图形剪切或填充
with tf.Session() as sess:
#自动裁剪或者填充(都是操作图片中间部分)
croped = tf.image.resize_image_with_crop_or_pad(img_data, 300,200)
padded = tf.image.resize_image_with_crop_or_pad(img_data, 700, 500)
# 按比例调整图像大小,第二个参数为(0,1]的实数。
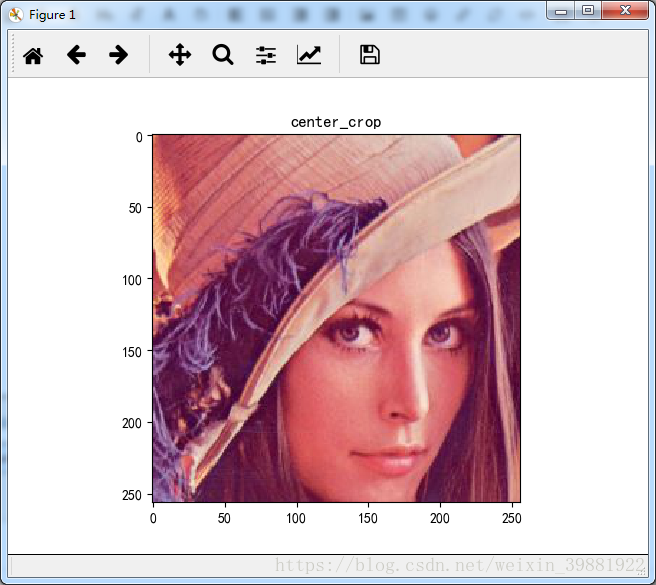
center_crop=tf.image.central_crop(img_data, 0.5)
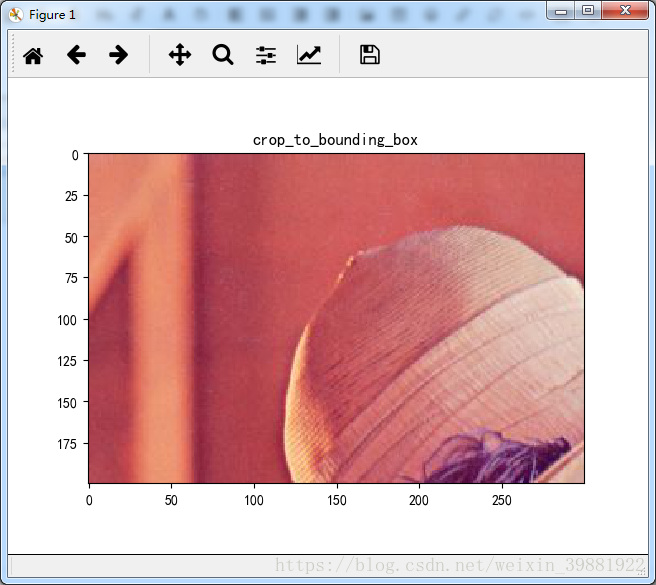
#裁剪给定区域{起点高度,起点宽度,框高,框宽}
crop_to_bounding_box=tf.image.crop_to_bounding_box(img_data,0,0,200,300)
plt.imshow(croped.eval())
# 填充给定区域
pad_to_bounding_box=tf.image.pad_to_bounding_box(img_data,0,0,200,300)
plt.title('cropped')
plt.show()
plt.imshow(padded.eval())
plt.title('padded')
plt.show()
plt.imshow(center_crop.eval())
plt.title('center_crop')
plt.show()
plt.imshow(crop_to_bounding_box.eval())
plt.title('crop_to_bounding_box')
plt.show()
plt.imshow(pad_to_bounding_box.eval())
plt.title('pad_to_bounding_box')
plt.show()

#图形翻转变换
with tf.Session() as sess:
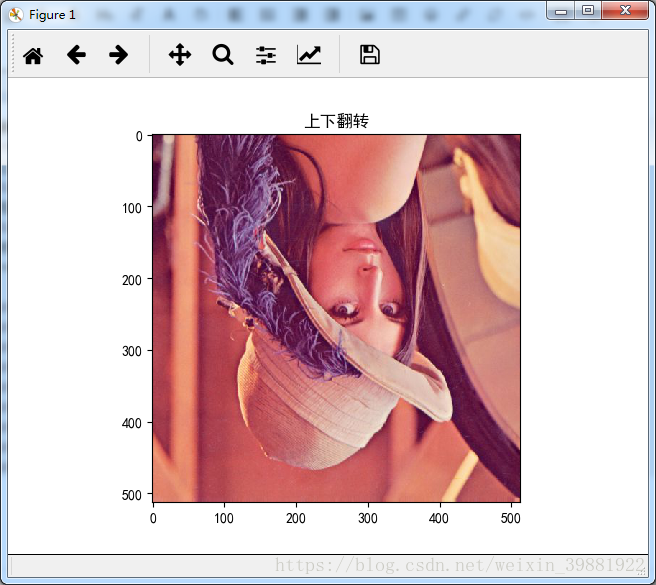
#上下翻转
flipped = tf.image.flip_up_down(img_data)
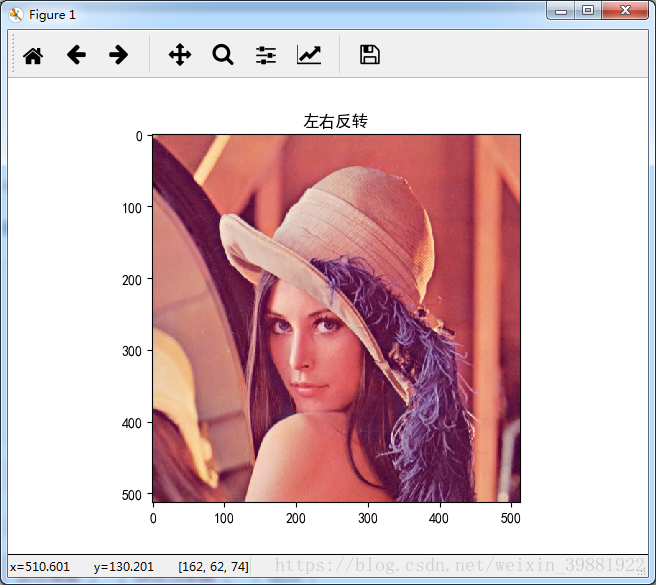
#左右反转
flipped1 = tf.image.flip_left_right(img_data)
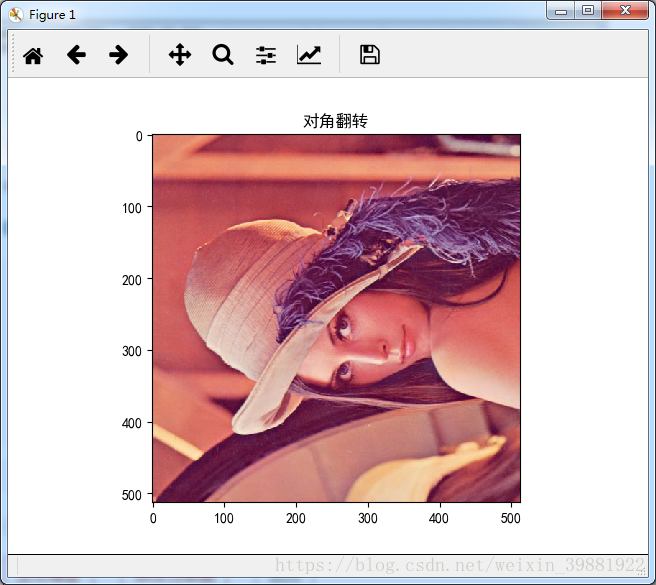
#对角翻转
transposed = tf.image.transpose_image(img_data)
plt.imshow(flipped.eval())
plt.title('上下翻转')
plt.show()
plt.imshow(flipped1.eval())
plt.title('左右反转')
plt.show()
plt.imshow(transposed.eval())
plt.title('对角翻转')
plt.show()
#调整亮度
with tf.Session() as sess:
#亮度调整
adjusted = tf.image.adjust_brightness(img_data, -0.5)
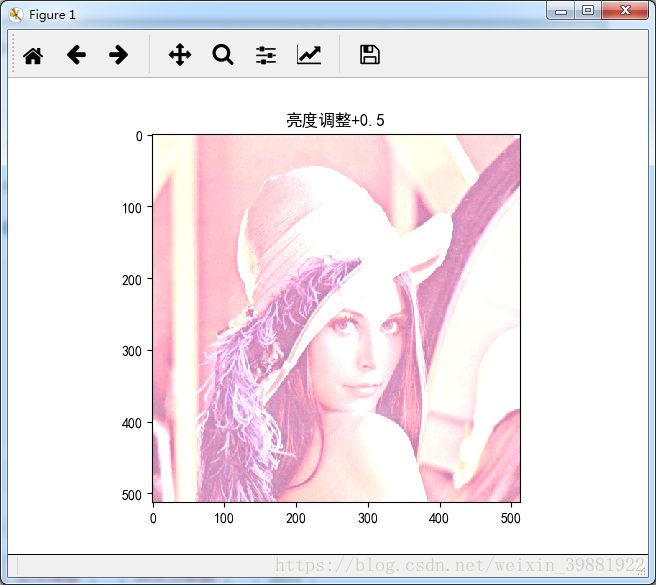
adjusted1 = tf.image.adjust_brightness(img_data, 0.5)
#随机亮度调整
adjusted2 = tf.image.random_brightness(img_data, max_delta=0.5)
plt.imshow(adjusted.eval())
plt.title('亮度调整-0.5')
plt.show()
plt.imshow(adjusted1.eval())
plt.title('亮度调整+0.5')
plt.show()
plt.imshow(adjusted2.eval())
plt.title('随机亮度调整')
plt.show()


#调整对比度
with tf.Session() as sess:
#对比度调整
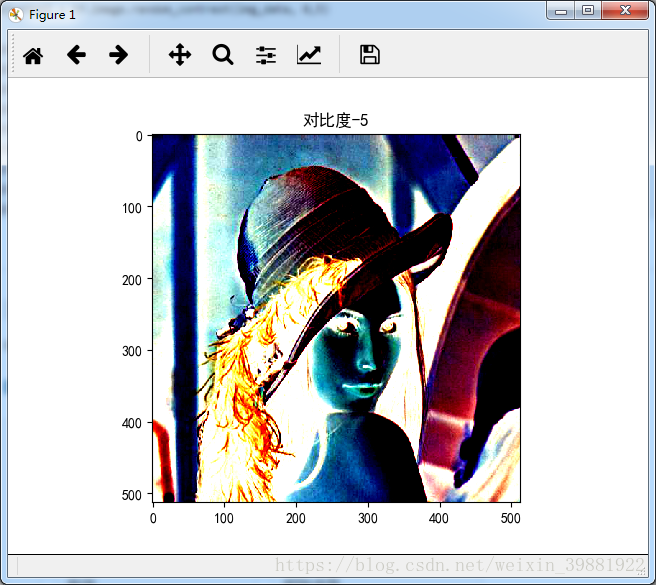
adjusted = tf.image.adjust_contrast(img_data, -5)
adjusted1 = tf.image.adjust_contrast(img_data, 5)
#随机调整对比度
adjusted2 = tf.image.random_contrast(img_data, 0,5)
plt.imshow(adjusted.eval())
plt.title('对比度-5')
plt.show()
plt.imshow(adjusted1.eval())
plt.title('对比度+5')
plt.show()
plt.imshow(adjusted2.eval())
plt.title('对比度随机调整,在[-max_delta,max_delta]范围内')
plt.show()

#调整色相
with tf.Session() as sess:
    # 在[-maxdelta,maxdelta]范围内随机调整图像的色相 maxdelat 在0-0.5的范围内
    adjusted3 = tf.image.random_hue(img_data, max_delta=0.4)

    plt.imshow(adjusted.eval())
    plt.title('调整色相')
    plt.show()

#调整饱和度
with tf.Session() as sess:
adjusted = tf.image.adjust_saturation(img_data, -5)
adjusted1 = tf.image.adjust_saturation(img_data, 5)
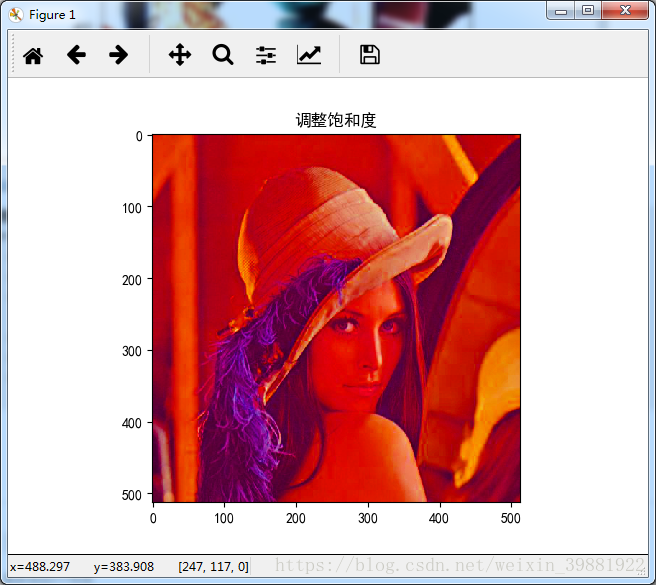
adjusted2 = tf.image.random_saturation(img_data,3,7)
plt.imshow(adjusted2.eval())
plt.title('调整饱和度')
plt.show()
#处理标注框
with tf.Session() as sess:
    boxes = tf.constant([[[0.05, 0.05, 0.9, 0.7],[0.35,0.47,0.5,0.56]]])
    begin, size, bbox_for_draw = tf.image.sample_distorted_bounding_box(tf.shape(img_data), bounding_boxes=boxes)
    # 通过标注框可视化随机截取得到的图像
    batched = tf.expand_dims(tf.image.convert_image_dtype(img_data, tf.float32), 0)
    image_with_box = tf.image.draw_bounding_boxes(batched, bbox_for_draw)


    plt.imshow(image_with_box[0].eval())
    plt.title('通过标注框可视化随机截取得到的图像')
    plt.show()
    # 截取随机出来的图像,因为算法带有随机成分,所以每次的结果都可能不相同
    distorted_image = tf.slice(img_data, begin, size)
    plt.imshow(distorted_image.eval())
    plt.title('截取出来的图像')
    plt.show()