微软官方下没有为ubuntu给出Visual Studio2022之类的安装方法,但是Visual Studio Code却有,window下,Visual Studio 20xx下配置opencv的C++环境容易,主要是下载几个包,然后配置一下Visual Studio 20xx软件中的一些library的引用路径就行;而当我在win10配置Visual Studio Code的C++环境之前我用cmke-gui那个软件,折腾了好久,就是编译不成功,遂作罢;
而今天在ubuntu下,只能安装Visual Studio Code的环境,就不得不走用cmake-gui编译opencv的路了;

1.下载Visual Studio Code安装包
可以到微软的编译器官网下载ubuntu适合的.deb安装包,其他环境例如macos或者arm架构的下载链接;
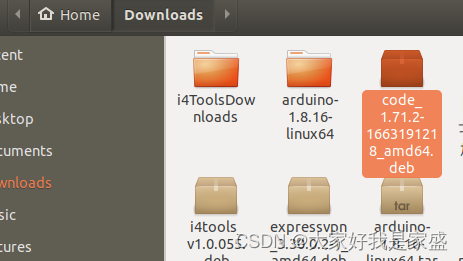
在安装包的文件夹中打开终端,sudo dpkg -i code_1.71.2-1663191218_amd64.deb 然后等待安装成功; 这时候搜索自己的app就可以找到vscode了;

2.安装OpenCV
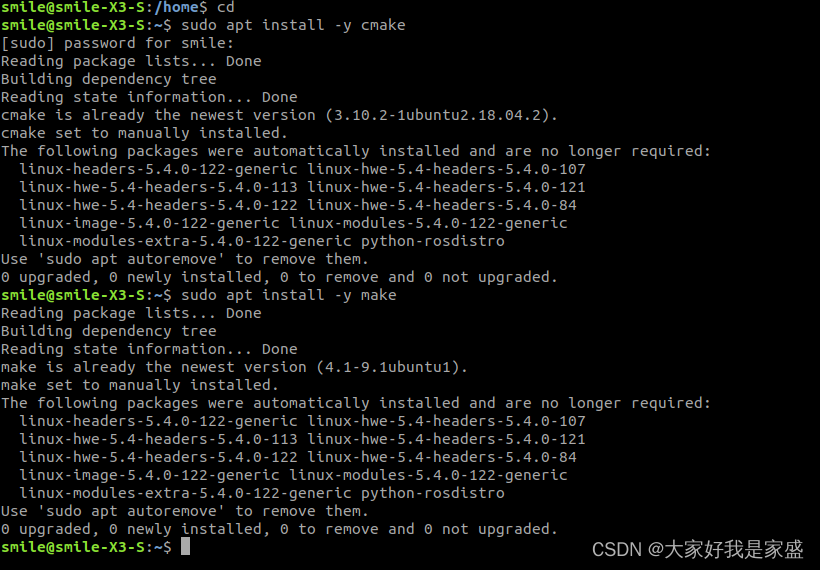
2.1 进入终端并输入以下命令。 (即使用cd命令移动到主目录并安装cmake和make)
cd
sudo apt install -y cmake
sudo apt install -y make
我之前已经安装了,所以显示如下:
2.2 从github下载OpenCV代码
进入你想安装opencv到的那个文件夹中,打开终端,输入
git clone https://github.com/opencv/opencv.git
(需要安全上网)
然后会自动下载最新的opencv程序(如果你要下载特定版本的opencv,那要找一下对应的链接)
smile@smile-X3-S:~/app_install$ git clone https://github.com/opencv/opencv.git
Cloning into 'opencv'...
remote: Enumerating objects: 309546, done.
remote: Counting objects: 100% (104/104), done.
remote: Compressing objects: 100% (89/89), done.
remote: Total 309546 (delta 29), reused 58 (delta 9), pack-reused 309442
Receiving objects: 100% (309546/309546), 497.41 MiB | 2.20 MiB/s, done.
Resolving deltas: 100% (215491/215491), done
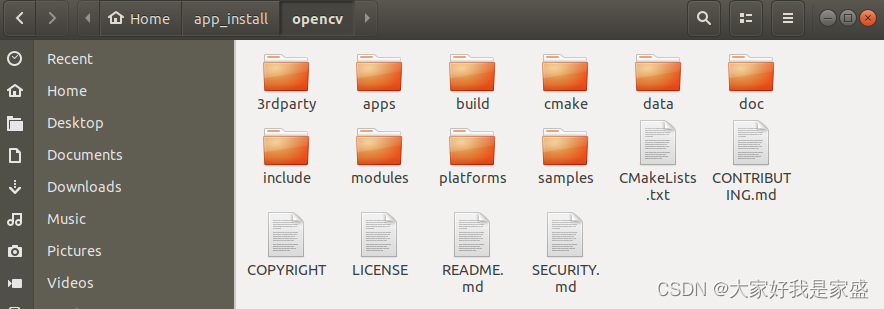
成功 git clone 后,你应该在对应的文件夹中找到一个名为 opencv 的文件夹
2.3 进入 opencv 文件夹并创建一个名为 build 的文件夹、安装cmake gui
cd opencv && mkdir build
sudo apt-get install cmake-qt-gui
然后打开 cmake gui
cmake-gui
整个交互过程如下
smile@smile-X3-S:~/app_install$ cd opencv && mkdir build
smile@smile-X3-S:~/app_install/opencv$ sudo apt-get install cmake-qt-gui
[sudo] password for smile:
Reading package lists... Done
Building dependency tree
Reading state information... Done
The following packages were automatically installed and are no longer required:
  linux-headers-5.4.0-122-generic linux-hwe-5.4-headers-5.4.0-107
  linux-hwe-5.4-headers-5.4.0-113 linux-hwe-5.4-headers-5.4.0-121
  linux-hwe-5.4-headers-5.4.0-122 linux-hwe-5.4-headers-5.4.0-84
  linux-image-5.4.0-122-generic linux-modules-5.4.0-122-generic
  linux-modules-extra-5.4.0-122-generic python-rosdistro
Use 'sudo apt autoremove' to remove them.
The following NEW packages will be installed:
  cmake-qt-gui
0 upgraded, 1 newly installed, 0 to remove and 0 not upgraded.
Need to get 1,643 kB of archives.
After this operation, 5,512 kB of additional disk space will be used.
Get:1 https://mirrors.ustc.edu.cn/ubuntu bionic-updates/universe amd64 cmake-qt-gui amd64 3.10.2-1ubuntu2.18.04.2 [1,643 kB]
Fetched 1,643 kB in 1s (2,715 kB/s)
Selecting previously unselected package cmake-qt-gui.
(Reading database ... 362934 files and directories currently installed.)
Preparing to unpack .../cmake-qt-gui_3.10.2-1ubuntu2.18.04.2_amd64.deb ...
Unpacking cmake-qt-gui (3.10.2-1ubuntu2.18.04.2) ...
Setting up cmake-qt-gui (3.10.2-1ubuntu2.18.04.2) ...
Processing triggers for desktop-file-utils (0.23-1ubuntu3.18.04.2) ...
Processing triggers for man-db (2.8.3-2ubuntu0.1) ...
Processing triggers for shared-mime-info (1.9-2) ...
Processing triggers for gnome-menus (3.13.3-11ubuntu1.1) ...
Processing triggers for hicolor-icon-theme (0.17-2) ...
Processing triggers for mime-support (3.60ubuntu1) ...
smile@smile-X3-S:~/app_install/opencv$ cmake-gui
Gtk-Message: 20:39:59.329: GtkDialog mapped without a transient parent. This is discouraged.
Gtk-Message: 20:40:20.428: GtkDialog mapped without a transient parent. This is discouraged.
会弹出cmake gui窗口,接下来要利用这个程序帮我们编译刚刚下载的opencv程序
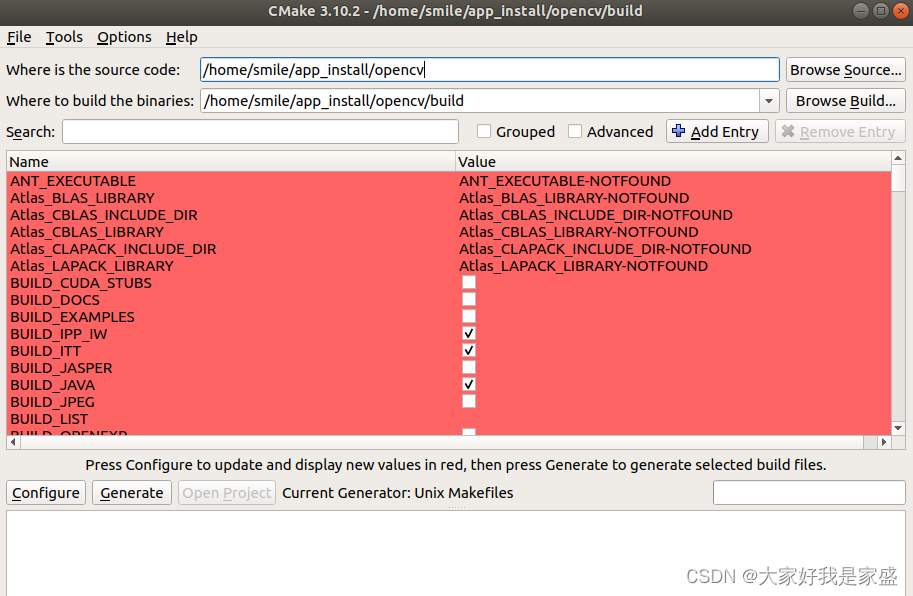
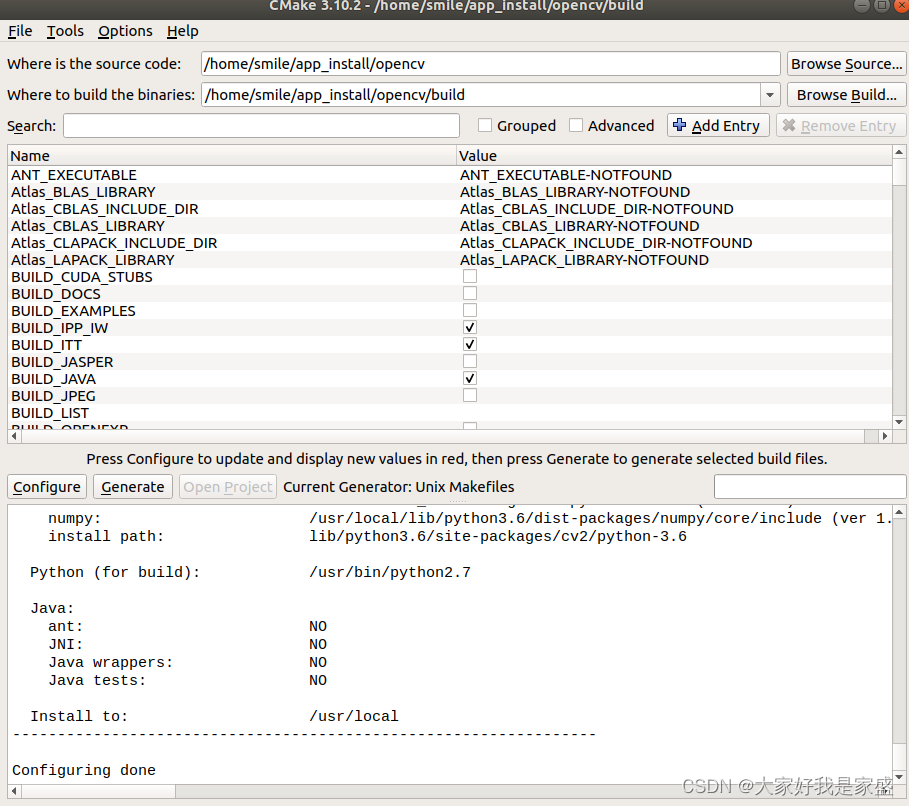
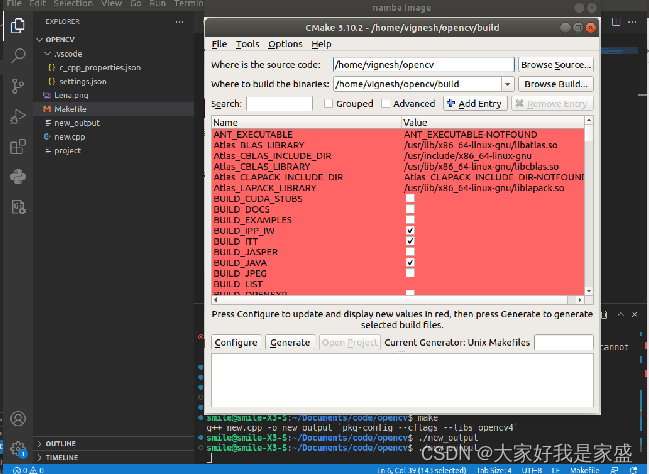
2.3.1 配置cmake gui
1.在Where is the source code:对话框中,粘贴你的opencv文件的路径
在Where to build the binaries: 对话框中,复制粘贴opencv目录下的构建目录的路径
2.单击configure,自己用系统自己默认的Unix makefile,然后点击finish,然后单击generate。
3. 回到终端并移步到 opencv 文件夹中的 build 文件夹,依次输入以下命令;预计make install将花费大量时间;
cd ~/opencv/build
make -j4
sudo make install
sudo apt-get install libopencv-dev
smile@smile-X3-S:~/app_install/opencv$ cd build/
smile@smile-X3-S:~/app_install/opencv/build$ make -j4
Scanning dependencies of target opencv_highgui_plugins
Scanning dependencies of target ade
Scanning dependencies of target libopenjp2
Scanning dependencies of target libwebp
[  0%] Built target opencv_highgui_plugins
[  0%] Building CXX object CMakeFiles/ade.dir/3rdparty/ade/ade-0.1.2a/sources/ade/source/alloc.cpp.o
Scanning dependencies of target ippiw
// 中间太长了,我跳过了,就是等了十几分钟,从0%到100%编译好了;
[100%] Building CXX object modules/gapi/CMakeFiles/opencv_test_gapi.dir/test/util/variant_tests.cpp.o
[100%] Linking CXX executable ../../bin/opencv_test_gapi
[100%] Built target opencv_test_gapi
smile@smile-X3-S:~/app_install/opencv/build$ sudo apt-get install libopencv-dev
[sudo] password for smile:
Reading package lists... Done
Building dependency tree
Reading state information... Done
libopencv-dev is already the newest version (3.2.0+dfsg-4ubuntu0.1).
libopencv-dev set to manually installed.
The following packages were automatically installed and are no longer required:
  linux-headers-5.4.0-122-generic linux-hwe-5.4-headers-5.4.0-107 linux-hwe-5.4-headers-5.4.0-113 linux-hwe-5.4-headers-5.4.0-121 linux-hwe-5.4-headers-5.4.0-122 linux-hwe-5.4-headers-5.4.0-84
  linux-image-5.4.0-122-generic linux-modules-5.4.0-122-generic linux-modules-extra-5.4.0-122-generic python-rosdistro
Use 'sudo apt autoremove' to remove them.
0 upgraded, 0 newly installed, 0 to remove and 0 not upgraded.
smile@smile-X3-S:~/app_install/opencv/build$ sudo make install
[  1%] Built target ade
[  1%] Built target opencv_highgui_plugins
[  8%] Built target libwebp
// 中间太长了,我跳过了,就是等了十几分钟,从0%到100%编译好了;
-- Installing: /usr/local/bin/opencv_model_diagnostics
-- Set runtime path of "/usr/local/bin/opencv_model_diagnostics" to "/usr/local/lib"
4.完成上述步骤后,现在该检查安装是否成功了。这可以使用命令pkg-config --modversion opencv来完成

3.再ubuntu下使用 Visual Studio Code配置OpenCV
1.打开 Visual Studio Code -> 左上角File ->打开一个新窗口new window ->点击New File,即创建一个新文件夹(比如project) -> 创建一个新的 cpp 文件(比如new.cpp)
左上角File ->打开一个新窗口new window
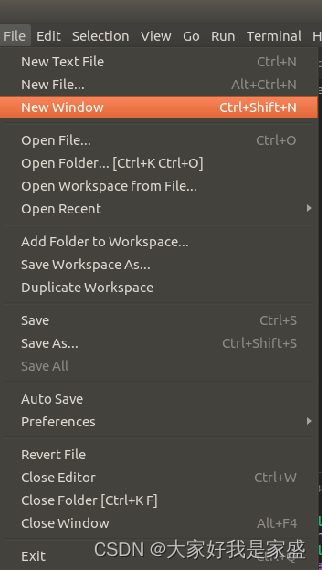
点击New File,即创建一个新文件夹(比如project)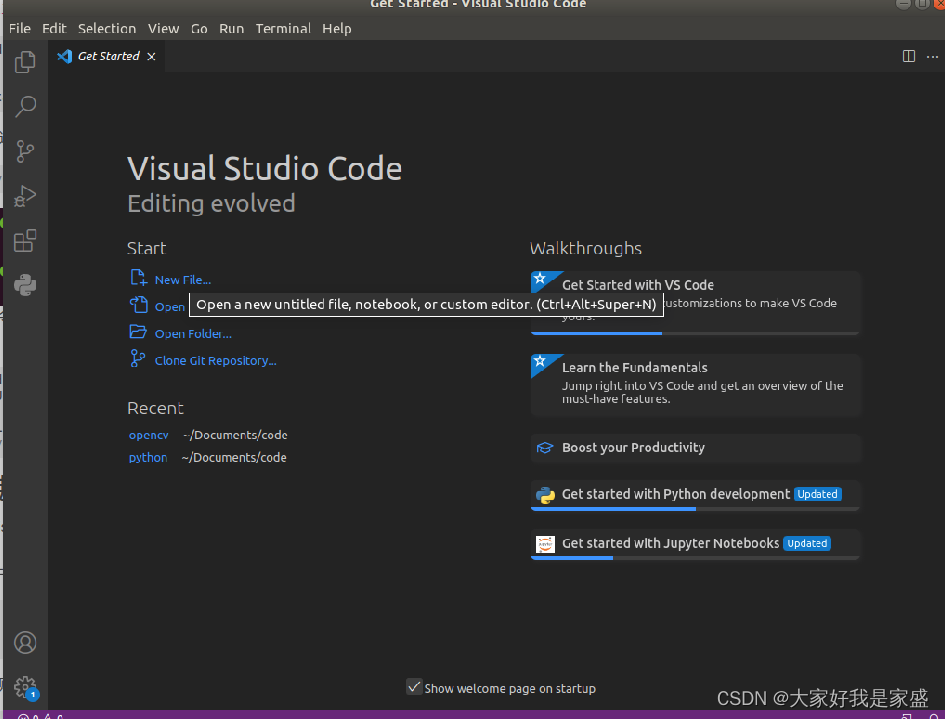

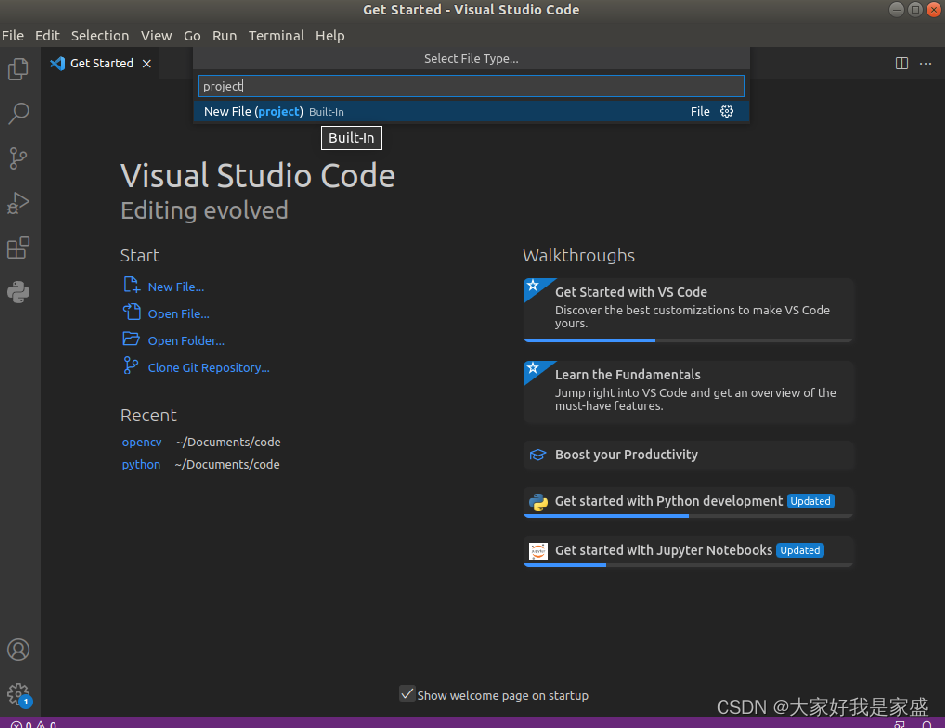
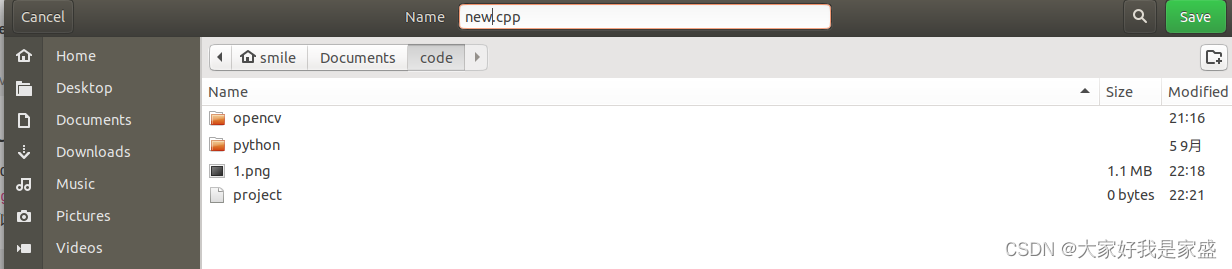
然后选则以下这个project放到电脑的哪个路径下
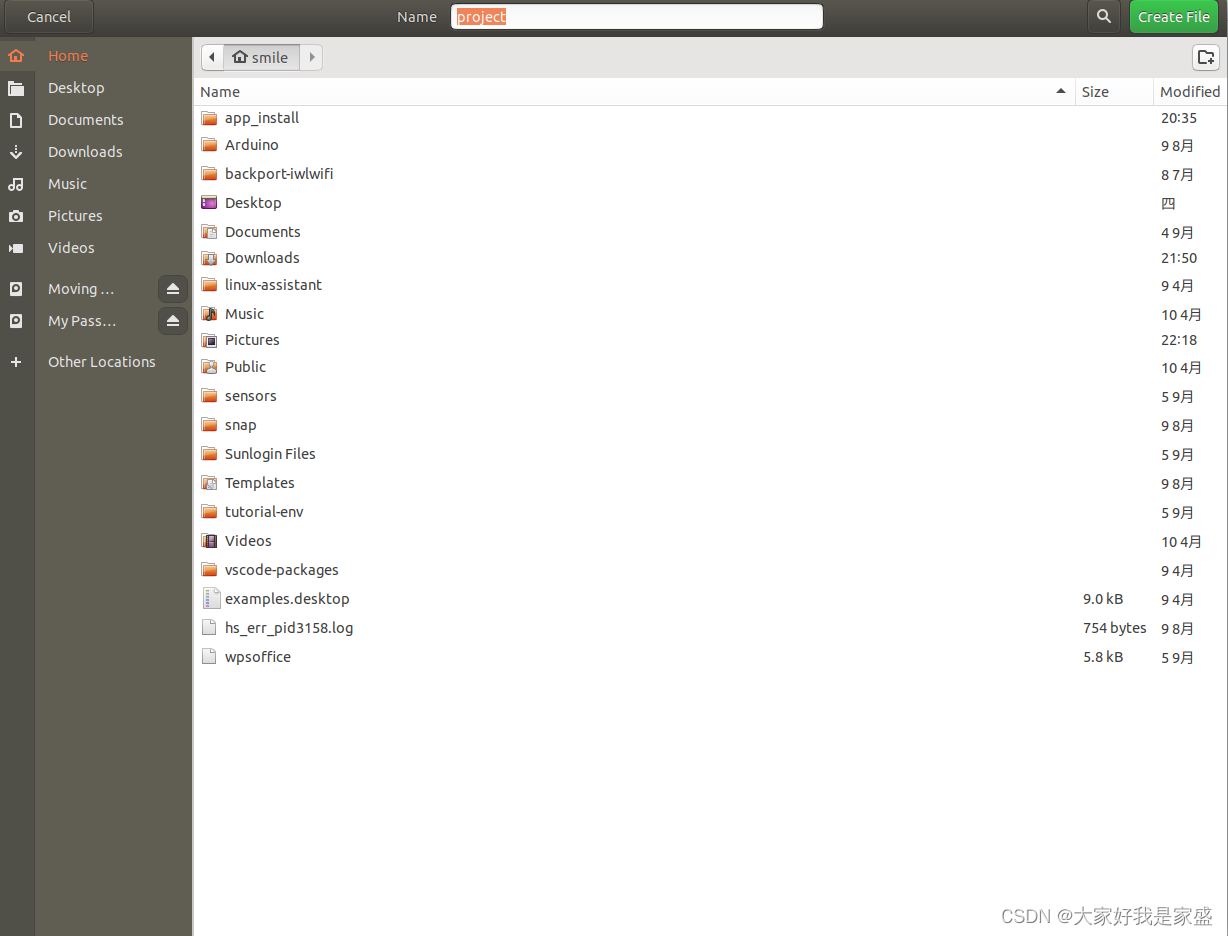
选好位置后点右上角create file,然后弹出下面的界面
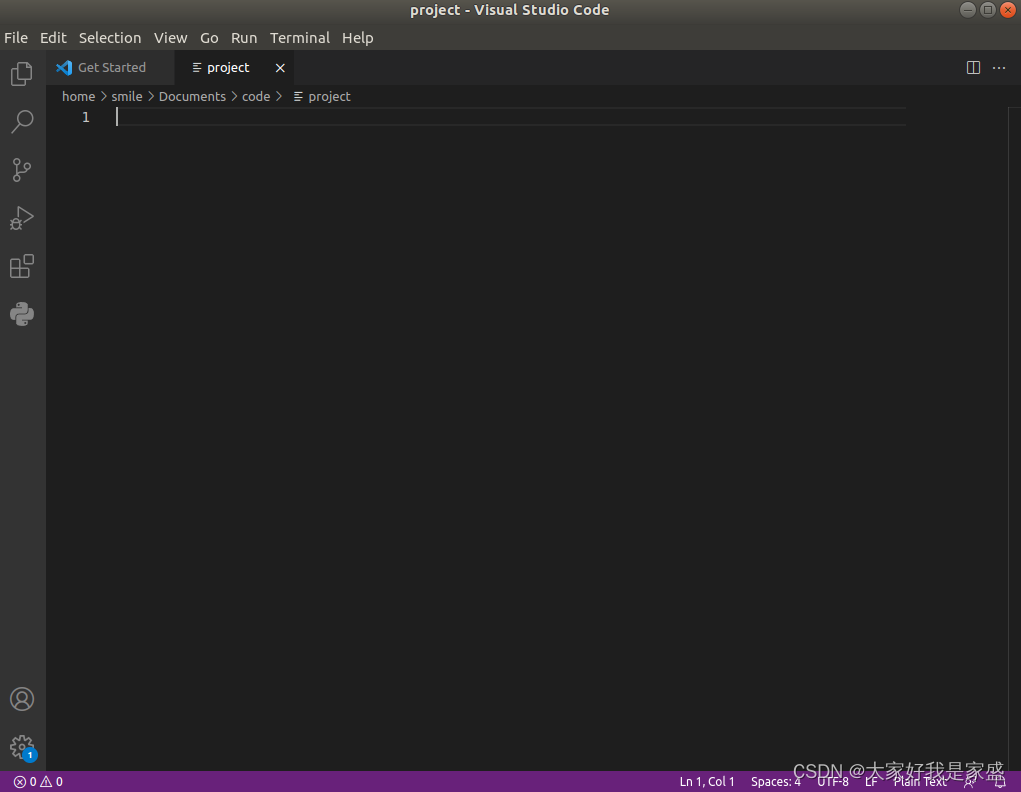
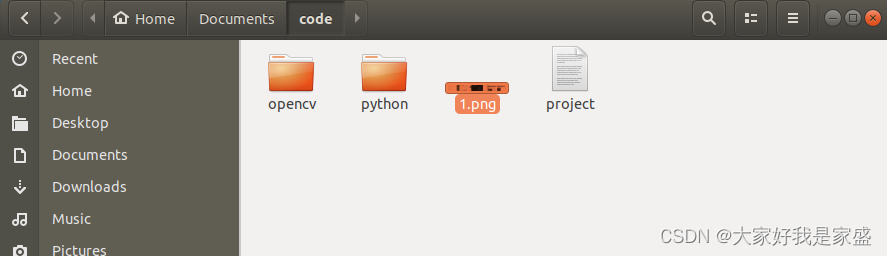
2.随便找一张图片(比如1.jpg)复制粘贴到创建的新文件夹中
点击左上角File ->new text file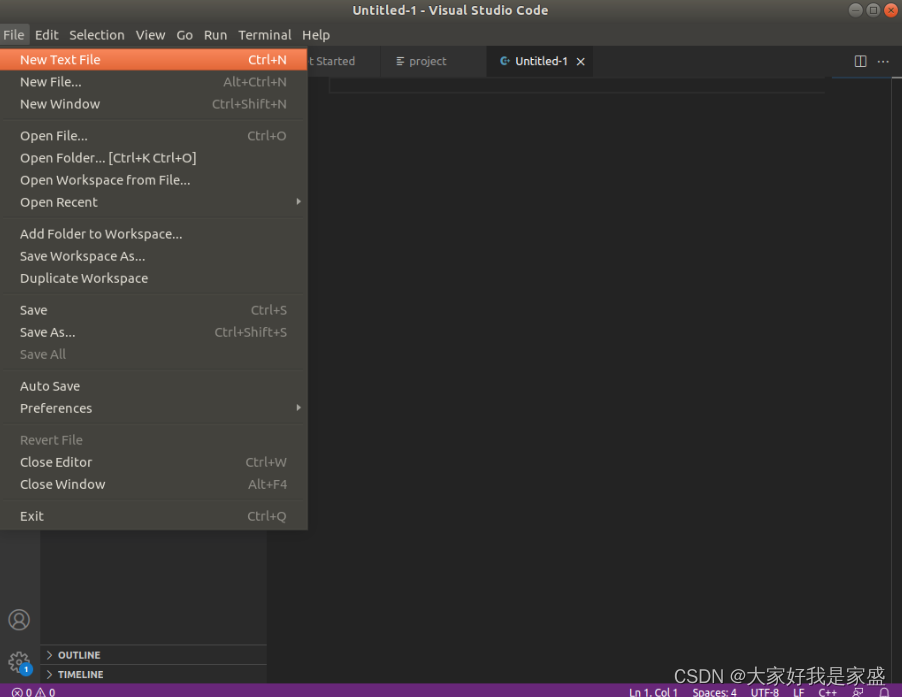
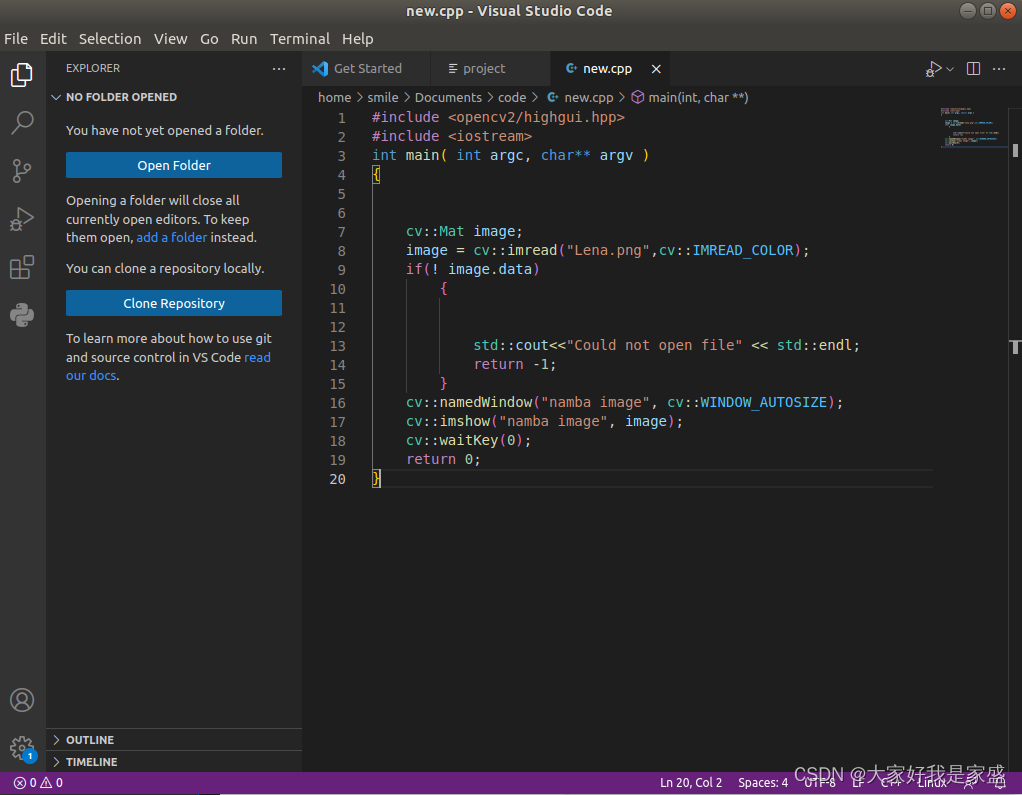
然后把这个opencv打开一张图片的C++代码拷进去
#include <opencv2/highgui.hpp>
#include <iostream>
int main( int argc, char** argv )
{


    cv::Mat image;
    image = cv::imread("Lena.png",cv::IMREAD_COLOR);
    if(! image.data)
        {


            std::cout<<"Could not open file" << std::endl;
            return -1;
        }
    cv::namedWindow("namba image", cv::WINDOW_AUTOSIZE);
    cv::imshow("namba image", image);
    cv::waitKey(0);
    return 0;
}
然后按ctrl +s,把这个新建的代码文本保存为new.cpp
文件夹结构应该类似于下面的
project
|--new.cpp
|--1.png
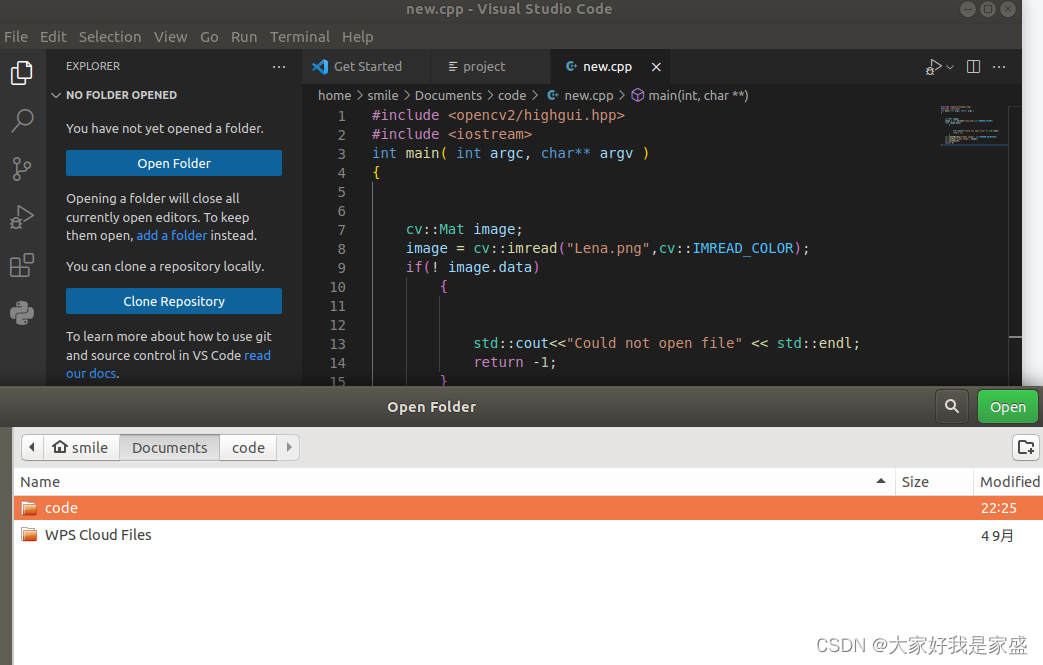
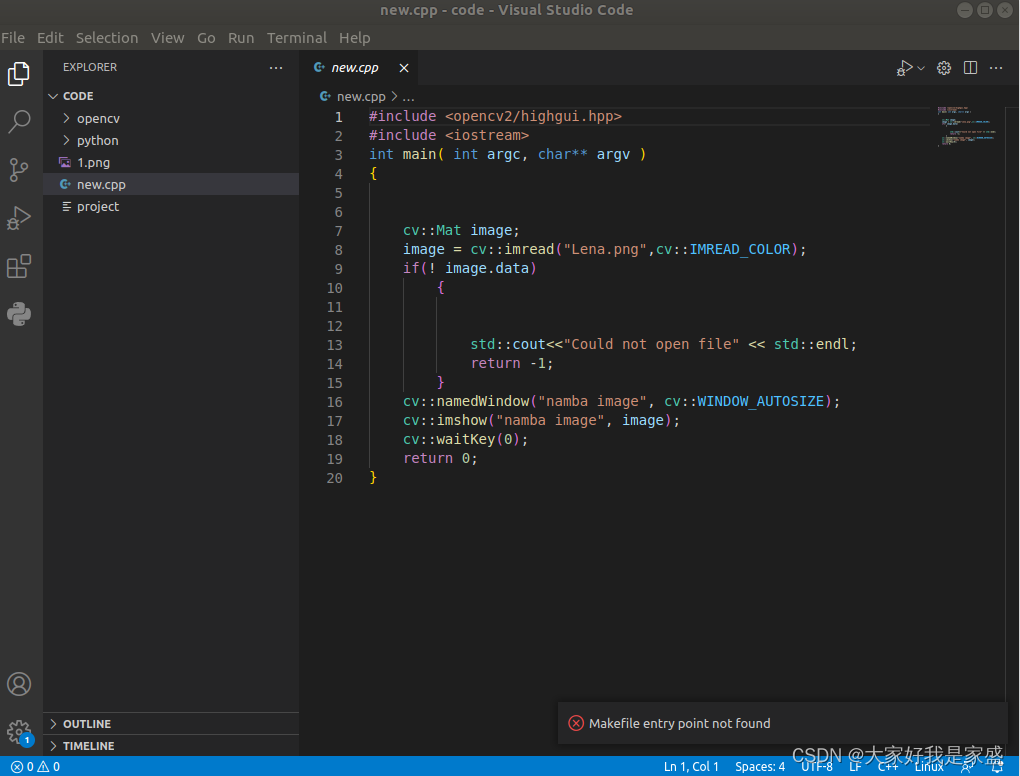
如果看不到,那你点击open floder,然后重新open一下放代码的文件夹
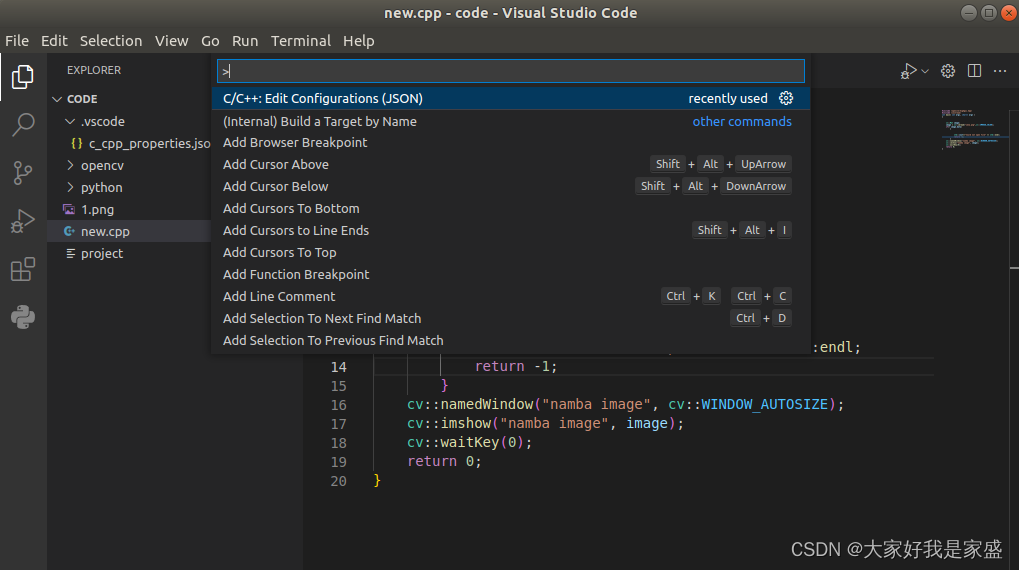
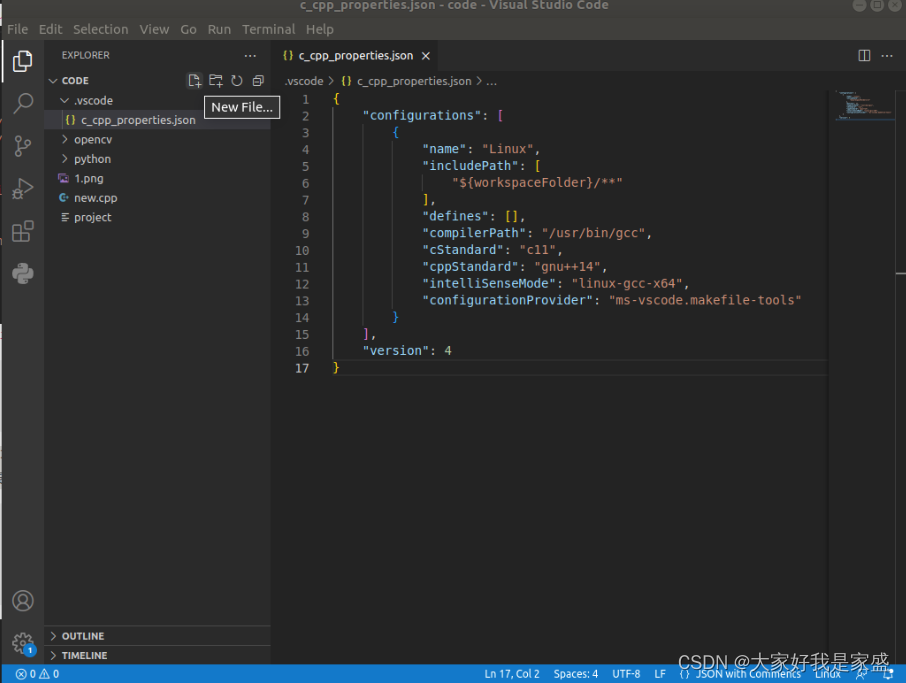
3.打开 new.cpp 文件按ctrl+shift+p,这将打开命令托盘,在其中选择C/C++: Edit Configurations(JSON)打开c_cpp_properties.json,如下所示
4.在c_cpp_properties.json中编辑 IncludePath 以添加 /usr/local/include/opencv4/**
{


    "configurations": [
        {


            "name": "Linux",
            "includePath": [
                "/usr/local/include/opencv2**"
            ],
            "defines": [],
            "compilerPath": "/usr/bin/gcc",
            "cStandard": "c11",
            "cppStandard": "gnu++14",
            "intelliSenseMode": "linux-gcc-x64"
        }
    ],
    "version": 4
}
如下图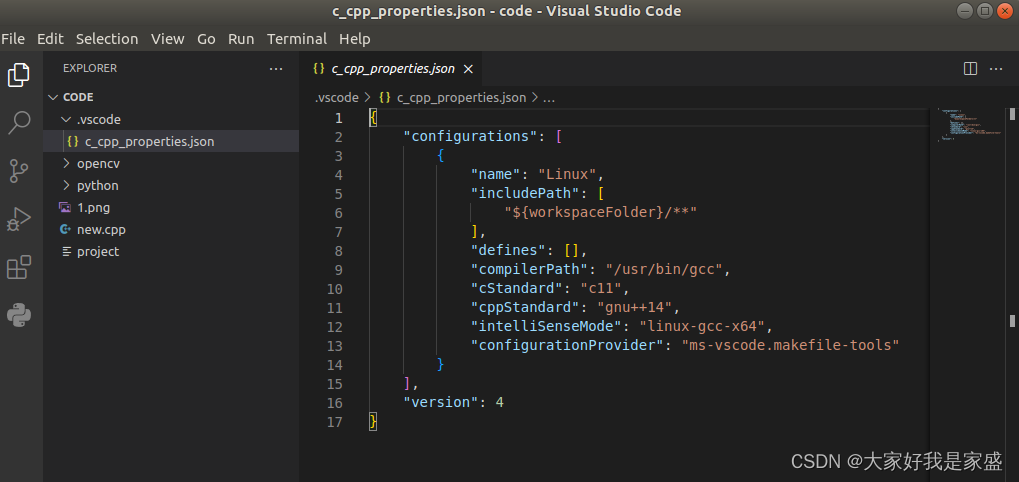
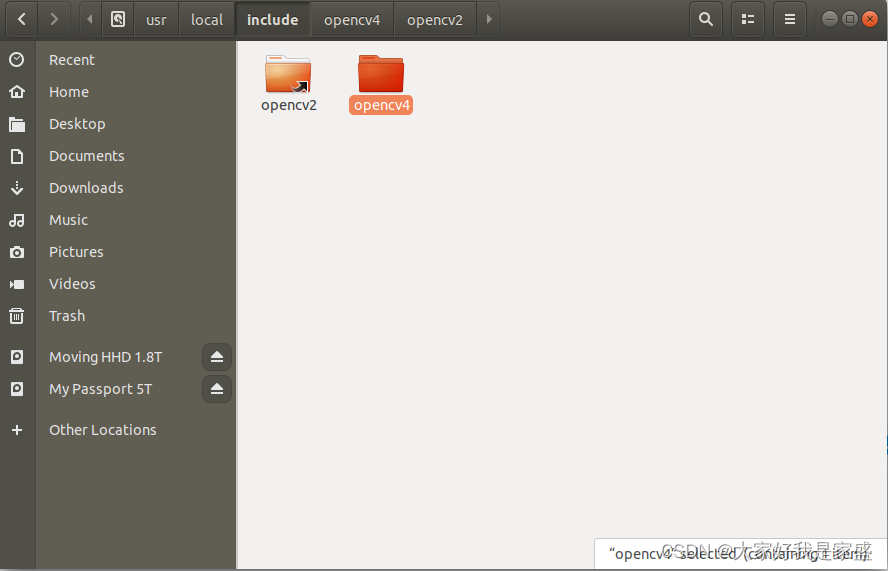
如果报错:致命错误: opencv2/core.hpp:没有这样的文件或目录”
主要原因是opencv4的文件夹放的有问题
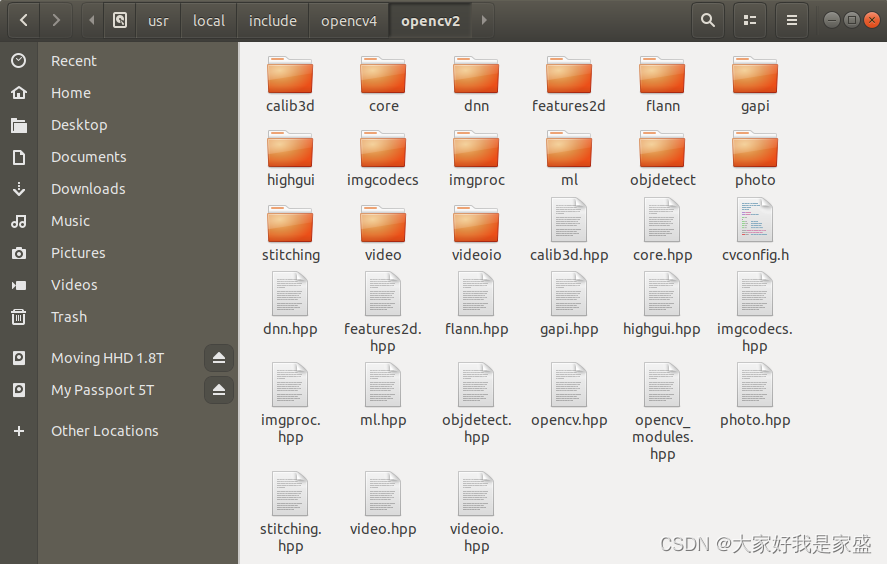
解决方法:将/usr/include/opencv4复制到/usr/include/opencv2
sudo ln -s /usr/local/include/opencv4/opencv2/ /usr/local/include/opencv2
如果报错:error while loading shared libraries: libopencv_highgui.so.406: cannot open shared object file: No s
error while loading shared libraries:说明共享库出现问题。
检查下动态库(共享库)配置文件
sudo gedit /etc/ld.so.conf
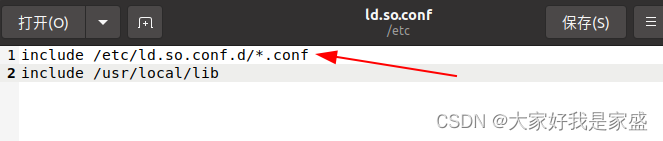
然后更新下
sudo ldconfig
5.现在创建另一个文件并将其命名为Makefile,我们的文件夹结构应该类似于下面的代码片段
左上方点击文件+
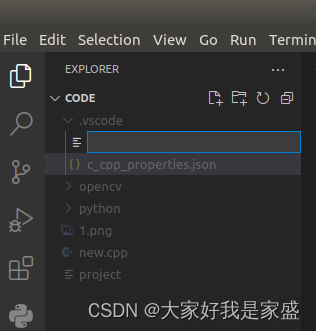
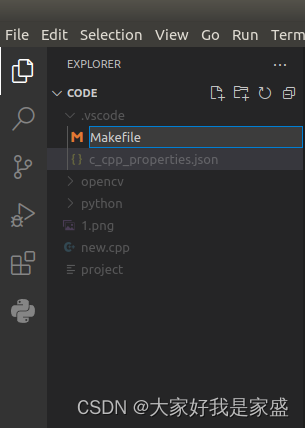
project
|--new.cpp
|--1.png
|--Makefile
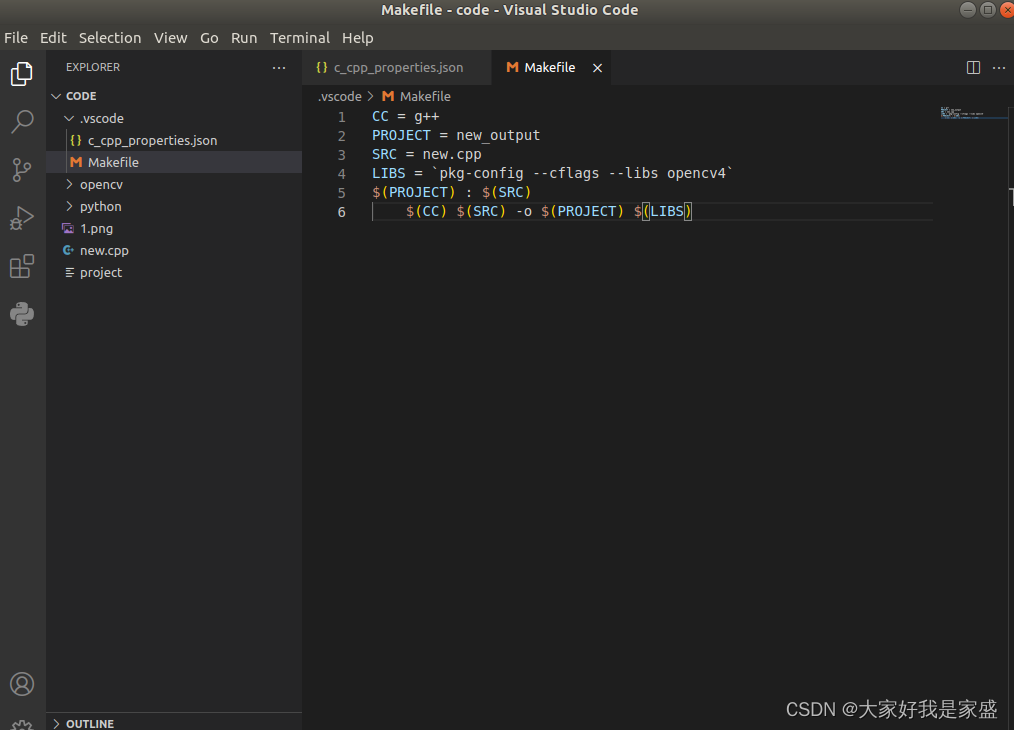
在 Makefile 中键入以下代码。最好键入下面的代码而不是复制粘贴,因为这可能会导致错误。
(注意:输入命令时,确保最后一行的开头有一个制表符而不是四个空格)
CC = g++
PROJECT = new_output
SRC = new.cpp
LIBS = `pkg-config --cflags --libs opencv4`
$(PROJECT) : $(SRC)
	$(CC) $(SRC) -o $(PROJECT) $(LIBS)
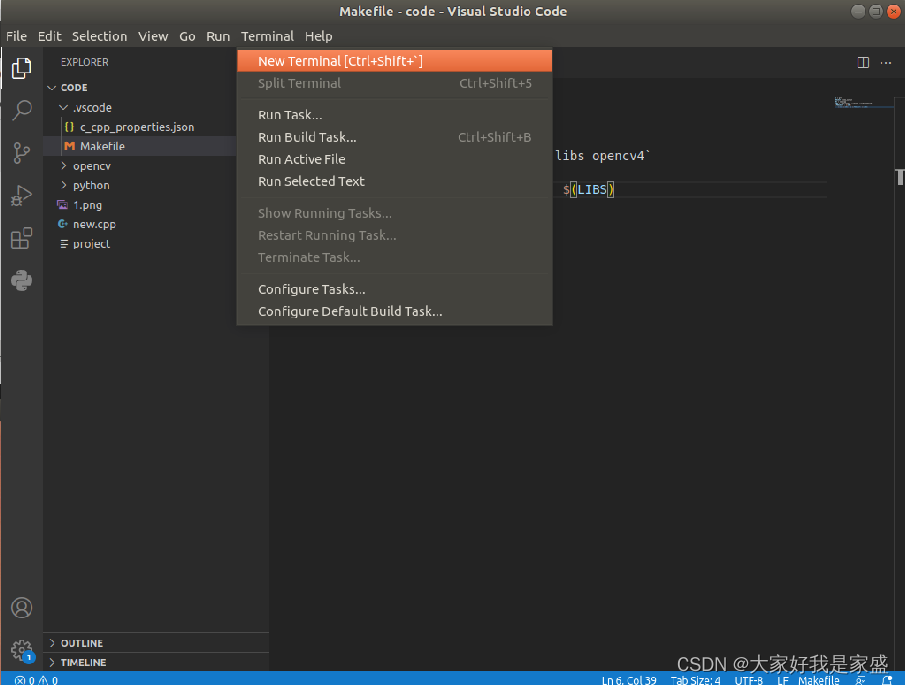
6.现在在 VS Code中的终端输入make。这应该会给你一个名为new_output的可执行文件
如果没有终端就创建一个:
这里注意一下,Makefile文件要和代码放在一个文档里,不然会报错
smile@smile-X3-S:~/Documents/code$ make
make: *** No targets specified and no makefile found.  Stop.