目录
了解threejs
一、官网
一切了解都在官方文档中, 直接看官方文档即可
下面是自己的一些总结, 个人观点(可能有错误或者理解不同)
官方文档:Three.js – JavaScript 3D Library
github上的代码: GitHub - mrdoob/three.js: JavaScript 3D Library.
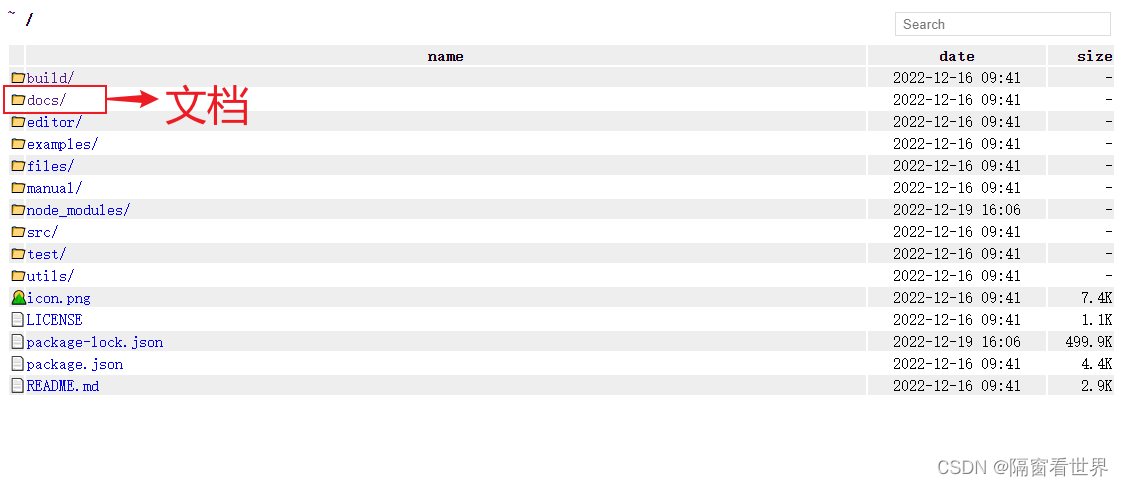
因为是国外网站, 可以在github上面下载安装包, 然后本地打开(有中文, 可操作)
npm install    //安装依赖
npm start      //启动开发者模式
红色方框内为本地地址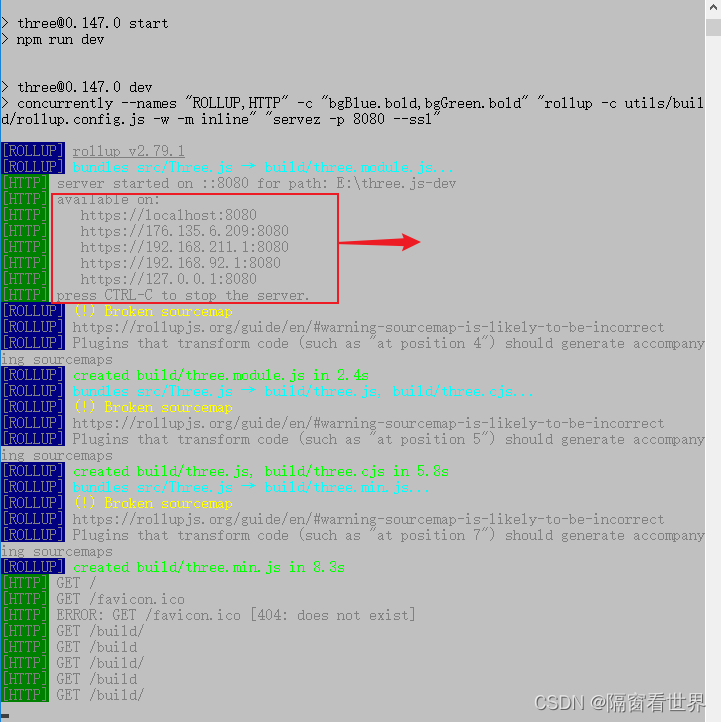
打包工具(PARCEL)
一、官网
选择的优势:
Parcel 是 Web 应用打包工具,适用于经验不同的开发者。它利用多核处理提供了极快的速度,并且不需要任何配置。
这也是为什么不选择webpack的原因, 当然webpack肯定可以, 这就需要看个人的爱好以及擅长
官方网站:Parcel - Web 应用打包工具 | Parcel 中文网

二、用Parcel配置环境
1、步骤:
第一步:初始化文件
npm init //初始化文件 --> 得到package文件第二步:安装打包文件
npm install parcel-bundler //全局安装parcel第三步:配置parcel配置(官方文档中有)
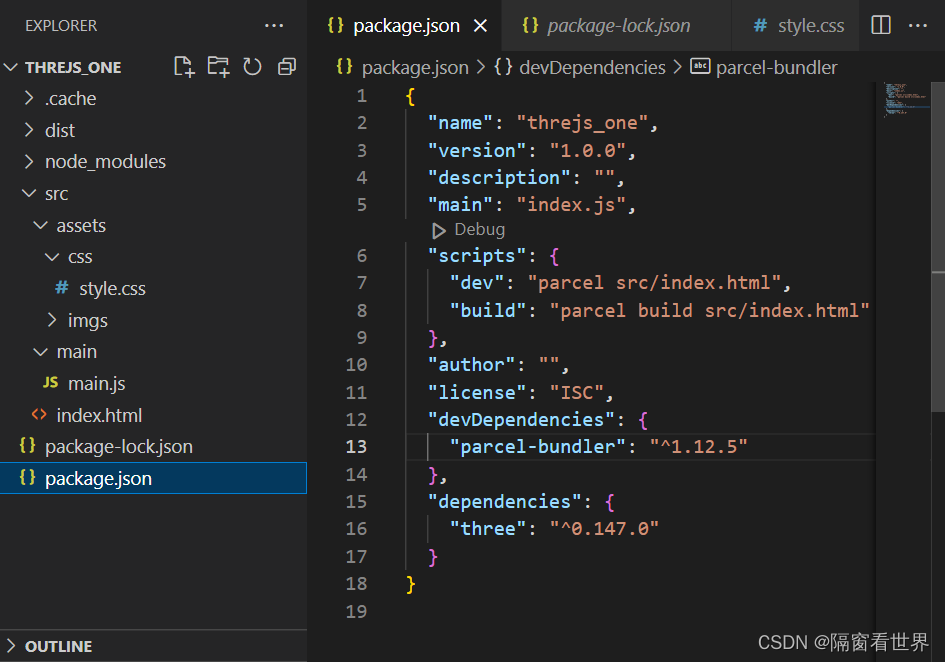
{
  "name": "threjs_one",
  "version": "1.0.0",
  "description": "",
  "main": "index.js",
  "scripts": {
    "dev": "parcel src/index.html",
    "build": "parcel build src/index.html"
  },
  "author": "",
  "license": "ISC",
  "devDependencies": {              //这里需要配置开发依赖
    "parcel-bundler": "^1.12.5"
  }
}
配置开发依赖
npm install parcel-bundler --save-dev安装threejs依赖
npm install three --save--save
简写 -s,将模块安装到项目 node_modules 目录下,也会将模块依赖写入 dependencies 节点,同时运行 npm install 初始化项目时会将模块下载到项目目录下。
--save-dev
简写 -d,将模块安装到项目 node_modules 目录下,也会将模块依赖写入 devDependencies 节点,同时运行 npm install 初始化项目时,会将模块下载到项目目录下。
2、配置完成后及展示结果
了解threejs的最基本内容
具体请看官网
一、场景(Scene)
场景能够让你在什么地方、摆放什么东西来交给three.js来渲染,这是你放置物体、灯光和摄像机的地方。
Scene()
创建一个新的场景对象。
二、摄像机(Camera)
摄像机的抽象基类。在构建新摄像机时,应始终继承此类。
Camera()
Camera(角度, 宽高比, 近端, 远端)
创建一个新的Camera(摄像机)。注意:这个类并不是被直接调用的;你所想要的或许是一个 PerspectiveCamera(透视摄像机)或者 OrthographicCamera(正交摄像机)。
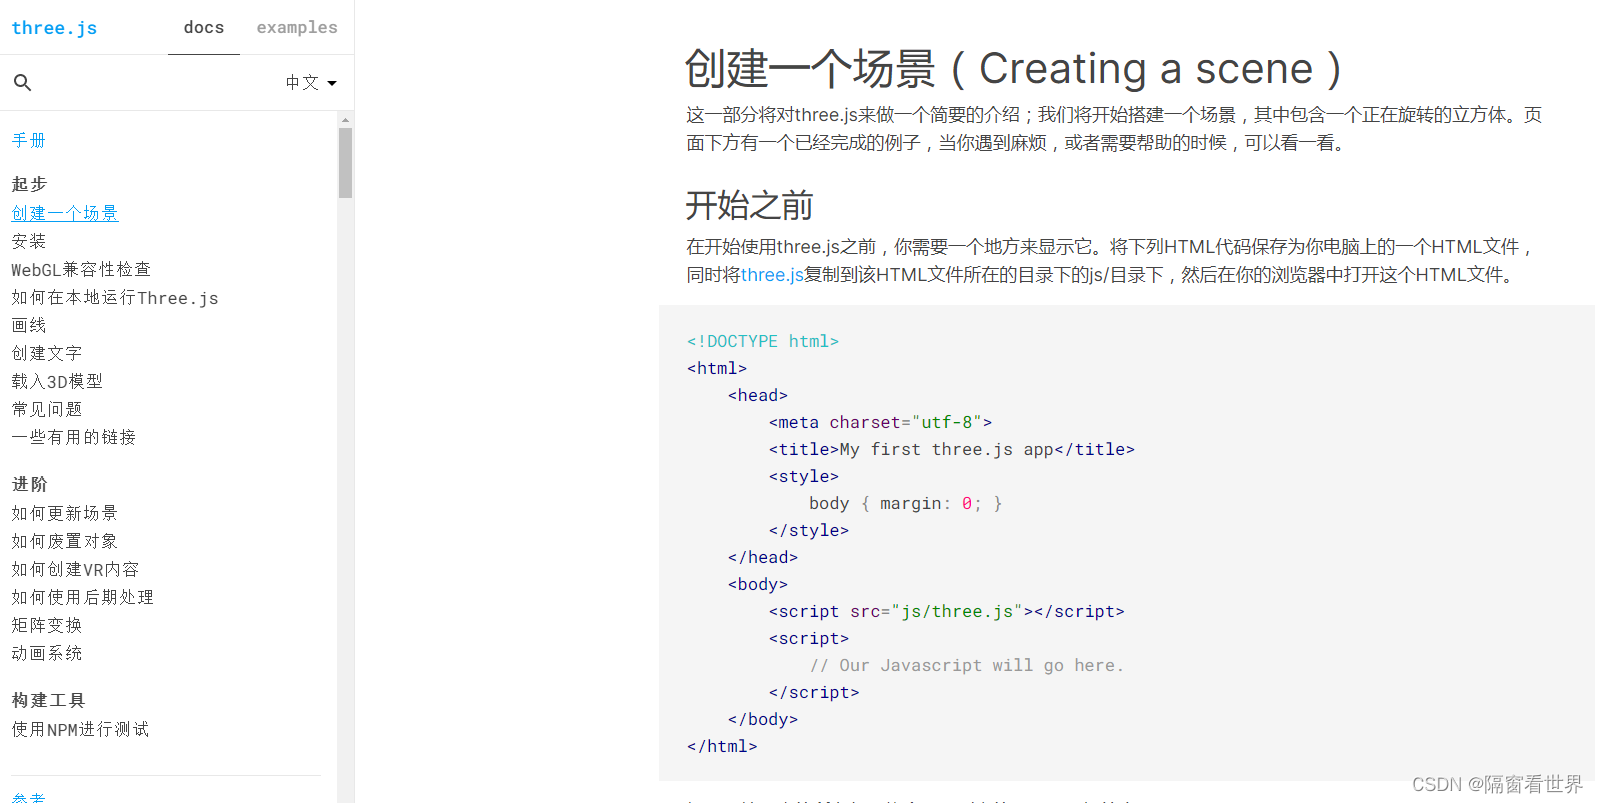
这里面的方法都可以在官网中查到, 就是第一个目录: 创建一个场景
物体的位置改变:
cube.position.x = 3;
// 运动就是在每一帧渲染的时候坐标轴的位置变化
// 黄色小方块每帧在X轴上向前运动0.01,当运动到大于5时回到原点
cube.position.x += 0.01;
if(cube.position.x > 5) {
cube.position.x = 0
}
物体的大小改变:
cube.scale.set(3, 2, 1)
cube.scale.set(长, 宽, 高) 或者说(x, y, z)
旋转:
cube.rotation.set(Math.PI / 4, 0, 0)
在x轴上旋转PI/4的角度
// 导入整个 three.js核心库
import * as THREE from "three"
import { Clock } from "three";
// 导入轨道控制器
import {OrbitControls} from 'three/examples/jsm/controls/OrbitControls'
// 导入动画库
import gsap from "gsap";
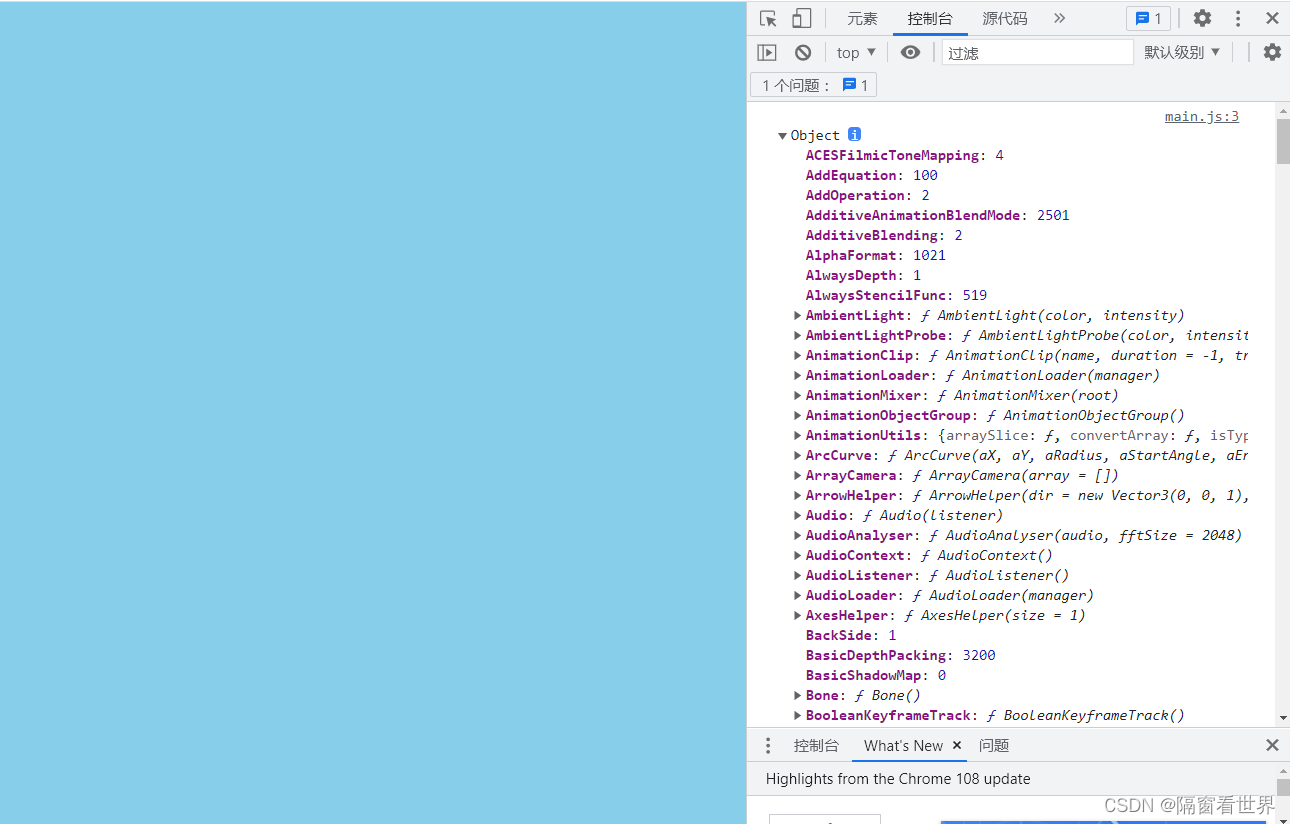
// console.log(THREE)
// 1.创建场景
const scene = new THREE.Scene();
// 2.创建相机
const camera = new THREE.PerspectiveCamera(75, window.innerWidth / window.innerHeight, 0.1, 1000);
// 2.1设置相机位置
camera.position.set(0, 0, 10);
scene.add(camera);
// 3.添加物体
// 3.1创建几何体
const cubeGeometry = new THREE.BoxGeometry(1, 1, 1);
// 3.2设置材质
const cubeMaterial = new THREE.MeshBasicMaterial({ color: 0xffff00 });
// 3.3根据几何体和材质创建物体
const cube = new THREE.Mesh(cubeGeometry, cubeMaterial)
// 3.4修改几何物体在场景中的位置
// cube.position.x = 3;
cube.scale.set(3, 2, 1)
cube.rotation.set(Math.PI / 4, 0, 0)
// 3.5将几何物体添加到场景中
scene.add(cube)
// 4.初始化渲染器
const renderer = new THREE.WebGLRenderer()
// 4.1设置渲染尺寸的大小
renderer.setSize(window.innerWidth, window.innerHeight);
// 4.2将webgl渲染的canvas内容添加到body中
document.body.appendChild(renderer.domElement);
// 5.使用渲染器, 通过相机将场景渲染出来
// renderer.render(scene, camera)
// 6.控制器(轨道控制器): 查看3d物体
const controls = new OrbitControls(camera, renderer.domElement);
controls.enableDamping = true;
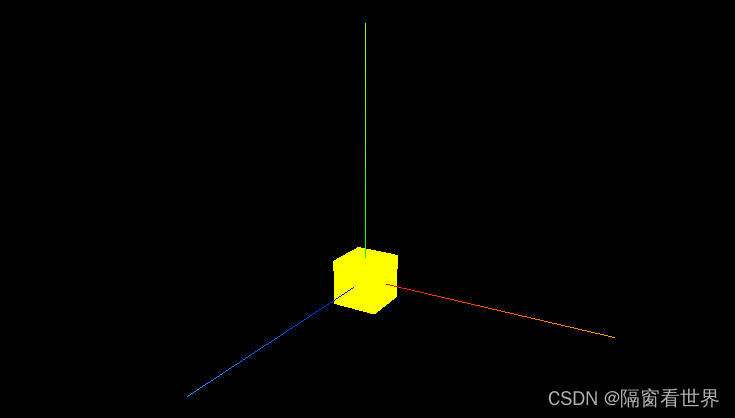
// 7.添加坐标轴辅助器
const axesHelper = new THREE.AxesHelper(5);
scene.add(axesHelper)
const clock = new Clock()
// 设置动画
var animate1 = gsap.to(cube.position, {
x:5,
duration: 3,
ease: 'power1.inOut',
onComplete: () => {
console.log('动画结束')
},
onStart: () => {
console.log('动画开始')
},
repeat: -1,
yoyo: true
})
window.addEventListener('dblclick', () => {
if(animate1.isActive()) {
animate1.pause()
}else{
animate1.resume()
}
})
gsap.to(cube.rotation, {x:2 * Math.PI, duration: 5})
function render() {
controls.update()
renderer.render(scene, camera)
requestAnimationFrame(render);
}
// 原本5是只渲染一次, 当相机通过轨道查看几何物体时,是按帧渲染的
// function render(time) {
// let t = (time / 1000) % 5;
// cube.position.x = t * 1;
// // 运动就是在每一帧渲染的时候坐标轴的位置变化
// // 黄色小方块每帧在X轴上向前运动0.01,当运动到大于5时回到原点
// // cube.position.x += 0.01;
// if(cube.position.x > 5) {
// cube.position.x = 0
// }
// renderer.render(scene, camera);
// // 渲染下一帧的时候就会调用render函数
// requestAnimationFrame(render);
// }
// 初始调用一次
render()
// 监听画面变化, 更新渲染画面
window.addEventListener('resize', () => {
// 更新摄像头
camera.aspect = window.innerWidth / window.innerHeight;
// 更新摄像机的投影矩阵
camera.updateProjectionMatrix();
// 更新渲染器
renderer.setSize(window.innerWidth, window.innerHeight);
// 更新渲染器的像素比
renderer.setPixelRatio(window.devicePixelRatio)
})效果图
优化渲染的速度:
// 原本5是只渲染一次, 当相机通过轨道查看几何物体时,是按帧渲染的
function render(time) {
  let t = (time / 1000) % 5;
  cube.position.x = t * 1;
  // 运动就是在每一帧渲染的时候坐标轴的位置变化
  // 黄色小方块每帧在X轴上向前运动0.01,当运动到大于5时回到原点
  // cube.position.x += 0.01;
  if(cube.position.x > 5) {
    cube.position.x = 0
  }
  renderer.render(scene, camera);
  // 渲染下一帧的时候就会调用render函数
  requestAnimationFrame(render);
}
原因: 原本的渲染就是根据传进来的time进行进行渲染, 问题在于传进来的time不是匀速(间隔不等), 这样出现掉帧
现在就直接用传进来的时间直接用作x轴的运动长度, 这样的话更加的准确,优化了上述问题
三、Clock(跟踪时间)
创建多个时钟, 跟踪多个物体(解决上述的问题, 只有一个时间函数)
该对象用于跟踪时间。如果performance.now可用,则 Clock 对象通过该方法实现,否则回落到使用略欠精准的Date.now来实现。
官网看属性: 相当于开发者已经跟你设计好了, 你只需要使用属性就可以得到想要的效果
const clock = new Clock()
function render() {
  // 获取时钟的运行总时长
  let time = clock.getElapsedTime();
  // 获取两次时间的间隔时间
  let deltaTime = clock.getDelta();
  let t = time % 5
  cube.position.x = t * 1
  renderer.render(scene, camera)
  requestAnimationFrame(render);
}四、enableDamping
这个方法在轨道控制器(OrbitControls)里面
将其设置为true以启用阻尼(惯性),这将给控制器带来重量感。默认值为false。
请注意,如果该值被启用,你将必须在你的动画循环里调用.update()。
controls.enableDamping = true;

controls.update()
五、根据尺寸变化自适应画面
// 监听画面变化, 更新渲染画面
window.addEventListener('resize', () => {
  // 更新摄像头
  camera.aspect = window.innerWidth / window.innerHeight;
  // 更新摄像机的投影矩阵
  camera.updateProjectionMatrix();
  // 更新渲染器
  renderer.setSize(window.innerWidth, window.innerHeight);
  // 更新渲染器的像素比
  renderer.setPixelRatio(window.devicePixelRatio)
})
双击进入/退出全屏
window.addEventListener('dblclick', () => {
  // 声明常量, 页面是不是全屏
  const fullScreenElement = document.fullscreenElement;
  if(!fullScreenElement) {
    // 双击控制进入全屏
    // 让画布对象全屏
    renderer.domElement.requestFullscreen();
  }else{
    // 退出全屏, 使用document对象
    document.exitFullscreen()
  }
})
gsap动画库
一、官网
主要功能就是节省上面的运算时间, 需要你来设置在x, y, z轴上的变化
安装文档: gsap - npm
官方文档: GSAP Docs
这里主要就是控制对象的属性, 让他按照设置的运动, 节省了自己去算的时间
// 导入动画库
import gsap from "gsap";

const clock = new Clock()
// 设置动画
//设置物体的位置, 调用里面的参数{在x轴上面的终点位置, 持续时间}
gsap.to(cube.position, {x:5, duration: 5})
//参数{在x轴上面的旋转角度, 持续时间}
gsap.to(cube.rotation, {x:2 * Math.PI, duration: 5})
function render() {
  renderer.render(scene, camera)
  requestAnimationFrame(render);
}二、设置速度
网站:Getting Started with GSAP - Learning Center - GreenSock
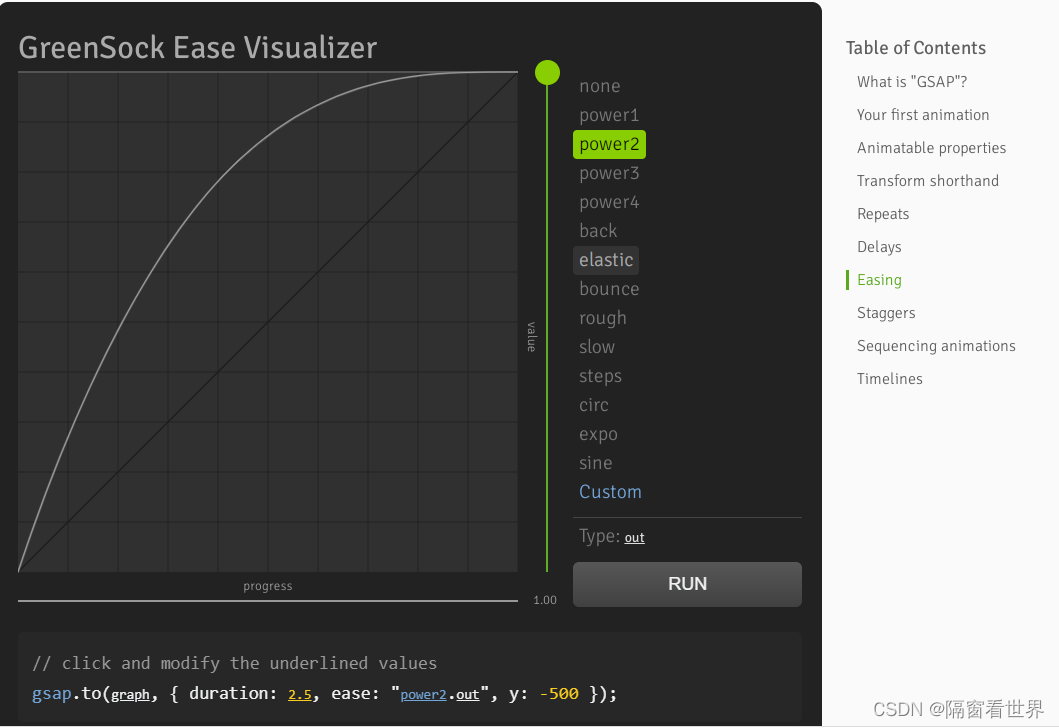
如下方的例子所示:
ease: 后面就可以写对应的参数, 表示速率按照曲线运行
in表示进来的时候速率快
out表示出去的时候速率快
inOut表示进出都速率快
duration表示持续时间
onComplete表示结束的回调函数
onStart表示开始的回调函数
repeat: 5 表示循环5次. 无限循环是-1
yoyo: true 表示往返运动
delay: 2 表示延迟2秒后运动
// 设置动画
gsap.to(cube.position, {
  x:5,
  duration: 5,
  ease: 'power1.inOut',
  onComplete: () => {
  console.log('动画结束')
  },
  onStart: () => {
  console.log('动画开始')
  }
})
监听双击暂停与恢复
原理就是全局监听双击事件,当动画是运动的时候, 就把动画暂停, 不是就恢复
const clock = new Clock()
// 设置动画
var animate1 = gsap.to(cube.position, {
  x:5,
  duration: 3,
  ease: 'power1.inOut',
  onComplete: () => {
  console.log('动画结束')
  },
  onStart: () => {
  console.log('动画开始')
  },
  repeat: -1,
  yoyo: true
})
window.addEventListener('dblclick', () => {
  if(animate1.isActive()) {
    animate1.pause()
  }else{
    animate1.resume()
  }
})