UE4使用OpenCV插件调用电脑摄像头
使用的是UE4.27,参考两位大佬博客
https://blog.csdn.net/d137578736/article/details/79037849?spm=1001.2101.3001.6650.1&utm_medium=distribute.pc_relevant.none-task-blog-2%7Edefault%7EBlogCommendFromBaidu%7ERate-1-79037849-blog-126785890.pc_relevant_vip_default&depth_1-utm_source=distribute.pc_relevant.none-task-blog-2%7Edefault%7EBlogCommendFromBaidu%7ERate-1-79037849-blog-126785890.pc_relevant_vip_default&utm_relevant_index=2
https://blog.csdn.net/Accepted_10086/article/details/126785890
讲的很详细,但是遇到了一些问题。
1 创建UE4.27工程
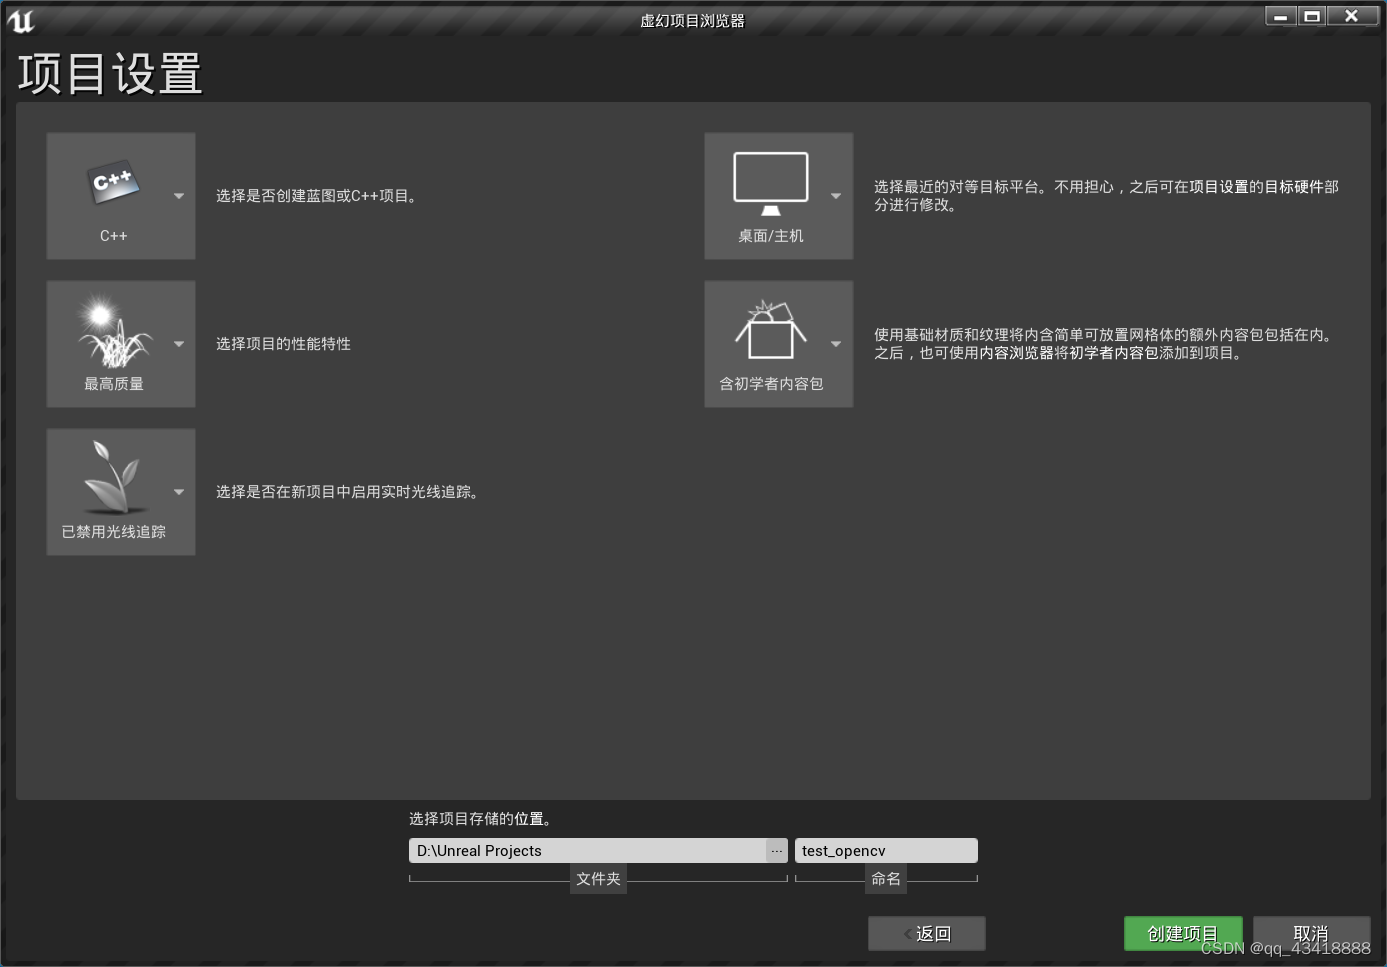
选择创建C++类。
2 下载OpenCV插件。
插件参考第二个大佬博客。
将下载的三个文件复制到工程文件夹下。

关闭打开的UE项目和VS,右键uproject文件。选择第三个,生成VS项目文件。

3 修改OpenCV代码
双击.sln文件,打开项目,在Source->项目名下,找到项目名.build.cs文件。

在文件开头加
using System.IO;
在类中public前面加
private string ThirdPartyPath
{
    get
    {
		return Path.GetFullPath(Path.Combine(ModuleDirectory, "../../ThirdParty"));
    }
}
在注释后面加
	string OpenCVPath = Path.Combine(ThirdPartyPath, "OpenCV/");
	PublicIncludePaths.AddRange(new string[]
	{
		Path.Combine(OpenCVPath,"Includes")
	});
	PublicLibraryPaths.Add(Path.Combine(OpenCVPath, "Libraries/Win64"));
整体代码如下:
// Copyright Epic Games, Inc. All Rights Reserved.

using UnrealBuildTool;
using System.IO;

public class test_opencv : ModuleRules
{
	private string ThirdPartyPath
    {
        get
        {
			return Path.GetFullPath(Path.Combine(ModuleDirectory, "../../ThirdParty"));
        }
	}
	public test_opencv(ReadOnlyTargetRules Target) : base(Target)
	{
		PCHUsage = PCHUsageMode.UseExplicitOrSharedPCHs;

		PublicDependencyModuleNames.AddRange(new string[] { "Core", "CoreUObject", "Engine", "InputCore" });

		PrivateDependencyModuleNames.AddRange(new string[] {  });

		// Uncomment if you are using Slate UI
		// PrivateDependencyModuleNames.AddRange(new string[] { "Slate", "SlateCore" });

		// Uncomment if you are using online features
		// PrivateDependencyModuleNames.Add("OnlineSubsystem");

		// To include OnlineSubsystemSteam, add it to the plugins section in your uproject file with the Enabled attribute set to true
		string OpenCVPath = Path.Combine(ThirdPartyPath, "OpenCV/");
		PublicIncludePaths.AddRange(new string[]
		{
			Path.Combine(OpenCVPath,"Includes")
		});
		PublicLibraryPaths.Add(Path.Combine(OpenCVPath, "Libraries/Win64"));
	}
}
然后右键项目,生成。编译成功。

然后调试
打开UE4,在编辑-插件中可以搜索OpenCV可以看到插件添加成功!(没有启用记得启用!)

4 创建材质及蓝图
新手包如下
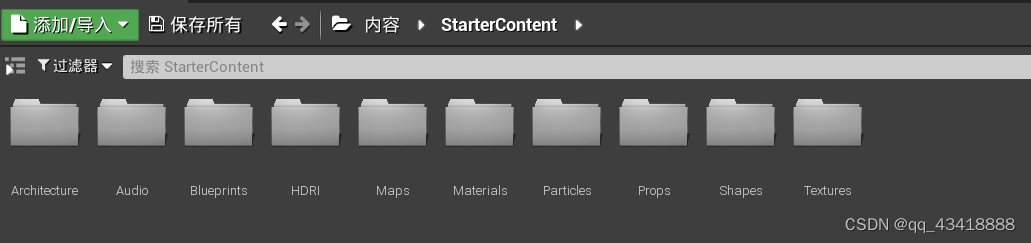
打开Texture搜索T_Ceramic_Tile_M,找到后右键创建材质,命名为M_WebCam双击打开。
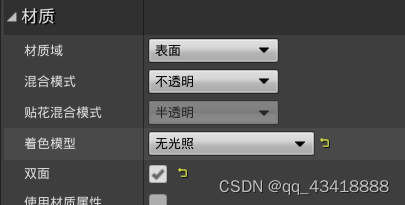
断开所有连线,然后连接到自发光颜色,然后右键材质选择第三个,修改名字为Video Texture。再选中右边的材质设置为
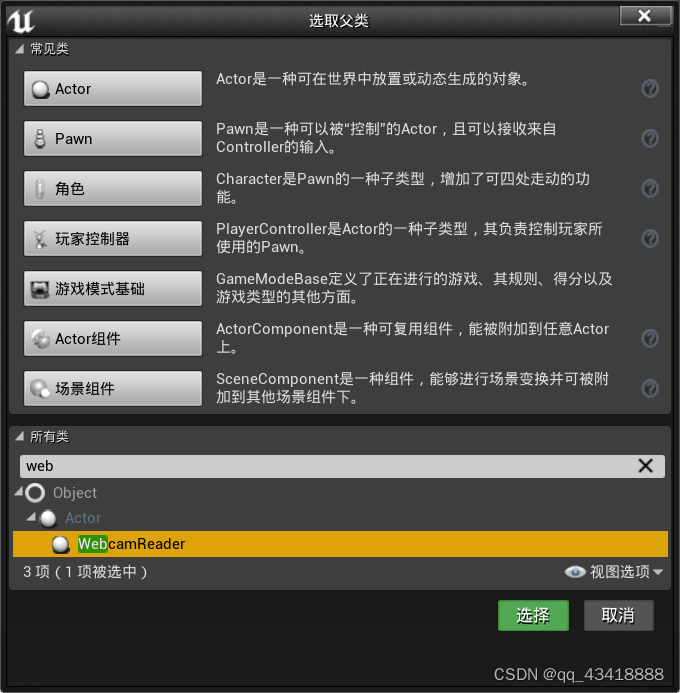
保存退出后,进入蓝图文件夹,添加一个蓝图类,选择webcamReader。
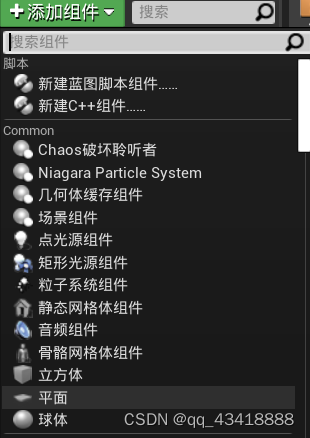
双击打开蓝图后,添加组件,选择平台,会生成一个Plane组件
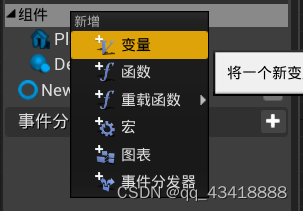
右键 组件,选择变量,添加
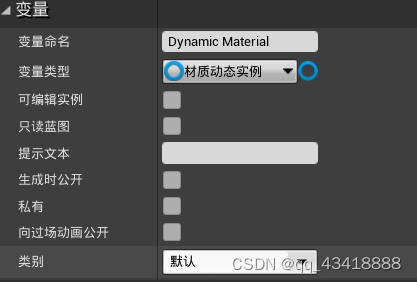
变量设置为
然后右键添加事件和实例,设置等,完成后如下图。
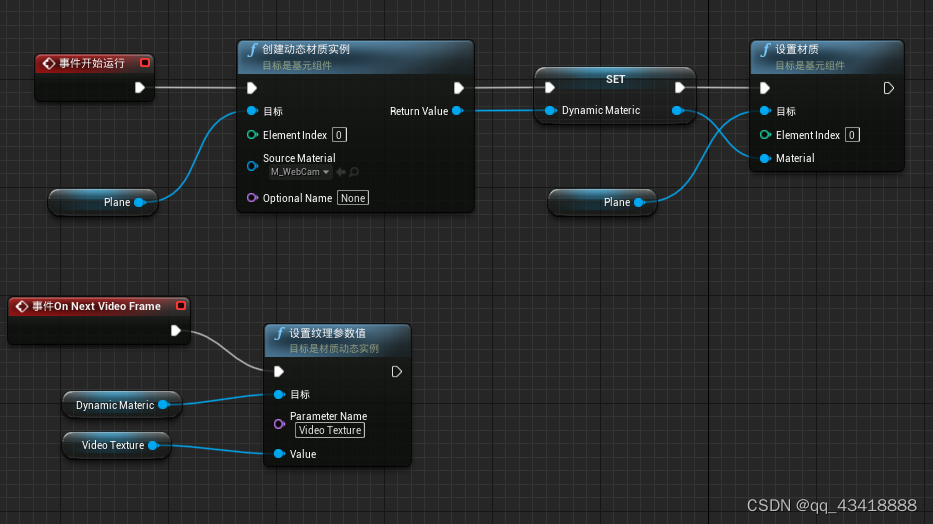
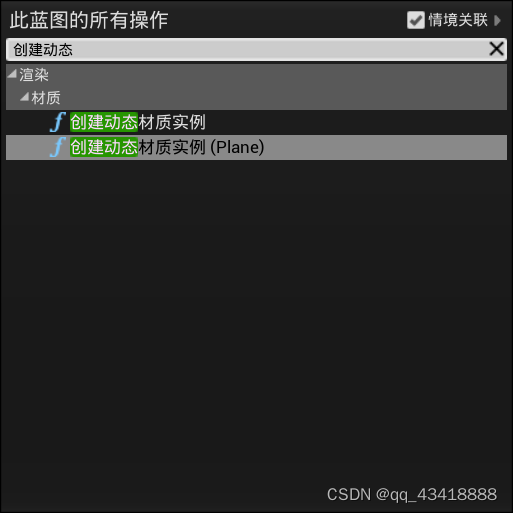
因为我是UE小白,添加这些都是自己根据博客琢磨。右键点击然后搜索,慢慢来。例如创建动态材质实例,在添加Plane组件后,右键搜索,然后添加就好。
最后将蓝图保存,拖到场景中运行就能看到效果。