本插件在UE4.26、UE4.27、UE5.0.3等版本亲测有效,谢谢各位前辈朋友,这里就不一一鸣谢了。
插件地址:UE5OpenCV插件-C++文档类资源-CSDN下载
1.项目配置
下载后解压到工程插件目录下
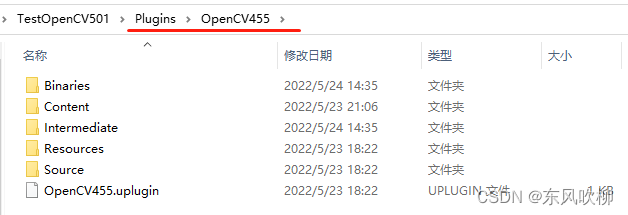
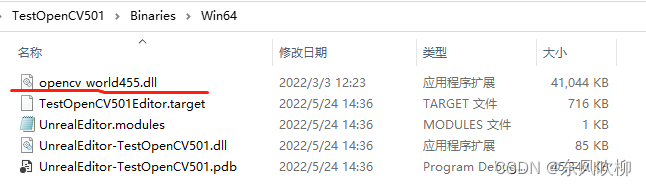
拷贝OpenCV455\Source\ThirdParty\OpenCV455Library\bin的opencv_world455.dll到工程根目录的Binaries\Win64目录下(打包也需做同样操作)
注意:UE5OpenCV插件-C++文档类资源-CSDN下载
上述插件不需要做以下2~4步骤,插件里面我已经做了相应处理。步骤2~4仅仅针对自己想要封装其他OpenCV版本插件的同仁参考,描述内容也是参照网上其他插件资源结构。
2.修改ProjectName.Build.cs
using UnrealBuildTool;
using System.IO;

public class TestWebcam : ModuleRules
{
	private string ThirdPartyPath
	{
		get{return Path.GetFullPath(Path.Combine(ModuleDirectory,"../../ThirdParty"));}
	}
	public TestWebcam(ReadOnlyTargetRules Target) : base(Target)
	{
		PCHUsage = PCHUsageMode.UseExplicitOrSharedPCHs;

		PublicDependencyModuleNames.AddRange(new string[] { "Core", "CoreUObject", "Engine", "InputCore","OpenCV"});

		PrivateDependencyModuleNames.AddRange(new string[] {  });

		// Uncomment if you are using Slate UI
		// PrivateDependencyModuleNames.AddRange(new string[] { "Slate", "SlateCore" });

		// Uncomment if you are using online features
		// PrivateDependencyModuleNames.Add("OnlineSubsystem");

		// To include OnlineSubsystemSteam, add it to the plugins section in your uproject file with the Enabled attribute set to true
		string OpenCVPath = Path.Combine(ThirdPartyPath, "OpenCV/");
		PublicIncludePaths.AddRange(new string[] { Path.Combine(OpenCVPath, "Includes") });
		PublicLibraryPaths.Add(Path.Combine(OpenCVPath, "Libraries/Win64"));
	}
}
3.修改OpenCV.Build.cs
// 以下内容在封装的插件中已经配置好了,无需重新修改

using UnrealBuildTool;
using System.IO;

public class OpenCV : ModuleRules
{
    private string ThirdPartyPath
    {
        get { return Path.GetFullPath(Path.Combine(ModuleDirectory, "../../../../ThirdParty/")); }
    }

	//public OpenCV(TargetInfo Target)
	public OpenCV(ReadOnlyTargetRules Target) : base(Target)
	{
        // Startard Module Dependencies
		PublicDependencyModuleNames.AddRange(new string[] { "Core", "RHI", "RenderCore" });
		PrivateDependencyModuleNames.AddRange(new string[] { "CoreUObject", "Engine", "Slate", "SlateCore" });

        // Start OpenCV linking here!
        bool isLibrarySupported = false;

        // Create OpenCV Path
        string OpenCVPath = Path.Combine(ThirdPartyPath, "OpenCV");

        // Get Library Path
        string LibPath = "";
        bool isdebug = Target.Configuration == UnrealTargetConfiguration.Debug && BuildConfiguration.bDebugBuildsActuallyUseDebugCRT;
        if (Target.Platform == UnrealTargetPlatform.Win64)
        {
            LibPath = Path.Combine(OpenCVPath, "Libraries", "Win64");
            isLibrarySupported = true;
        }
        else if (Target.Platform == UnrealTargetPlatform.Win32)
        {
            // TODO: add OpenCV binaries for Win32
        }
        else if (Target.Platform == UnrealTargetPlatform.Mac)
        {
            // TODO: add OpenCV binaries for Mac
        }
        else if (Target.Platform == UnrealTargetPlatform.Linux)
        {
            // TODO: add OpenCV binaries for Linux
        }
        else
        {
            string Err = string.Format("{0} dedicated server is made to depend on {1}. We want to avoid this, please correct module dependencies.", Target.Platform.ToString(), this.ToString()); System.Console.WriteLine(Err);
        }

        if (isLibrarySupported)
        {
            //Add Include path
            PublicIncludePaths.AddRange(new string[] { Path.Combine(OpenCVPath, "Includes") });

            // Add Library Path
            PublicLibraryPaths.Add(LibPath);

            //Add Static Libraries
            PublicAdditionalLibraries.Add("opencv_world320.lib");

            //Add Dynamic Libraries
            PublicDelayLoadDLLs.Add("opencv_world320.dll");
            PublicDelayLoadDLLs.Add("opencv_ffmpeg320_64.dll");

        }

        Definitions.Add(string.Format("WITH_OPENCV_BINDING={0}", isLibrarySupported ? 1 : 0));
	}
}
4.修改OpenCV.cpp和OpenCV.h
// 以下内容在封装的插件中已经配置好了,无需重新修改
//.cpp
//#include "OpenCVPrivatePCH.h"
#include "../Public/OpenCV.h"


//.h
//#include "ModuleManager.h"
#include "Modules/ModuleManager.h"
5.编译插件源码
右键工程文件生成VS解决方案。UE项目需要是带有Cpp文件的工程,具体就是要么UE工程是Cpp的,或者在蓝图工程里新建一个Cpp类。
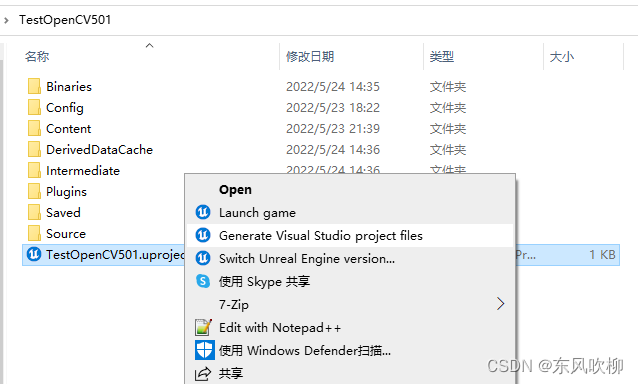
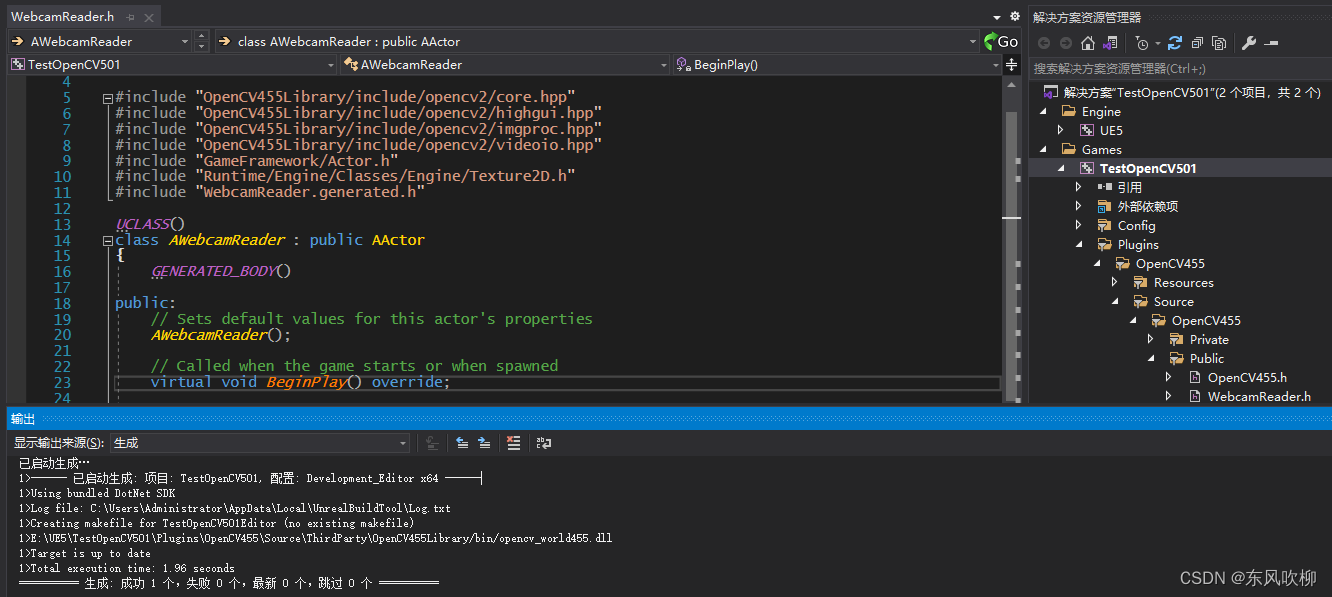
双击打开生成的.sln,右键项目工程选择“生成”,比如下图的TestOpenCV501,编译成功即可。
6.UE5使用示例
在UE5中打开插件

创建webcam reader蓝图类和材质


将BP_WebCam放到level里,运行效果如下:
 各位尽情享用,如有问题,请评论区回复。