file-list		上传的文件列表, 例如: [{name: 'food.jpg', url: 'https://xxx.cdn.com/xxx.jpg'}]
action			必选参数,上传的地址
name			上传的文件字段名
limit			最大允许上传个数
auto-upload		是否在选取文件后立即进行上传
list-type		文件列表的类型text/picture/picture-card

on-change		文件状态改变时的钩子,添加文件、上传成功和上传失败时都会被调用
on-preview		点击文件列表中已上传的文件时,可以获取到图片数据,用于查看
<el-form-item
	label="上传证书"
	:required="true"
	label-width="120px">
	<el-upload
		:file-list="fileList"
		action
		name="file"
		:on-change="uploadCertificate"
		:limit="1"
		:auto-upload="false"
		 list-type="picture">
   		<el-button size="small" type="primary">上传证书</el-button>
    	<div slot="tip" class="el-upload__tip">*上传证书压缩包中的apiclient_key.pem文件</div>
	</el-upload>
</el-form-item>
data() {


	return {


		fileList:[]
	}
},
methods:{


	// 上传图片专用
	uploadCertificate(file) {


		this.files = file.raw
		var formData = new FormData()
		formData.append('file', this.files)
		http(formData).then(res => {


			if (res.code === 10000) {


				console.log('上传成功',res);
			}
		})
	},
}
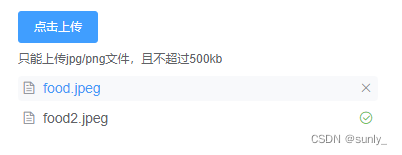
list-type=text 文本展示
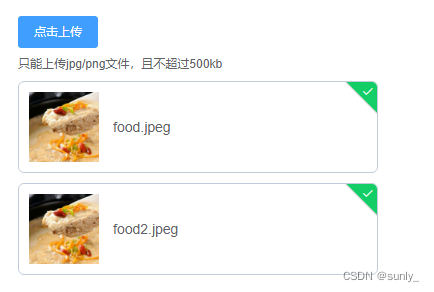
list-type=“picture” 缩略图展示
list-type=“picture-card”

如果需要放大查看图片:list-type 需要设置为 picture-card 或者picture
on-preview 点击已上传文件时获取到数据,用来查看
<el-upload :on-preview="handlePictureCardPreview" list-type="picture-card">
	<el-button size="small" type="primary">上传证书</el-button>
	<div slot="tip" class="el-upload__tip">*上传证书压缩包中的apiclient_key.pem文件</div>
</el-upload>
<el-dialog :visible.sync="dialogVisible">
	<img width="100%" :src="dialogImageUrl" alt="">
</el-dialog>
data(){


	return{


		dialogVisible:false,
	}
},
methods:{


	handlePictureCardPreview(file) {


		this.dialogImageUrl = file.url;
		this.dialogVisible = true;
	},
}