在日常开发中,经常会遇到图片、视频、或者一些文件上传,在这里我整理一下使用element组件进行上传的整体流程,简单易懂,希望对小白有所帮助...
1. 使用upload组件,并自定义所需上传组件的样式. 在这里我所定义的样式是一个普通的上传按钮

<el-upload
	v-if="!formData.picUrl"
	class="avatar-uploader"
	action="#"
	limit="1"
	list-type="picture-card"
	:http-request="uploadPic"
	:before-upload="beforePicUpload"
>
	<el-button type="primary" plain>上传</el-button>
</el-upload>
2. 定义图片上传之前的钩子,对文件的格式及大小进行一定的限制
beforePicUpload(file) {
	const fileName = file.name;
	const fileType = fileName.substring(fileName.lastIndexOf('.'));
	const isOKType =
		fileType === '.jpg' ||
		fileType === '.png' ||
		fileType === '.jpeg' ||
		fileType === '.bmp' ||
		fileType === '.gif';
		if (!isOKType) {
			this.$message.error('图片格式只能为jpeg/png/jpg/bmp/gif');
		}

	const isLt2M = file.size / 1024 / 1024 < 2;
		if (!isLt2M) {
			this.$message.error('图片大小不能超过 2MB!');
		}
	return isLt2M && isOKType;
}
3. 自定义上传方法,覆盖组件的默认上传行为 我这里首先通过URL.createObjectURL将所上传的文件转换为blob地址,用于图片上传后的回显,然后再将file格式文件存储起来,用于接口上传
uploadPic(file) {
	this.formData.picUrl = URL.createObjectURL(file.file);
	this.picUrl.push(file);
}
4. 自定义上传后图片展示的样式,并添加鼠标移入可以删除图片的功能 效果如图所示

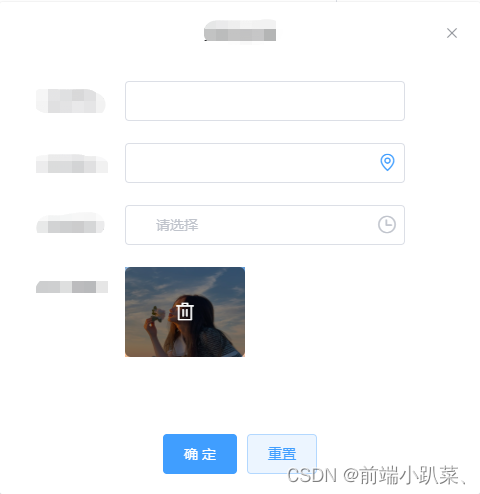
删除事件所需做的事情
delPicUrl() {
	this.formData.picUrl = '';
	this.picUrl = [];
}
5. 调用接口实现表单数据上传
UploadData() {
    const fd = new FormData()
    fd.append('files', this.picUrl[0])
    fd.append('data', JSON.stringify(this.formData))

    this.upload(fd)
}