接上篇文章,这篇做拆分优化
1. 首先拆分 crowller.ts文件,上代码
// 引入 文件操作模块
import fs from 'fs';
// 引入 路径处理模块
import path from 'path';
/* 通过 superagent 轻量的 Ajax API
   这个工具 获取网址上面,html的内容
   js库ts无法直接读取 cnpm install superagent--save
   ts使用翻译文件 @types/引入js库  cnpm install @types/superagent -D
 */
import superagent from 'superagent';
// 引入拆分的 ts文件
import DellAnalyzer from './dellAnalyzer';

export interface AnalyZer {
  // 定义 dellAnalyzer.ts, 抛出的方法analyze类型 => 返回值也是string
  analyze: (html: string, filePath: string) => string
}


/**
 * 创建一个 名称为Crowller的类
 * 访问类型
 * public    允许 在类的内外被调用
 * private   允许 在类内部被使用,不允许类外部使用
 * protected 允许 在类内及 继承的子类中被使用,不允许类外使用
 * ts 无法直接引用 js库 ,需要一个.d.ts的翻译文件,才可以引入 js库
 */
class Crowller {
  // path.resolve 方法用于将相对路径转为绝对路径,__dirname:在哪里使用,就是表示当前文件所在的 目录
  private filePath = path.resolve(__dirname, '../data/course.json')
  // 解析html 函数

  // 获取html内容。 定义 爬取 网站 对应的 最原始html内容
  private async getRawHtml() {
    // superagent.get(url).then 它是一个promise返回值
    const result = await superagent.get(this.url);
    // 返回 result.text 是最原始的html
    return result.text;
  }


  // 写入course.json中
  private writeFile(content: string) {
    fs.writeFileSync(this.filePath, content)
  }

  // 初始化操作。  定义 获取 解析 html 函数
  private async InitSpiderProcess() {
    // 调用函数 爬取 网站 对应的 最原始html内容
    const html = await this.getRawHtml();
    /*  生成json文件,传入html模版,文件路径  */
    const fileContent = this.analyzer.analyze(html, this.filePath)
    // 写入course.json中,将对象、数组转换成字符串
    // this.writeFile(JSON.stringify(fileContent))
    this.writeFile(fileContent)
  }

  // constructor 在这个类被new的时候,瞬间执行,生成一个实例挂载到类上
  constructor(private url: string, private analyzer: AnalyZer) {
    // 调用 获取 解析 html 函数
    this.InitSpiderProcess();
    // console.log('测试是否成功运行');
  }
}
// 慕课网准备的 地址,最后参数会有变动,到时改这个就行。
// const secret = 'secretkey';
const secret = 'vod-type-id-1-pg-1.html'
// 慕课网准备的 爬取数据的官网
// const url = `http://www.dell-lee.com/typescript/demo.html?secret=${secret}`;
const url = `https://www.88hd.com/${secret}`

// DellAnalyzer文件中 抛出了这个方法。
// const analyzer = new DellAnalyzer()
// 此时 DellAnalyzer 类是个单例,需要通过 单例中抛出的方法使用
const analyzer = DellAnalyzer.getInstance();
// 有了类,下面创建一个实例
// 将爬取网站地址传入 , 传入 analyzer实例
new Crowller(url, analyzer)
如需爬取其他网站,只需修改url地址就行。url为前缀,secret为后段网址字段
2. 新建dellAnalyzer.ts文件,拆分解析html文件
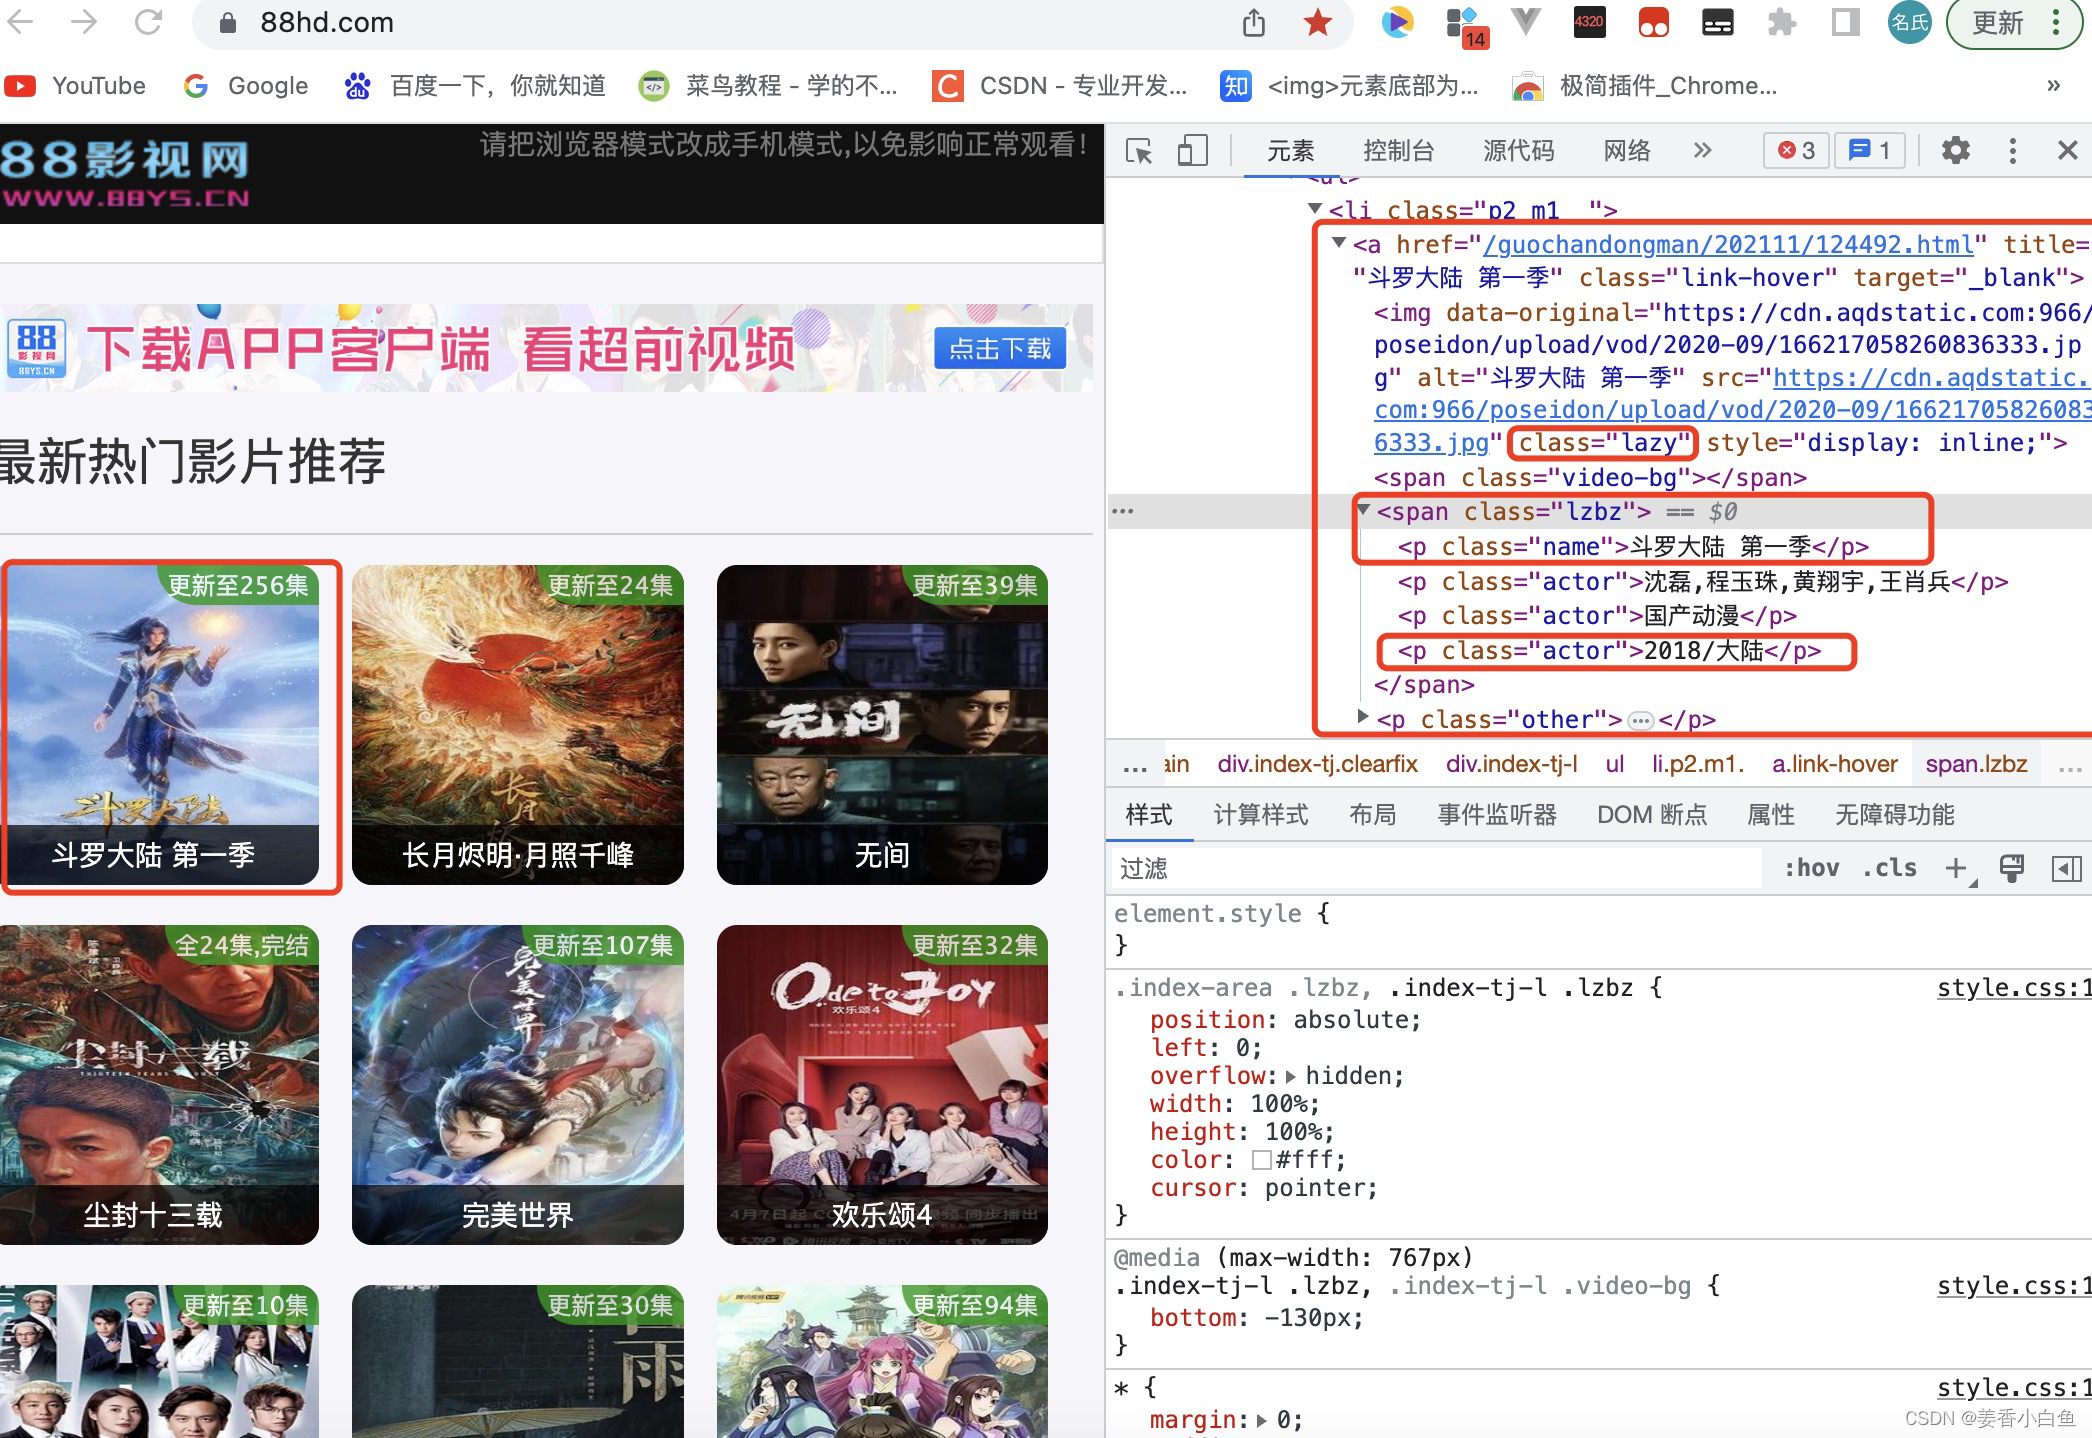
1. 使用单例模式,生成json文件,$(‘为页面for循环,包着的主体模块’)
2. find为查找 页面循环模块中的类名。
下面一张图,大家就明白了!
上代码
// 引入 文件操作模块
import fs from 'fs';
/* cnpm install cheerio--save  | cnpm install @types/cheerio -D
   解析 html标签,取出里面内容
   参考 js库地址 https://github.com/cheeriojs/cheerio
*/
import cheerio from 'cheerio';

import { AnalyZer } from './crowller';

// 定义 爬取完成的 数据类型
interface Course {
  img: string;
  title: string;
  count: number;
}

// 定义 将数据添加json 文件的 类型
interface CourseResult {
  time: number; // 时间戳 数字类型
  data: Course[] // 解析好的数据对象类型
}

// 写入 json文件
interface ContentJson {
  // propName 时间戳
  [propName: number]: Course[]
}

// 抛出这个类,供crowller.ts文件读取
// implements 继承某个类,必须重写才可以使用
export default class DellAnalyzer implements AnalyZer {
  /* 在 DellAnalyzer 上面依然创建了一个属性,
  叫instance直接挂到 DellAnalyzer 类上 注意!创建不是实例*/
  private static instance: DellAnalyzer;
  // 在外部可以调用 getInstance,因为它前面默认有 public
  static getInstance() {
    if (!DellAnalyzer.instance) {
      DellAnalyzer.instance = new DellAnalyzer();
    }
    return DellAnalyzer.instance
  }
  // 解析html 函数
  private getCourseInfo(html: string) {
    /* cheerio可以解析几乎任何HTML或XML文档。
    cheerio和jQuery选择器的实现几乎是相同的,所以API非常相似。
    传入 要解析的html模版或 标签 */
    const $ = cheerio.load(html)
    // 根据html上找到,for循环那一模块的类名
    const courseItems = $('.link-hover')
    // 定义新数组,存放爬去到的 数据
    const courseInfos: Course[] = [];

    // 通过 循环遍历获取 每一个区块中的数据
    courseItems.map((index, element) => {
      // 查找 单个区块中,类名为 course-desc 标签 文本
      const courseDesc = $(element).find('.lzbz');
      // 查找 单个区块中,类名为 course-img 标签 图片
      const courseImg = $(element).find('.lazy');
      // 获取到图片地址
      // const img = courseImg.attr('src')
      const img = courseImg.attr('data-original')
      // 这个标签类名有两个,获取第一个 标签中的 文本数据
      // const title = courseDesc.eq(0).text()
      const title = courseDesc.find('.name').text()
      /* (当前课程学习人数:87)标签内文本,只获取数字
         使用split进行分割,分割中文冒号。
         [0为'当前课程学习人数',1为'22' ]分割后
         第一个参数 转换成整数。第二个参数 10 表示使用十进制进行转换
       */
      // const count = parseInt(courseDesc.eq(1).text().split(':')[1], 10)
      const count = parseInt(courseDesc.find('.actor').eq(2).text().split('/')[0], 10)
      // 爬取完的 图片,标题,观看数,存放到新数组中
      if (typeof img === 'string') {
        courseInfos.push({ img, title, count })
      }
    })
    // 返回一个对象 类型的数据
    // const result =
    return {
      // 现在的时间戳
      time: new Date().getTime(),
      // 爬取完数据后的 数组
      data: courseInfos
    }
    // console.log(result);
  }

  // 生成json文件。 定义 函数 将courseResult对象数据,添加进json文件中
  private addJsonFile(courseResultList: CourseResult, filePath: string) {
    // path.resolve 方法用于将相对路径转为绝对路径,__dirname:在哪里使用,就是表示当前文件所在的 目录
    // const filePath = path.resolve(__dirname, '../data/course.json')

    // 文件不存在,创建文件的初始内容
    let fileContent: ContentJson = {};
    // 判断 data目录 course.json文件是否存在
    if (fs.existsSync(filePath)) {
      // 文件存在,读取文件数据 (将字符串转成json对象)
      fileContent = JSON.parse(fs.readFileSync(filePath, 'utf-8'))
    }
    // 文件不存在,将时间戳,和解析好的数据。填入初始内容中
    fileContent[courseResultList.time] = courseResultList.data;
    return fileContent;
  }
  // 在crowller.ts文件中使用,并接收参数类型
  public analyze(html: string, filePath: string) {
    /* 调用 解析html 函数,传入 html 模版
       并使用courseResult 接住 这个函数返回的 对象数据 */
    const courseResultList = this.getCourseInfo(html)
    // 生成json文件,传入 返回的对象数据 和 文件地址
    const fileContent = this.addJsonFile(courseResultList, filePath)
    // 将对象、数组转换成字符串
    return JSON.stringify(fileContent)
  }

  /* 为什么要将 这个类转化为 单例模式
  因为每次解析html数据 生成的实例都不同。调用两次,生成两个不同的实例
  这就会造成资源浪费,此时 需要将这类转化为单例模式。每次调用使用同一个实例
  如果实例不存在,创建一个,存在,运行已经创建好的实例 */
  private constructor() { }
}
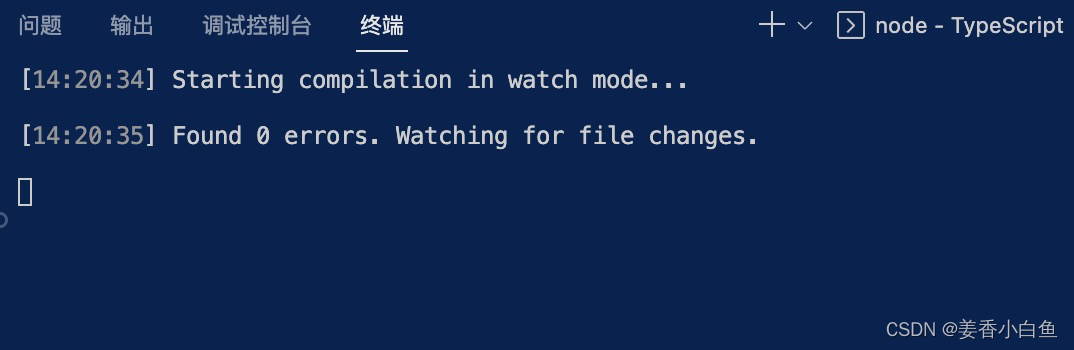
3. 结束了?想多了,此时已经可以运行了
但是运行 只是ts文件,每次都需要npm run dev 太费劲了,优化
package.json 文件
"scripts": {
~~"dev": "ts-node ./src/crowller.ts",~~ 此行删掉
"dev:build": "tsc -w",
"dev:start": "nodemon node ./build.crowller.js",
"dev": "concurrently"
},
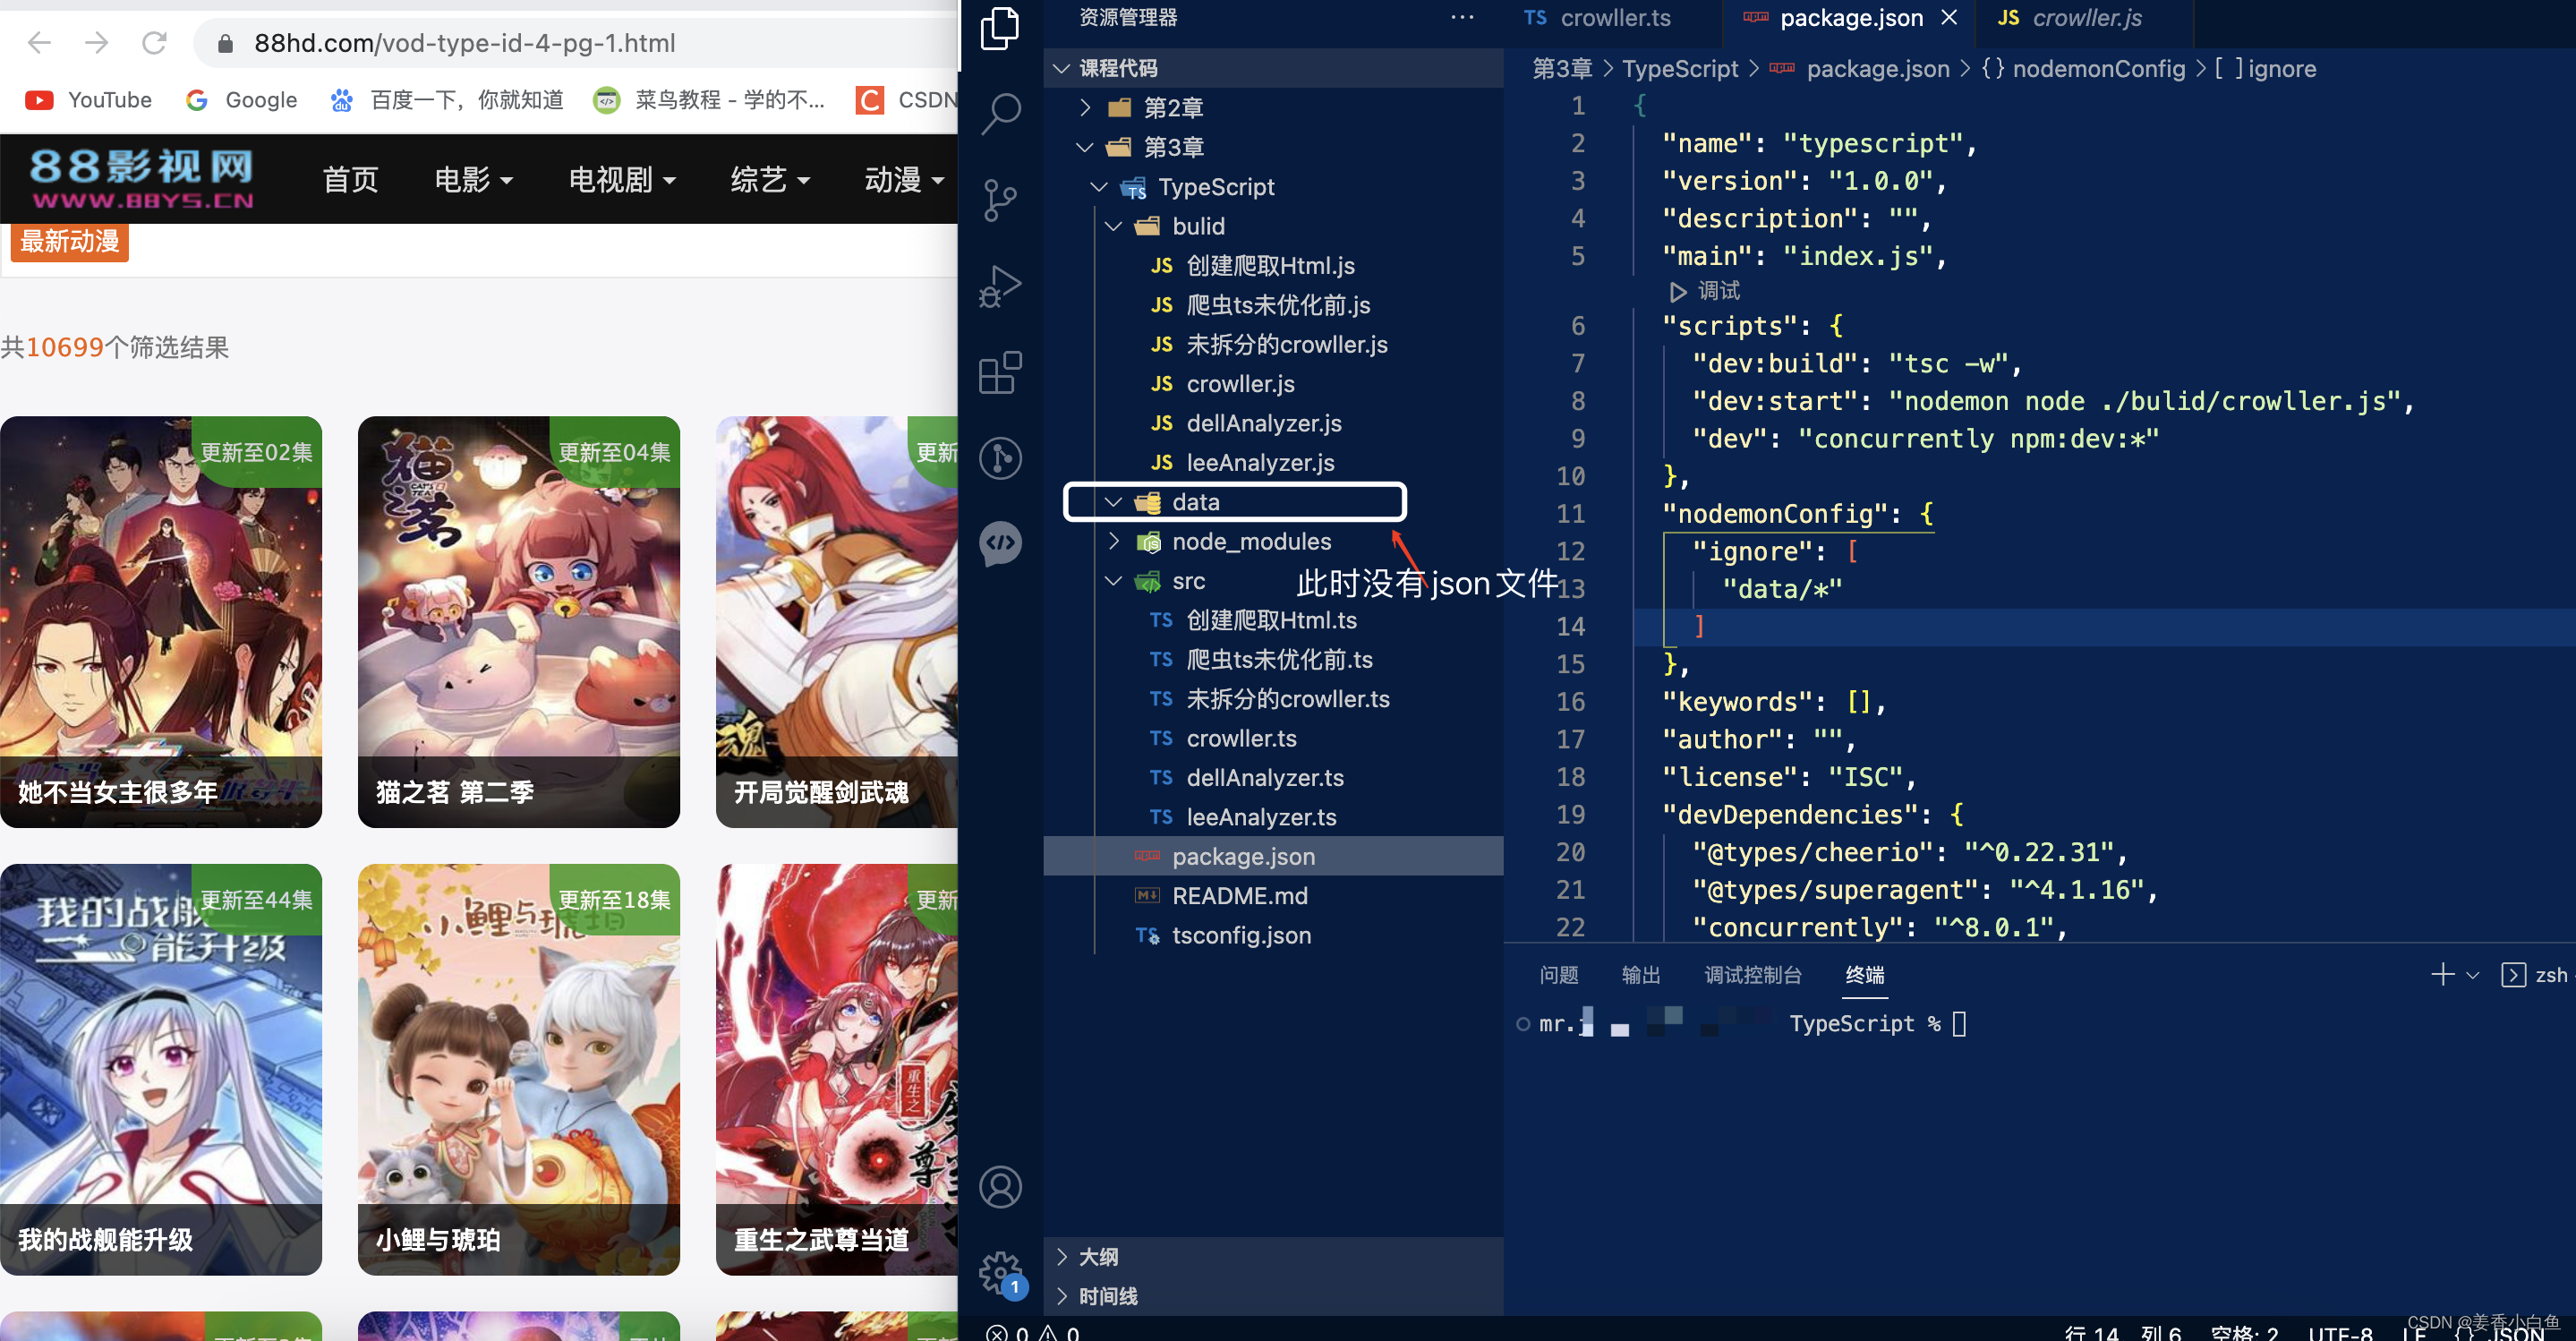
"nodemonConfig": {
"ignore": [
"data/*"
]
},
1. “build”: “tsc -w”, 是将ts文件编译为js文件,可是在ts同目录下,这时我想拆分 npm run build 运行
-w的意思是:ts修改了内容,js文件同步改变,热更新
2. tsconfig.json也需要配置
 /* Modules */
    "module": "commonjs",    /* Specify what module code is generated. */
    "outDir": "./bulid", /* 将输出结构重定向至目录*/ 只写这一行就行
    怕你们找不到在哪里添加
这样 npm run build 配置完成
1. cnpm install nodemon -D 使用过node应该不陌生,还是热更新,免去手动每次运行
3. 监控文件变化,ts无法直接运行,js可以,只要js改变就自动执行
2. “dev:start”: “nodemon node ./build.crowller.js”,
 "scripts": {
    "build": "tsc -w",
    "start": "nodemon node ./build/crowller.js"
  },
  "nodemonConfig": {
    "ignore": [
      "data/*" 只有在 data目录下文件发生改变,才进行更新
    ]
  },
运行结果只会运行一次,不会无休止运行
这个nodemon有点问题
此时差不多了,这时我想,公用一个终端执行build和start命令
npm install concurrently -D 并列执行两个命令
 "scripts": {
    "dev:build": "tsc -w",
    "dev:start": "nodemon node ./bulid/crowller.js",
    // 简化写法 npm (:就是run)*就是所有使用dev:的命令
    // "dev": "concurrently npm run dev:build & npm run dev:start"
    "dev": "concurrently npm:dev:*"
  },
  "nodemonConfig": {
    "ignore": [
      "data/*"
    ]
  },
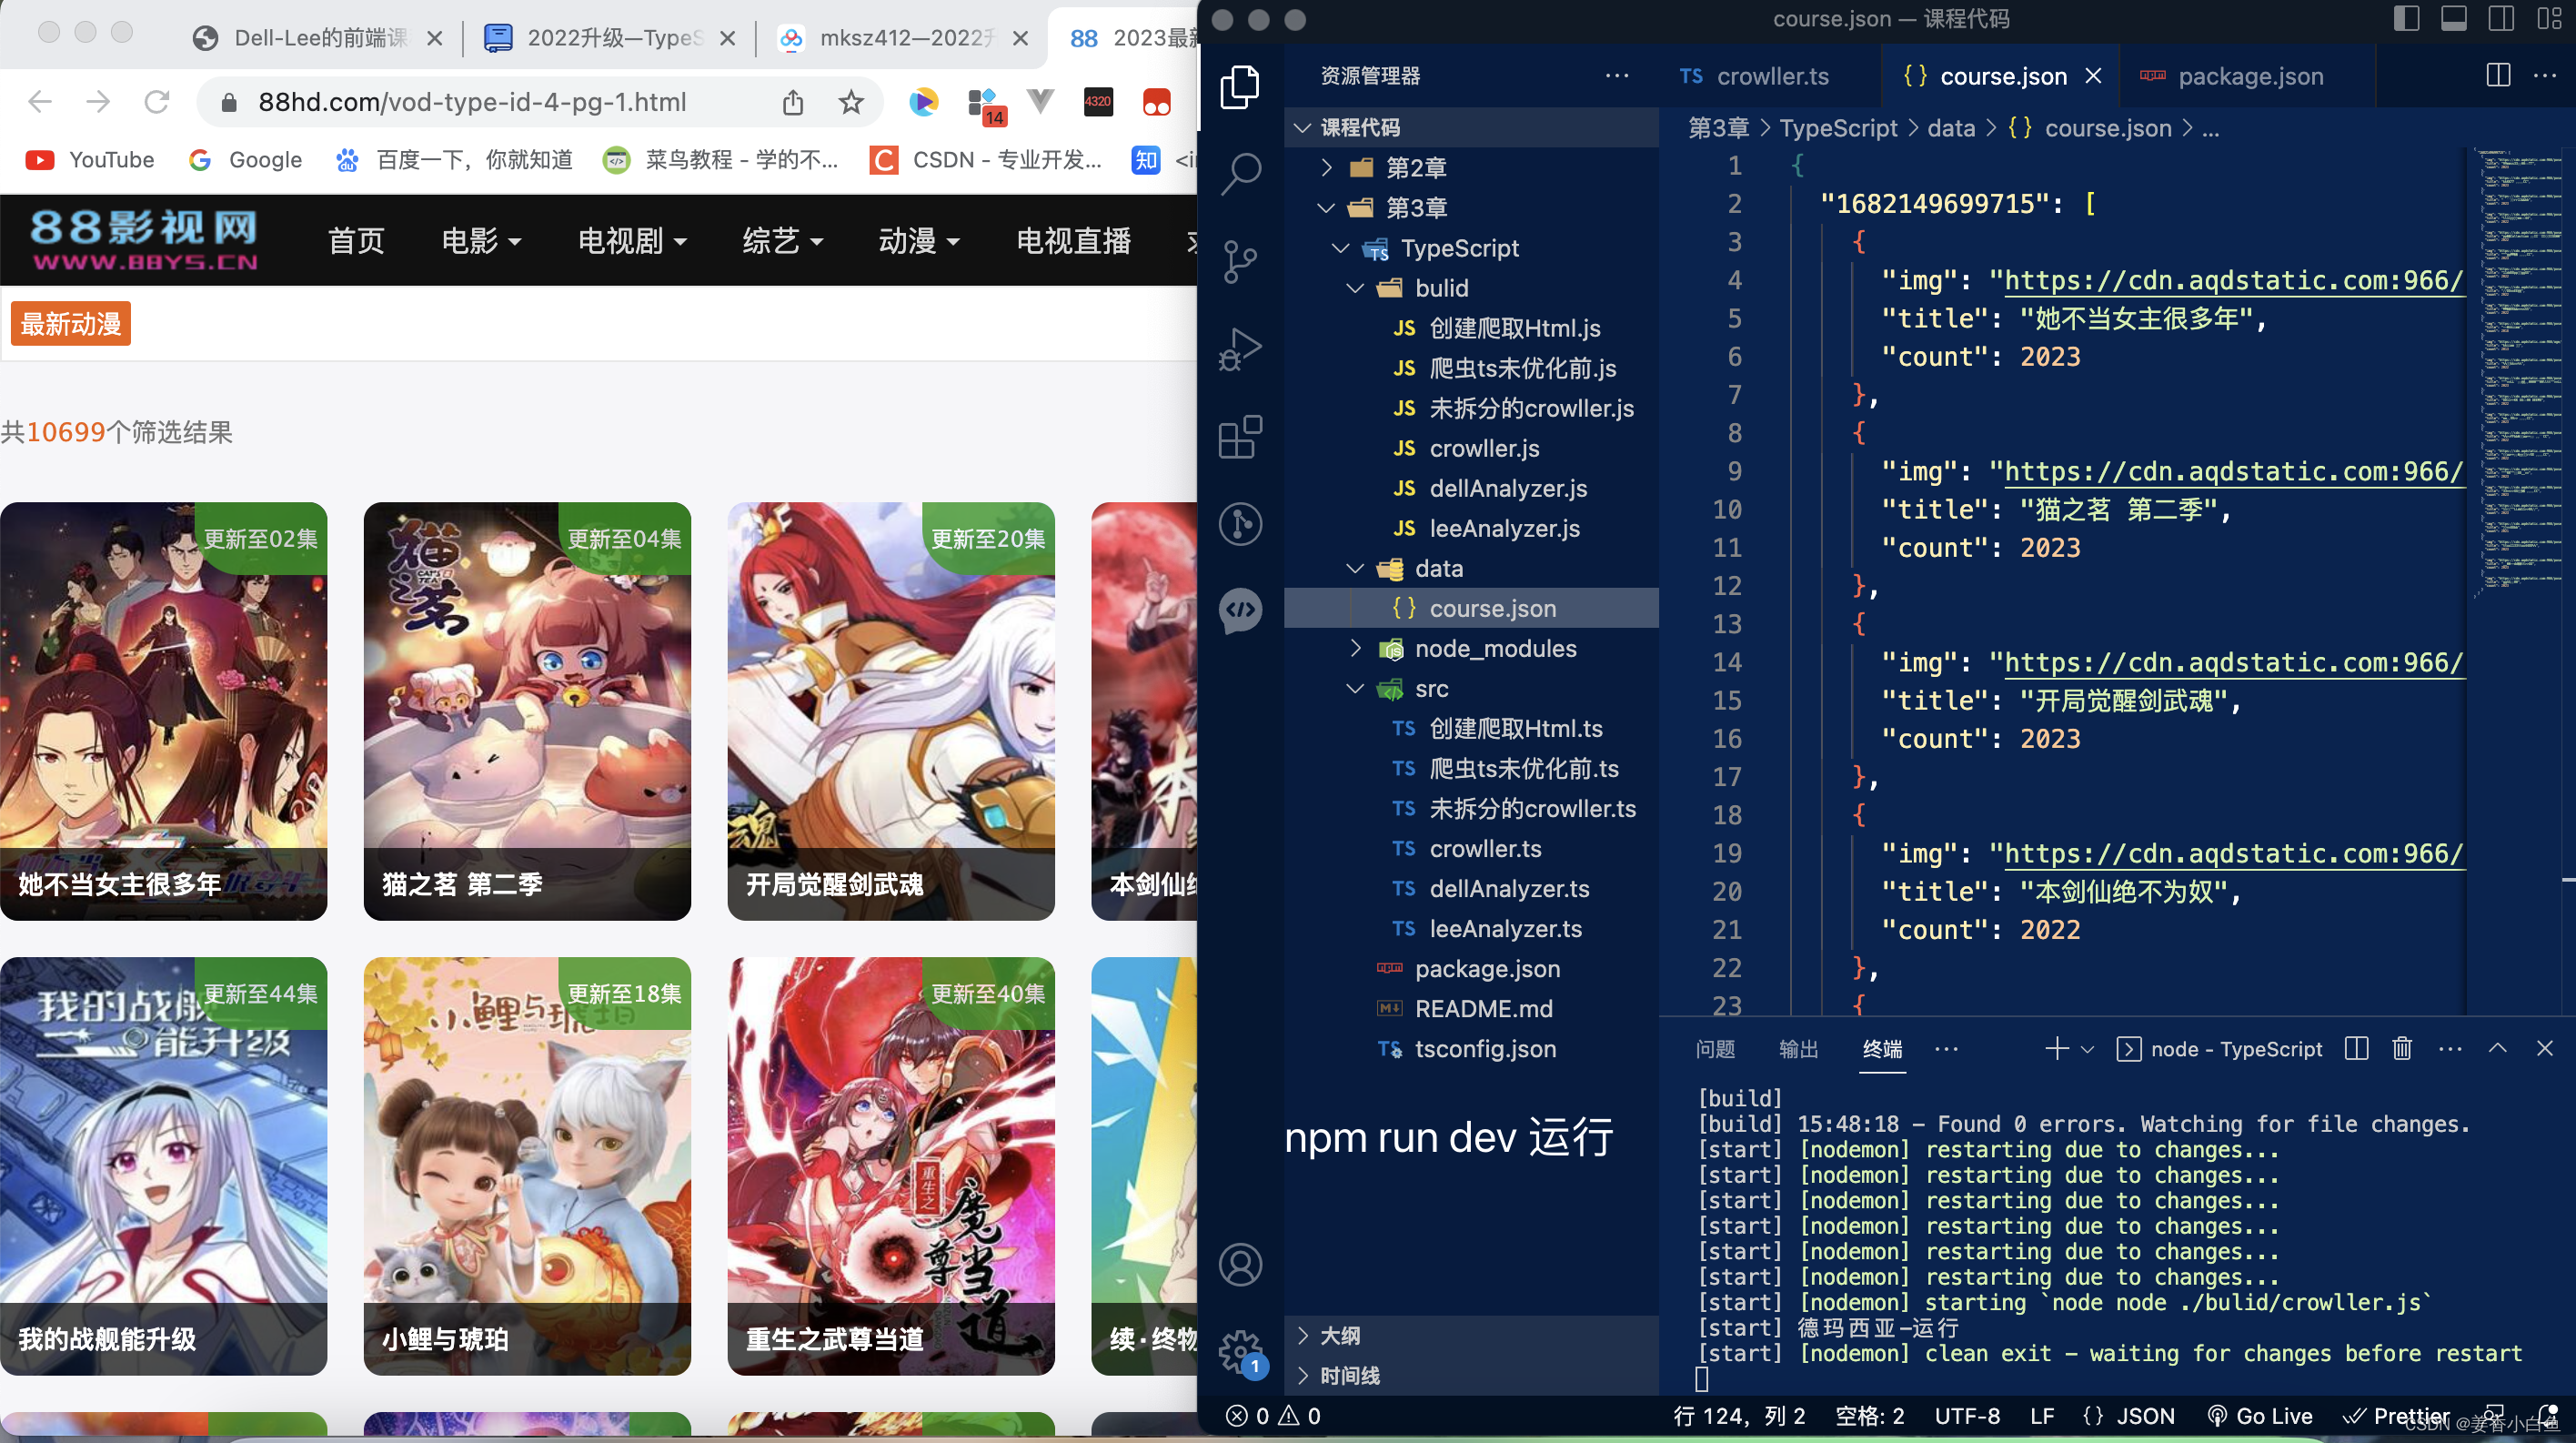
爬取效果图
到此结束了,真麻烦其实,劝各位放弃吧,一堆报错。