1 Bloom 特效原理
Bloom 特效是指:将画面中较亮的区域向外扩散,造成一种朦脓的效果。实现 Bloom 特效,一般要经过 3 个阶段处理:亮区域检测、高斯模糊、Bloom 合成。
本文完整资源见→Unity3D Bloom 特效。
1)亮区域检测
根据亮度阈值检测亮区,如下从原图中提取亮区域。


2)高斯模糊
对亮区域进行高斯模糊(原理见→高斯模糊特效),使得亮区域往外扩散,并产生朦脓效果。
3)Bloom 合成
将高斯模糊处理后的亮区域图像与原图像叠加。

2 代码实现
Bloom.cs
using UnityEngine;

[ExecuteInEditMode] // 编辑态可以查看脚本运行效果
[RequireComponent(typeof(Camera))] // 需要相机组件
public class Bloom : MonoBehaviour {
	private Material material = null; // 材质
	[Range(0, 4)]
	public int iterations = 3; // 高斯模糊迭代次数
	[Range(0.2f, 3.0f)]
	public float blurSpread = 0.6f; // 每次迭代纹理坐标偏移的速度
	[Range(1, 8)]
	public int downSample = 2; // 降采样比率
	[Range(0.0f, 4.0f)]
	public float luminanceThreshold = 0.6f; // 亮度阈值

    private void Start() {
		material = new Material(Shader.Find("MyShader/Bloom"));
		material.hideFlags = HideFlags.DontSave;
	}

    void OnRenderImage(RenderTexture src, RenderTexture dest) {
		if (material != null) {
			material.SetFloat("_LuminanceThreshold", luminanceThreshold); // 设置亮度阈值
			int rtW = src.width/downSample; // 降采样的纹理宽度
			int rtH = src.height/downSample; // 降采样的纹理高度
			RenderTexture buffer0 = RenderTexture.GetTemporary(rtW, rtH, 0);
			buffer0.filterMode = FilterMode.Bilinear; // 滤波模式设置为双线性
			Graphics.Blit(src, buffer0, material, 0);
			for (int i = 0; i < iterations; i++) {
				material.SetFloat("_BlurSize", 1.0f + i * blurSpread);
				RenderTexture buffer1 = RenderTexture.GetTemporary(rtW, rtH, 0);
				Graphics.Blit(buffer0, buffer1, material, 1); // 渲染垂直的Pass(高斯模糊)
				RenderTexture.ReleaseTemporary(buffer0);
				buffer0 = buffer1;
				buffer1 = RenderTexture.GetTemporary(rtW, rtH, 0);
				Graphics.Blit(buffer0, buffer1, material, 2); // 渲染垂直的Pass(高斯模糊)
				RenderTexture.ReleaseTemporary(buffer0);
				buffer0 = buffer1;
			}
			material.SetTexture("_Bloom", buffer0); // 将高斯模糊处理后的纹理设置给_Bloom
			Graphics.Blit(src, dest, material, 3);
			RenderTexture.ReleaseTemporary(buffer0);
		} else {
			Graphics.Blit(src, dest);
		}
	}
}
Bloom.shader
Shader "MyShader/Bloom" {
	Properties {
		_MainTex ("Base (RGB)", 2D) = "white" {} // 主纹理
		_Bloom ("Bloom (RGB)", 2D) = "black" {} // Bloom处理需要的纹理(即高斯模糊处理后的纹理)
		_LuminanceThreshold ("Luminance Threshold", Float) = 0.5 // 亮度阈值
		_BlurSize ("Blur Size", Float) = 1.0 // 模糊尺寸(纹理坐标的偏移量)
	}

	SubShader {
		CGINCLUDE

		#include "UnityCG.cginc"

		sampler2D _MainTex; // 主纹理
		half4 _MainTex_TexelSize; // _MainTex的像素尺寸大小, float4(1/width, 1/height, width, height)
		sampler2D _Bloom; // Bloom处理需要的纹理(即高斯模糊处理后的纹理)
		float _LuminanceThreshold; // 亮度阈值
		float _BlurSize; // 模糊尺寸(纹理坐标的偏移量)

		fixed luminance(fixed4 color) { // 计算亮度
			return  0.2125 * color.r + 0.7154 * color.g + 0.0721 * color.b;
		}

		// 采样纹理的亮度减去亮度阈值, 小于0的值将取0
		fixed4 fragExtractBright(v2f_img i) : SV_Target { // v2f_img为内置结构图, 里面只包含pos和uv
			fixed4 c = tex2D(_MainTex, i.uv);
			fixed val = saturate(luminance(c) - _LuminanceThreshold);
			return c * val;
		}

		struct v2fBloom { // v2fBloom之所以不用v2f_img替代, 因为v2fBloom.uv是四维的, 而v2f_img.uv是二维的
			float4 pos : SV_POSITION; // 裁剪空间顶点坐标
			half4 uv : TEXCOORD0; // 纹理uv坐标
		};

		v2fBloom vertBloom(appdata_img v) {
			v2fBloom o;
			o.pos = UnityObjectToClipPos (v.vertex); // 模型空间顶点坐标变换到裁剪空间, 等价于: mul(UNITY_MATRIX_MVP, v.vertex)
			o.uv.xy = v.texcoord;
			o.uv.zw = v.texcoord;
			#if UNITY_UV_STARTS_AT_TOP
			if (_MainTex_TexelSize.y < 0.0)
				o.uv.w = 1.0 - o.uv.w; // 平台差异化处理
			#endif
			return o;
		}

		fixed4 fragBloom(v2fBloom i) : SV_Target {
			return tex2D(_MainTex, i.uv.xy) + tex2D(_Bloom, i.uv.zw);
		}

		ENDCG

		ZTest Always Cull Off ZWrite Off

		Pass {
			CGPROGRAM
			#pragma vertex vert_img // 使用内置的vert_img顶点着色器
			#pragma fragment fragExtractBright
			ENDCG
		}

		UsePass "MyShader/GaussianBlur/GAUSSIAN_BLUR_VERTICAL" // 垂直高斯模糊处理

		UsePass "MyShader/GaussianBlur/GAUSSIAN_BLUR_HORIZONTAL" // 水平高斯模糊处理

		Pass {
			CGPROGRAM
			#pragma vertex vertBloom
			#pragma fragment fragBloom
			ENDCG
		}
	}

	FallBack Off
}
说明: vert_img 是 Unity 内置的顶点着色器,v2f_img 是 Unity 内置的结构体变量,vert_img 和 v2f_img 的实现见→Shader常量、变量、结构体、函数。
GaussianBlur.shader
Shader "MyShader/GaussianBlur" { // 高斯模糊
Properties{
_MainTex("Base (RGB)", 2D) = "white" {} // 主纹理
_BlurSize("Blur Size", Float) = 1.0 // 模糊尺寸(纹理坐标的偏移量)
}
SubShader{
CGINCLUDE
#include "UnityCG.cginc"
sampler2D _MainTex; // 主纹理
half4 _MainTex_TexelSize; // _MainTex的像素尺寸大小, float4(1/width, 1/height, width, height)
float _BlurSize; // 模糊尺寸(纹理坐标的偏移量)
struct v2f {
float4 pos : SV_POSITION; // 模型空间顶点坐标
half2 uv[5]: TEXCOORD0; // 5个邻域的纹理坐标
};
v2f vertBlurVertical(appdata_img v) { // 垂直模糊顶点着色器
v2f o;
o.pos = UnityObjectToClipPos(v.vertex); // 模型空间顶点坐标变换到裁剪空间, 等价于: mul(UNITY_MATRIX_MVP, v.vertex)
half2 uv = v.texcoord;
o.uv[0] = uv;
o.uv[1] = uv + float2(0.0, _MainTex_TexelSize.y * 1.0) * _BlurSize;
o.uv[2] = uv - float2(0.0, _MainTex_TexelSize.y * 1.0) * _BlurSize;
o.uv[3] = uv + float2(0.0, _MainTex_TexelSize.y * 2.0) * _BlurSize;
o.uv[4] = uv - float2(0.0, _MainTex_TexelSize.y * 2.0) * _BlurSize;
return o;
}
v2f vertBlurHorizontal(appdata_img v) { // 水平模糊顶点着色器
v2f o;
o.pos = UnityObjectToClipPos(v.vertex); // 模型空间顶点坐标变换到裁剪空间, 等价于: mul(UNITY_MATRIX_MVP, v.vertex)
half2 uv = v.texcoord;
o.uv[0] = uv;
o.uv[1] = uv + float2(_MainTex_TexelSize.x * 1.0, 0.0) * _BlurSize;
o.uv[2] = uv - float2(_MainTex_TexelSize.x * 1.0, 0.0) * _BlurSize;
o.uv[3] = uv + float2(_MainTex_TexelSize.x * 2.0, 0.0) * _BlurSize;
o.uv[4] = uv - float2(_MainTex_TexelSize.x * 2.0, 0.0) * _BlurSize;
return o;
}
fixed4 fragBlur(v2f i) : SV_Target {
float weight[3] = {0.4026, 0.2442, 0.0545}; // 大小为5的一维高斯核,实际只需记录3个权值
fixed3 sum = tex2D(_MainTex, i.uv[0]).rgb * weight[0];
for (int j = 1; j < 3; j++) {
sum += tex2D(_MainTex, i.uv[j * 2 - 1]).rgb * weight[j]; // 中心右侧或下侧的纹理*权值
sum += tex2D(_MainTex, i.uv[j * 2]).rgb * weight[j]; // 中心左侧或上侧的纹理*权值
}
return fixed4(sum, 1.0);
}
ENDCG
ZTest Always Cull Off ZWrite Off
Pass {
NAME "GAUSSIAN_BLUR_VERTICAL"
CGPROGRAM
#pragma vertex vertBlurVertical
#pragma fragment fragBlur
ENDCG
}
Pass {
NAME "GAUSSIAN_BLUR_HORIZONTAL"
CGPROGRAM
#pragma vertex vertBlurHorizontal
#pragma fragment fragBlur
ENDCG
}
}
FallBack "Diffuse"
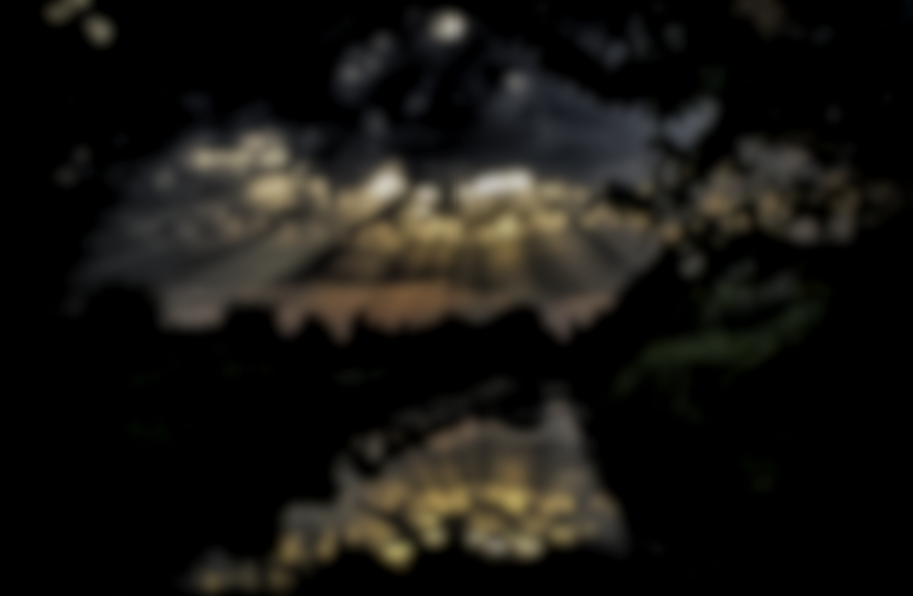
}3 运行效果
调整模糊迭代次数 iterations 由 0 ~ 4 变化,效果如下:
