Flume监听文件并上传到HDFS
监听任意一个文件,并将监控结果上传到hdfs的/flume目录下
1.编写配置文件
#me the components on this agent
a1.sources = r1
a1.sinks = k1
a1.channels = c1
# Describe/configure the source
# exec即execute执行命令
a1.sources.r1.type = exec
# 要执行的命令
a1.sources.r1.command = tail -F /root/flume_tail.log
# 执行shell脚本的绝对路径
a1.sources.r1.shell = /bin/bash -c
# Describe the sink
a1.sinks.k1.type = logger
# Use a channel which buffers events in memory
a1.channels.c1.type = memory
#默认该通道中最大可以存储的event数量
a1.channels.c1.capacity = 1000
#每次最大可以从source中拿到或者送到sink中的event数量
a1.channels.c1.transactionCapacity = 100
#采集数据到hdfs
a1.sinks.k1.type = hdfs
#配置上传到hdfs路径
a1.sinks.k1.hdfs.path = hdfs://lingyun2:9000/flume/%y-%m-%d
#生成的文件类型,默认是Sequencefile;可选DataStream,则为普通文本;可选CompressedStr
a1.sinks.k1.hdfs.filePrefix = flu-
a1.sinks.k1.hdfs.fileType = DataStream
a1.sinks.k1.hdfs.writeFormat = Text
# 每x秒生成一个文件,默认30秒,如果设置成0,则表示不根据时间来滚动文件;
a1.sinks.k1.hdfs.rollInterval = 60
# 每x字节,滚动生成一个文件;默认1024   (0 = 表示不根据临时文件大小来滚动文件)
a1.sinks.k1.hdfs.rollSize = 0
# 每x个event,滚动生成一个文件;默认10 (0 = 不根据事件滚动)
a1.sinks.k1.hdfs.rollCount = 0
# 使用本地时间
a1.sinks.k1.hdfs.useLocalTimeStamp = true
# Bind the source and sink to the channel

a1.sources.r1.channels = c1
a1.sinks.k1.channel = c1
在配置文件中已指定被监控的文件为:/root/flume_tail.log
2.运行flume
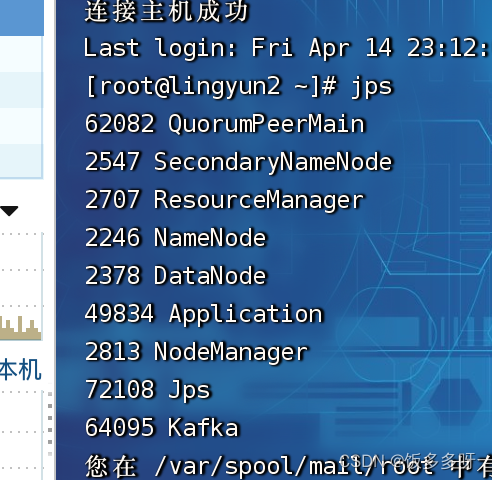
确保hadoop已启动
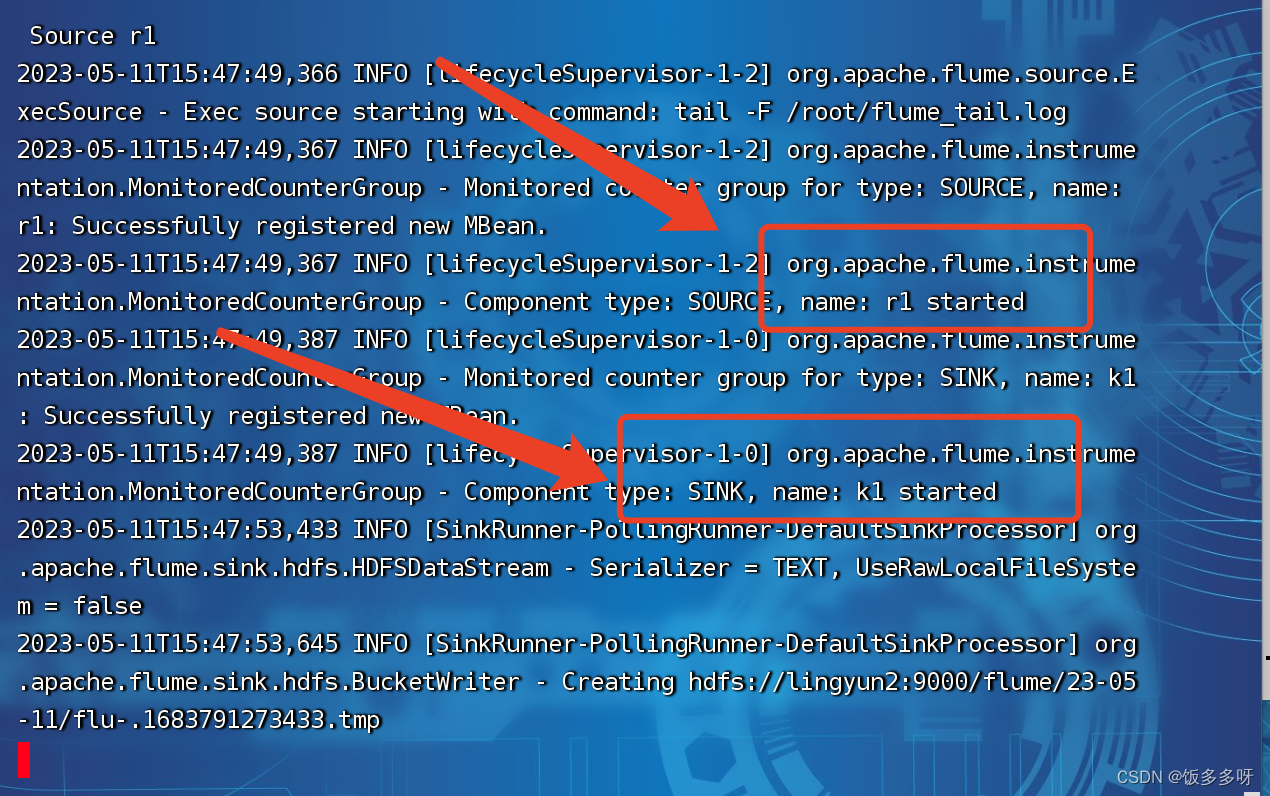
flume-ng agent -n a1 -c ./conf -f $FLUME_HOME/conf/flume_tail.conf -Dflume.root.logger=INFO,console
查看启动日志无报错,并显示如下图所示,则为启动成功
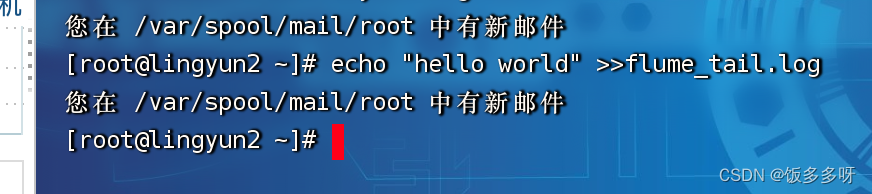
3.向监控文件中写入内容
echo "hello world" >>flume_tail.log
4.查看hdfs
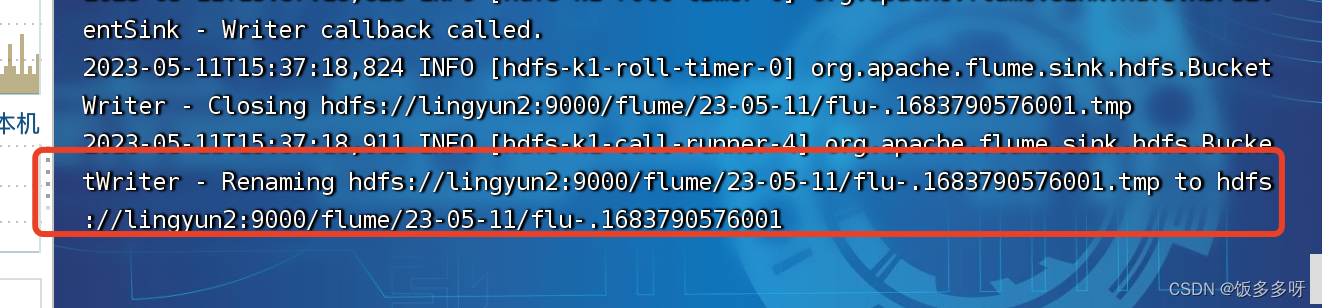
可以看出已经成功监控到文件的变动,并且监控文件已经上传到hdfs
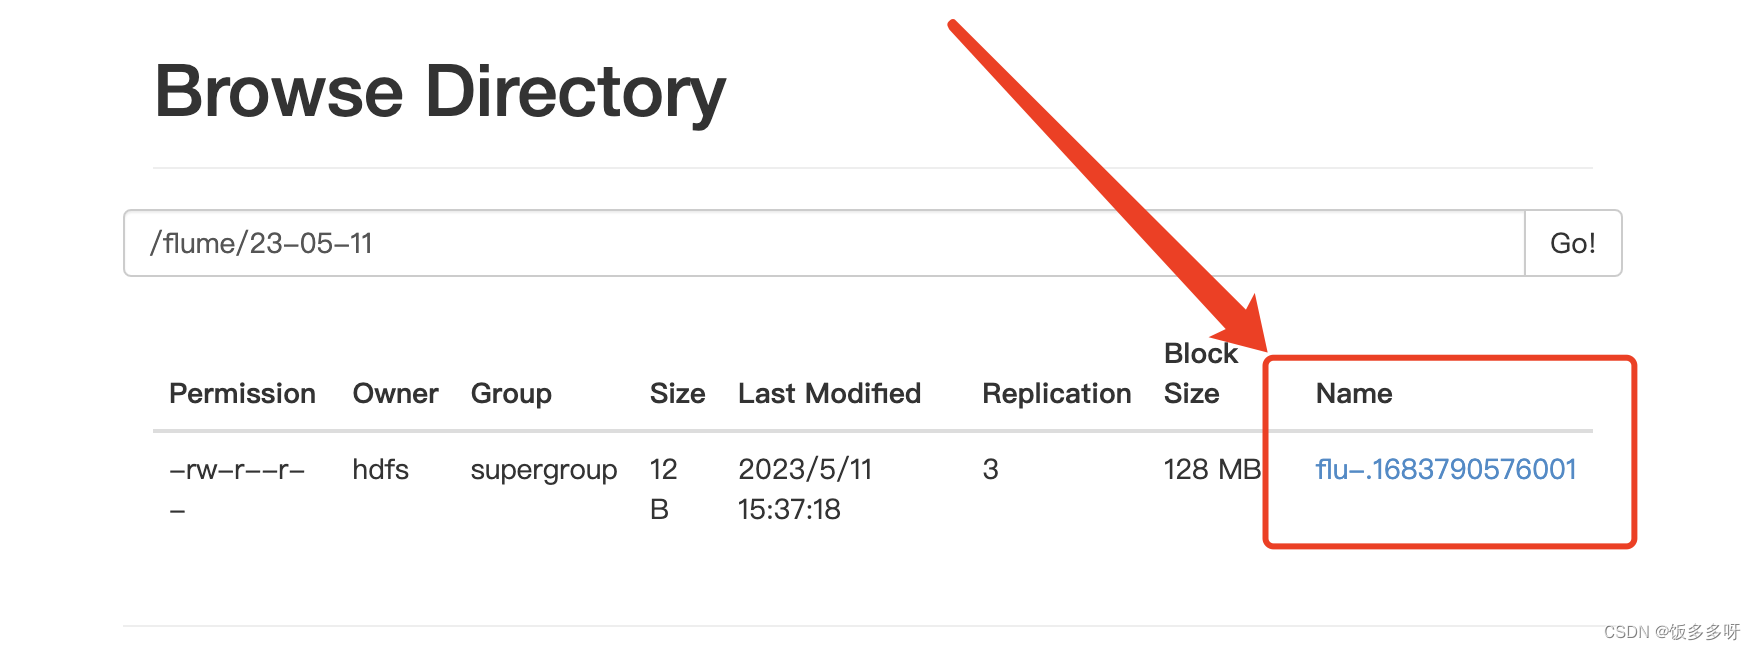

已成功捕获到文件的变动