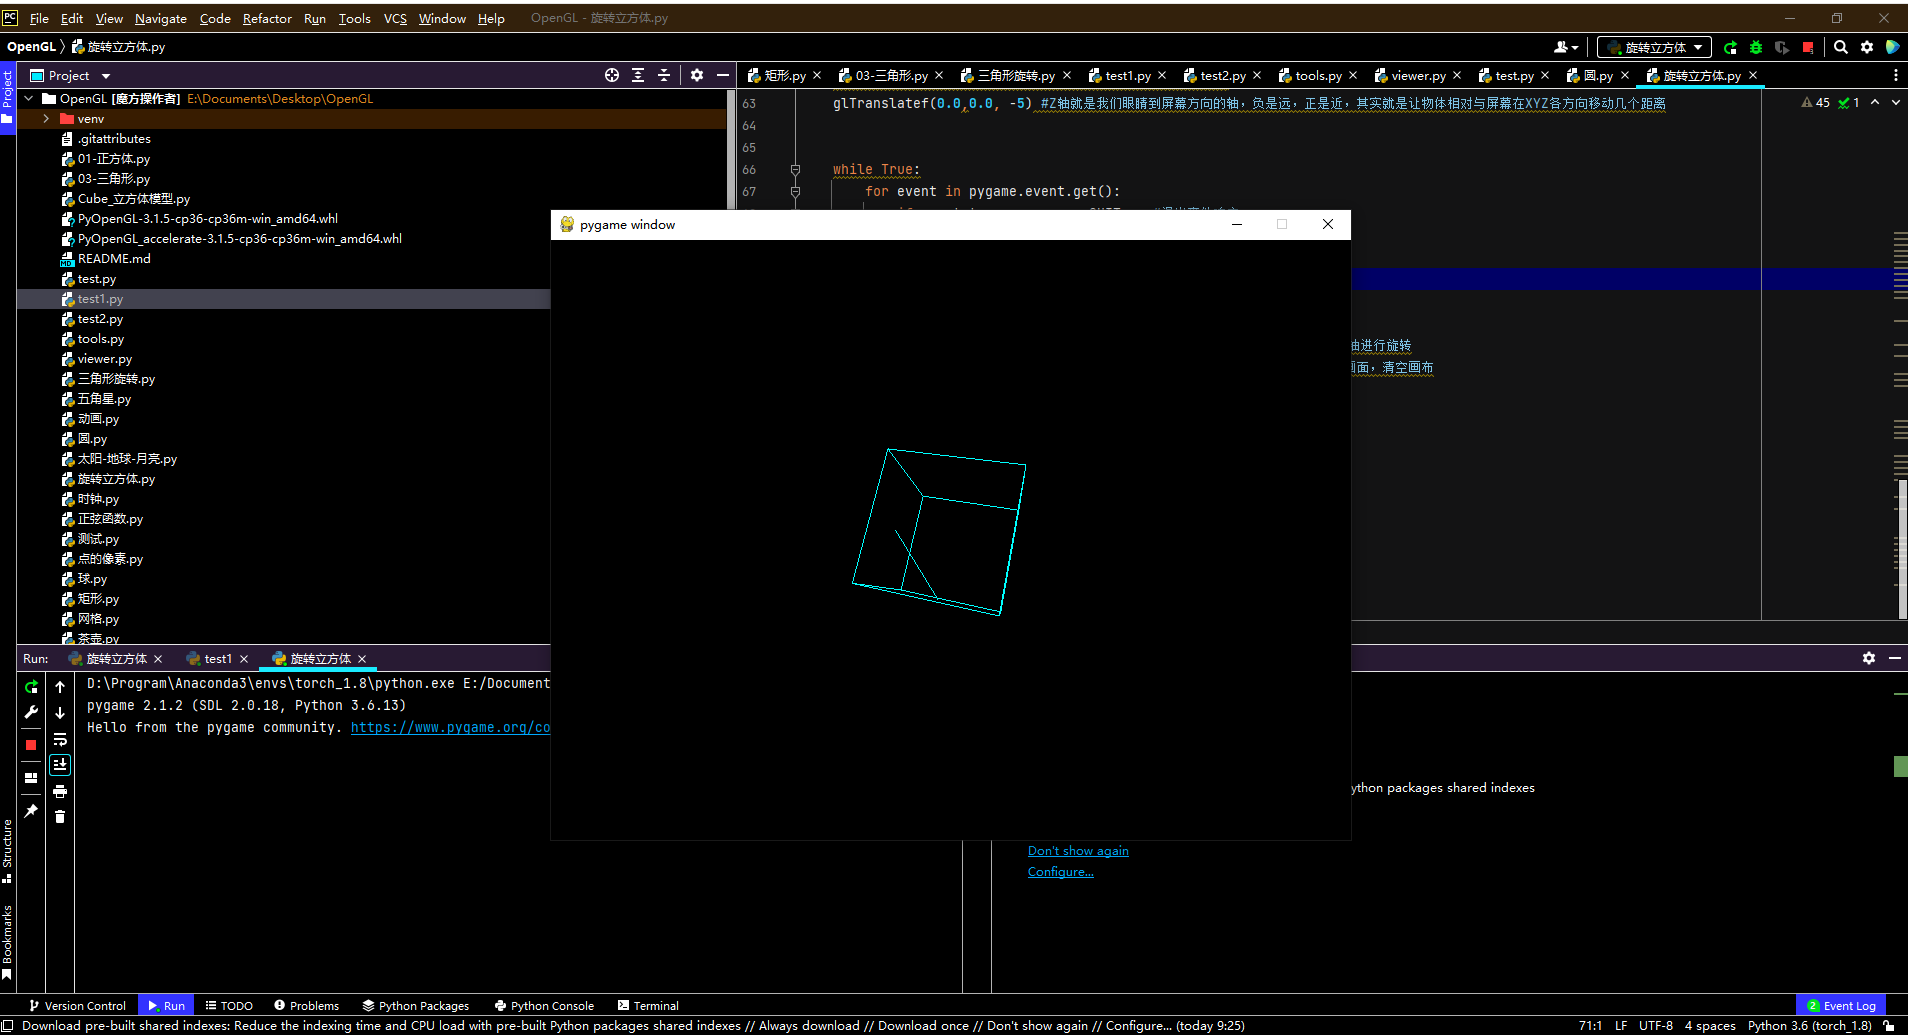
整体旋转
代码
### import pygame
from pygame.locals import *

from OpenGL.GL import *
from OpenGL.GLU import *


verticies = (
    (1, ### -1, -1),
    (1, 1, -1),
    (-1, 1, -1),
    (-1, -1, -1),
    (1, ### -1, 1),
    (1, 1, 1),
    (-1, -1, 1),
    (-1, 1, 1)
    )


edges = (
    (0,1),
    (0,3),
    (0,4),
    (2,1),
    (2,3),
    (2,7),
    (6,3),
    (6,4),
    (6,7),
    (5,1),
    (5,4),
    (5,7)
    )


def Cube():
    glColor3f(0.0, 1.0, 1.0)
    glPolygonMode(GL_FRONT, GL_FILL)
    glPolygonMode(GL_BACK, GL_FILL)
      # 设置两面均为顶点绘制方式

    glBegin(GL_LINES)                          #glBegin和glEnd()是绘图的必备函数
    for edge in edges:
        for vertex in edge:
            glVertex3fv(verticies[vertex])     #这个函数就是连点,这个函数执行两次画一条线,两点确定一条直线,参数为三维的坐标
    glVertex3f(0,-1,0)           #这个函数执行两次画一条线
    glVertex3f(0,0,-1)
    glEnd()


def main():
    pygame.init()                              #pygame的一些初始化不用管
    display = (800,600)
    pygame.display.set_mode(display, DOUBLEBUF|OPENGL)


    gluPerspective(450,(display[0]/display[1]), 0.5, 50.0)
    #参数1是我们看显示物体的远近
    #参数2是物体显示的长宽比,和窗口长宽比相同就行
    #参数3和4是z轴近和远的裁剪面的距离,但是还是不太明白要这干啥
    glTranslatef(0.0,0.0, -5) #Z轴就是我们眼睛到屏幕方向的轴,负是远,正是近,其实就是让物体相对与屏幕在XYZ各方向移动几个距离


    while True:
        for event in pygame.event.get():
            if event.type == pygame.QUIT:   #退出事件响应
                pygame.quit()
                quit()

        glRotatef(1, 1, 1, 1)
        #参数1是旋转的速度,
        #参数2是x, y and z的一个坐标,表示从(0,0,0)点到(x,y,z)这条线为轴进行旋转
        glClear(GL_COLOR_BUFFER_BIT|GL_DEPTH_BUFFER_BIT) #用来删除就得画面,清空画布
        Cube()                                           #创建模型
        pygame.display.flip()                            #显示画面
        pygame.time.wait(10)                             #10ms刷新一次


main()
绕X轴旋转
代码
### import pygame
from pygame.locals import *

from OpenGL.GL import *
from OpenGL.GLU import *
import numpy as np

verticies = [
	[1, -1, -1],
	[1, 1, ### -1],
	[-1, 1, -1],
	[-1, -1, -1],
	[1, -1, 1],
	[1, 1, 1],
	[-1, -1, 1],
	[-1, 1, 1]
]

edges = (
	(0, 1),
	(0, 3),
	(0, 4),
	(2, 1),
	(2, 3),
	(2, 7),
	(6, 3),
	(6, 4),
	(6, 7),
	(5, 1),
	(5, 4),
	(5, 7)
)
def position_transformations_x(x0, y0, z0, o):  # 齐次坐标变换-绕X轴旋转

	P0 = np.array([[x0], [y0], [z0], [0]])
	transformations = np.array(
		[[1, 0, 0, 0], [0, np.cos(o), -np.sin(o), 0], [0, np.sin(o), np.cos(o), 0], [0, 0, 0, 1]])
	P = np.dot(transformations, P0)
	return P[0][0], P[1][0], P[2][0]

def position_transformations_y(x0, y0, z0, o):  # 齐次坐标变换-绕Y轴旋转

	P0 = np.array([[x0], [y0], [z0], [0]])
	transformations = np.array(
		[[np.cos(o), 0, np.sin(o), 0], [0, 1, 0, 0], [-np.sin(o), 0, np.cos(o), 0], [0, 0, 0, 1]])
	P = np.dot(transformations, P0)
	return P[0][0], P[1][0], P[2][0]

def position_transformations_z(x0, y0, z0, o):  # 齐次坐标变换-绕Z轴旋转

	P0 = np.array([[x0], [y0], [z0], [0]])
	transformations = np.array(
		[[np.cos(o), -np.sin(o), 0, 0], [np.sin(o), np.cos(o), 0, 0], [0, 0, 1, 0], [0, 0, 0, 1]])
	P = np.dot(transformations, P0)
	return P[0][0], P[1][0], P[2][0]

def position_trans(x0, y0, z0, dx, dy, dz):  # 齐次坐标变换-进行平移变换

	P0 = np.array([[x0], [y0], [z0], [0]])
	transformations = np.array(
		[[1, 0, 0, dx], [0, 1, 0, dy], [0, 0, 1, dz], [0, 0, 0, 1]])
	P = np.dot(transformations, P0)
	return P[0][0], P[1][0], P[2][0]


def Cube():
	glColor3f(0.0, 1.0, 1.0)
	glPolygonMode(GL_FRONT, GL_FILL)
	glPolygonMode(GL_BACK, GL_FILL)
	# 设置两面均为顶点绘制方式

	for point in verticies:
		print("point:", point)
		x,y,z = point
		x,y,z = position_transformations_x(x, y, z, 0.01)
		point[0] = x
		point[1] = y
		point[2] = z

		pass
	glBegin(GL_LINES)  # glBegin和glEnd()是绘图的必备函数
	for edge in edges:
		for vertex in edge:
			glVertex3fv(verticies[vertex])  # 这个函数就是连点,这个函数执行两次画一条线,两点确定一条直线,参数为三维的坐标
	glVertex3f(0, -1, 0)  # 这个函数执行两次画一条线
	glVertex3f(0, 0, -1)
	glEnd()


def main():
	pygame.init()  # pygame的一些初始化不用管
	display = (800, 600)
	pygame.display.set_mode(display, DOUBLEBUF | OPENGL)

	gluPerspective(450, (display[0] / display[1]), 0.5, 50.0)
	# 参数1是我们看显示物体的远近
	# 参数2是物体显示的长宽比,和窗口长宽比相同就行
	# 参数3和4是z轴近和远的裁剪面的距离,但是还是不太明白要这干啥
	glTranslatef(0.0, 0.0, -5)  # Z轴就是我们眼睛到屏幕方向的轴,负是远,正是近,其实就是让物体相对与屏幕在XYZ各方向移动几个距离

	while True:
		for event in pygame.event.get():
			if event.type == pygame.QUIT:  # 退出事件响应
				pygame.quit()
				quit()

		# glRotatef(1, 1, 1, 1)
		# 参数1是旋转的速度,
		# 参数2是x, y and z的一个坐标,表示从(0,0,0)点到(x,y,z)这条线为轴进行旋转
		glClear(GL_COLOR_BUFFER_BIT | GL_DEPTH_BUFFER_BIT)  # 用来删除就得画面,清空画布
		Cube()  # 创建模型
		pygame.display.flip()  # 显示画面
		pygame.time.wait(10)  # 10ms刷新一次


main()
绕Z轴旋转
代码
### import pygame
from pygame.locals import *

from OpenGL.GL import *
from OpenGL.GLU import *
import numpy as np

verticies = [
	[1, -1, -1],
	[1, 1, ### -1],
	[-1, 1, -1],
	[-1, -1, -1],
	[1, -1, 1],
	[1, 1, 1],
	[-1, -1, 1],
	[-1, 1, 1]
]

edges = (
	(0, 1),
	(0, 3),
	(0, 4),
	(2, 1),
	(2, 3),
	(2, 7),
	(6, 3),
	(6, 4),
	(6, 7),
	(5, 1),
	(5, 4),
	(5, 7)
)
def position_transformations_x(x0, y0, z0, o):  # 齐次坐标变换-绕X轴旋转

	P0 = np.array([[x0], [y0], [z0], [0]])
	transformations = np.array(
		[[1, 0, 0, 0], [0, np.cos(o), -np.sin(o), 0], [0, np.sin(o), np.cos(o), 0], [0, 0, 0, 1]])
	P = np.dot(transformations, P0)
	return P[0][0], P[1][0], P[2][0]

def position_transformations_y(x0, y0, z0, o):  # 齐次坐标变换-绕Y轴旋转

	P0 = np.array([[x0], [y0], [z0], [0]])
	transformations = np.array(
		[[np.cos(o), 0, np.sin(o), 0], [0, 1, 0, 0], [-np.sin(o), 0, np.cos(o), 0], [0, 0, 0, 1]])
	P = np.dot(transformations, P0)
	return P[0][0], P[1][0], P[2][0]

def position_transformations_z(x0, y0, z0, o):  # 齐次坐标变换-绕Z轴旋转

	P0 = np.array([[x0], [y0], [z0], [0]])
	transformations = np.array(
		[[np.cos(o), -np.sin(o), 0, 0], [np.sin(o), np.cos(o), 0, 0], [0, 0, 1, 0], [0, 0, 0, 1]])
	P = np.dot(transformations, P0)
	return P[0][0], P[1][0], P[2][0]

def position_trans(x0, y0, z0, dx, dy, dz):  # 齐次坐标变换-进行平移变换

	P0 = np.array([[x0], [y0], [z0], [0]])
	transformations = np.array(
		[[1, 0, 0, dx], [0, 1, 0, dy], [0, 0, 1, dz], [0, 0, 0, 1]])
	P = np.dot(transformations, P0)
	return P[0][0], P[1][0], P[2][0]


def Cube():
	glColor3f(0.0, 1.0, 1.0)
	glPolygonMode(GL_FRONT, GL_FILL)
	glPolygonMode(GL_BACK, GL_FILL)
	# 设置两面均为顶点绘制方式

	for point in verticies:
		print("point:", point)
		x,y,z = point
		x,y,z = position_transformations_z(x, y, z, 0.01)
		point[0] = x
		point[1] = y
		point[2] = z

		pass
	glBegin(GL_LINES)  # glBegin和glEnd()是绘图的必备函数
	for edge in edges:
		for vertex in edge:
			glVertex3fv(verticies[vertex])  # 这个函数就是连点,这个函数执行两次画一条线,两点确定一条直线,参数为三维的坐标
	glVertex3f(0, -1, 0)  # 这个函数执行两次画一条线
	glVertex3f(0, 0, -1)
	glEnd()


def main():
	pygame.init()  # pygame的一些初始化不用管
	display = (800, 600)
	pygame.display.set_mode(display, DOUBLEBUF | OPENGL)

	gluPerspective(450, (display[0] / display[1]), 0.5, 50.0)
	# 参数1是我们看显示物体的远近
	# 参数2是物体显示的长宽比,和窗口长宽比相同就行
	# 参数3和4是z轴近和远的裁剪面的距离,但是还是不太明白要这干啥
	glTranslatef(0.0, 0.0, -5)  # Z轴就是我们眼睛到屏幕方向的轴,负是远,正是近,其实就是让物体相对与屏幕在XYZ各方向移动几个距离

	while True:
		for event in pygame.event.get():
			if event.type == pygame.QUIT:  # 退出事件响应
				pygame.quit()
				quit()

		# glRotatef(1, 1, 1, 1)
		# 参数1是旋转的速度,
		# 参数2是x, y and z的一个坐标,表示从(0,0,0)点到(x,y,z)这条线为轴进行旋转
		glClear(GL_COLOR_BUFFER_BIT | GL_DEPTH_BUFFER_BIT)  # 用来删除就得画面,清空画布
		Cube()  # 创建模型
		pygame.display.flip()  # 显示画面
		pygame.time.wait(10)  # 10ms刷新一次


main()
绕Y轴旋转

代码
### import pygame
from pygame.locals import *

from OpenGL.GL import *
from OpenGL.GLU import *
import numpy as np

verticies = [
	[1, -1, -1],
	[1, 1, ### -1],
	[-1, 1, -1],
	[-1, -1, -1],
	[1, -1, 1],
	[1, 1, 1],
	[-1, -1, 1],
	[-1, 1, 1]
]

edges = (
	(0, 1),
	(0, 3),
	(0, 4),
	(2, 1),
	(2, 3),
	(2, 7),
	(6, 3),
	(6, 4),
	(6, 7),
	(5, 1),
	(5, 4),
	(5, 7)
)
def position_transformations_x(x0, y0, z0, o):  # 齐次坐标变换-绕X轴旋转

	P0 = np.array([[x0], [y0], [z0], [0]])
	transformations = np.array(
		[[1, 0, 0, 0], [0, np.cos(o), -np.sin(o), 0], [0, np.sin(o), np.cos(o), 0], [0, 0, 0, 1]])
	P = np.dot(transformations, P0)
	return P[0][0], P[1][0], P[2][0]

def position_transformations_y(x0, y0, z0, o):  # 齐次坐标变换-绕Y轴旋转

	P0 = np.array([[x0], [y0], [z0], [0]])
	transformations = np.array(
		[[np.cos(o), 0, np.sin(o), 0], [0, 1, 0, 0], [-np.sin(o), 0, np.cos(o), 0], [0, 0, 0, 1]])
	P = np.dot(transformations, P0)
	return P[0][0], P[1][0], P[2][0]

def position_transformations_z(x0, y0, z0, o):  # 齐次坐标变换-绕Z轴旋转

	P0 = np.array([[x0], [y0], [z0], [0]])
	transformations = np.array(
		[[np.cos(o), -np.sin(o), 0, 0], [np.sin(o), np.cos(o), 0, 0], [0, 0, 1, 0], [0, 0, 0, 1]])
	P = np.dot(transformations, P0)
	return P[0][0], P[1][0], P[2][0]

def position_trans(x0, y0, z0, dx, dy, dz):  # 齐次坐标变换-进行平移变换

	P0 = np.array([[x0], [y0], [z0], [0]])
	transformations = np.array(
		[[1, 0, 0, dx], [0, 1, 0, dy], [0, 0, 1, dz], [0, 0, 0, 1]])
	P = np.dot(transformations, P0)
	return P[0][0], P[1][0], P[2][0]


def Cube():
	glColor3f(0.0, 1.0, 1.0)
	glPolygonMode(GL_FRONT, GL_FILL)
	glPolygonMode(GL_BACK, GL_FILL)
	# 设置两面均为顶点绘制方式

	for point in verticies:
		print("point:", point)
		x,y,z = point
		x,y,z = position_transformations_y(x, y, z, 0.01)
		point[0] = x
		point[1] = y
		point[2] = z

		pass
	glBegin(GL_LINES)  # glBegin和glEnd()是绘图的必备函数
	for edge in edges:
		for vertex in edge:
			glVertex3fv(verticies[vertex])  # 这个函数就是连点,这个函数执行两次画一条线,两点确定一条直线,参数为三维的坐标
	glVertex3f(0, -1, 0)  # 这个函数执行两次画一条线
	glVertex3f(0, 0, -1)
	glEnd()


def main():
	pygame.init()  # pygame的一些初始化不用管
	display = (800, 600)
	pygame.display.set_mode(display, DOUBLEBUF | OPENGL)

	gluPerspective(450, (display[0] / display[1]), 0.5, 50.0)
	# 参数1是我们看显示物体的远近
	# 参数2是物体显示的长宽比,和窗口长宽比相同就行
	# 参数3和4是z轴近和远的裁剪面的距离,但是还是不太明白要这干啥
	glTranslatef(0.0, 0.0, -5)  # Z轴就是我们眼睛到屏幕方向的轴,负是远,正是近,其实就是让物体相对与屏幕在XYZ各方向移动几个距离

	while True:
		for event in pygame.event.get():
			if event.type == pygame.QUIT:  # 退出事件响应
				pygame.quit()
				quit()

		# glRotatef(1, 1, 1, 1)
		# 参数1是旋转的速度,
		# 参数2是x, y and z的一个坐标,表示从(0,0,0)点到(x,y,z)这条线为轴进行旋转
		glClear(GL_COLOR_BUFFER_BIT | GL_DEPTH_BUFFER_BIT)  # 用来删除就得画面,清空画布
		Cube()  # 创建模型
		pygame.display.flip()  # 显示画面
		pygame.time.wait(10)  # 10ms刷新一次


main()
绘制两个正方体,绕着不同的轴旋转
各方向移动几个距离
while True:
	for event in pygame.event.get():
		if event.type == pygame.QUIT:  # 退出事件响应
			pygame.quit()
			quit()

	# glRotatef(1, 1, 1, 1)
	# 参数1是旋转的速度,
	# 参数2是x, y and z的一个坐标,表示从(0,0,0)点到(x,y,z)这条线为轴进行旋转
	glClear(GL_COLOR_BUFFER_BIT | GL_DEPTH_BUFFER_BIT)  # 用来删除就得画面,清空画布
	Cube()  # 创建模型
	pygame.display.flip()  # 显示画面
	pygame.time.wait(10)  # 10ms刷新一次
main()
# 绘制两个正方体,绕着不同的轴旋转
#