1. adataset工具介绍
Apollo 8.0提供了adataset工具,可以转换nuScenes, KITTI数据集为Apollo record文件,同时还会生成数据集的车辆的内外参文件,这样就可以直接用数据集来验证自动驾驶感知效果。
通过以下命令来安装adataset
pip3 install adataset
或者可以直接将tools模块下到工作空间:
buildtool install tools-dev
1.1 adataset参数
The options for adataset command are as follows:
- –dataset(-d) Choose the dataset, support list
n, k, w, means “n:nuScenes, k:KITTI, w:Waymo” - –input(-i) Set the dataset input directory.
- –output(-o) Set the output directory, default is the current directory.
- –type(-t) Choose conversion type, support list
rcd, cal, pcd, means “rcd:record, cal:calibration, pcd:pointcloud”, default isrcd.
本文以kitti数据集为例,进行相关操作.
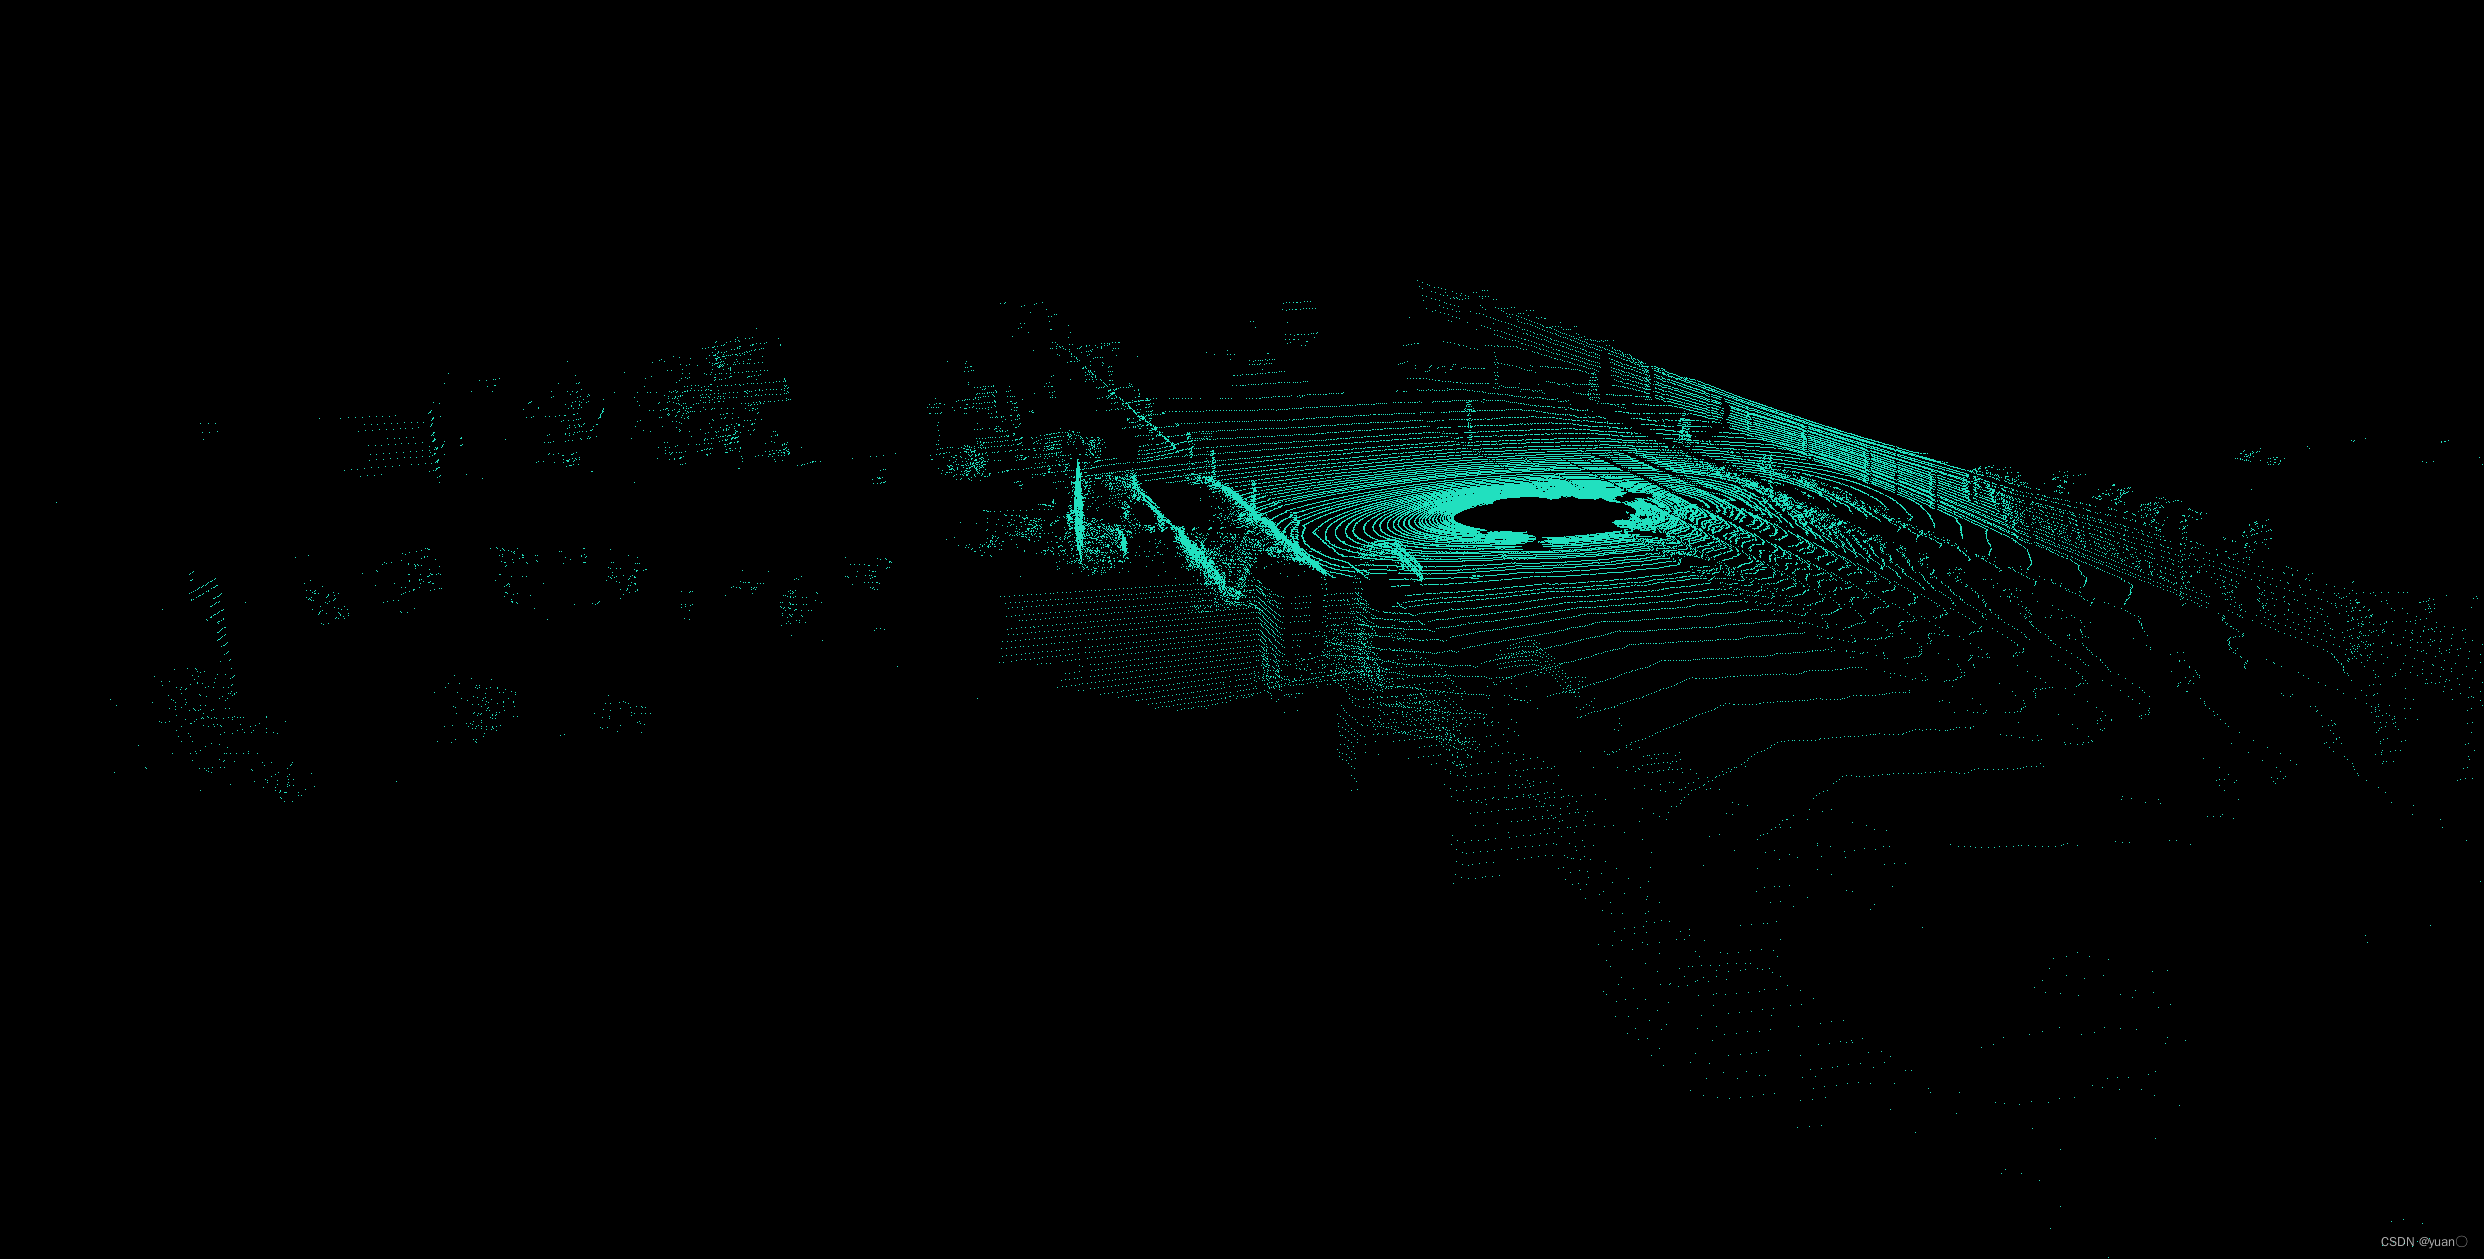
1.2 转换PCD文件
首先cd到adataset main.py所在的目录
接着由以下命令转换pcd文件
adataset -d=n -i=dataset_lidar_pcd_file -t=pcd
例子(adataset不可用时,可以尝试一下用python)
python3 main.py -d=k -i=/apollo_workspace/data/kitti/2011_09_26/2011_09_26_drive_0001_sync/velodyne_points/data/0000000100.bin -t=pcd -o=/apollo_workspace/data/kitti/kitti_pcd/test01.pcd
转换成功会输出
Success! Pcd file saved to '/apollo_workspace/data/kitti/kitti_pcd/test01.pcd'
此时,到目标文件夹,可以看到相应.pcd文件.
用pcl_viewer查看
1.3 转换校正文件
可以通过以下命令来生成校正文件
python3 main.py -d=k -i=/apollo_workspace/data/kitti/2011_09_26/ -t=cal

1.4 转换record文件
可以通过以下命令来生成record文件
python3 main.py -d=k -i=/apollo_workspace/data/kitti/2011_09_26/2011_09_26_drive_0001_sync/
默认保存为result.record
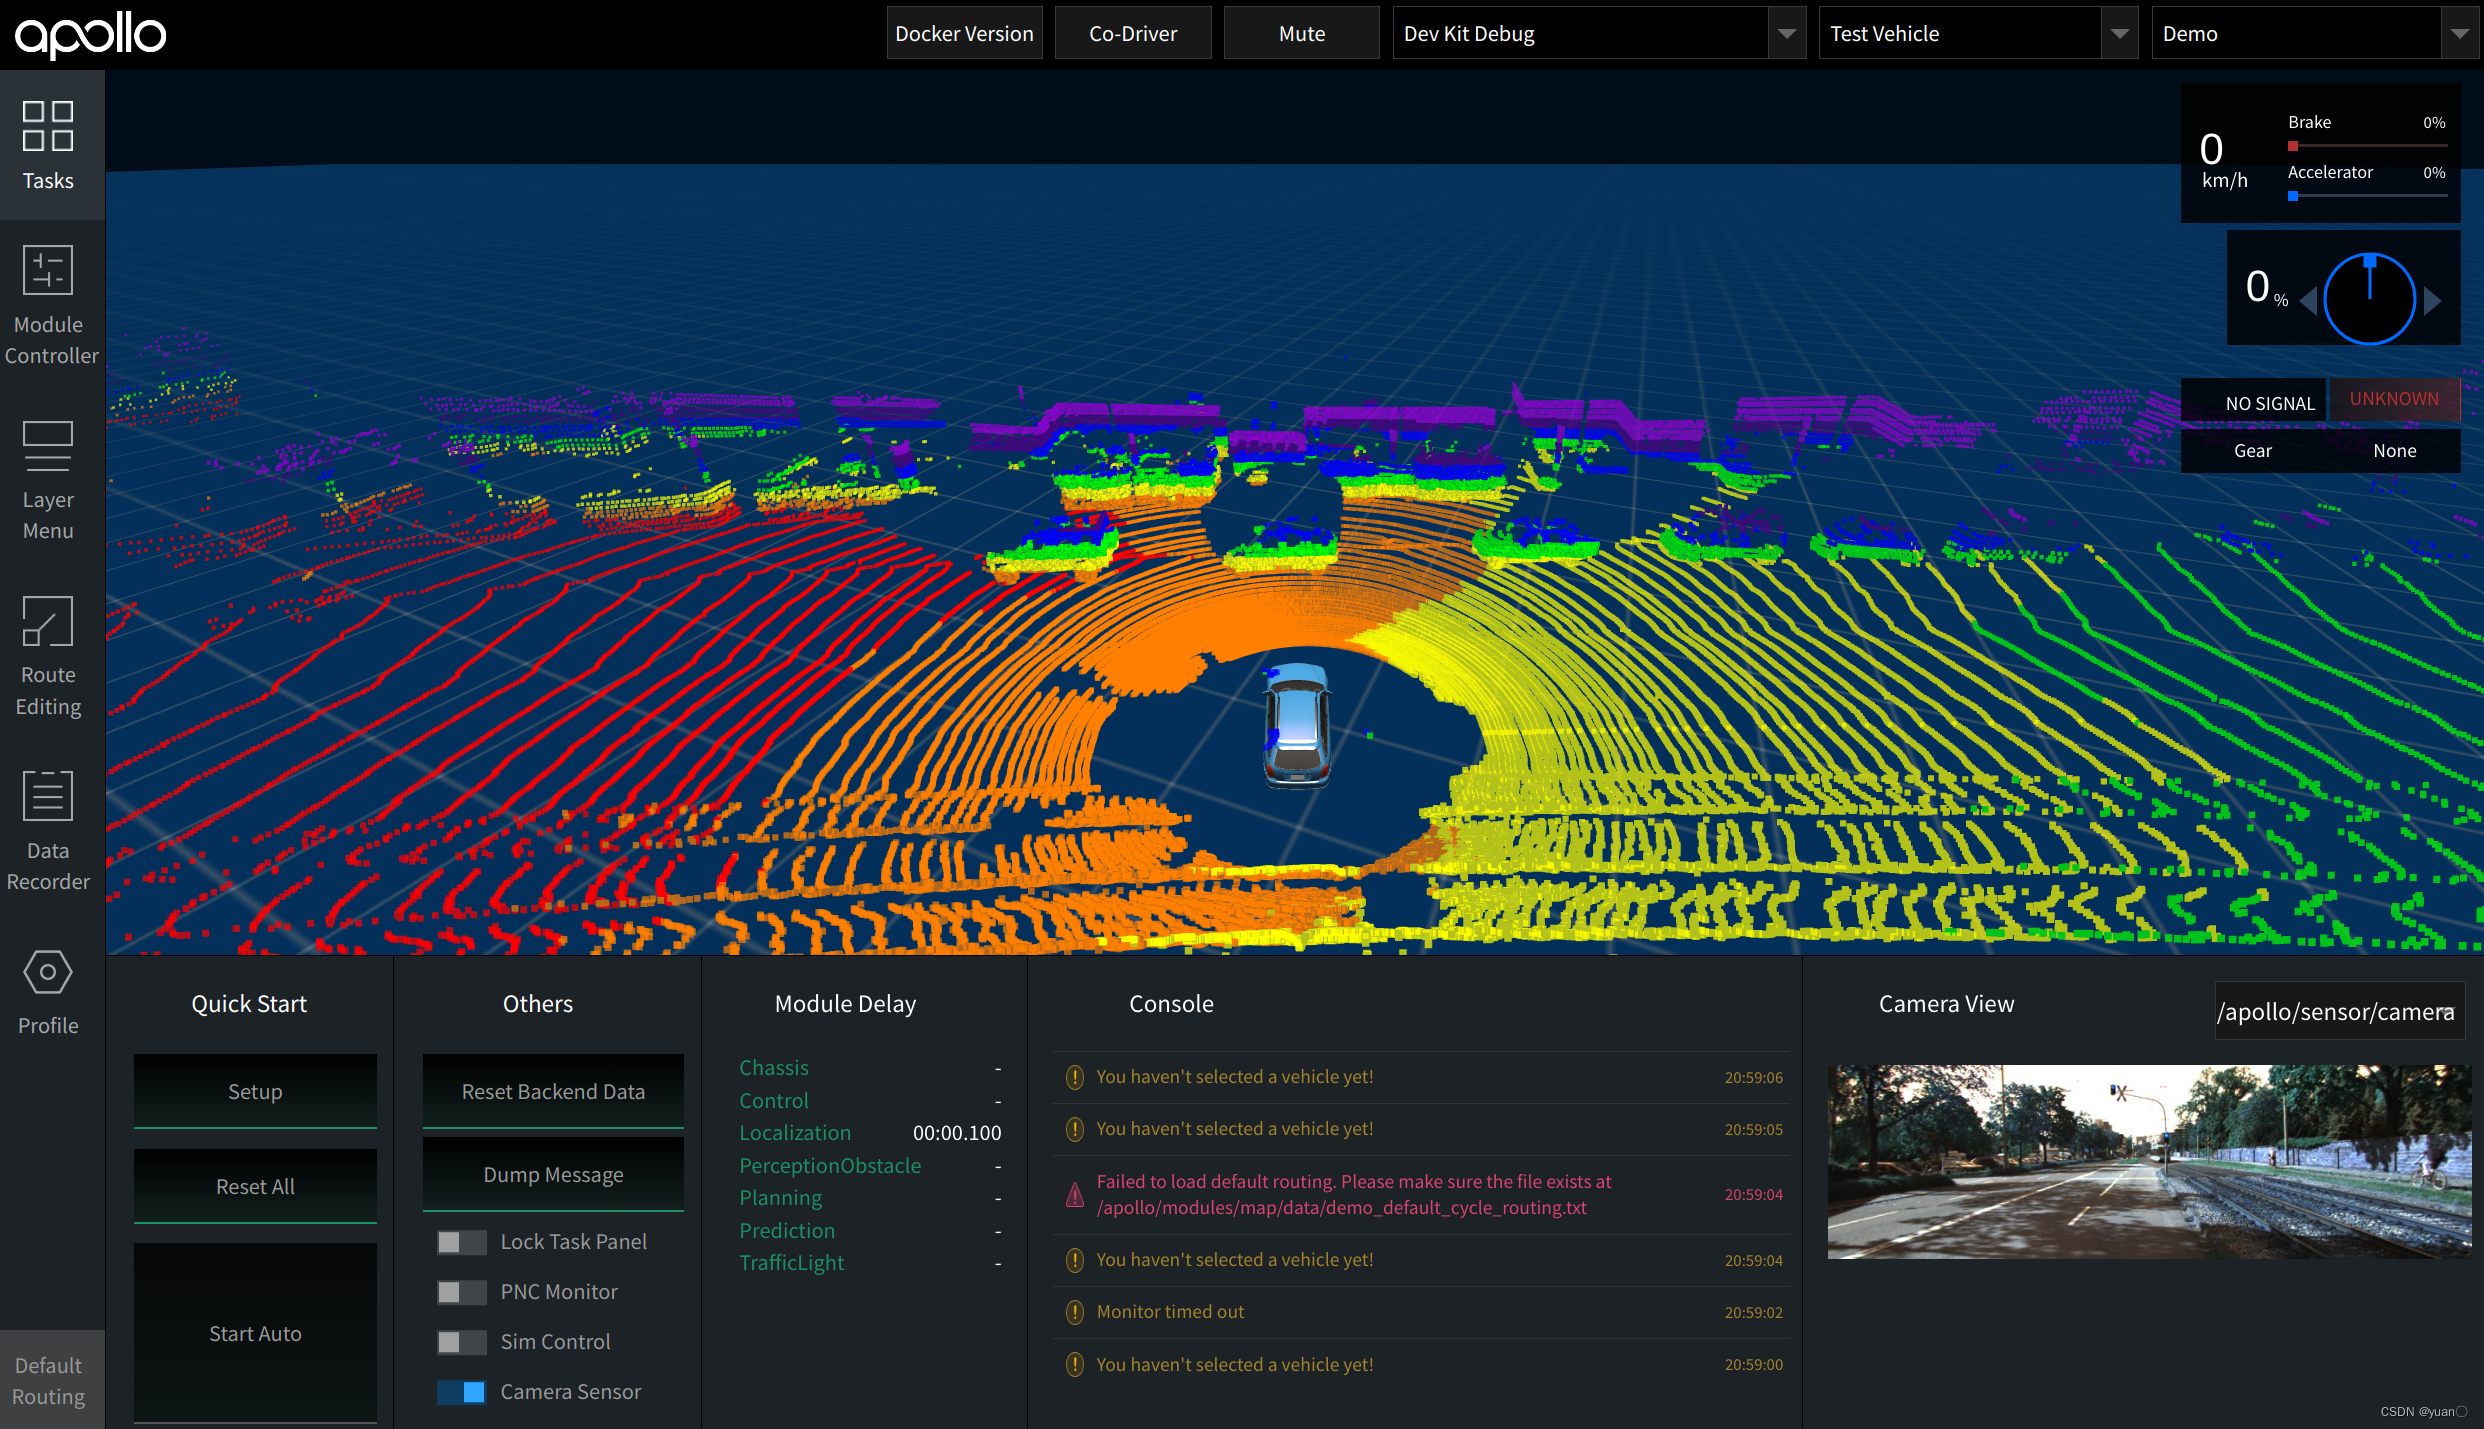
2. 在DreamView中播放
在/apollo_workspace/data/calibration_data下创建了test_vehicle文件夹,将之前得到的矫正文件放入.

启动dreamview
aem bootstrap start
播放数据包
cyber_recorder play -f data/result.record -l
dreamview显示如下.(车辆车头朝向与运动方向是垂直的,有BUG)