上一篇给大家提供了一份《framework开发学习路线和方法》,本篇将为大家介绍framework开发环境搭建。
硬件准备
-
编译主机
-
RAM:最低16GB,建议32GB,有条件64GB,内存越高,编译时间越短
-
ROM:最低400GB,代码250GB+构建150GB,建议不低于500GB
-
64位环境
-
Ubuntu20.04系统,低版本的系统也行,但我个人习惯了用高版本的。注意,不支持在MacOS或者Windows构建
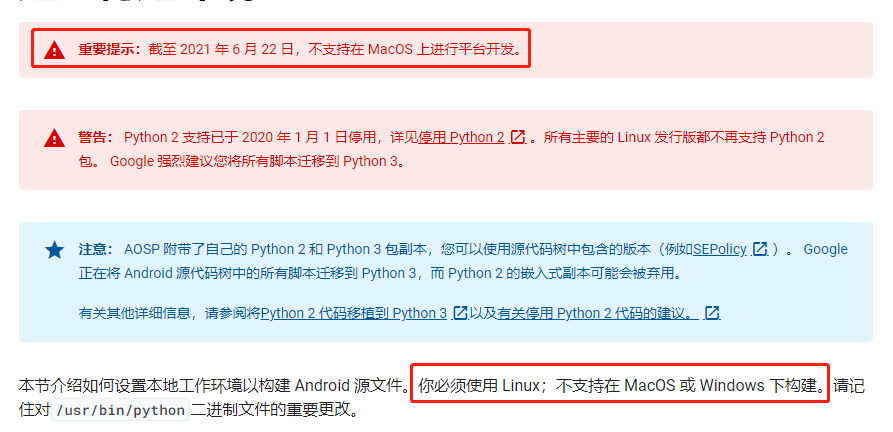
具体硬件要求可参考官网说明https://source.android.com/docs/setup/start/initializing
我个人是用的两台主机,一台专门编译用的Ubuntu,一台Windows用于日常办公,然后用Windows远程控制Ubuntu,非常方便。
-
-
调试设备
有条件可以购买Google Pixel,真机调试方便一点,当然也可以使用Android emulator
软件准备
-
编译环境
由于编译Android系统需要安装很多环境,所以我直接将所需要的环境整理成了sh脚本,直接运行该脚本即可。
在Ubuntu里面新建一个sh脚本,将以下内容复制进去
#base tools of ubuntu
sudo apt install net-tools gitk tree vim terminator synergy expect minicom cutecom
#openjdk
sudo apt-get install openjdk-8-jdk
sudo apt-get install git-core gnupg flex bison gperf build-essential zip curl zlib1g-dev gcc-multilib g++-multilib libc6-dev-i386 lib32ncurses5-dev x11proto-core-dev libx11-dev lib32z-dev libgl1-mesa-dev libxml2-utils xsltproc unzip libc6-dev tofrodos python3-markdown libssl-dev libxml-simple-perl  mingw-w64
#install adb and fastboot
sudo apt-get install android-tools-adb android-tools-fastboot
#install ssh server in order to enable ssh login and scp
sudo apt-get install openssh-server openssh-client
#install python
sudo apt-get install python python-dev python-protobuf protobuf-compiler python-virtualenv python-pip
#install libssl-dev to fix such error "fatal error: openssl/opensslv.h: No such file or directory"
sudo apt-get install libssl-dev
#install audit2allow
sudo apt-get install policycoreutils-python-utils
sudo apt-get install m4
#安装perl环境,否则可能会报错Can't locate XML/Simple.pm in @INC (you may need to install the XML::Simple module)
sudo cpan install XML::Simple
#解决no such file or directory以及Cannot generate supplementary makefiles的问题
sudo apt install lsb
sudo apt-get install lib32stdc++6
sudo apt-get install ia32-libs
sudo apt-get install lib32ncurses5
sudo apt-get install lib32z1
然后给该脚本设置执行权限
sudo chmod 777 enviroment.sh运行脚本会自动下载安装所需环境,但因为Ubuntu默认的软件仓库地址在国内可能会方便比较慢,甚至会失败的情况,所以运行脚本前需要先设置一下软件仓库镜像源。
执行
sudo gedit /etc/apt/sources.list打开镜像源文件,替换以下内容:
#添加阿里源
deb http://mirrors.aliyun.com/ubuntu/ focal main restricted universe multiverse
deb-src http://mirrors.aliyun.com/ubuntu/ focal main restricted universe multiverse
deb http://mirrors.aliyun.com/ubuntu/ focal-security main restricted universe multiverse
deb-src http://mirrors.aliyun.com/ubuntu/ focal-security main restricted universe multiverse
deb http://mirrors.aliyun.com/ubuntu/ focal-updates main restricted universe multiverse
deb-src http://mirrors.aliyun.com/ubuntu/ focal-updates main restricted universe multiverse
deb http://mirrors.aliyun.com/ubuntu/ focal-proposed main restricted universe multiverse
deb-src http://mirrors.aliyun.com/ubuntu/ focal-proposed main restricted universe multiverse
deb http://mirrors.aliyun.com/ubuntu/ focal-backports main restricted universe multiverse
deb-src http://mirrors.aliyun.com/ubuntu/ focal-backports main restricted universe multiverse
#添加清华源
deb https://mirrors.tuna.tsinghua.edu.cn/ubuntu/ focal main restricted universe multiverse
deb-src https://mirrors.tuna.tsinghua.edu.cn/ubuntu/ focal main restricted universe multiverse
deb https://mirrors.tuna.tsinghua.edu.cn/ubuntu/ focal-updates main restricted universe multiverse
deb-src https://mirrors.tuna.tsinghua.edu.cn/ubuntu/ focal-updates main restricted universe multiverse
deb https://mirrors.tuna.tsinghua.edu.cn/ubuntu/ focal-backports main restricted universe multiverse
deb-src https://mirrors.tuna.tsinghua.edu.cn/ubuntu/ focal-backports main restricted universe multiverse
deb https://mirrors.tuna.tsinghua.edu.cn/ubuntu/ focal-security main restricted universe multiverse
deb-src https://mirrors.tuna.tsinghua.edu.cn/ubuntu/ focal-security main restricted universe multiverse multiverse
替换完后,执行
sudo apt-get update
sudo apt-get -f install
sudo apt-get upgrade
更新完仓库地址之后再执行上面的脚本即可,安装过程中需要手动选择y确认安装,安装过程大概需要15分钟。
-
Android Studio
AS主要是用来查看源码的,当然查看源码工具有很多种,vscode,sublime,source insight都可以,但我个人觉得还是AS比较优秀,一个是代码的跳转很方便,二个是因为之前做app开发,对AS比较熟悉。
这个直接到官网下载安装即可https://developer.android.google.cn/studio
如果你是通过Windows远程Ubuntu,那么可能还需要安装一些远程工具,比如向日葵/NoMachine,xshell,xftp等
硬件软件都准备好之后就可以愉快的进行framework开发啦,下一篇将介绍《Android源码的下载,编译,烧写》。