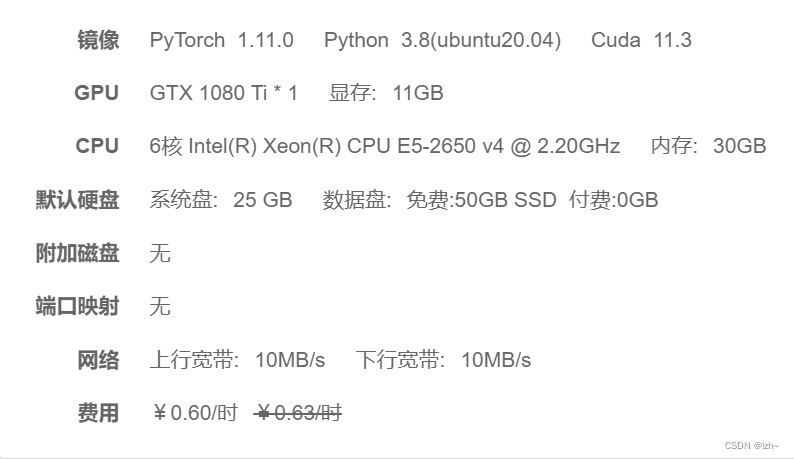
1、环境
| 环境 | 版本 |
|---|---|
| torch | 1.11.0+cu113 |
| torchvision | 0.12.0+cu113 |
2、文档
3、数据集
4、修改代码
4.1、测试环境
cd ./models/ops
sh ./make.sh
# unit test (should see all checking is True)
python test.py
这一步出问题了请检查自己的环境,之前用的pytorch1.10.0报错,换成pytorch1.11.0就好了
ImportError: .conda/lib/python3.7/site-packages/MultiScaleDeformableAttention-1.0-py3.7-linux-x86_64.egg/MultiScaleDeformableAttention.cpython-37m-x86_64-linux-gnu.so: undefined symbol: _ZN6caffe28TypeMeta21_typeMetaDataInstanceIN3c107complexINS2_4HalfEEEEEPKNS_6detail12TypeMetaDataEv
4.2、预训练权重
4.2.1、下载
- 在github上连接梯子进行下载
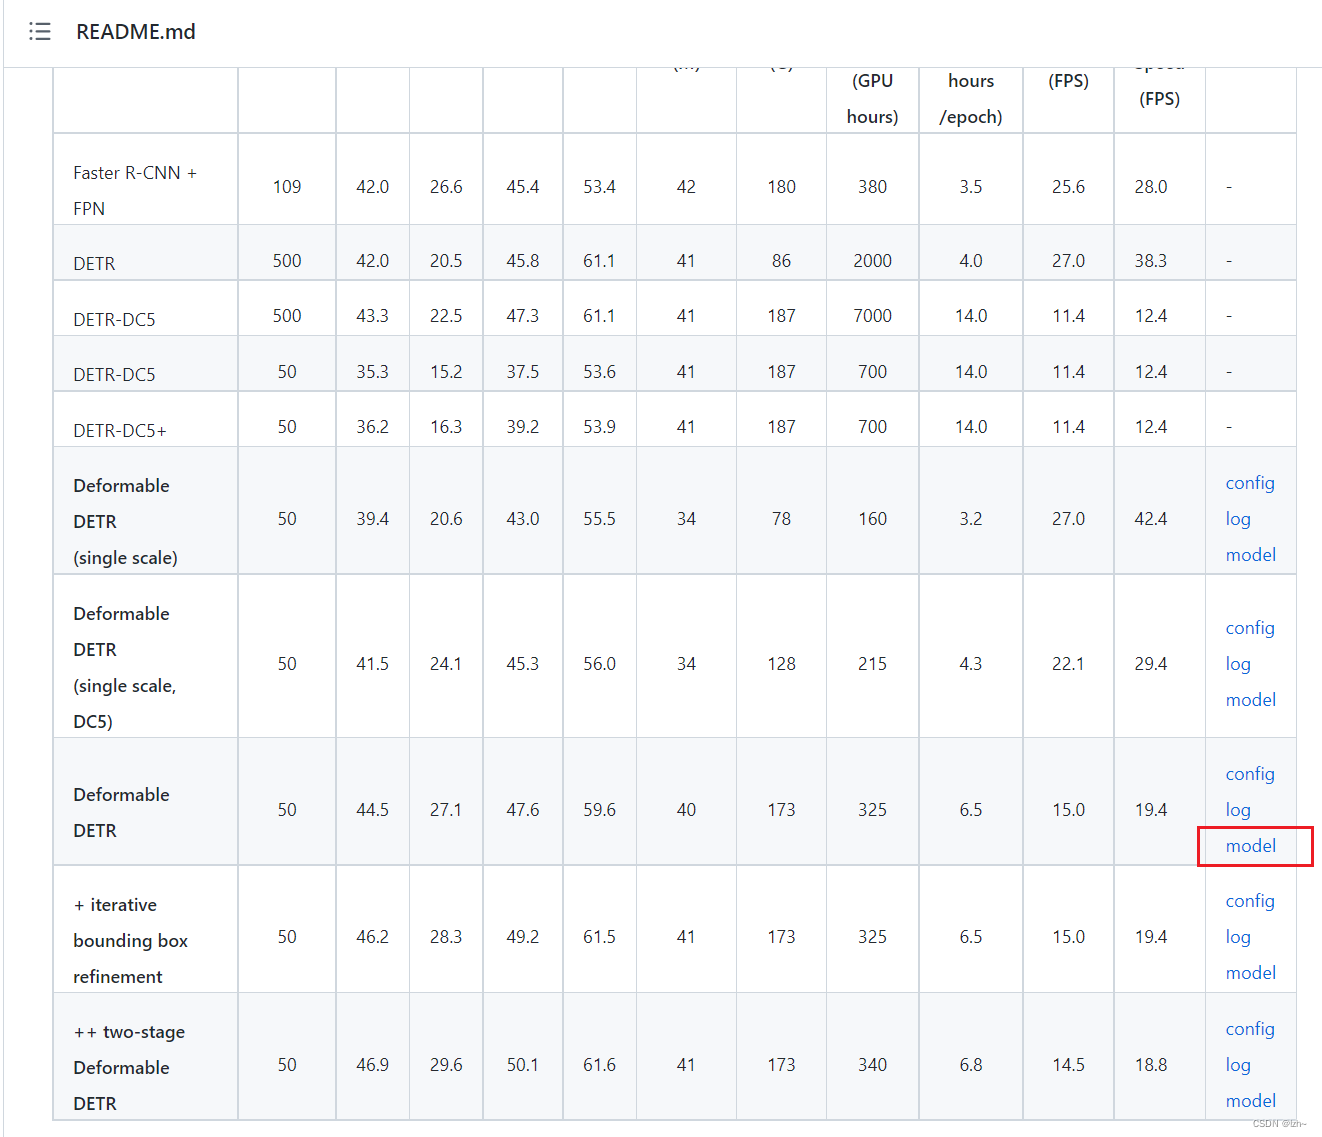
- 百度网盘链接
链接:https://pan.baidu.com/s/1NYWfmDzx1GCJvrmAZO62Yw
提取码:0pke
4.2.2、生成
执行下面代码生成自己所需要的权重文件 deformable_detr-r50_3.pth
import torch

# 加载官方提供的权重文件,修改成自己的路径
pretrained_weights = torch.load('./exps/r50_deformable_detr-checkpoint.pth')

# 修改相关权重
num_class = 3  # 自己数据集分类数
pretrained_weights['model']['class_embed.0.weight'].resize_(num_class + 1, 256)
pretrained_weights['model']['class_embed.0.bias'].resize_(num_class + 1)
pretrained_weights['model']['class_embed.1.weight'].resize_(num_class + 1, 256)
pretrained_weights['model']['class_embed.1.bias'].resize_(num_class + 1)
pretrained_weights['model']['class_embed.2.weight'].resize_(num_class + 1, 256)
pretrained_weights['model']['class_embed.2.bias'].resize_(num_class + 1)
pretrained_weights['model']['class_embed.3.weight'].resize_(num_class + 1, 256)
pretrained_weights['model']['class_embed.3.bias'].resize_(num_class + 1)
pretrained_weights['model']['class_embed.4.weight'].resize_(num_class + 1, 256)
pretrained_weights['model']['class_embed.4.bias'].resize_(num_class + 1)
pretrained_weights['model']['class_embed.5.weight'].resize_(num_class + 1, 256)
pretrained_weights['model']['class_embed.5.bias'].resize_(num_class + 1)
# 此处50对应生成queries的数量,根据main.py中--num_queries数量修改
pretrained_weights['model']['query_embed.weight'].resize_(50, 512)
torch.save(pretrained_weights, 'deformable_detr-r50_%d.pth' % num_class)
4.3、相关文件更改
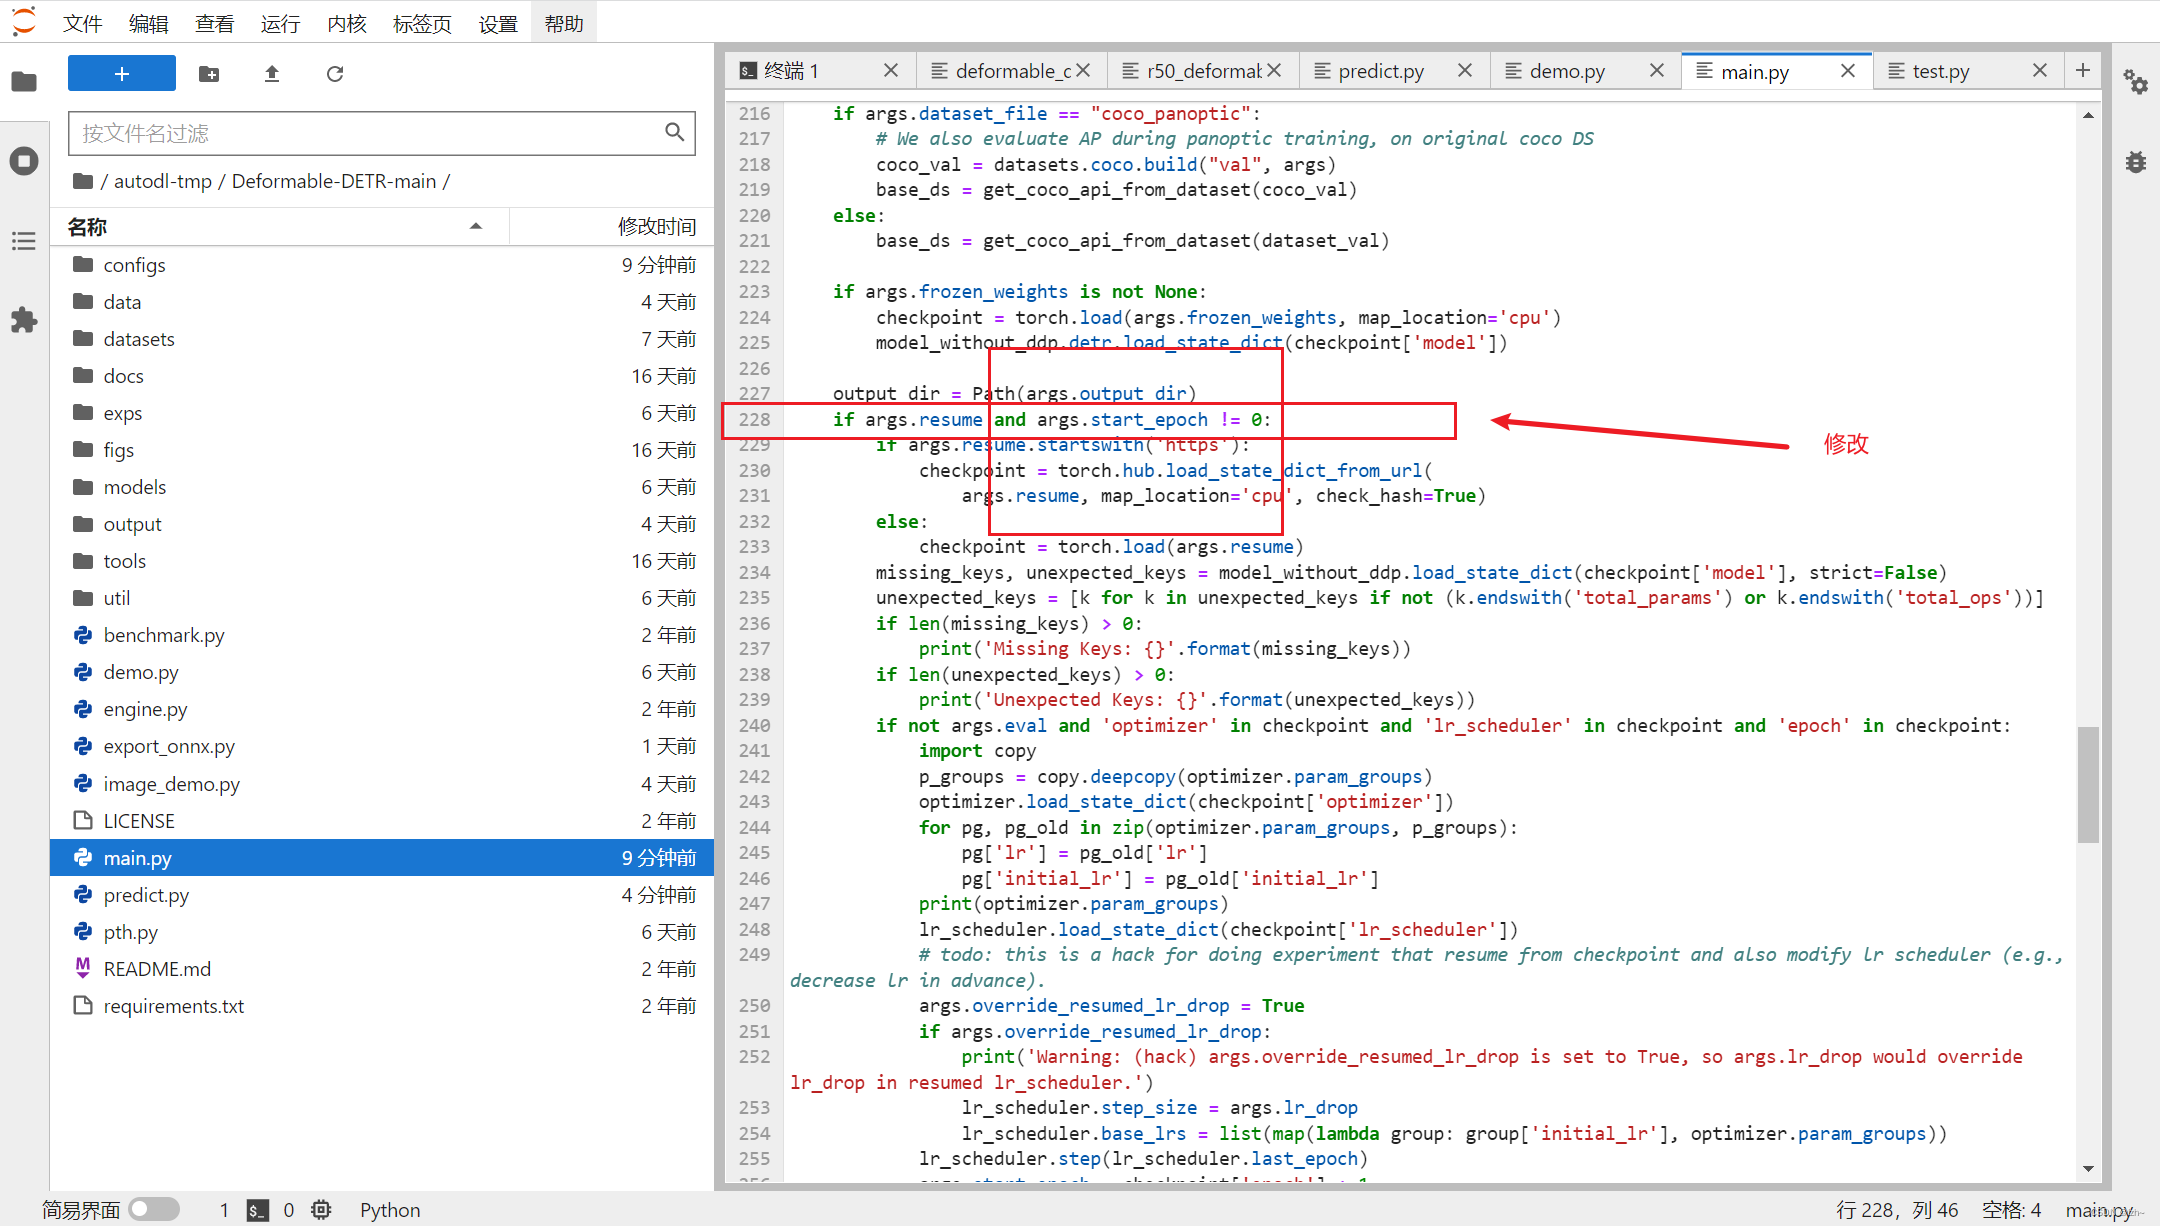
main.py中更改

models目录下面的deformable_detr.py文件改类别数目

configs目录下面的r50_deformable_detr.sh文件是输出模型的目录
可以自己更改

5、训练模型
GPUS_PER_NODE=1 ./configs/r50_deformable_detr.sh
训练模型结果如下
6、模型效果检测
执行下面的代码
import cv2
from PIL import Image
import numpy as np
import os
import time
import torch
from torch import nn
import torchvision.transforms as T
from main import get_args_parser as get_main_args_parser
from models import build_model
torch.set_grad_enabled(False)
device = torch.device("cuda:0" if torch.cuda.is_available() else "cpu")
print("[INFO] 当前使用{}做推断".format(device))
# 图像数据处理
transform = T.Compose([
T.Resize(800),
T.ToTensor(),
T.Normalize([0.485, 0.456, 0.406], [0.229, 0.224, 0.225])
])
# plot box by opencv
def plot_result(pil_img, prob, boxes, save_name=None, imshow=False, imwrite=True):
opencvImage = cv2.cvtColor(np.array(pil_img), cv2.COLOR_RGB2BGR)
LABEL = ['green', 'purple', 'yellow']
for p, (xmin, ymin, xmax, ymax) in zip(prob, boxes):
cl = p.argmax()
label_text = '{}: {}%'.format(LABEL[cl], round(p[cl] * 100, 2))
print(label_text)
cv2.rectangle(opencvImage, (int(xmin), int(ymin)), (int(xmax), int(ymax)), (255, 255, 0), 2)
cv2.putText(opencvImage, label_text, (int(xmin) + 10, int(ymin) + 30), cv2.FONT_HERSHEY_SIMPLEX, 1,
(255, 255, 0), 2)
if imshow:
cv2.imshow('detect', opencvImage)
cv2.waitKey(0)
# 修改成自己要保存的目录
if imwrite:
if not os.path.exists("./output/pred03"):
os.makedirs('./output/pred03')
cv2.imwrite('./output/pred03/{}'.format(save_name), opencvImage)
# 将xywh转xyxy
def box_cxcywh_to_xyxy(x):
x_c, y_c, w, h = x.unbind(1)
b = [(x_c - 0.5 * w), (y_c - 0.5 * h),
(x_c + 0.5 * w), (y_c + 0.5 * h)]
return torch.stack(b, dim=1)
def rescale_bboxes(out_bbox, size):
img_w, img_h = size
b = box_cxcywh_to_xyxy(out_bbox)
b = b.cpu().numpy()
b = b * np.array([img_w, img_h, img_w, img_h], dtype=np.float32)
return b
def load_model(model_path, args):
model, _, _ = build_model(args)
model.cuda()
model.eval()
state_dict = torch.load(model_path) # <-----------修改加载模型的路径
model.load_state_dict(state_dict["model"])
model.to(device)
print("load model sucess")
return model
# 图像的推断
def detect(im, model, transform, prob_threshold=0.7):
# mean-std normalize the input image (batch-size: 1)
img = transform(im).unsqueeze(0)
# propagate through the model
img = img.to(device)
start = time.time()
outputs = model(img)
# keep only predictions with 0.7+ confidence
# print(outputs['pred_logits'].softmax(-1)[0, :, :-1])
probas = outputs['pred_logits'].softmax(-1)[0, :, :-1]
keep = probas.max(-1).values > prob_threshold
probas = probas.cpu().detach().numpy()
keep = keep.cpu().detach().numpy()
# convert boxes from [0; 1] to image scales
bboxes_scaled = rescale_bboxes(outputs['pred_boxes'][0, keep], im.size)
end = time.time()
return probas[keep], bboxes_scaled, end - start
if __name__ == "__main__":
main_args = get_main_args_parser().parse_args()
# 加载模型 修改成自己路径
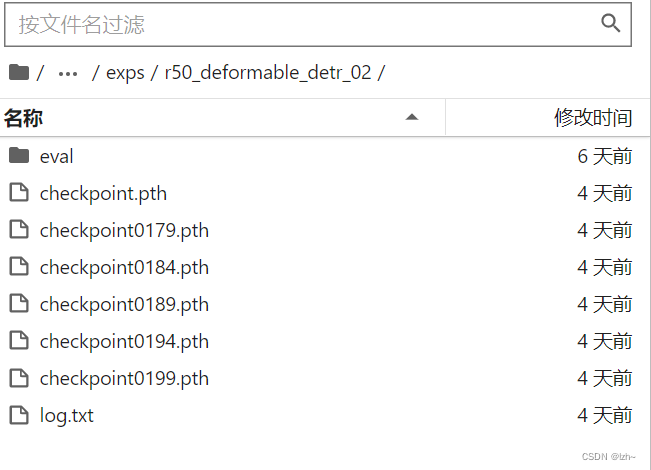
dfdetr = load_model('exps/r50_deformable_detr_02/checkpoint0199.pth', main_args) # <--修改为自己加载模型的路径
# <--修改为待预测图片所在文件夹路径
list_path = "data/data-labelme/test/"
files = os.listdir(list_path)
cn = 0
waste = 0
for file in files:
img_path = os.path.join(list_path, file)
im = Image.open(img_path)
scores, boxes, waste_time = detect(im, dfdetr, transform)
plot_result(im, scores, boxes, save_name=file, imshow=False, imwrite=True)
print("{} [INFO] {} time: {} done!!!".format(cn, file, waste_time))
cn += 1
waste += waste_time
waste_avg = waste / cn
print(waste_avg)
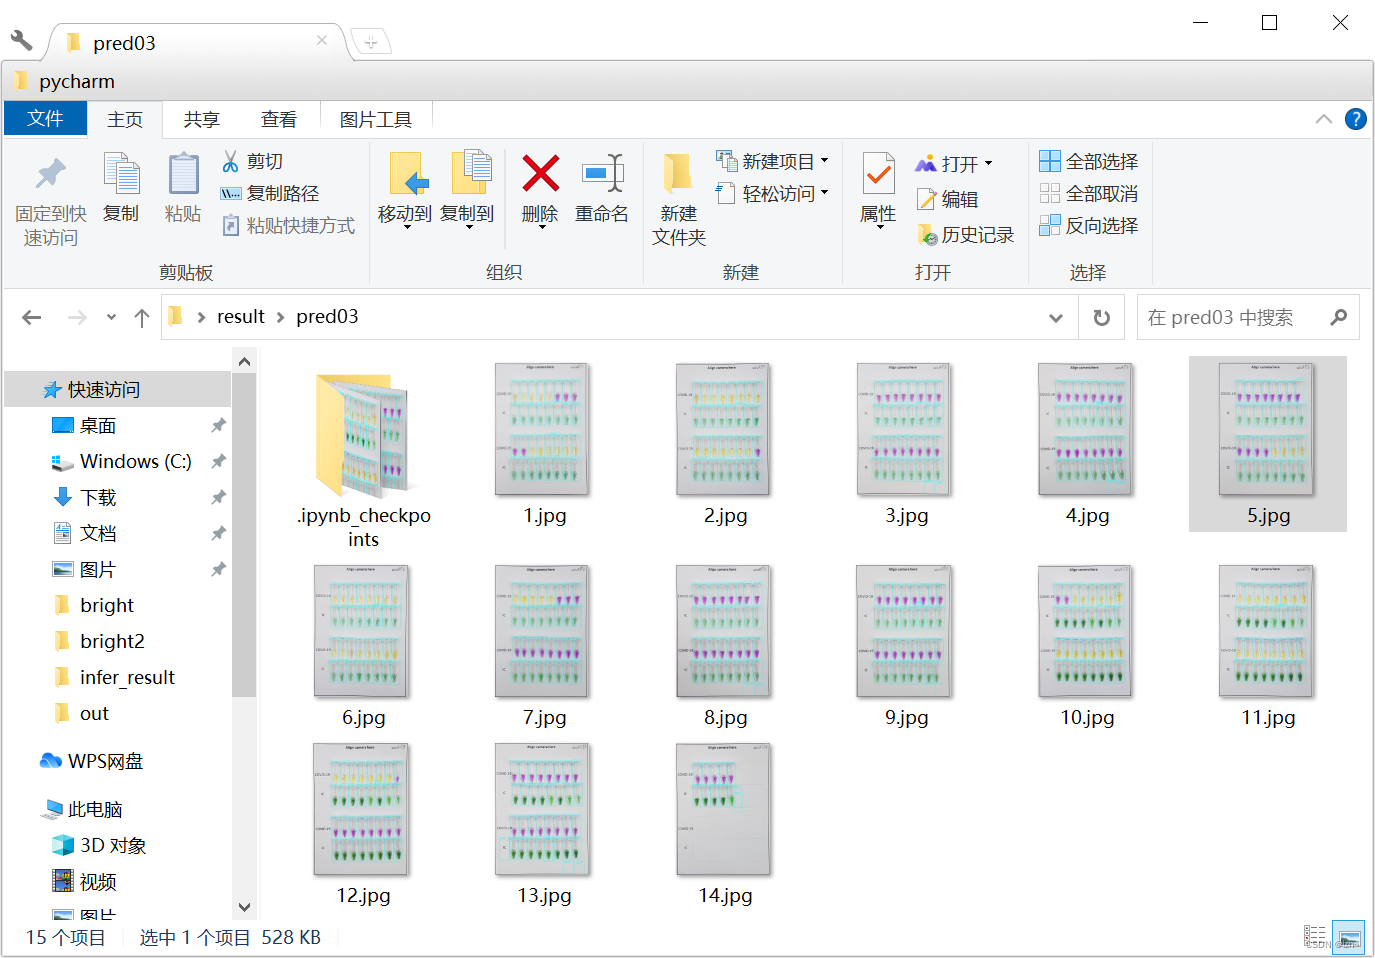
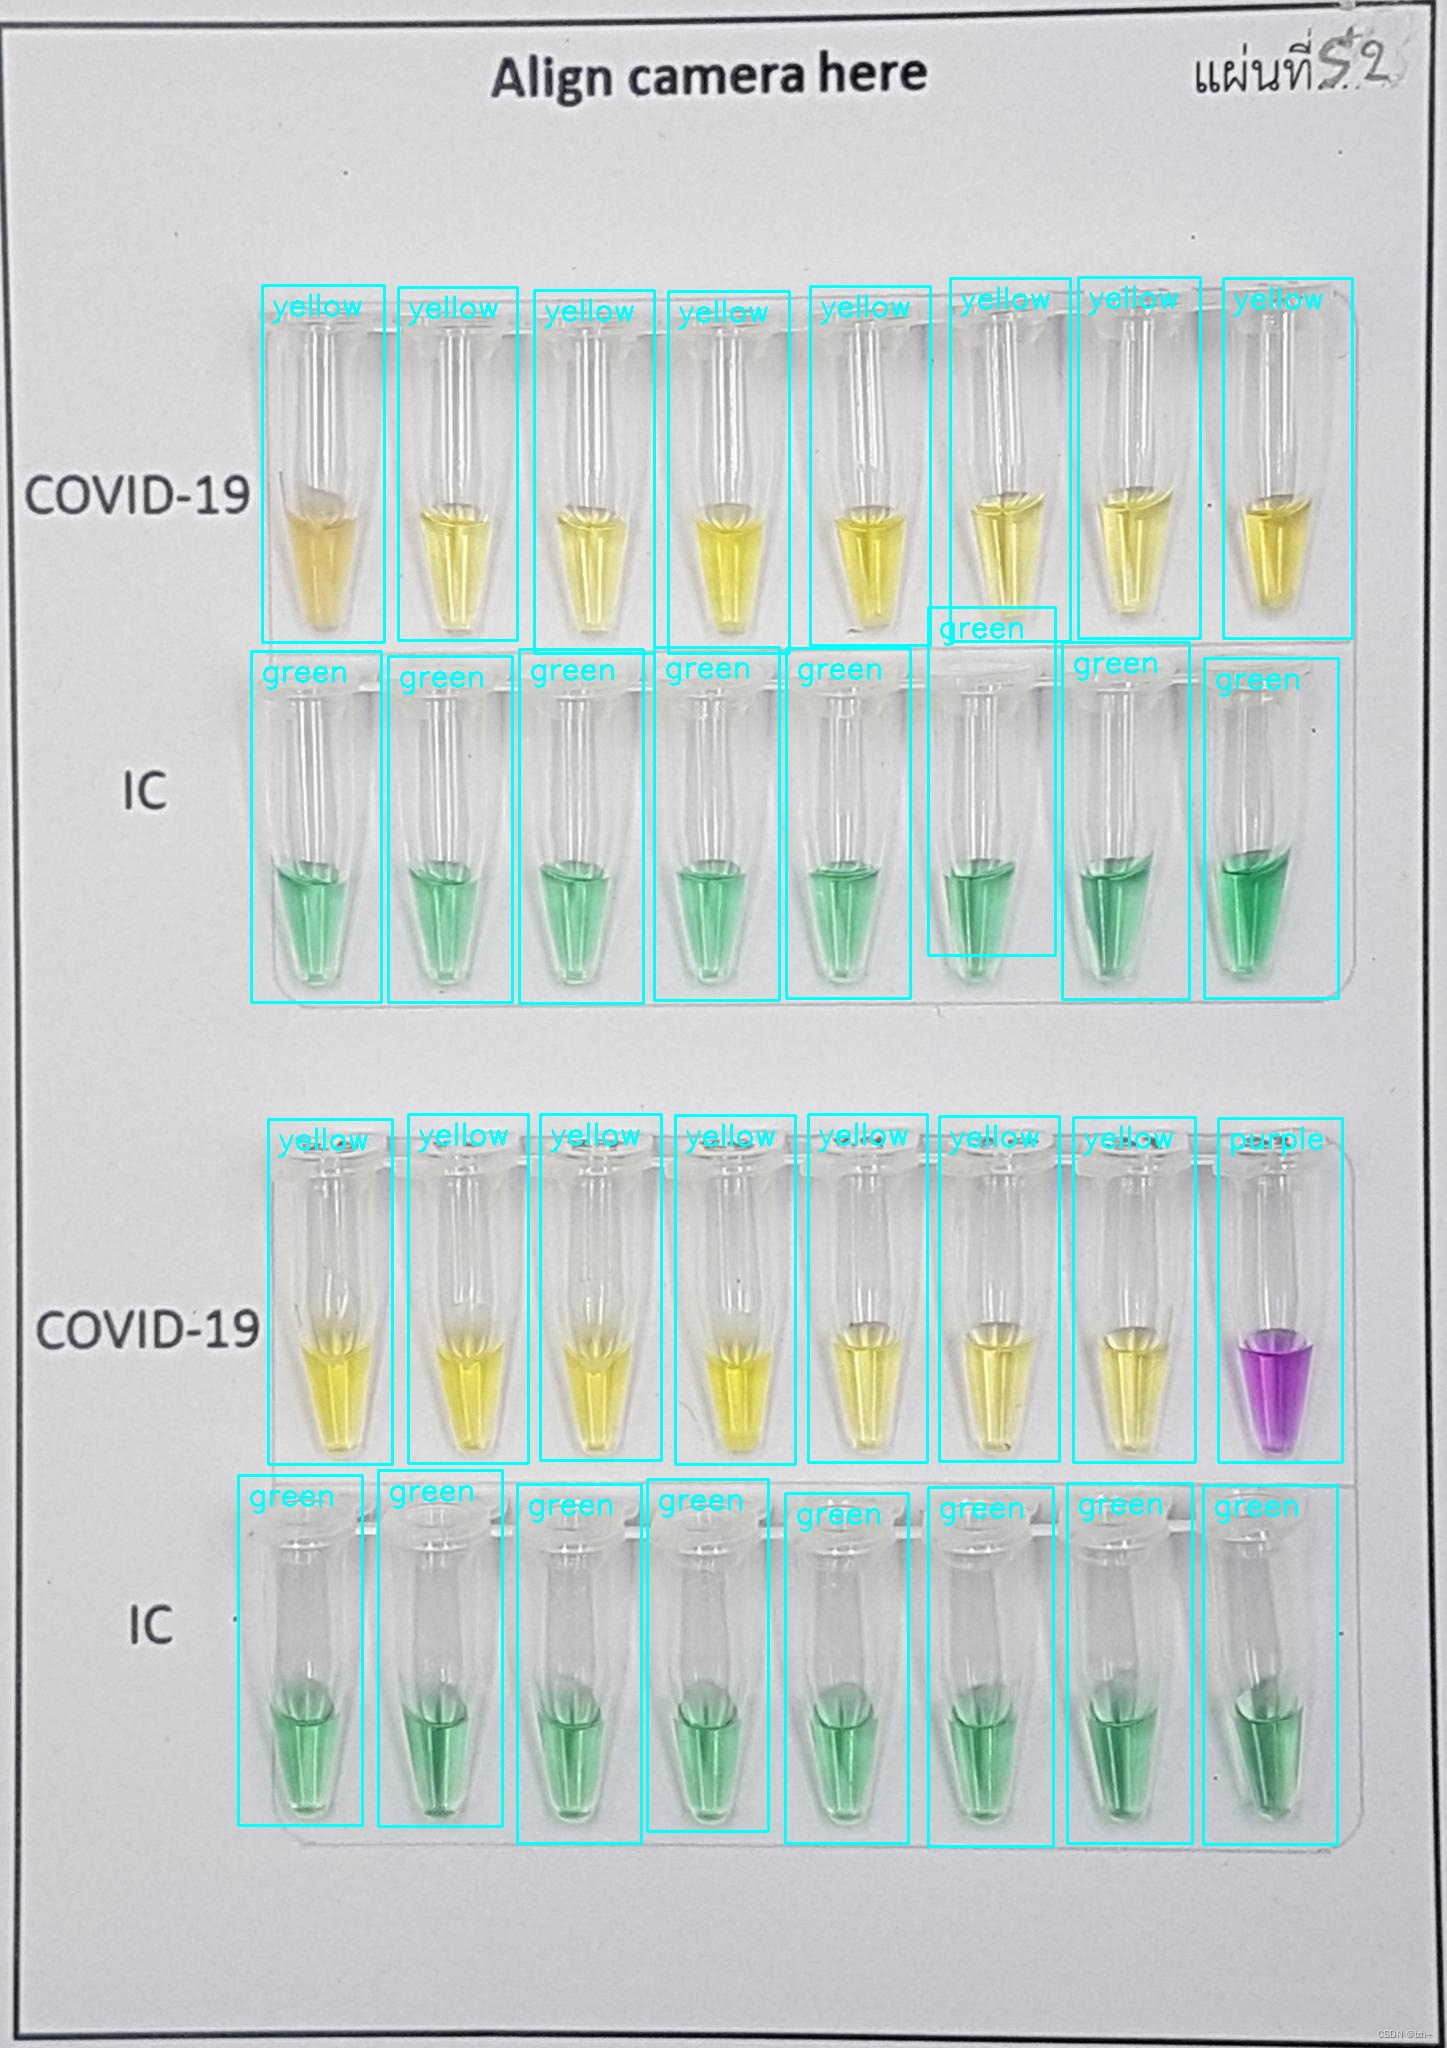
7、结果
由于加上概率之后会看不清每个label,所有在方法plot_result()中用LABEL[cl]替换成了label_text