拒绝网络攻击–nginx和linux的安全加固
nginx安全
隐藏nginx版本号
- 安装启服务
[root@node1 lnmp_soft]# tar xf nginx-1.12.2.tar.gz
[root@node1 lnmp_soft]# cd nginx-1.12.2/
[root@node1 nginx-1.12.2]# ./configure && make && make install
[root@node1 ~]# /usr/local/nginx/sbin/nginx
-
访问不存在的路径
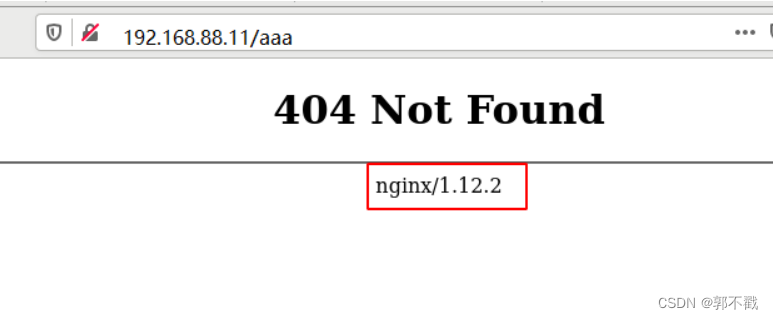
如果访问页面不存在就会暴露nginx版本号,进一步提高了被攻击的可能性 -
命令行访问:
[root@node1 ~]# curl -I http://192.168.88.11/    # -I 只显示头部
HTTP/1.1 200 OK
Server: nginx/1.12.2
Date: Fri, 10 Dec 2021 07:51:08 GMT
Content-Type: text/html
Content-Length: 612
Last-Modified: Fri, 10 Dec 2021 07:46:16 GMT
Connection: keep-alive
ETag: "61b305c8-264"
Accept-Ranges: bytes
- 隐藏版本信息
[root@node1 ~]# vim /usr/local/nginx/conf/nginx.conf
... ...
 17 http {


 18     server_tokens off;
... ...
[root@node1 ~]# /usr/local/nginx/sbin/nginx -s reload
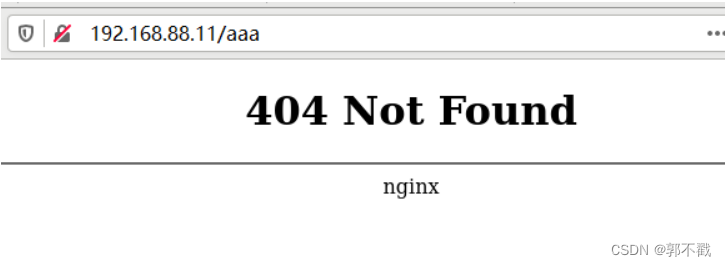
再次访问不存在的路径,版本号消失
防止DOS、DDOS攻击
- DDOS:分布式拒绝服务
# 压力测试,每批次发送100个请求给web服务器,一共发200个
[root@zzgrhel8 ~]# yum install -y httpd-tools
[root@zzgrhel8 ~]# ab -c 100 -n 200 http://192.168.88.11/
... ...
Benchmarking 192.168.88.11 (be patient)
Completed 100 requests
Completed 200 requests
Finished 200 requests    # 发送200个请求完成
... ...
Complete requests:      200   # 完成了200个请求
Failed requests:        0     # 0个失败
... ...
- 配置nginx连接共享内存为10M,每秒钟只接收一个请求,最多有5个请求排队,多余的拒绝
[root@node1 ~]# vim /usr/local/nginx/conf/nginx.conf
 17 http {


 18     limit_req_zone $binary_remote_addr zone=one:10m rate=1r/s;   # 添加
... ...
 37     server {


 38         listen       80;
 39         server_name  localhost;
 40         limit_req zone=one burst=5;  # 添加
[root@node1 ~]# /usr/local/nginx/sbin/nginx -s reload

# 再次测试
[root@zzgrhel8 ~]# ab -c 100 -n 200 http://192.168.88.11/
... ...
Benchmarking 192.168.88.11 (be patient)
Completed 100 requests
Completed 200 requests
Finished 200 requests
... ...
Complete requests:      200
Failed requests:        194   # 失败了194个
... ...
附:取出nginx.conf中注释和空行以外的行
# -v是取反。^ *#表示开头有0到多个空格,然后是#。^$表示空行
[root@node1 ~]# egrep -v '^ *#|^$' /usr/local/nginx/conf/nginx.conf
防止缓冲区溢出
- 缓冲区溢出定义:程序企图在预分配的缓冲区之外写数据。
- 漏洞危害:用于更改程序执行流,控制函数返回值,执行任意代码。
# 配置nginx缓冲区大小,防止缓冲区溢出
[root@node1 ~]# vim /usr/local/nginx/conf/nginx.conf
... ...
 17 http {


 18     client_body_buffer_size     1k;
 19     client_header_buffer_size   1k;
 20     client_max_body_size        1k;
 21     large_client_header_buffers 2 1k;
... ...
[root@node1 ~]# /usr/local/nginx/sbin/nginx -s reload
Linux加固
用户账号参数修改
- 设置tom账号,有效期为2022-1-1
# 查看tom的账号信息
[root@node1 ~]# chage -l tom
最近一次密码修改时间					:10月 12, 2021
密码过期时间					:从不
密码失效时间					:从不
帐户过期时间						:从不
两次改变密码之间相距的最小天数		:0
两次改变密码之间相距的最大天数		:99999
在密码过期之前警告的天数	:7

[root@node1 ~]# chage -E 2022-1-1 tom
[root@node1 ~]# chage -l tom
最近一次密码修改时间					:10月 12, 2021
密码过期时间					:从不
密码失效时间					:从不
帐户过期时间						:1月 01, 2022
两次改变密码之间相距的最小天数		:0
两次改变密码之间相距的最大天数		:99999
在密码过期之前警告的天数	:7

# 设置账号永不过期,注意-E后面是数字-1,不是字母l
[root@node1 ~]# chage -E -1 tom
[root@node1 ~]# chage -l tom
最近一次密码修改时间					:10月 12, 2021
密码过期时间					:从不
密码失效时间					:从不
帐户过期时间						:从不
两次改变密码之间相距的最小天数		:0
两次改变密码之间相距的最大天数		:99999
在密码过期之前警告的天数	:7

# 设置新建用户的密码策略
[root@node1 ~]# vim /etc/login.defs
 25 PASS_MAX_DAYS   99999    # 密码永不过期,设置最长有效期
 26 PASS_MIN_DAYS   0        # 密码最短使用时间,0表示随时可改密码
 27 PASS_MIN_LEN    5        # 密码最短长度
 28 PASS_WARN_AGE   7        # 密码过期前7天发警告
 33 UID_MIN                  1000   # 新建用户最小的UID
 34 UID_MAX                 60000   # 新建用户最大的UID
用户安全设置
# 锁定tom账号
[root@node1 ~]# passwd -l tom
锁定用户 tom 的密码 。
passwd: 操作成功

[root@node1 ~]# passwd -S tom   # 查看状态
tom LK 2021-10-12 0 99999 7 -1 (密码已被锁定。)

# 解锁tom账号
[root@node1 ~]# passwd -u tom
解锁用户 tom 的密码。
passwd: 操作成功
[root@node1 ~]# passwd -S tom
tom PS 2021-10-12 0 99999 7 -1 (密码已设置,使用 SHA512 算法。)
保护文件
# 查看文件的特殊属性
[root@node1 ~]# lsattr /etc/passwd
---------------- /etc/passwd    # 没有特殊属性

# 修改属性
chattr +i 文件    # 不允许对文件做任何操作,只能看
chattr -i 文件    # 去除i属性
chattr +a 文件    # 文件只允许追加
chattr -a 文件    # 去除a属性

[root@node1 ~]# chattr +i /etc/passwd
[root@node1 ~]# lsattr /etc/passwd
----i----------- /etc/passwd
[root@node1 ~]# useradd zhangsan
useradd:无法打开 /etc/passwd
[root@node1 ~]# rm -f /etc/passwd
rm: 无法删除"/etc/passwd": 不允许的操作
[root@node1 ~]# chattr -i /etc/passwd
[root@node1 ~]# rm -f /etc/passwd   # 可以删除
[root@node1 ~]# ls /etc/passwd
ls: 无法访问/etc/passwd: 没有那个文件或目录

# 恢复passwd文件
[root@node1 ~]# cp /etc/passwd- /etc/passwd

# 追加
[root@node1 ~]# chattr +a /etc/hosts
[root@node1 ~]# echo 'hello world' >> /etc/hosts
[root@node1 ~]# rm -f /etc/hosts
rm: 无法删除"/etc/hosts": 不允许的操作