文章目录
一 异步任务
- 异步处理是非常常用的
- 比如我们在网站上发送邮件,后台会去发送邮件,此时前台会造成响应不动,直到邮件发送完毕,响应才会成功,所以我们一般会采用多线程的方式去处理这些任务。
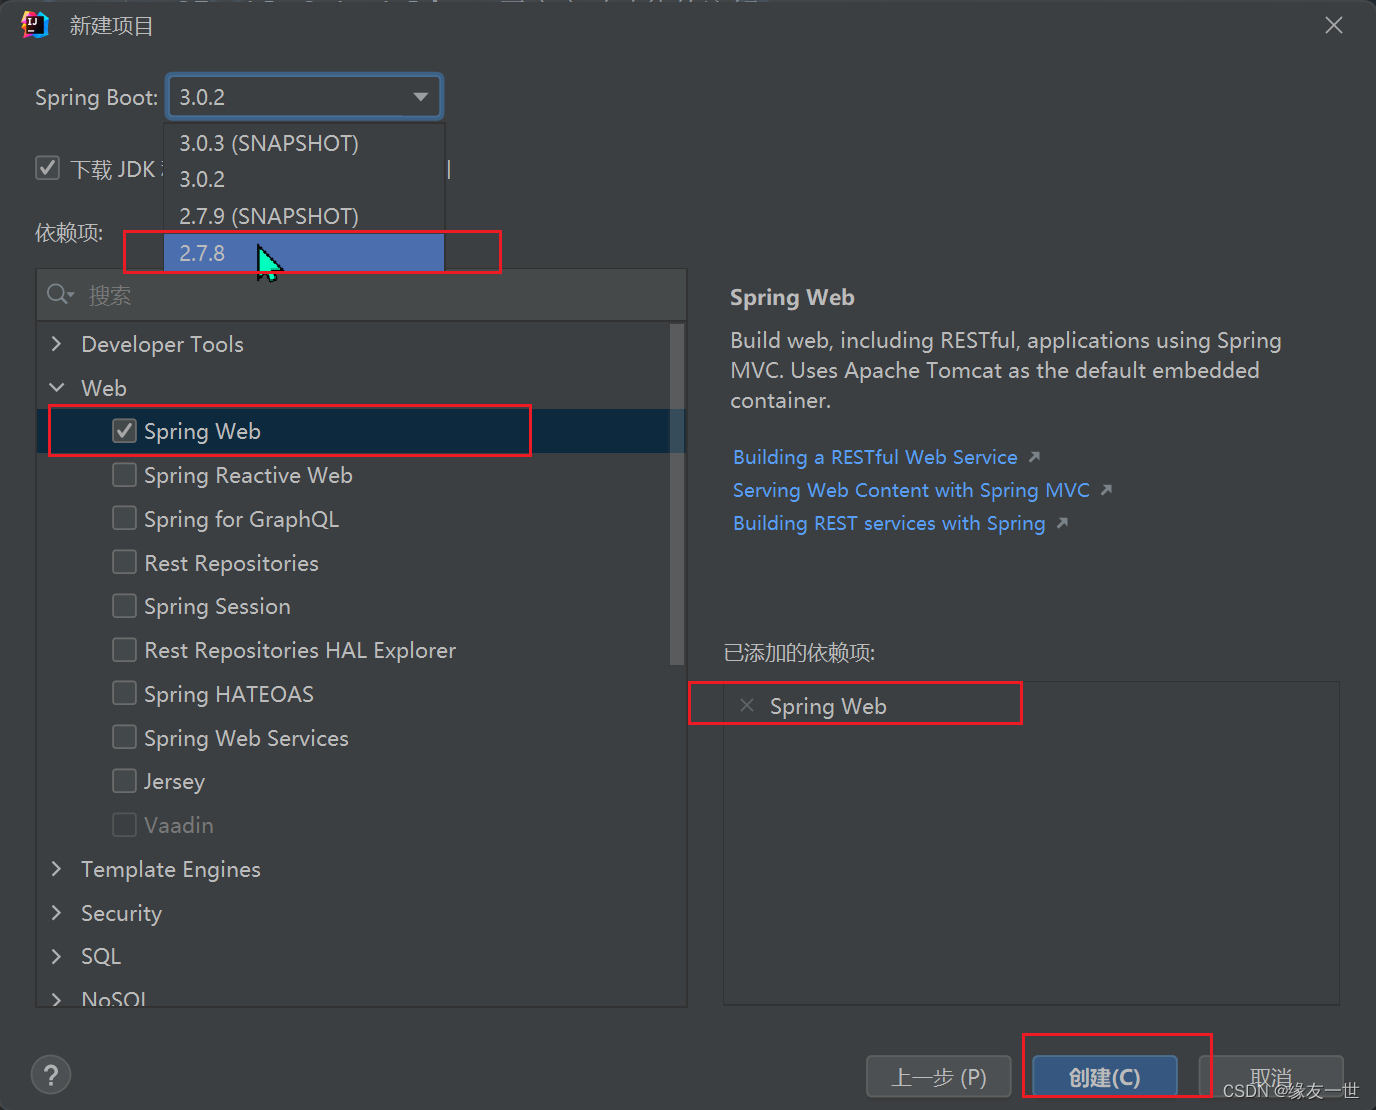
1.1 创建spring Boot项目,选择Spring Web
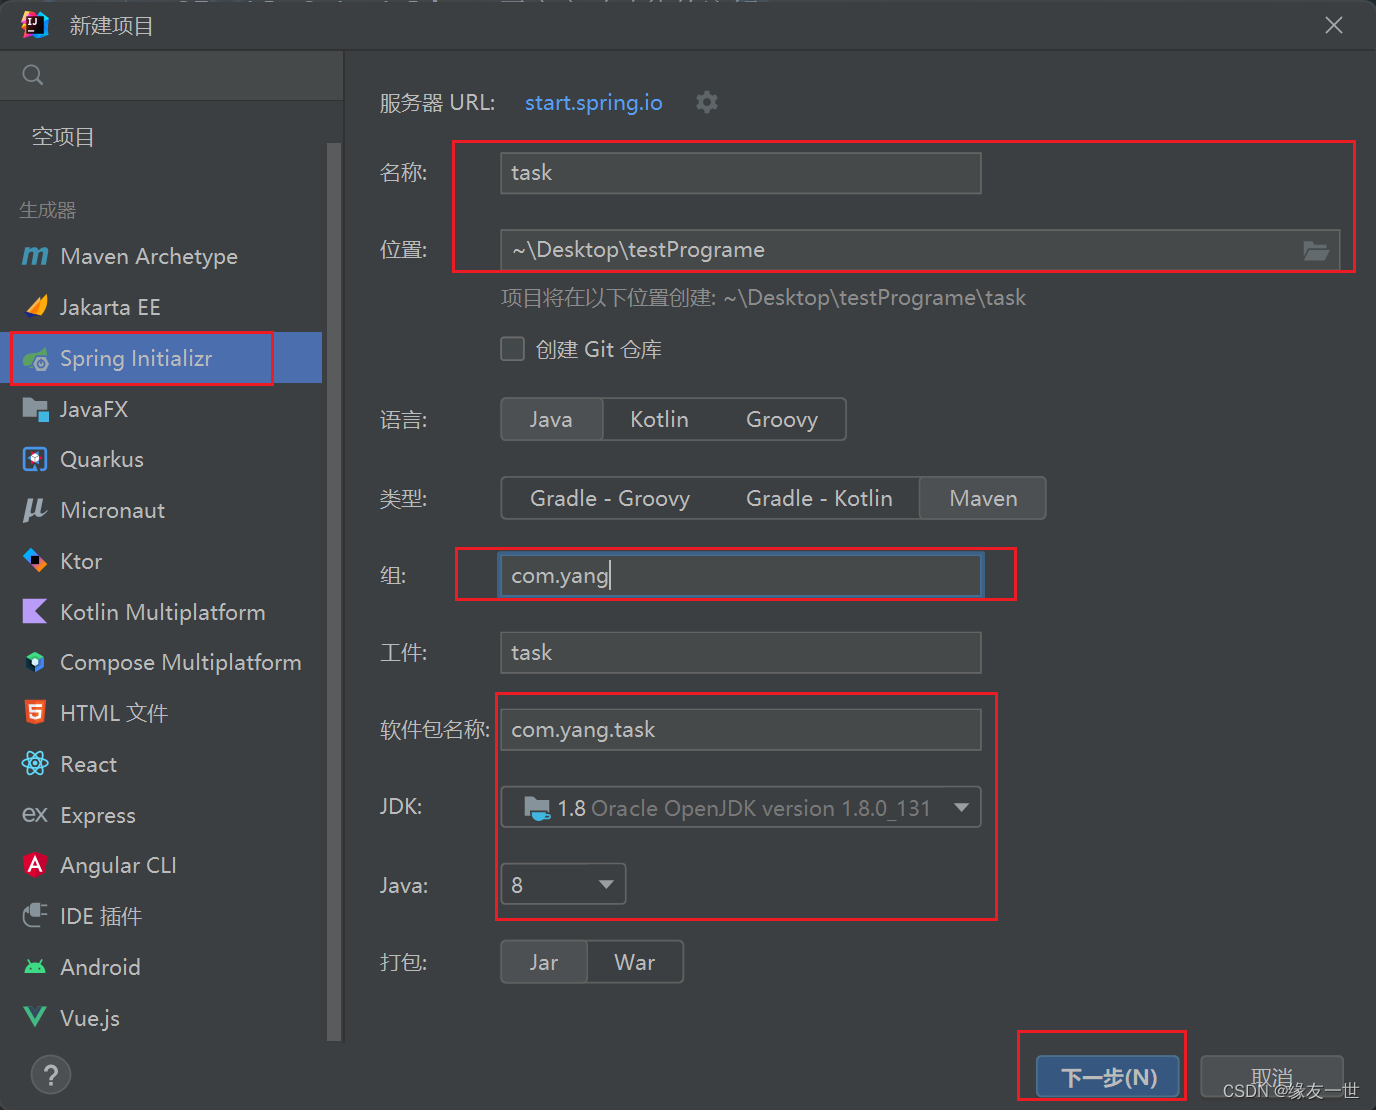
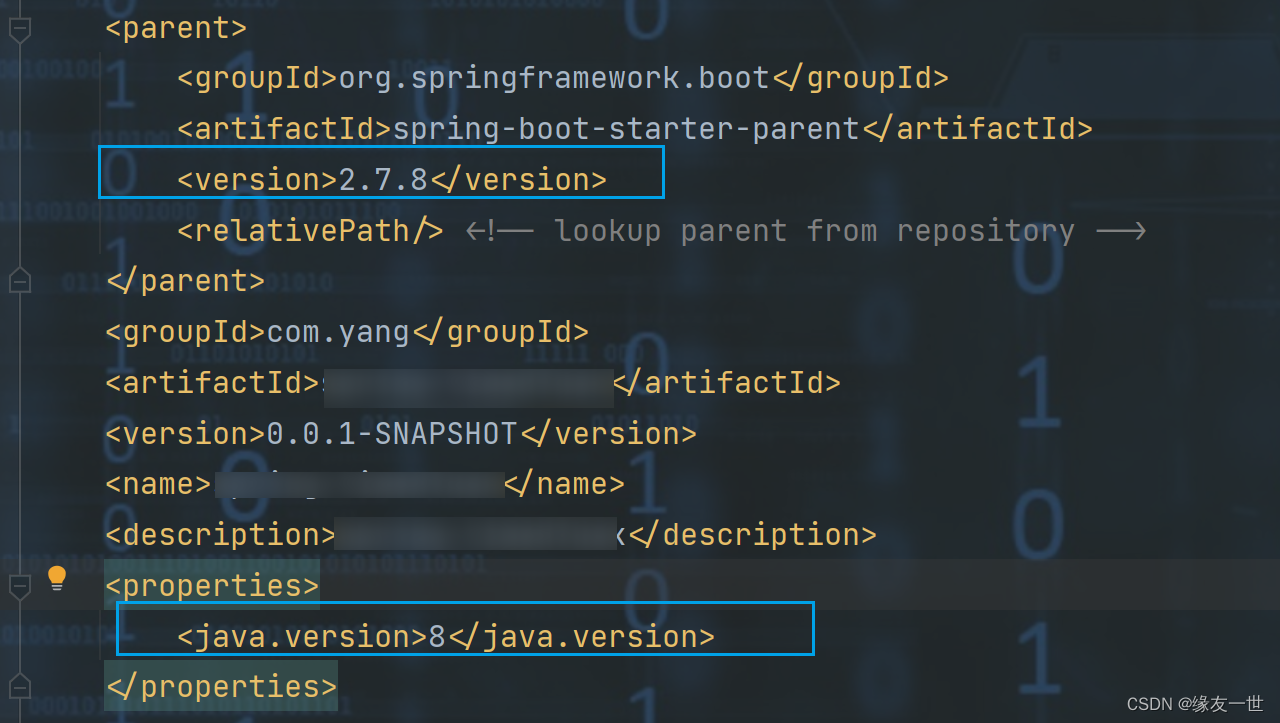
- spring3.0.2不支持jdk1.8,记得选择2.7.8或者更低的版本
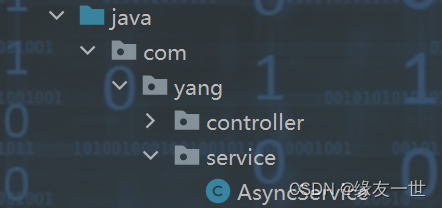
- 同时注意项目结构和pom中java版本是否正确
1.2 创建AsyncService类
- 编写方法,假装正在处理数据,使用线程设置一些延时,模拟同步等待的情况
- 使用@Async注解,SpringBoot就会自己开一个线程池,进行调用。
import org.springframework.scheduling.annotation.Async;
import org.springframework.stereotype.Service;

/**
 * @author 缘友一世
 * date 2023/1/28-20:07
 */
@Service
public class AsyncService {


    @Async //告诉Spring这是一个异步方法
    public void hello() {


        try {


            Thread.sleep(3000);
        } catch (InterruptedException e) {


            throw new RuntimeException(e);
        }
        System.out.println("数据处理中···");
    }
}
1.3 编写controller类
import com.yang.service.AsyncService;
import org.springframework.beans.factory.annotation.Autowired;
import org.springframework.web.bind.annotation.RequestMapping;
import org.springframework.web.bind.annotation.RestController;

/**
 * @author 缘友一世
 * date 2023/1/28-20:09
 */
@RestController
public class AsyncController {


    @Autowired
    AsyncService asyncService;

    @RequestMapping("/hello")
    public String hello() {


        asyncService.hello();
        return "ok";
    }
}
1.4 在启动类上开启异步功能
- 加注解@EnableAsync ,开启异步注解功能;
import org.springframework.boot.SpringApplication;
import org.springframework.boot.autoconfigure.SpringBootApplication;
import org.springframework.scheduling.annotation.EnableAsync;

@SpringBootApplication
@EnableAsync //开启异步注解功能
public class SpringTaskApplication {


    public static void main(String[] args) {


        SpringApplication.run(SpringTaskApplication.class, args);
    }

}
1.5 测试结果

二 定时任务
2.1 基础知识
- 项目开发中经常需要执行一些定时任务,比如需要在每天凌晨的时候,分析一次前一天的日志信息,Spring为我们提供了异步执行任务调度的方式,提供了两个接口
- TaskScheduler 任务调度者
- TaskExecutor 任务执行者
- 两个注解
- @EnableScheduling 开启定时功能的注解
- @Scheduled 表示执行的时机
- cron
| 字段 | 允许值 | 允许的特殊字符 |
|---|---|---|
| 秒 | 0~59 | ,- * / |
| 分 | 0~59 | ,- * / |
| 时 | 0~23 | ,- * / |
| 日期 | 1~31 | ,- * ? /L W C |
| 月 | 1~12 | ,- * / |
| 星期 | 0~7或SUN-SAT | ,- * ? / L C # |
| 字符 | 含义 |
|---|---|
| , | 枚举 |
| - | 区间 |
| * | 任意 |
| / | 步长 |
| ? | 日/星期冲突匹配 |
| L | 最后 |
| W | 工作日 |
| C | 和calendar联系后计算过的值 |
| # | 星期,4#2——第二个星期三 |
2.2 项目创建
- 同异步任务创建项目步骤
2.3 创建一个ScheduledService
```java
import org.springframework.scheduling.annotation.Scheduled;
import org.springframework.stereotype.Service;

/**
 * @author 缘友一世
 * date 2023/1/29-9:41
 */
@Service

public class ScheduledService {
    //秒 分 时 日 月 周几
    //0 * * * * MON-FRI
    //cron表达式
    @Scheduled(cron="0 50 9 * * ?")
    public void hello() {
        System.out.println("hello");
    }
}

```
2.4 在主程序上增加@EnableScheduling 开启定时任务功能
import org.springframework.boot.SpringApplication;
import org.springframework.boot.autoconfigure.SpringBootApplication;
import org.springframework.scheduling.annotation.EnableScheduling;

@SpringBootApplication
@EnableScheduling //开启定时功能
public class SpringTimedTaskApplication {


    public static void main(String[] args) {


        SpringApplication.run(SpringTimedTaskApplication.class, args);
    }
}
2.5 测试结果

三 邮件任务
3.1 项目创建
- 同异步任务项目创建,请参看前面的内容
- 邮件发送需要引入spring-boot-start-mail
<!--javax.mail-->
<dependency>
     <groupId>org.springframework.boot</groupId>
     <artifactId>spring-boot-starter-mail</artifactId>
 </dependency>
3.2 源码探究
-
ctrl+鼠标左键,点击
<artifactId>spring-boot-starter-mail</artifactId>进入到其pom文件,可以发现其依赖中存在<dependency> <groupId>com.sun.mail</groupId> <artifactId>jakarta.mail</artifactId> <version>1.6.7</version> <scope>compile</scope> </dependency> -
查看自动配置类:MailSenderAutoConfiguration
- 方法一:双击shift在搜索框中输入
MailSenderAutoConfiguration,进行搜索 - 方法二:在外部库中手动查找
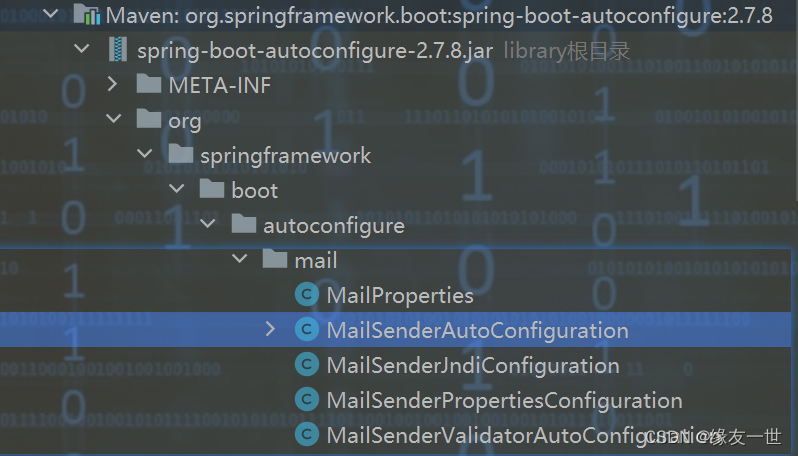

- 进入
MailSenderAutoConfiguration中,发现这个类中并没有注册@Bean
- 最终查看导入的类中
MailSenderJndiConfiguration.class发现了@Bean
private final MailProperties properties; MailSenderJndiConfiguration(MailProperties properties) { this.properties = properties; } @Bean JavaMailSenderImpl mailSender(Session session) { JavaMailSenderImpl sender = new JavaMailSenderImpl(); sender.setDefaultEncoding(this.properties.getDefaultEncoding().name()); sender.setSession(session); return sender; }- 然后点进
MailProperties查看配置文件
@ConfigurationProperties( prefix = "spring.mail" ) public class MailProperties { private static final Charset DEFAULT_CHARSET; private String host; private Integer port; private String username; private String password; private String protocol = "smtp"; private Charset defaultEncoding; private Map<String, String> properties; private String jndiName;- 到此可以找到配置文件需要配置的信息
- 方法一:双击shift在搜索框中输入
3.3 编辑springboot配置文件
- 获取授权码【这里以QQ邮箱为例】
- 登录QQ邮箱

- 下滑找到如下内容,点击开启POP/SMTP服务

- 按照要求进行操作
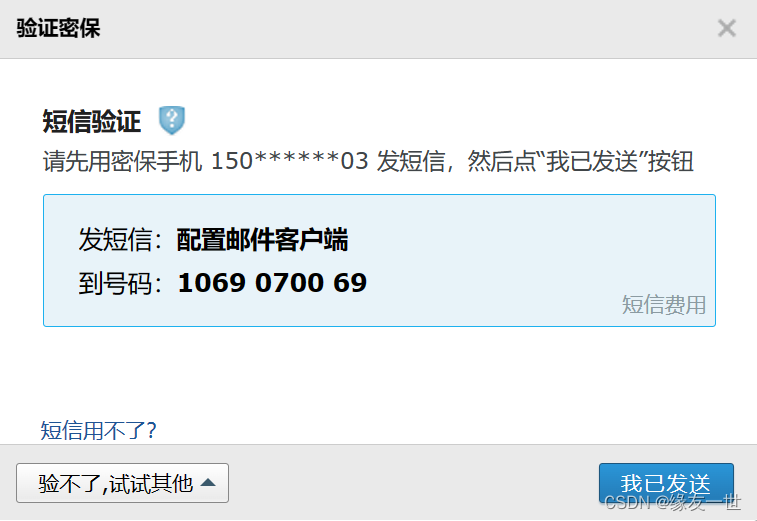
- 获取到授权码,将其复制
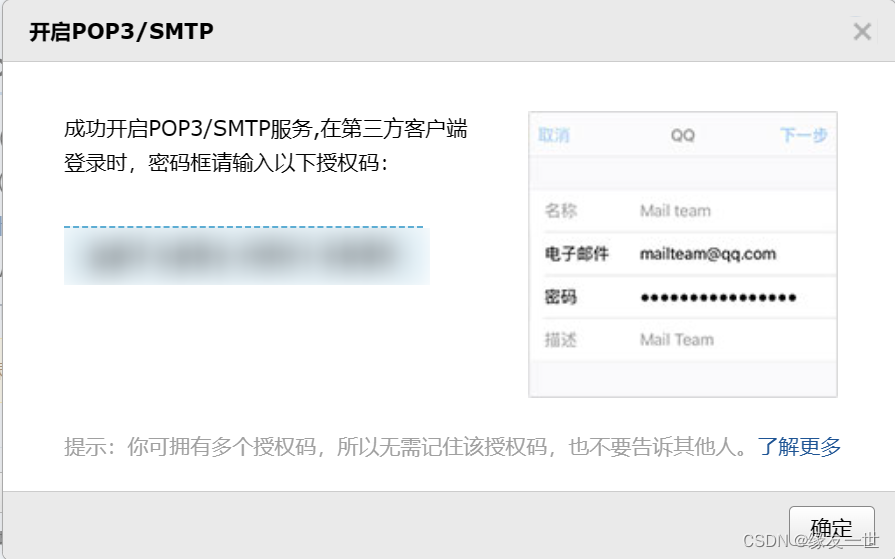
- 登录QQ邮箱
- 配置springboot文件
spring.mail.username=2330648064@qq.com
spring.mail.password= xxxxxxxxx#(授权码)
spring.mail.host=smtp.qq.com
#开启加密验证
spring.mail.properties.mail.smtp.enable=true
3.4 测试
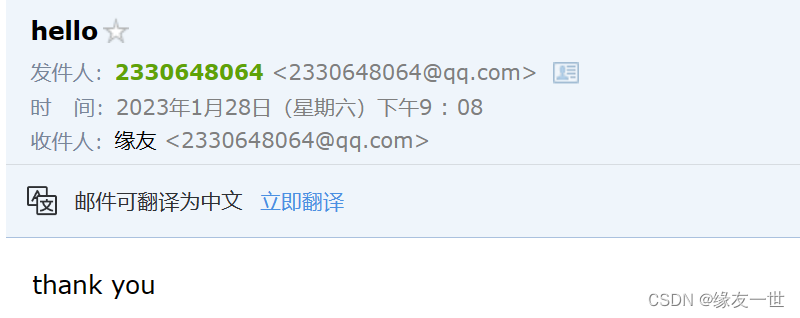
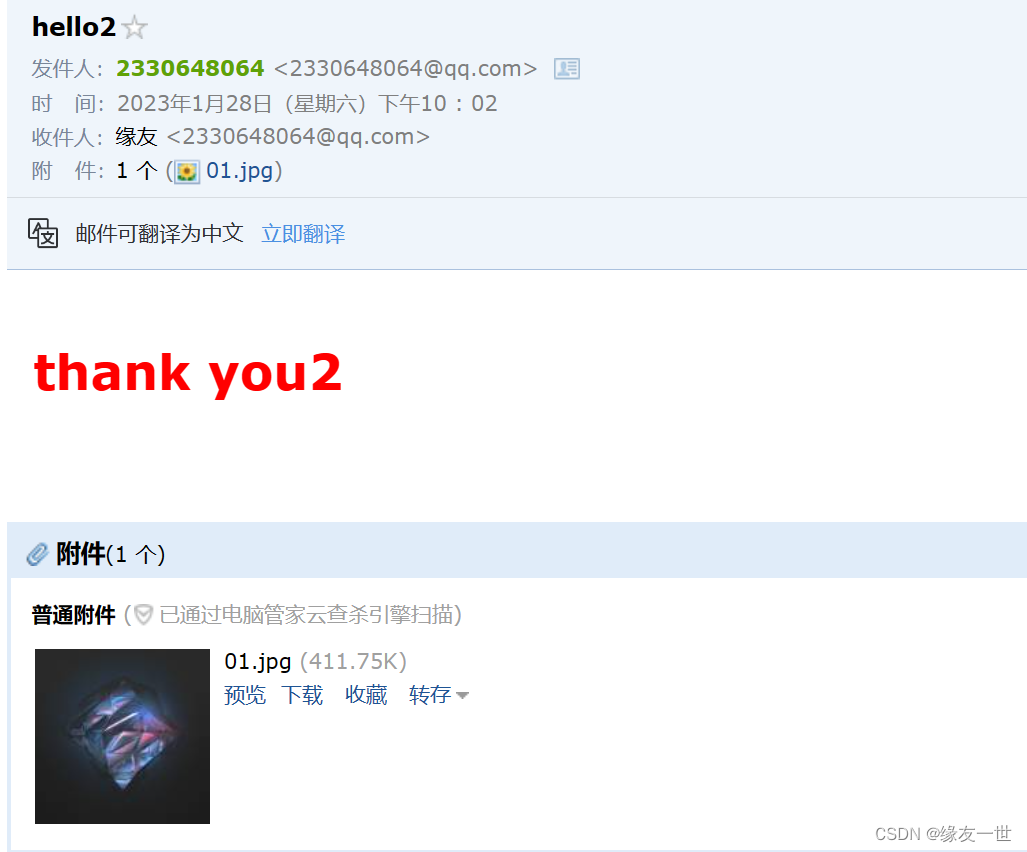
- 编写测试代码
import org.junit.jupiter.api.Test; import org.springframework.beans.factory.annotation.Autowired; import org.springframework.boot.test.context.SpringBootTest; import org.springframework.mail.SimpleMailMessage; import org.springframework.mail.javamail.JavaMailSenderImpl; import org.springframework.mail.javamail.MimeMessageHelper; import javax.mail.MessagingException; import javax.mail.internet.MimeMessage; import java.io.File; @SpringBootTest class SpringTaskApplicationTests { @Autowired JavaMailSenderImpl mailSender; //简单邮件 @Test void contextLoads() { SimpleMailMessage mailMessage = new SimpleMailMessage(); mailMessage.setSubject("hello");//标题 mailMessage.setText("thank you"); mailMessage.setTo("[email protected]"); mailMessage.setFrom("[email protected]"); mailSender.send(mailMessage); } //复杂邮件 @Test void contextLoads2() throws MessagingException { MimeMessage mimeMessage = mailSender.createMimeMessage(); //组装 MimeMessageHelper helper = new MimeMessageHelper(mimeMessage, true); //正文 helper.setSubject("hello2"); helper.setText("<h1 style='color:red'>thank you2</h1>",true); //附件 //使用内容根路径成功! helper.addAttachment("01.jpg",new File("src/main/resources/static/test01.jpg")); helper.setTo("[email protected]"); helper.setFrom("[email protected]"); mailSender.send(mimeMessage); } } - 测试结果