网络训练好了,需要提供输入进行验证网络模型训练的效果
一、加载测试数据
创建python测试文件,beyond_test.py
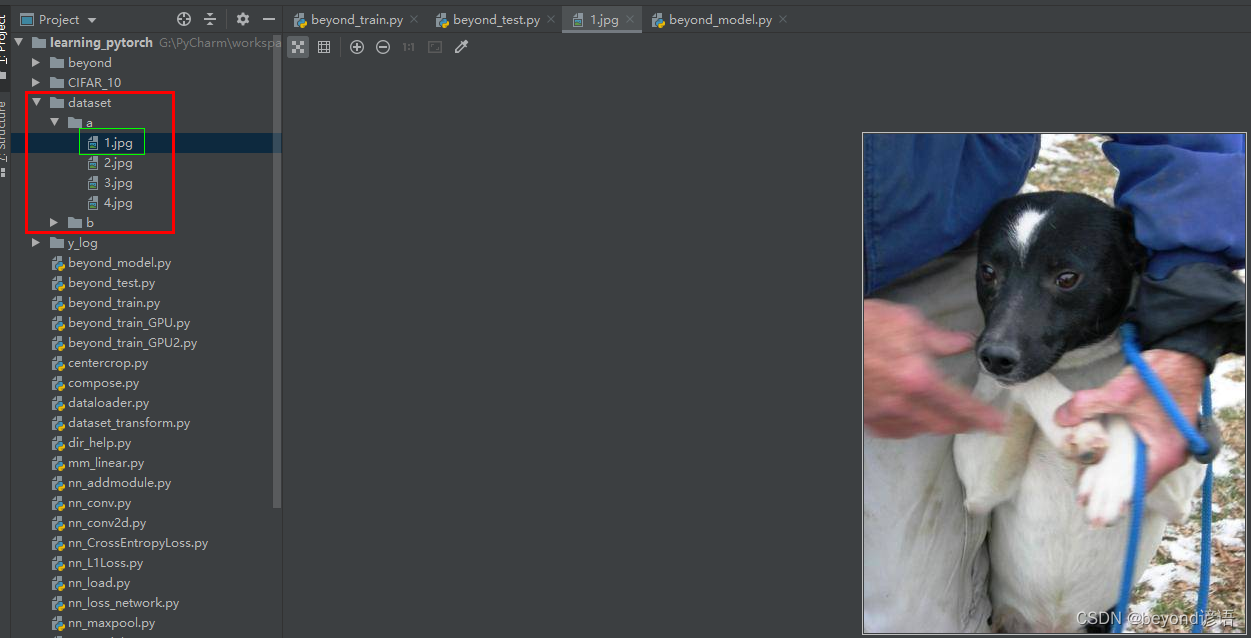
保存在dataset文件夹下a文件夹里的1.jpg小狗图片
二、读取测试图片,重新设置模型所规定的大小(32,32),并转为tensor类型数据
import torchvision
from PIL import Image
from torch import nn
from torchvision import transforms
img_path = "./dataset/a/1.jpg"#当前路径下的dataset文件夹下的a文件夹下的1.jpg文件
img = Image.open(img_path)
print(img)#<PIL.JpegImagePlugin.JpegImageFile image mode=RGB size=381x499 at 0x1CE281C2748>
img = img.convert('RGB')#png为四通道,jpg为三通道,这里只需要保存RGB通道,可以适应png和jpg图片


#①剪切尺寸
trans_resize = transforms.Resize((32,32))
#②转为tensor类型
trans_tensor = transforms.ToTensor()

transform = torchvision.transforms.Compose([trans_resize,trans_tensor])
#Compose参数都是transform对象,且第一个输出必须满足第二个输入
#trans_resize为Resize对象,最后输出为PIL类型
#trans_tensor为ToTensor对象,输入为PIL,输出为tensor

img = transform(img)
img = torch.reshape(img,(1,3,32,32))
print(img.shape)#torch.Size([1, 3, 32, 32])
#送入神经网络需要的格式为(batch_size,channel,H,W)
三、加载模型
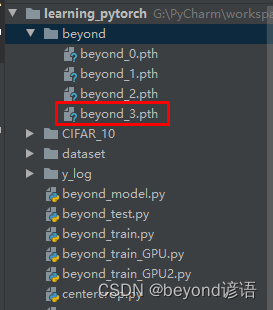
由十七、完整神经网络模型训练步骤博文所训练的模型存放在该路径目录下,这里只是训练3次而已,仅作为学习。
class Beyond(nn.Module):
    def __init__(self):
        super(Beyond,self).__init__()
        self.model = nn.Sequential(
            nn.Conv2d(in_channels=3,out_channels=32,kernel_size=(5,5),stride=1,padding=2),
            nn.MaxPool2d(2),
            nn.Conv2d(in_channels=32,out_channels=32,kernel_size=(5,5),stride=1,padding=2),
            nn.MaxPool2d(2),
            nn.Conv2d(in_channels=32,out_channels=64,kernel_size=(5,5),stride=1,padding=2),
            nn.MaxPool2d(2),
            nn.Flatten(),
            nn.Linear(in_features=1024,out_features=64),
            nn.Linear(in_features=64,out_features=10)
        )

    def forward(self,input):
        x = self.model(input)
        return x

beyond = torch.load("./beyond/beyond_3.pth",map_location='cpu')
# map_location='cpu'表示,不管模型是GPU还是CPU进行训练的,此台电脑使用CPU进行验证

# 若模型是在GPU下训练,验证的时候电脑没有GPU,需要指明map_location参数
# 若不设置map_location,电脑会根据模型来进行选择映射方式,例如模型beyond_3.pth在GPU下训练的,则验证的时候系统会自动调用GPU进行验证
print(beyond)
四、模型转换为测试类型
beyond.eval()
五、将测试图片送入模型
beyond.eval()
with torch.no_grad():
    output = beyond(img)
print(output)
#tensor([[ 0.7499,  0.5700, -1.3467,  0.4218,  0.0798, -0.1516, -1.3209,  0.1138,  1.2504, -0.6495]])

print(output.argmax(1))#tensor([8])
六、查看验证结果
方法一
由CIFAR10官网给的数据可以看出
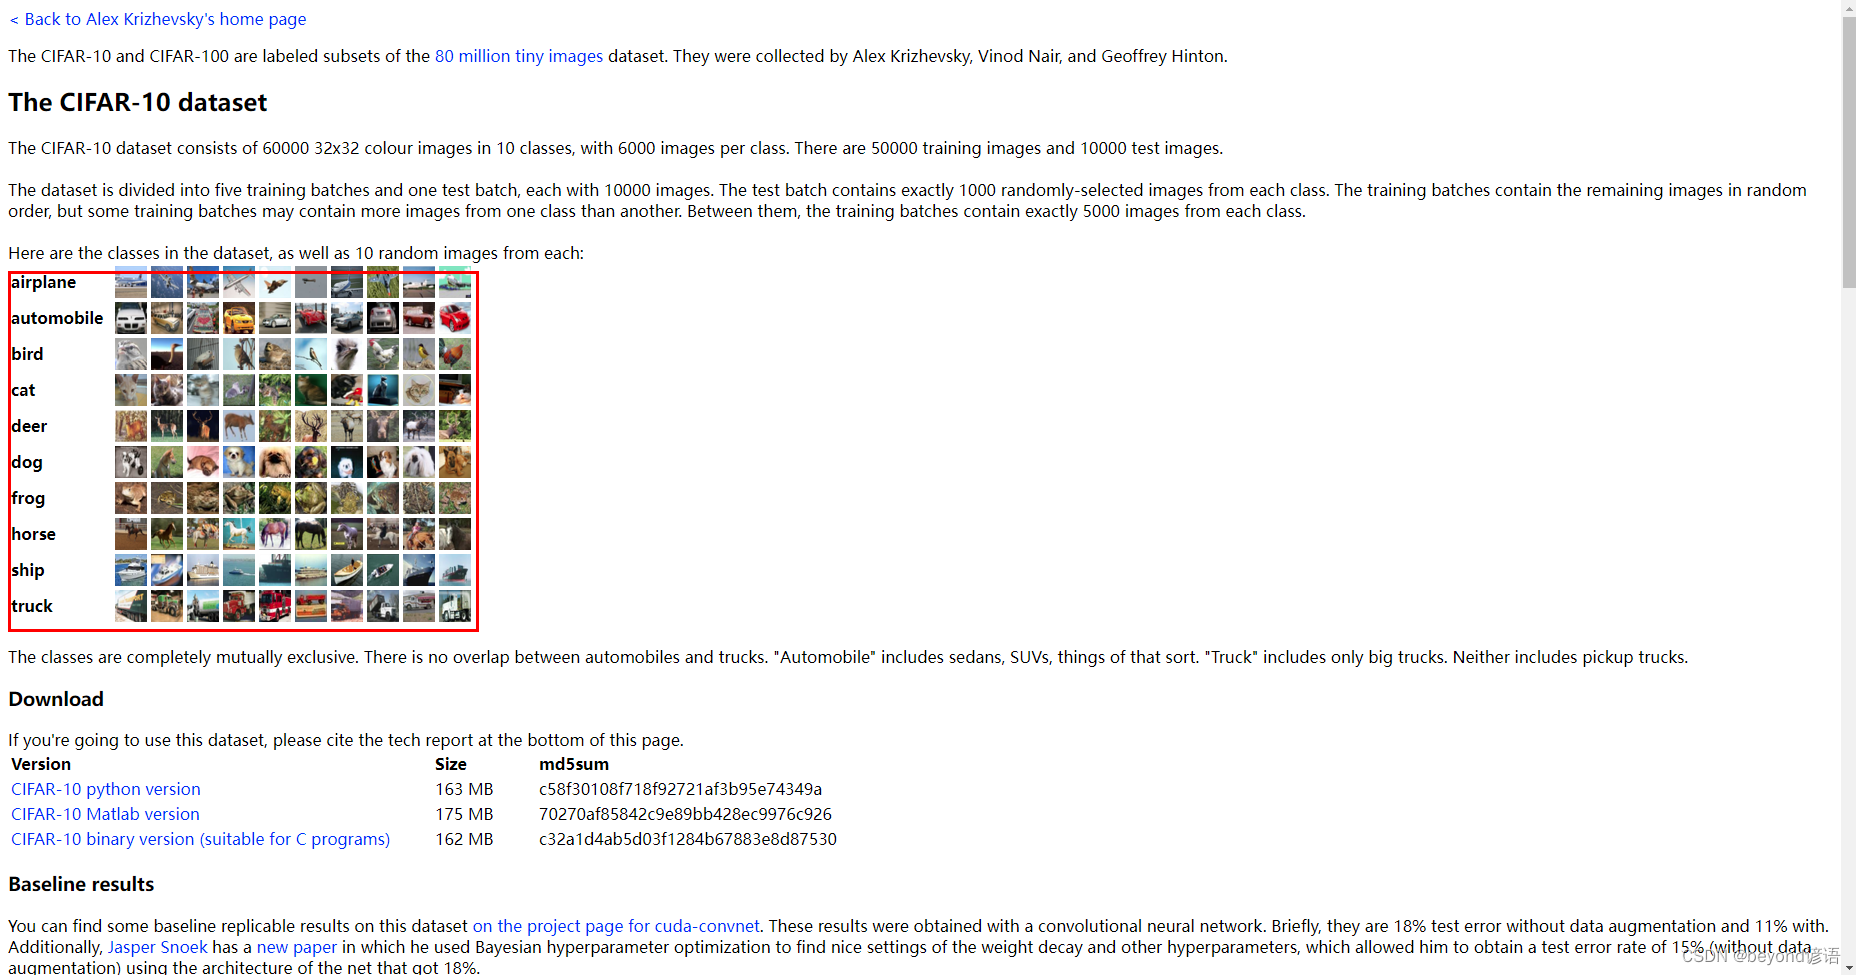
8对应的是ship
dog对应的是5
主要还是模型训练的次数太少了,主要的目的还是学习模型套路。
方法二
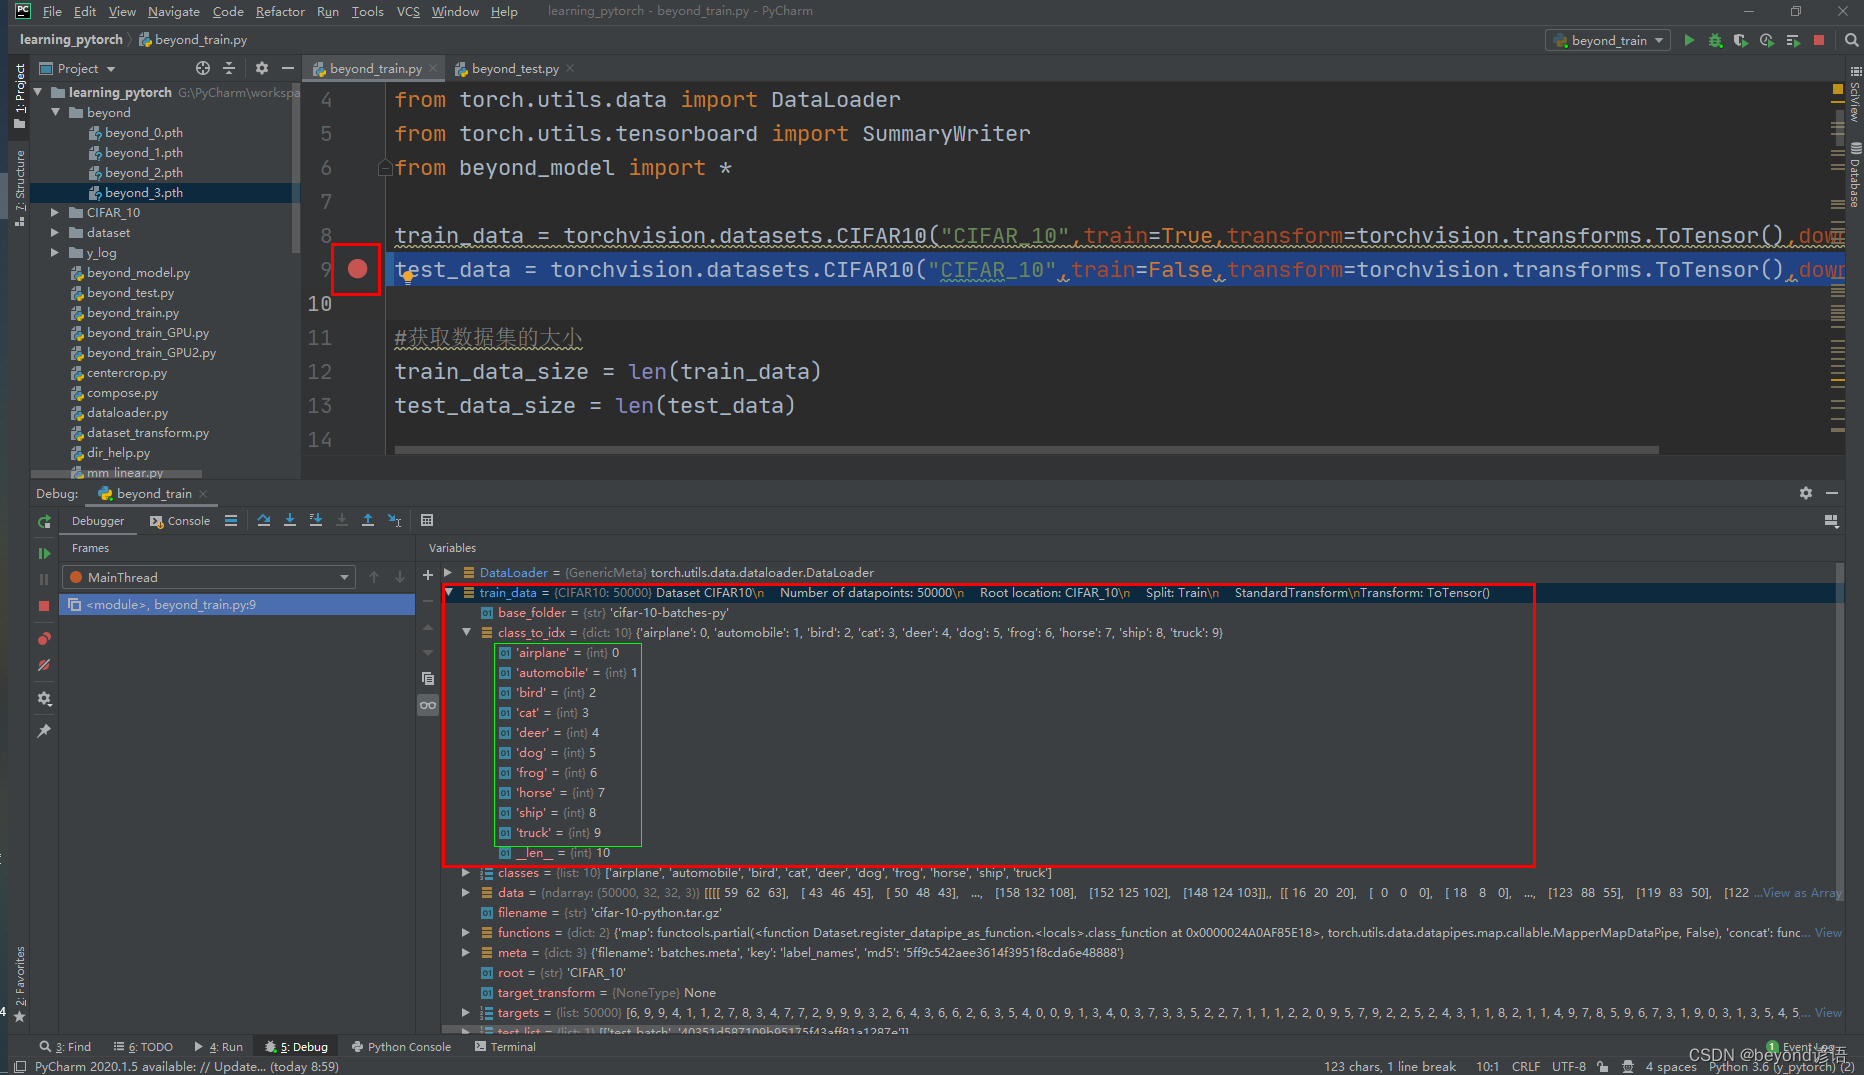
在beyond_train.py文件下,(该文件来自博文十七、完整神经网络模型训练步骤)
test_data = torchvision.datasets.CIFAR10("CIFAR_10",train=False,transform=torchvision.transforms.ToTensor(),download=True) 处
打个断点,debug运行下
train_data —> class_to_idx下就存放这类别编号索引
七、完整代码
import torch
import torchvision
from PIL import Image
from torch import nn
from torchvision import transforms


class Beyond(nn.Module):
    def __init__(self):
        super(Beyond,self).__init__()
        self.model = nn.Sequential(
            nn.Conv2d(in_channels=3,out_channels=32,kernel_size=(5,5),stride=1,padding=2),
            nn.MaxPool2d(2),
            nn.Conv2d(in_channels=32,out_channels=32,kernel_size=(5,5),stride=1,padding=2),
            nn.MaxPool2d(2),
            nn.Conv2d(in_channels=32,out_channels=64,kernel_size=(5,5),stride=1,padding=2),
            nn.MaxPool2d(2),
            nn.Flatten(),
            nn.Linear(in_features=1024,out_features=64),
            nn.Linear(in_features=64,out_features=10)
        )

    def forward(self,input):
        x = self.model(input)
        return x

beyond = torch.load("./beyond/beyond_3.pth")
print(beyond)


img_path = "./dataset/a/1.jpg"#当前路径下的dataset文件夹下的a文件夹下的1.jpg文件
img = Image.open(img_path)
print(img)#<PIL.JpegImagePlugin.JpegImageFile image mode=RGB size=381x499 at 0x1CE281C2748>
img = img.convert('RGB')#png为四通道,jpg为三通道,这里只需要保存RGB通道,可以适应png和jpg图片


#①剪切尺寸
trans_resize = transforms.Resize((32,32))
#②转为tensor类型
trans_tensor = transforms.ToTensor()

transform = torchvision.transforms.Compose([trans_resize,trans_tensor])
#Compose参数都是transform对象,且第一个输出必须满足第二个输入
#trans_resize为Resize对象,最后输出为PIL类型
#trans_tensor为ToTensor对象,输入为PIL,输出为tensor

img = transform(img)
img = torch.reshape(img,(1,3,32,32))
print(img.shape)#torch.Size([1, 3, 32, 32])
#送入神经网络需要的格式为(batch_size,channel,H,W)

beyond.eval()
with torch.no_grad():
    output = beyond(img)
print(output)
#tensor([[ 0.7499,  0.5700, -1.3467,  0.4218,  0.0798, -0.1516, -1.3209,  0.1138,  1.2504, -0.6495]])

print(output.argmax(1))#tensor([8])