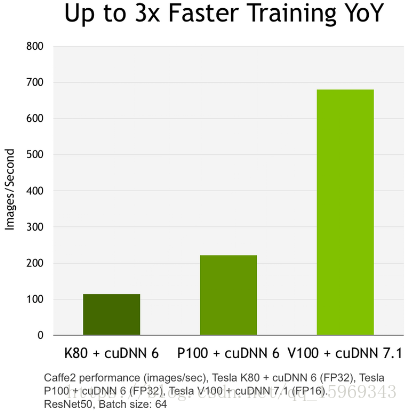
最近看到CUDA9.0对比之前的CUDA8.0速度有了明显的提升,所以想尝尝鲜,安装之后,训练和预测的速度均有很大的提升:
有需要安装我这个版本的不妨可以参考参考!如果在安装过程中出现什么问题,欢迎在下方评论,笔者可以帮你尝试解决一下!
1.安装前的准备:
a.Visual Studio 2013, 2015 ,2017任意一个版本
b.Anaconda
c.更新一下你的pip
d.python版本3.5+
e.最重要的:
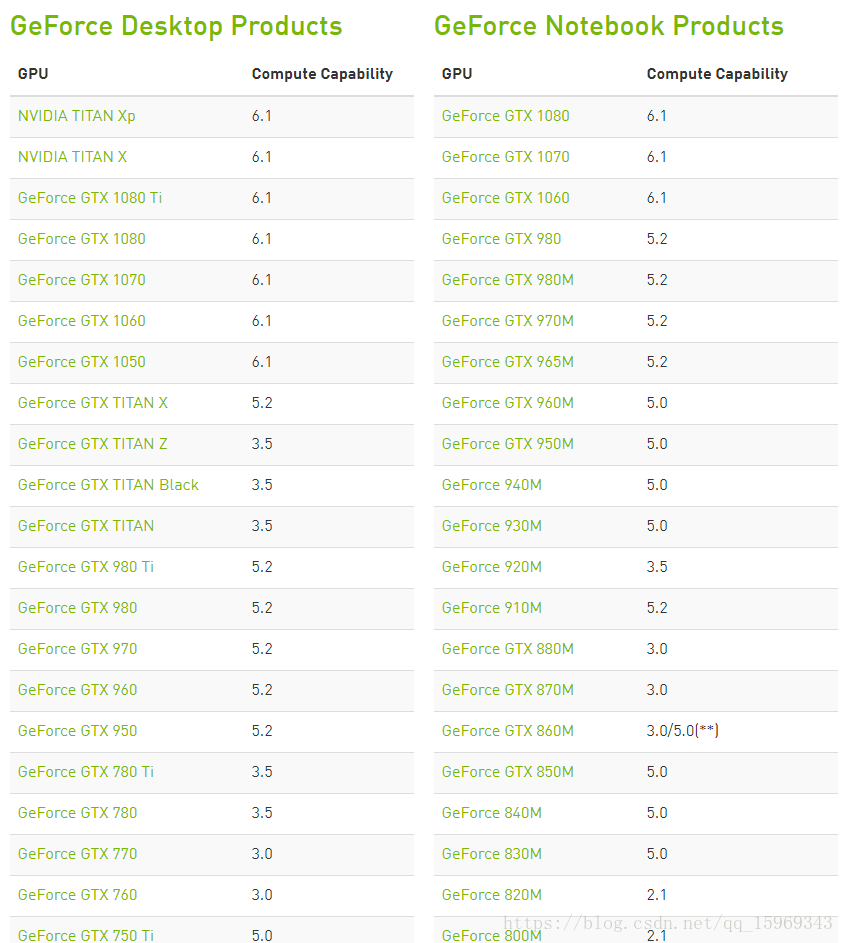
Tensorflow有两个版本:GPU和CPU版本,CPU的随意啦,很好安装;GPU 版本需要 CUDA 和 cuDNN 的支持,如果你是独显+集显,那么推荐你用GPU版本的,因为CPU版本的速度是在太慢!并且CUDA是英伟达下属的程序,所以你的GPU最好是英伟达的,AMD的显卡没有CUDA加速!满足以上条件之后,你需要查看一下你的英伟达GPU是否支持CUDA(毕竟Xp微软也不提供更新了~~),以下是Geforce支持的目录:
满足以上条件之后,你就可以安装Tensorflow了!
2.安装Tensorflow:
打开cmd窗口,输入以下命令(使用豆瓣的源,下载速度很快):
GPU版本
pip install -i https://pypi.doubanio.com/simple/ tensorflow-gpu

CPU版本
pip install -i https://pypi.doubanio.com/simple/ tensorflow
装完之后,打开python窗口,输入:
import tensorflow
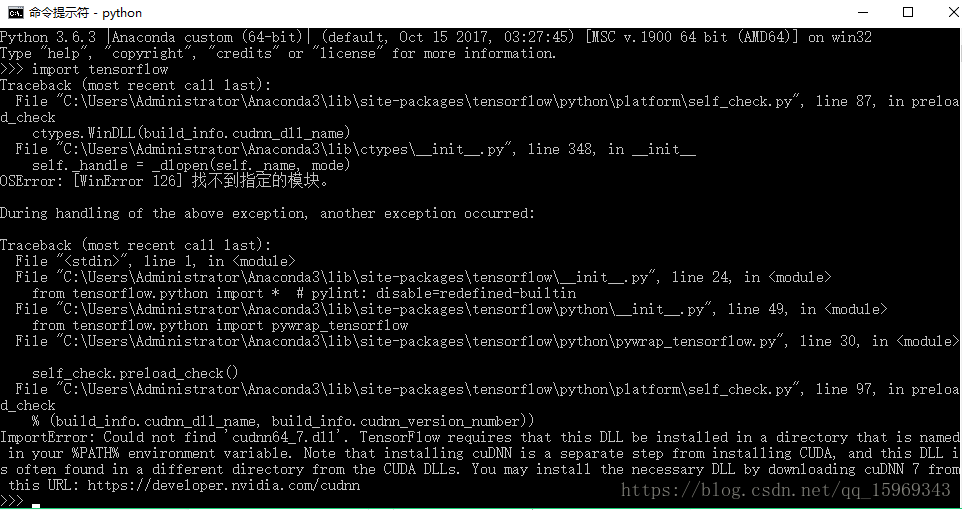
ImportError: Could not find 'cudnn64_7.dll'. TensorFlow requires that this DLL be installed in a directory that is named in your %PATH% environment variable. Note that installing cuDNN is a separate step from installing CUDA, and this DLL is often found in a different directory from the CUDA DLLs. You may install the necessary DLL by downloading cuDNN 7 from this URL: https://developer.nvidia.com/cudnn
会报出以上错误,这说明你的电脑里面还没有安装CUDA和Cudnn,那么我们就跟着装上!
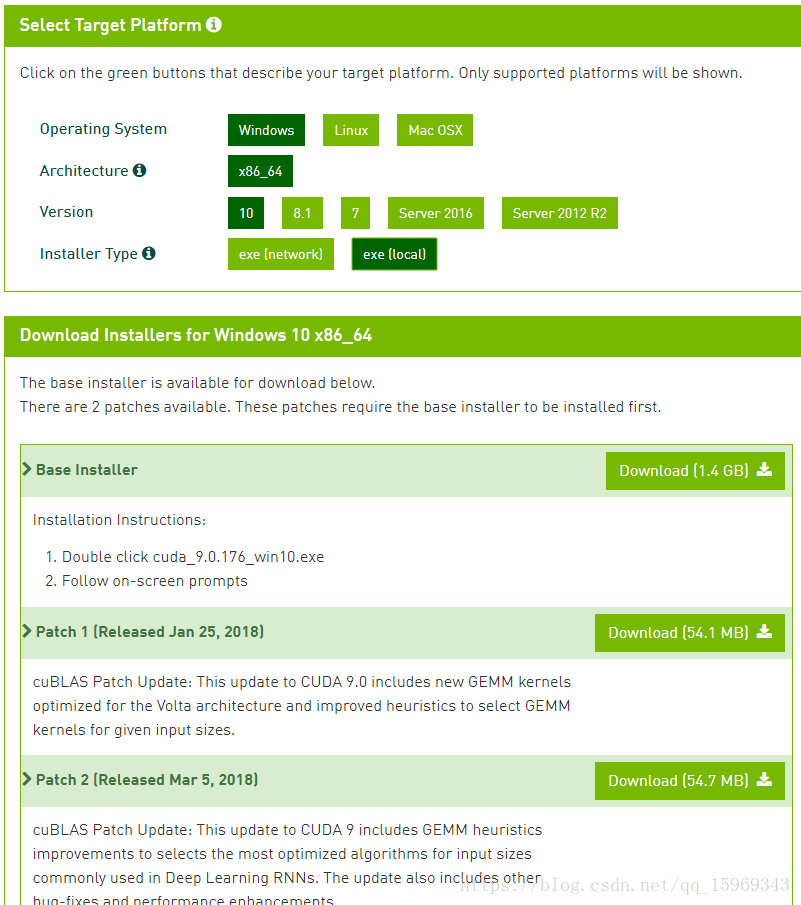
3.安装CUDA:
点击下载CUDA9.0,在上述链接中下载CUDA9.0,选择WIN-x86_64-10-exe(local),将下面的三个包全部下载,并且安装(一路点确定即可);
安装完毕之后,在CMD窗口输入:
nvcc -V
如果显示如下的版本信息,则说明CUDA安装成功:

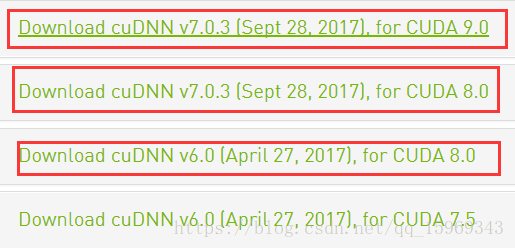
4.安装Cudnn:
在这里点击下载Cudnn(需要英伟达账号,如果没有或者网速很卡,可以下载我上传的https://download.csdn.net/download/qq_15969343/10393608),注意需要和CUDA版本匹配起来:
下载之后直接解压放到C盘根目录下:

然后依次点击:我的电脑-高级系统设置-环境变量-Path添加刚才存放Cudnn的路径:

5.测试是否安装成功:
import tensorflow as tf

a = tf.random_normal((100, 100))
b = tf.random_normal((100, 500))
c = tf.matmul(a, b)
sess = tf.InteractiveSession()
sess.run(c)
如果没有报错,并且运算成功,那么证明你已经安装成功:
