Python中的图像处理(第十三章)Python图像特效处理(2)
前言
随着人工智能研究的不断兴起,Python的应用也在不断上升,由于Python语言的简洁性、易读性以及可扩展性,特别是在开源工具和深度学习方向中各种神经网络的应用,使得Python已经成为最受欢迎的程序设计语言之一。由于完全开源,加上简单易学、易读、易维护、以及其可移植性、解释性、可扩展性、可扩充性、可嵌入性:丰富的库等等,自己在学习与工作中也时常接触到Python,这个系列文章的话主要就是介绍一些在Python中常用一些例程进行仿真演示!
本系列文章主要参考杨秀章老师分享的代码资源,杨老师博客主页是Eastmount,杨老师兴趣广泛,不愧是令人膜拜的大佬,他过成了我理想中的样子,希望以后有机会可以向他请教学习交流。
因为自己是做图像语音出身的,所以结合《Python中的图像处理》,学习一下Python相关,OpenCV已经在Python上进行了多个版本的维护,所以相比VS,Python的环境配置相对简单,缺库直接安装即可。本系列文章例程都是基于Python3.8的环境下进行,所以大家在进行借鉴的时候建议最好在3.8.0版本以上进行仿真。本文继续来对本书第十三章的5个例程进行介绍。
一. Python准备
如何确定自己安装好了python
win+R输入cmd进入命令行程序
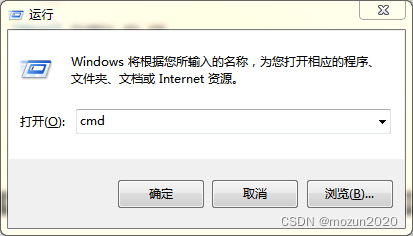
点击“确定”
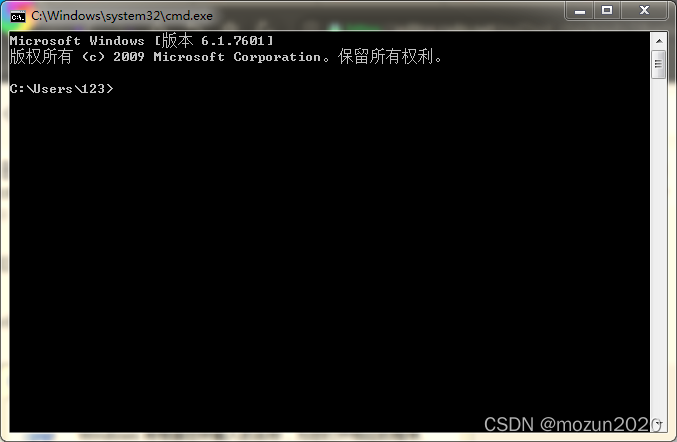
输入:python,回车
看到Python相关的版本信息,说明Python安装成功。
二. Python仿真
(1)新建一个chapter13_06.py文件,输入以下代码,图片也放在与.py文件同级文件夹下
#coding:utf-8
#By:Eastmount CSDN 2020-12-22
import cv2
import numpy as np

#读取原始图像
img = cv2.imread('nv.png')

#获取图像行和列
rows, cols = img.shape[:2]

#新建目标图像
dst = np.zeros((rows, cols, 3), dtype="uint8")

#图像怀旧特效
for i in range(rows):
    for j in range(cols):
        B = 0.272*img[i,j][2] + 0.534*img[i,j][1] + 0.131*img[i,j][0]
        G = 0.349*img[i,j][2] + 0.686*img[i,j][1] + 0.168*img[i,j][0]
        R = 0.393*img[i,j][2] + 0.769*img[i,j][1] + 0.189*img[i,j][0]
        if B>255:
            B = 255
        if G>255:
            G = 255
        if R>255:
            R = 255
        dst[i,j] = np.uint8((B, G, R))

#显示图像
cv2.imshow('src', img)
cv2.imshow('dst', dst)

cv2.waitKey()
cv2.destroyAllWindows()
保存.py文件
输入eixt()退出python,输入命令行进入工程文件目录
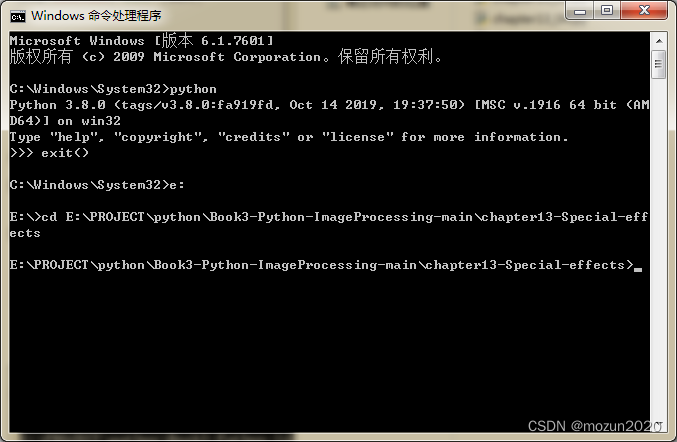
输入以下命令,跑起工程
python chapter13_06.py

没有报错,直接弹出图片,运行成功!
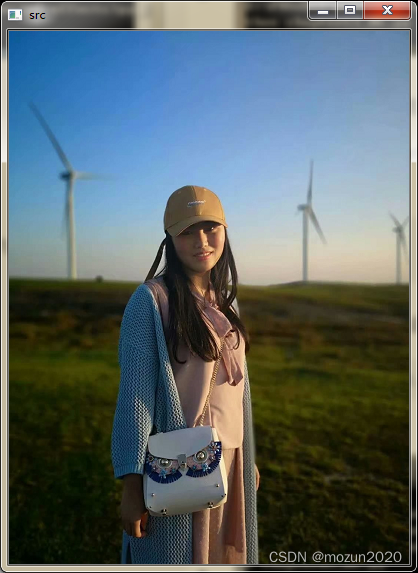
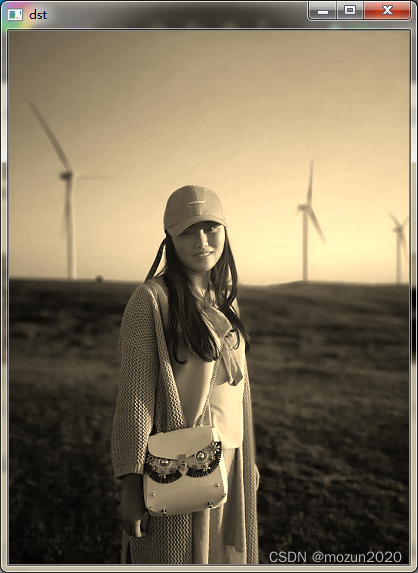
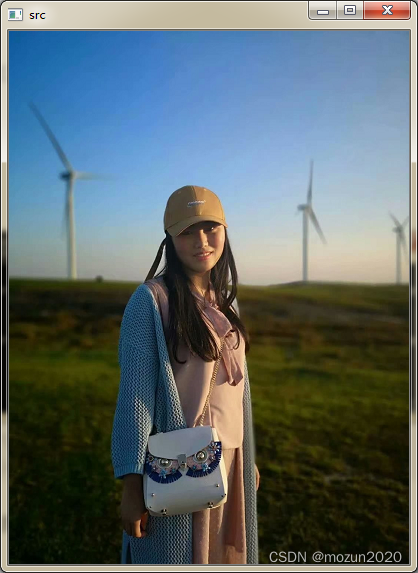
(2)新建一个chapter13_07.py文件,输入以下代码,图片也放在与.py文件同级文件夹下
#coding:utf-8
#By:Eastmount CSDN 2020-12-22
import cv2
import math
import numpy as np
#读取原始图像
img = cv2.imread('nv.png')
#获取图像行和列
rows, cols = img.shape[:2]
#设置中心点
centerX = rows / 2
centerY = cols / 2
print(centerX, centerY)
radius = min(centerX, centerY)
print(radius)
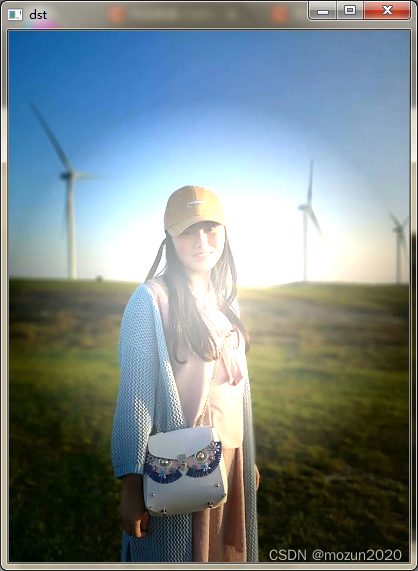
#设置光照强度
strength = 200
#新建目标图像
dst = np.zeros((rows, cols, 3), dtype="uint8")
#图像光照特效
for i in range(rows):
for j in range(cols):
#计算当前点到光照中心的距离(平面坐标系中两点之间的距离)
distance = math.pow((centerY-j), 2) + math.pow((centerX-i), 2)
#获取原始图像
B = img[i,j][0]
G = img[i,j][1]
R = img[i,j][2]
if (distance < radius * radius):
#按照距离大小计算增强的光照值
result = (int)(strength*( 1.0 - math.sqrt(distance) / radius ))
B = img[i,j][0] + result
G = img[i,j][1] + result
R = img[i,j][2] + result
#判断边界 防止越界
B = min(255, max(0, B))
G = min(255, max(0, G))
R = min(255, max(0, R))
dst[i,j] = np.uint8((B, G, R))
else:
dst[i,j] = np.uint8((B, G, R))
#显示图像
cv2.imshow('src', img)
cv2.imshow('dst', dst)
cv2.waitKey()
cv2.destroyAllWindows()
保存.py文件输入以下命令,跑起工程
python chapter13_07.py
没有报错,直接打印数据,弹出图片,运行成功!
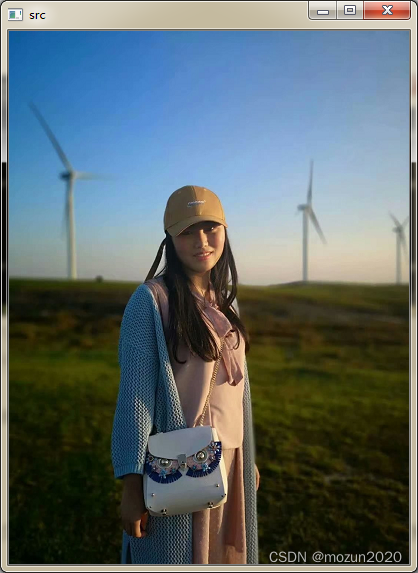
(3)新建一个chapter13_08.py文件,输入以下代码,图片也放在与.py文件同级文件夹下
#coding:utf-8
#By:Eastmount CSDN 2020-12-22
import cv2
import math
import numpy as np
#读取原始图像
img = cv2.imread('nv.png')
#获取图像行和列
rows, cols = img.shape[:2]
#新建目标图像
dst = np.zeros((rows, cols, 3), dtype="uint8")
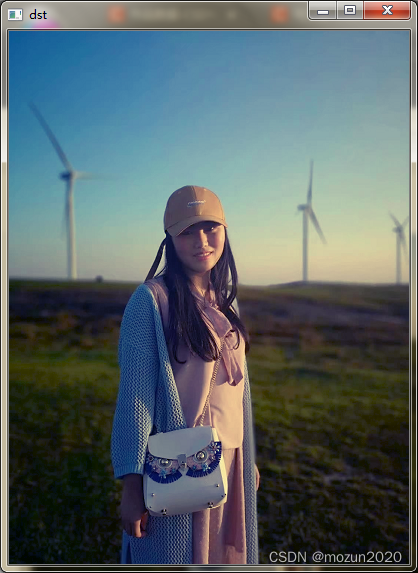
#图像流年特效
for i in range(rows):
for j in range(cols):
#B通道的数值开平方乘以参数12
B = math.sqrt(img[i,j][0]) * 12
G = img[i,j][1]
R = img[i,j][2]
if B>255:
B = 255
dst[i,j] = np.uint8((B, G, R))
#显示图像
cv2.imshow('src', img)
cv2.imshow('dst', dst)
cv2.waitKey()
cv2.destroyAllWindows()
保存.py文件输入以下命令,跑起工程
python chapter13_08.py
没有报错,直接弹出图片,运行成功!
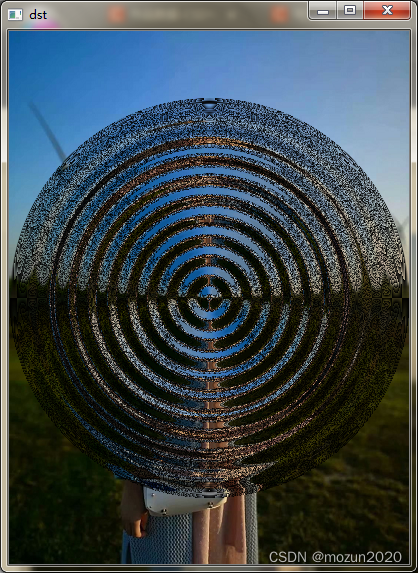
(4)新建一个chapter13_09.py文件,输入以下代码,图片也放在与.py文件同级文件夹下
#coding:utf-8
#By:Eastmount CSDN 2020-12-22
#该效果有点丑,读者可以设置透明度进一步优化,可能效果会好看些。
import cv2
import math
import numpy as np
#读取原始图像
img = cv2.imread('nv.png')
#获取图像行和列
rows, cols = img.shape[:2]
#新建目标图像
dst = np.zeros((rows, cols, 3), dtype="uint8")
#定义水波特效参数
wavelength = 20
amplitude = 30
phase = math.pi / 4
#获取中心点
centreX = 0.5
centreY = 0.5
radius = min(rows, cols) / 2
#设置水波覆盖面积
icentreX = cols*centreX
icentreY = rows*centreY
#图像水波特效
for i in range(rows):
for j in range(cols):
dx = j - icentreX
dy = i - icentreY
distance = dx*dx + dy*dy
if distance>radius*radius:
x = j
y = i
else:
#计算水波区域
distance = math.sqrt(distance)
amount = amplitude * math.sin(distance / wavelength * 2*math.pi - phase)
amount = amount * (radius-distance) / radius
amount = amount * wavelength / (distance+0.0001)
x = j + dx * amount
y = i + dy * amount
#边界判断
if x<0:
x = 0
if x>=cols-1:
x = cols - 2
if y<0:
y = 0
if y>=rows-1:
y = rows - 2
p = x - int(x)
q = y - int(y)
#图像水波赋值
dst[i, j, :] = (1-p)*(1-q)*img[int(y),int(x),:] + p*(1-q)*img[int(y),int(x),:]
+ (1-p)*q*img[int(y),int(x),:] + p*q*img[int(y),int(x),:]
#显示图像
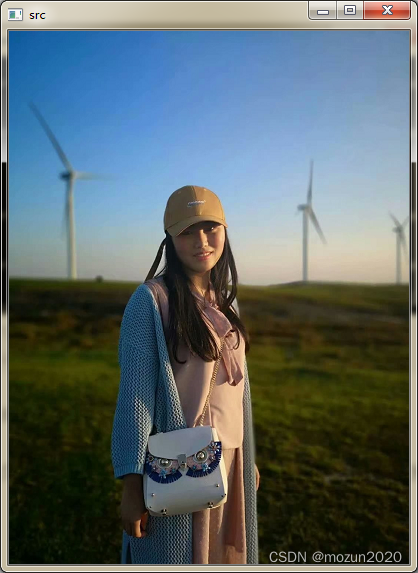
cv2.imshow('src', img)
cv2.imshow('dst', dst)
cv2.waitKey()
cv2.destroyAllWindows()
保存.py文件输入以下命令,跑起工程
python chapter13_09.py
没有报错,直接弹出图片,运行成功!
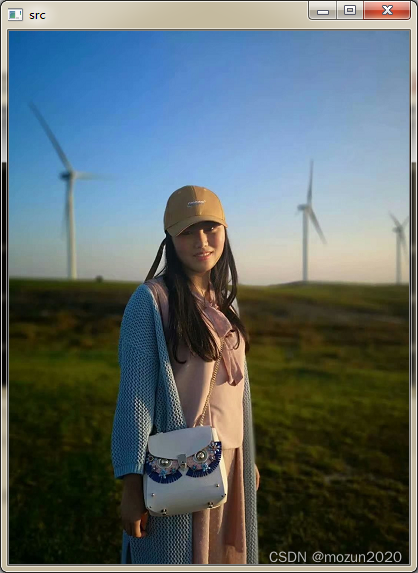
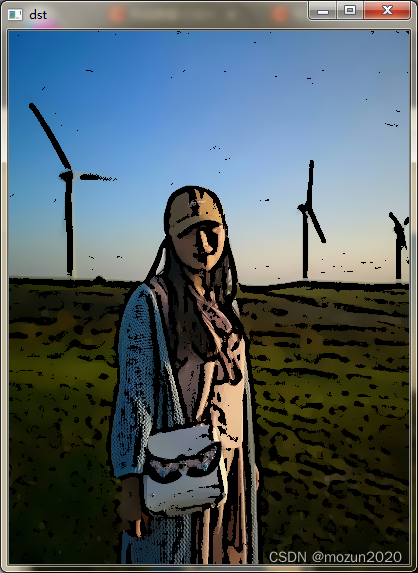
(5)新建一个chapter13_10.py文件,输入以下代码,图片也放在与.py文件同级文件夹下
#coding:utf-8
#By:Eastmount CSDN 2020-12-22
import cv2
import numpy as np

#读取原始图像
img = cv2.imread('nv.png')

#定义双边滤波的数目
num_bilateral = 7

#用高斯金字塔降低取样
img_color = img

#双边滤波处理
for i in range(num_bilateral):
    img_color = cv2.bilateralFilter(img_color, d=9, sigmaColor=9, sigmaSpace=7)

#灰度图像转换
img_gray = cv2.cvtColor(img, cv2.COLOR_RGB2GRAY)

#中值滤波处理
img_blur = cv2.medianBlur(img_gray, 7)

#边缘检测及自适应阈值化处理
img_edge = cv2.adaptiveThreshold(img_blur, 255,
                                 cv2.ADAPTIVE_THRESH_MEAN_C,
                                 cv2.THRESH_BINARY,
                                 blockSize=9,
                                 C=2)

#转换回彩色图像
img_edge = cv2.cvtColor(img_edge, cv2.COLOR_GRAY2RGB)

#与运算
img_cartoon = cv2.bitwise_and(img_color, img_edge)

#显示图像
cv2.imshow('src', img)
cv2.imshow('dst', img_cartoon)
cv2.waitKey()
cv2.destroyAllWindows()
保存.py文件输入以下命令,跑起工程
python chapter13_10.py
没有报错,直接弹出图片,运行成功!
三. 小结
本文主要介绍在Python中调用OpenCV库对图像进行特效处理,包括怀旧特效,光照特效,流年特效,水波特效等。由于本书的介绍比较系统全面,所以会出一个系列文章进行全系列仿真实现,下一篇文章将继续介绍第十三章节的最后3例仿真实例,感兴趣的还是建议去原书第十三章深入学习理解。每天学一个Python小知识,大家一起来学习进步阿!
本系列示例主要参考杨老师GitHub源码,安利一下地址:ImageProcessing-Python(喜欢记得给个star哈!)