vue 使用百度富文本编辑器,由于element带的编辑器样式过于简单,所以使用百度富文本编辑器。
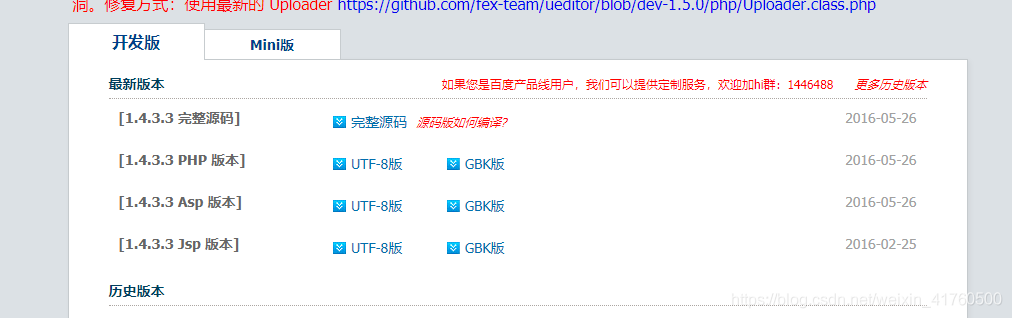
第一步登陆百度富文本官网http://ueditor.baidu.com/website/download.html#ueditor下载最新版本,具体选择哪个语言的版本,你可以问下后端,其实哪个都一样,区别只是为了后面图片上传的配置提供方便。
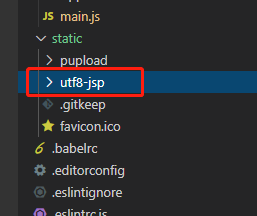
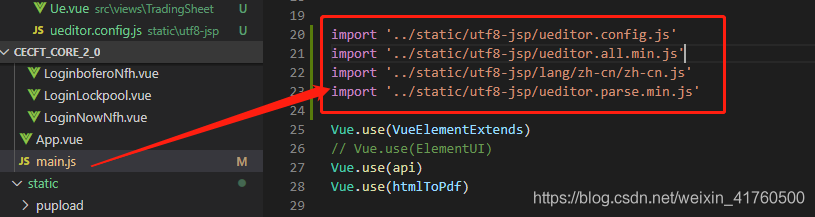
第二步将下载下来的文件存放在static目录下,并在main.js文件下引入
复制代码如下:
import '../static/utf8-jsp/ueditor.config.js'
import '../static/utf8-jsp/ueditor.all.min.js'
import '../static/utf8-jsp/lang/zh-cn/zh-cn.js'
import '../static/utf8-jsp/ueditor.parse.min.js'
第三步 创建一个ueEdit.vue组件来存放编辑器文本代码,方便引用。
ueEdit.vue 代码如下,直接复制就好
<template>
  <div>
    <script id="editor" type="text/plain"></script>
  </div>
</template>
<script>
  export default {


    name: 'UE',
    data () {


      return {


        editor: null
      }
    },
    props: {


      defaultMsg: {


        type: String
      },
      config: {


        type: Object
      }
    },
    mounted() {


      const _this = this;
      this.editor = UE.getEditor('editor', this.config); // 初始化UE
      this.editor.addListener("ready", function () {


        _this.editor.setContent(_this.defaultMsg); // 确保UE加载完成后,放入内容。
      });
    },
    methods: {


      getUEContent() {

     // 获取内容方法
        return this.editor.getContent()
      }
    },
    destroyed() {


      this.editor.destroy();
    }
  }
</script>
第四步 在需要的vue 页面里引入百度富文本组件
//html
<ueEdit :defaultMsg='content' :config='config' ref="ue"></ueEdit>
<el-button type="primary" @click="baocun">保存</el-button>
// content为默认内容  config为配置项 ue方便调用方法 如下


//引入组件
import ueEdit from "./ueEdit"  //可根据自己的实际路径修改

//注册组件
components:{

    ueEdit}

//初始配置
data(){


		return {


		 content:'请编辑相关内容',
	      config: {


	          initialFrameWidth: null,
	          initialFrameHeight: 350,
	       },
		}
},
methods:{


	baocun(){


      console.log(  this.$refs.ue.getUEContent())
  },
}
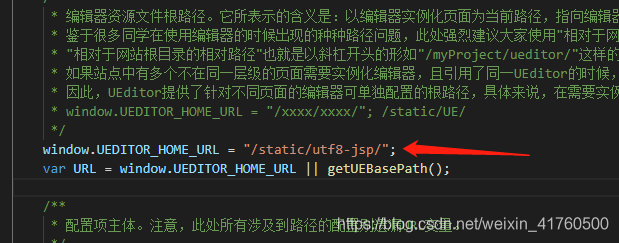
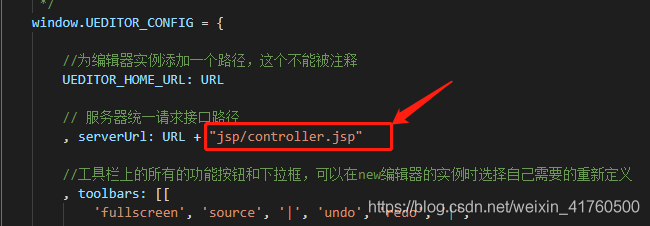
第五步这是最后一步,就是在static文件夹中找到刚刚存放的富文本文件,找到ueditor.config.js文件,修改里面的参数
window.UEDITOR_HOME_URL ,如下图。后面的/static/utf8-jsp/ 为存放富文本依赖文件的地方。
完成,到这里基本就出来了。最后还需要配置一下图片上传,不然上传图片icon会是灰色的。

照片上传打开ueditor.config.js 这就需要和后端统一路径啦
大功告成,小伙伴们赶紧去试试吧,有帮助记得给个赞哟!