系统: ubuntu 18.04
点击下载本博客使用的示例程序protobuf.tar.xz
protobuf.tar.xz文件解压后的目录树如下所示,根据需要下载:

一、protobuf安装
sudo apt-get install autoconf automake libtool curl make g++ unzip git
git clone https://github.com/protocolbuffers/protobuf.git
cd protobuf
git submodule update --init --recursive
./autogen.sh
./configure
make
sudo make install
sudo ldconfig
protoc --version
若最后输出类似如下信息,说明protobuf安装成功。

二、命令行使用protobuf
2.1 构建proto文件
mkdir -p CSDN_ws/protobuf/teminal/
cd CSDN_ws/protobuf/teminal/
gedit AddressBook.proto
将以下文本复制到AddressBook.proto,并保存。
package tutorial;

message Person {
    required string name=1;
    required int32 id=2;
    optional string email=3;

    enum PhoneType {
        MOBILE=0;
        HOME=1;
        WORK=2;
    }

    message PhoneNumber {
        required string number=1;
        optional PhoneType type=2 [default=HOME];
    }

    repeated PhoneNumber phone=4;
}

message AddressBook {
    repeated Person person=1;
}
2.2 生成c++头文件
protoc --cpp_out=./ AddressBook.proto
ls
此时发现,目录下多出两个文件:AddressBook.pb.cc与AddressBook.pb.h。

2.3 使用protobuf头文件
gedit main.cpp
将以下文本复制到main.cpp,并保存。
#include <iostream>
#include <fstream>
#include <vector>
#include "AddressBook.pb.h"

using namespace std;

// This function fills in a Person message based on user input.
void PromptForAddress(tutorial::Person* person)
{


    cout << "Enter person ID number: ";
    int id;
    cin >> id;
    person->set_id(id);
    cin.ignore(256, '\n');

    cout << "Enter name: ";
    getline(cin, *person->mutable_name());

    cout << "Enter email address (blank for none): ";
    string email;
    getline(cin, email);
    if (!email.empty())
    {


        person->set_email(email);
    }

    while (true)
    {


        cout << "Enter a phone number (or leave blank to finish): ";
        string number;
        getline(cin, number);
        if (number.empty())
        {


            break;
        }

        tutorial::Person::PhoneNumber* phone_number = person->add_phone();
        phone_number->set_number(number);

        cout << "Is this a mobile, home, or work phone? ";
        string type;
        getline(cin, type);
        if (type == "mobile")
        {


            phone_number->set_type(tutorial::Person::MOBILE);
        }
        else if (type == "home")
        {


            phone_number->set_type(tutorial::Person::HOME);
        }
         else if (type == "work")
         {


            phone_number->set_type(tutorial::Person::WORK);
        }
        else
        {


            cout << "Unknown phone type.  Using default." << endl;
        }
    }
}


int main(int argc, char *argv[])
{


    GOOGLE_PROTOBUF_VERIFY_VERSION;

    if (argc != 2)
    {


        cerr << "Usage:  " << argv[0] << " ADDRESS_BOOK_FILE" << endl;
        return -1;
    }

    tutorial::AddressBook address_book;

    {


    // Read the existing address book.
    fstream input(argv[1], ios::in | ios::binary);
    if (!input) {


      cout << argv[1] << ": File not found.  Creating a new file." << endl;
    } else if (!address_book.ParseFromIstream(&input)) {


      cerr << "Failed to parse address book." << endl;
      return -1;
    }
    }

    // Add an address.
    PromptForAddress(address_book.add_person());

    {


    // Write the new address book back to disk.
    fstream output(argv[1], ios::out | ios::trunc | ios::binary);
    if (!address_book.SerializeToOstream(&output)) {


      cerr << "Failed to write address book." << endl;
      return -1;
    }
    }

    // Optional:  Delete all global objects allocated by libprotobuf.
    google::protobuf::ShutdownProtobufLibrary();

    return 0;
}
接着在命令行执行以下命令编译:
g++ AddressBook.pb.cc main.cpp -o main `pkg-config --cflags --libs protobuf`
ls
编译成功的话会多出一个名为main的文件。
 执行main,会让你录入信息:
./main name.txt
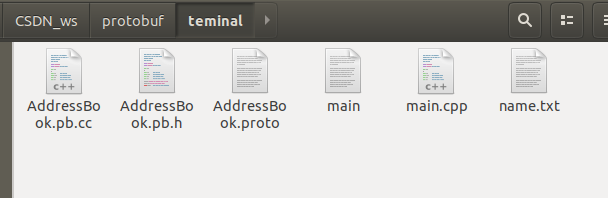
 以上就是teminal下使用protobuf的所有过程,结束后你的工作空间应该如下:
三、cmake下使用protobuf
3.1 安装cmake
sudo apt-get install cmake cmake-qt-qui
3.2 编写CMakeLists文件
mkdir -p CSDN_ws/protobuf/cmake/
cp CSDN_ws/protobuf/teminal/AddressBook.proto CSDN_ws/protobuf/cmake/AddressBook.proto
cp CSDN_ws/protobuf/teminal/main.cpp CSDN_ws/protobuf/cmake/main.cpp
cd CSDN_ws/protobuf/cmake/
gedit CMakeLists.txt
将以下内容复制到CMakeLists.txt文件中:
cmake_minimum_required(VERSION 3.10)
PROJECT (cppTest)
SET(SRC_LIST main.cpp)

# Find required protobuf package
find_package(Protobuf REQUIRED)
if(PROTOBUF_FOUND)
    message(STATUS "protobuf library found")
else()
    message(FATAL_ERROR "protobuf library is needed but cant be found")
endif()

include_directories(${PROTOBUF_INCLUDE_DIRS})
INCLUDE_DIRECTORIES(${CMAKE_CURRENT_BINARY_DIR})
PROTOBUF_GENERATE_CPP(PROTO_SRCS PROTO_HDRS AddressBook.proto)

ADD_EXECUTABLE(cppTest ${SRC_LIST} ${PROTO_SRCS} ${PROTO_HDRS})

target_link_libraries(cppTest ${PROTOBUF_LIBRARIES})
3.3 cmake编译与运行
cd CSDN_ws/protobuf/cmake/
cmake .
make
./cppTest  name.txt
运行结果和终端运行一样,最终文件目录如下所示:

四、VS code下使用protobuf
4.1 安装VS code
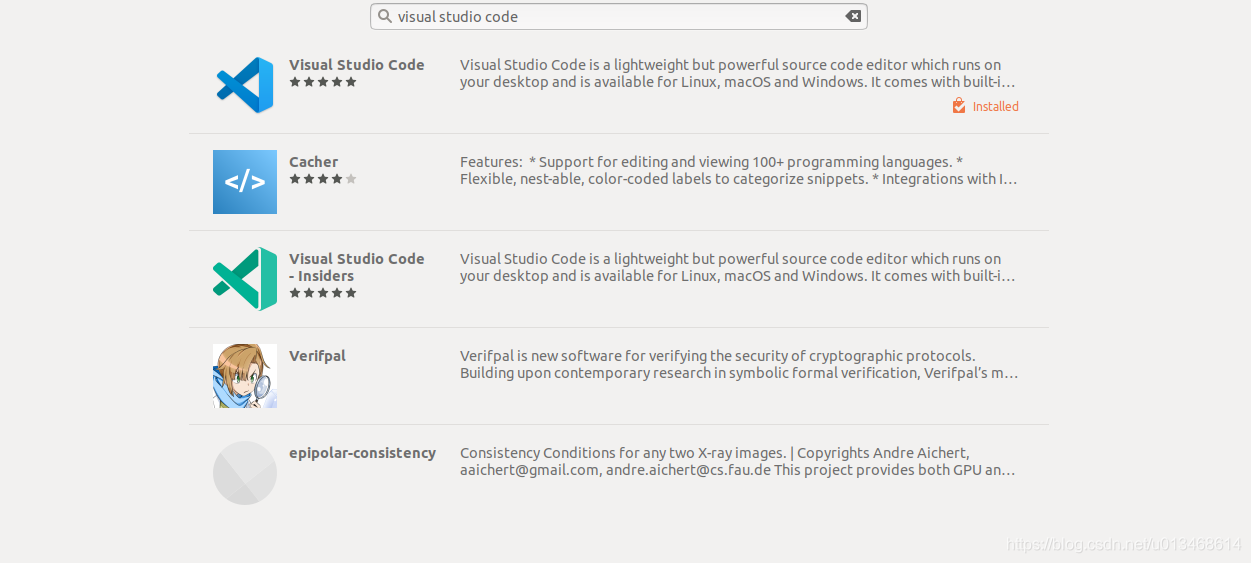
ubuntu 18.04进入ubuntu software输入visual studio code,安装:
去VS Code自带的商店下载的插件,快捷键:Ctrl+Shift+x,下载各种依赖包,包括:c/c++,c/c++ clang command adapter,c++ intellisense,CMake和CMake Tools如下图所示:

4.2 编译执行
构建vscode文件夹,并打开vs code:
mkdir CSDN_ws/protobuf/vscode/
cp CSDN_ws/protobuf/cmake/AddressBook.proto CSDN_ws/protobuf/vscode/AddressBook.proto
cp CSDN_ws/protobuf/cmake/main.cpp CSDN_ws/protobuf/vscode/main.cpp
cp CSDN_ws/protobuf/cmake/CMakeLists.txt CSDN_ws/protobuf/vscode/CMakeLists.txt
cd CSDN_ws/protobuf/vscode/
code .
点击左侧的Debug按钮,选择添加配置(Add configuration),然后选择C++(GDB/LLDB),将自动生成launch.json文件如下:
{


    // Use IntelliSense to learn about possible attributes.
    // Hover to view descriptions of existing attributes.
    // For more information, visit: https://go.microsoft.com/fwlink/?linkid=830387
    "version": "0.2.0",
    "configurations": [
        {


            "name": "g++ - Build and debug active file",
            "type": "cppdbg",
            "request": "launch",
            "program": "${fileDirname}/cppTest",
            "args": ["name.txt"],
            "stopAtEntry": false,
            "cwd": "${workspaceFolder}",
            "environment": [],
            "externalConsole": false,
            "MIMode": "gdb",
            "setupCommands": [
                {


                    "description": "Enable pretty-printing for gdb",
                    "text": "-enable-pretty-printing",
                    "ignoreFailures": true
                }
            ],
            "preLaunchTask": "C/C++: g++ build active file",
            "miDebuggerPath": "/usr/bin/gdb"
        }
    ]
}
在vs code界面点击F5,会提示要求配置task.json文件,将以下文本复制到默认task.json文件中:
{


	"version": "2.0.0",
	"tasks": [
		{


			"type": "shell",
			"label": "protobuf build",
			"command": "cmake . && make",
			"group": "build"
		}
	]
}
反回到main.cpp界面,点击F5,会显示编译消息,最终是运行结果:

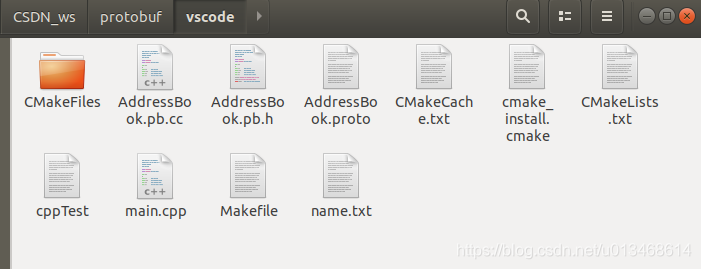
最终文件目录如下所示:
如果你留恋这种顺畅,估计会发现以下这个不和谐的波浪线:
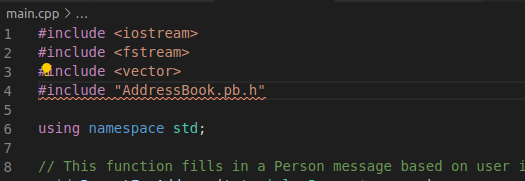
点击图中那个黄色的小灯泡,会出现几个小提示(这个小灯泡不影响编译,只是头文件不被VS code识别,无法自动补全),点击Add to "includePath":${workspaceFolder},会发现生多了一个c_cpp_properties.json:
{


    "configurations": [
        {


            "name": "Linux",
            "includePath": [
                "${workspaceFolder}/**",
                "${workspaceFolder}"
            ],
            "defines": [],
            "compilerPath": "/usr/bin/clang",
            "cStandard": "c11",
            "cppStandard": "c++14",
            "intelliSenseMode": "clang-x64"
        }
    ],
    "version": 4
}
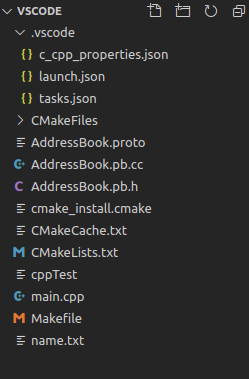
最后,VS code文件目录如下:
五、bazel
5.1 安装bazel
sudo apt install curl gnupg
curl https://bazel.build/bazel-release.pub.gpg | sudo apt-key add -
echo "deb [arch=amd64] https://storage.googleapis.com/bazel-apt stable jdk1.8" | sudo tee /etc/apt/sources.list.d/bazel.list
sudo apt update && sudo apt install bazel
可以利用Bazel入门:编译C++项目先熟悉一下。
5.2 构建项目
本部分参考Bazel使用:编译protobuf。
mkdir -p CSDN_ws/protobuf/bazel/
cp CSDN_ws/protobuf/teminal/AddressBook.proto CSDN_ws/protobuf/bazel/AddressBook.proto
cp CSDN_ws/protobuf/teminal/main.cpp CSDN_ws/protobuf/bazel/main.cpp
cd CSDN_ws/protobuf/bazel/
gedit WORKSPACE
在WORKSPACE文件里输入以下内容:
load("@bazel_tools//tools/build_defs/repo:http.bzl", "http_archive")

# rules_cc defines rules for generating C++ code from Protocol Buffers.
http_archive(
    name = "rules_cc",
    sha256 = "35f2fb4ea0b3e61ad64a369de284e4fbbdcdba71836a5555abb5e194cf119509",
    strip_prefix = "rules_cc-624b5d59dfb45672d4239422fa1e3de1822ee110",
    urls = [
        "https://mirror.bazel.build/github.com/bazelbuild/rules_cc/archive/624b5d59dfb45672d4239422fa1e3de1822ee110.tar.gz",
        "https://github.com/bazelbuild/rules_cc/archive/624b5d59dfb45672d4239422fa1e3de1822ee110.tar.gz",
    ],
)

# rules_proto defines abstract rules for building Protocol Buffers.
http_archive(
    name = "rules_proto",
    sha256 = "2490dca4f249b8a9a3ab07bd1ba6eca085aaf8e45a734af92aad0c42d9dc7aaf",
    strip_prefix = "rules_proto-218ffa7dfa5408492dc86c01ee637614f8695c45",
    urls = [
        "https://mirror.bazel.build/github.com/bazelbuild/rules_proto/archive/218ffa7dfa5408492dc86c01ee637614f8695c45.tar.gz",
        "https://github.com/bazelbuild/rules_proto/archive/218ffa7dfa5408492dc86c01ee637614f8695c45.tar.gz",
    ],
)

load("@rules_cc//cc:repositories.bzl", "rules_cc_dependencies")
rules_cc_dependencies()

load("@rules_proto//proto:repositories.bzl", "rules_proto_dependencies", "rules_proto_toolchains")
rules_proto_dependencies()
rules_proto_toolchains()
5.3 编写BUILD
gedit BUILD
load("@rules_cc//cc:defs.bzl", "cc_proto_library")
load("@rules_proto//proto:defs.bzl", "proto_library")

cc_proto_library(
    name = "AddressBook_proto",
    deps = [":AddressBook_proto_lib"],
)

proto_library(
    name = "AddressBook_proto_lib",
    srcs = ["AddressBook.proto"],
)

cc_binary(
    name = "main",
    srcs = ["main.cpp"],
    deps = ["AddressBook_proto"],
)
5.4 编译并执行项目
执行以下命令编译项目
sudo bazel build :main
得到如下输出信息:

执行以下命令执行项目
./bazel-bin/main name.txt
得到如下结果:

END
by windSeS
2020-8-12