SpringBoot+Vue实现前后端分离(一)
后端数据传递至前端
一、后端操作
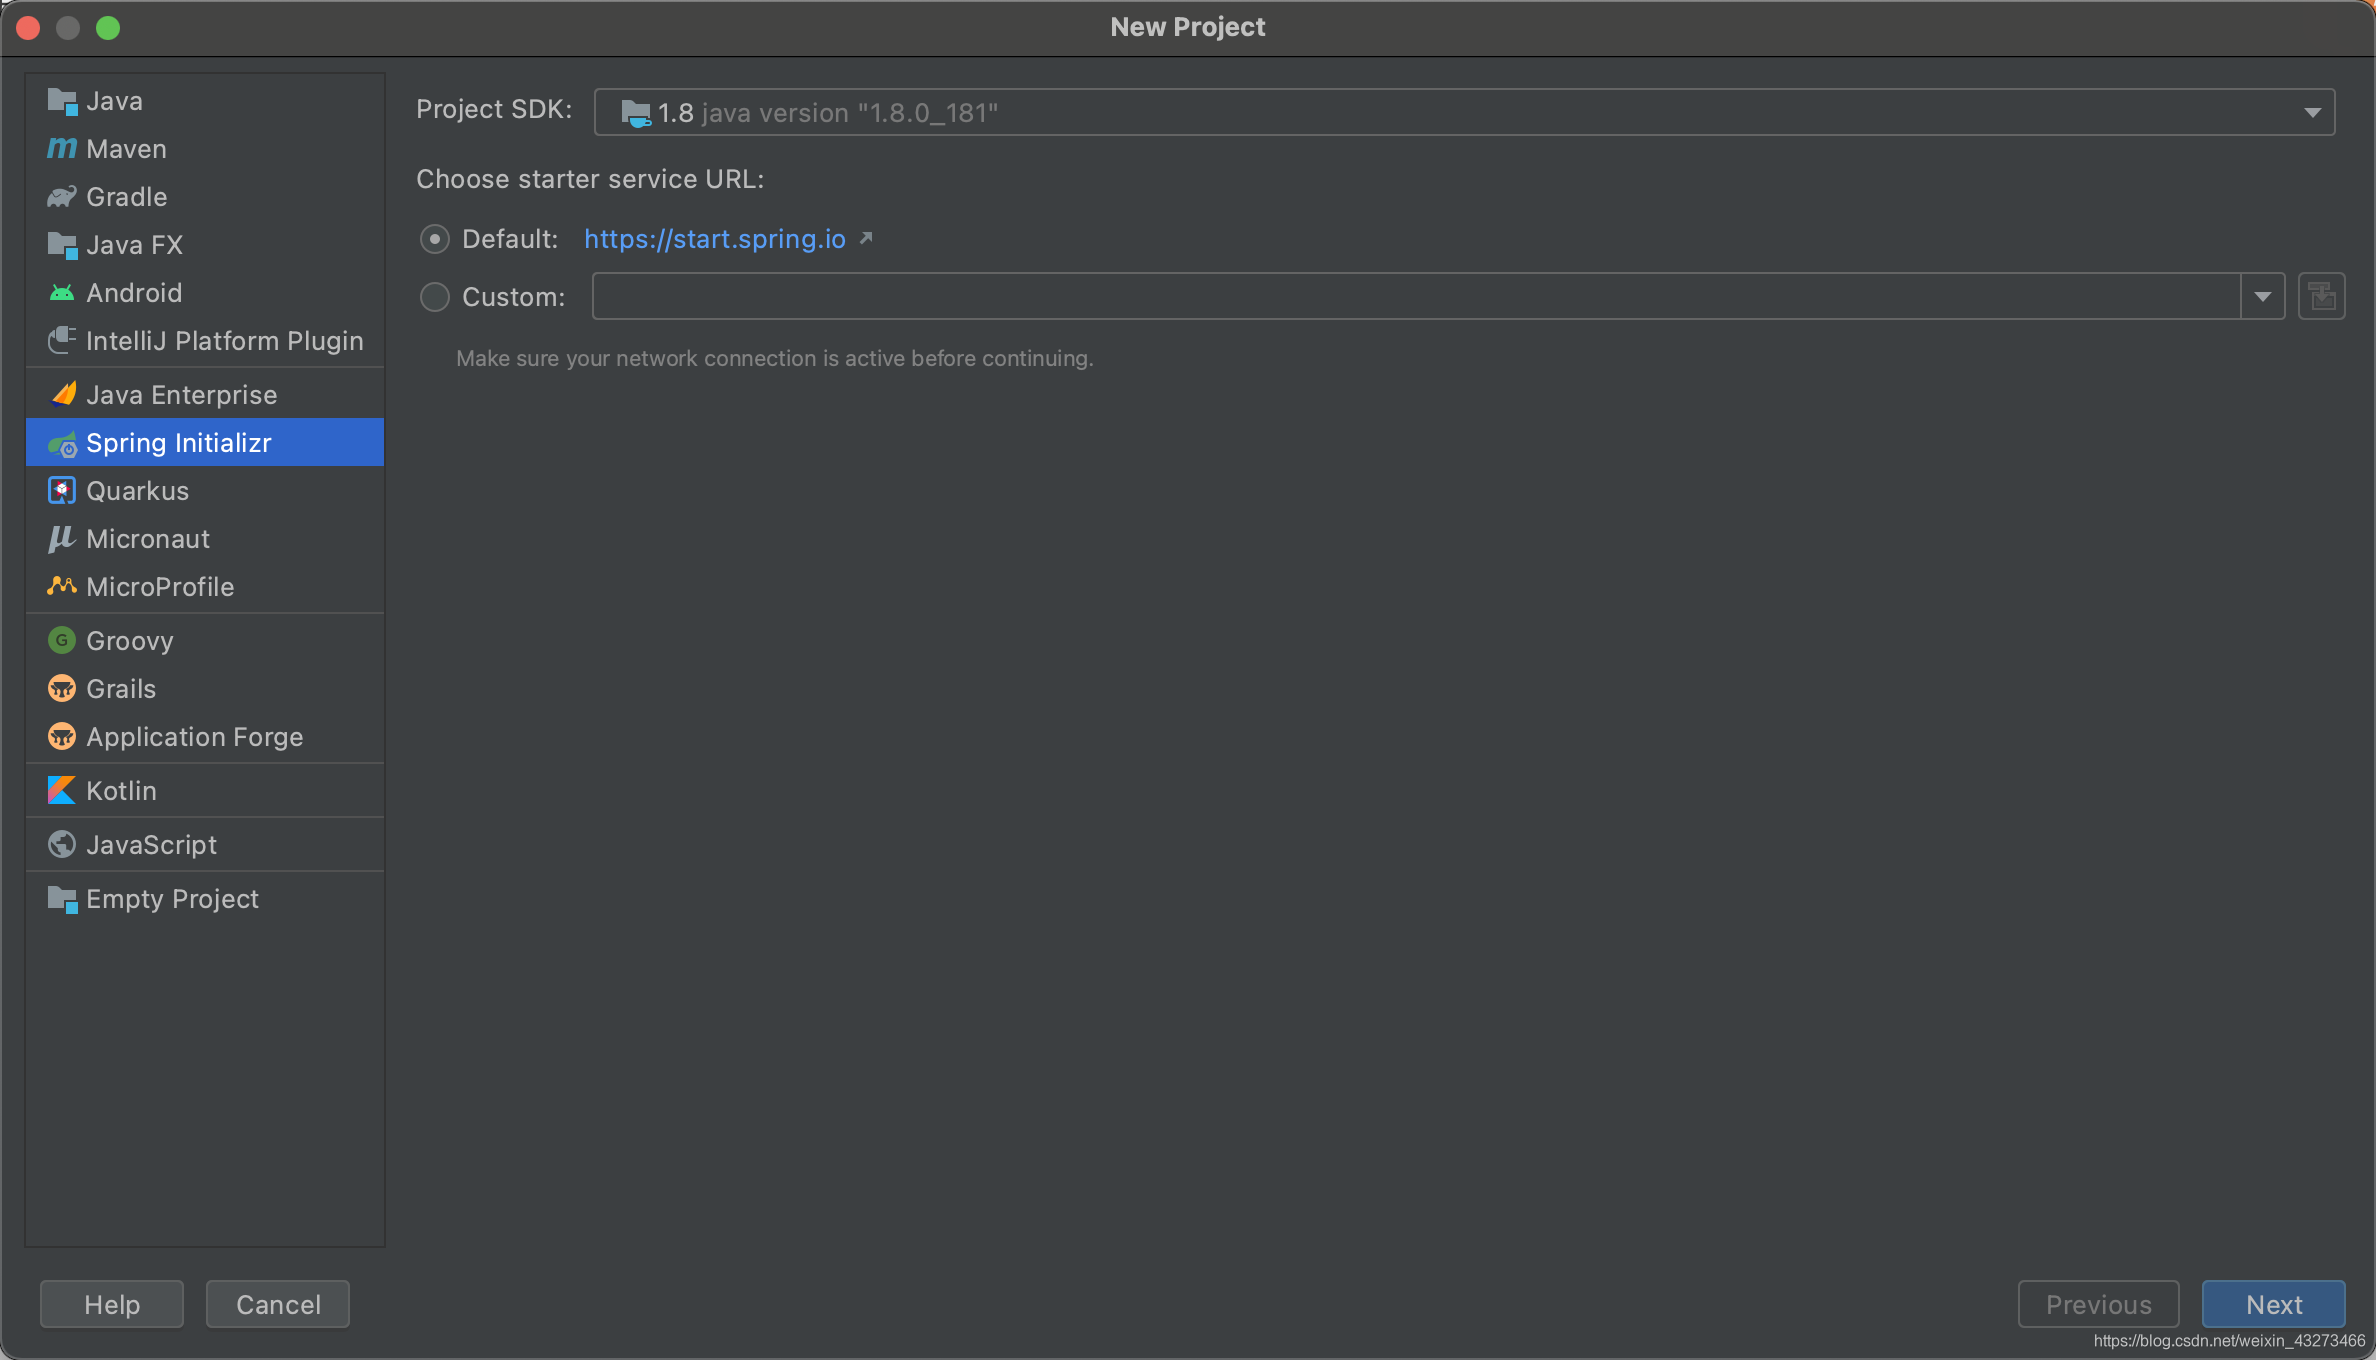
使用idea的Spring Initializr 创建springboot项目
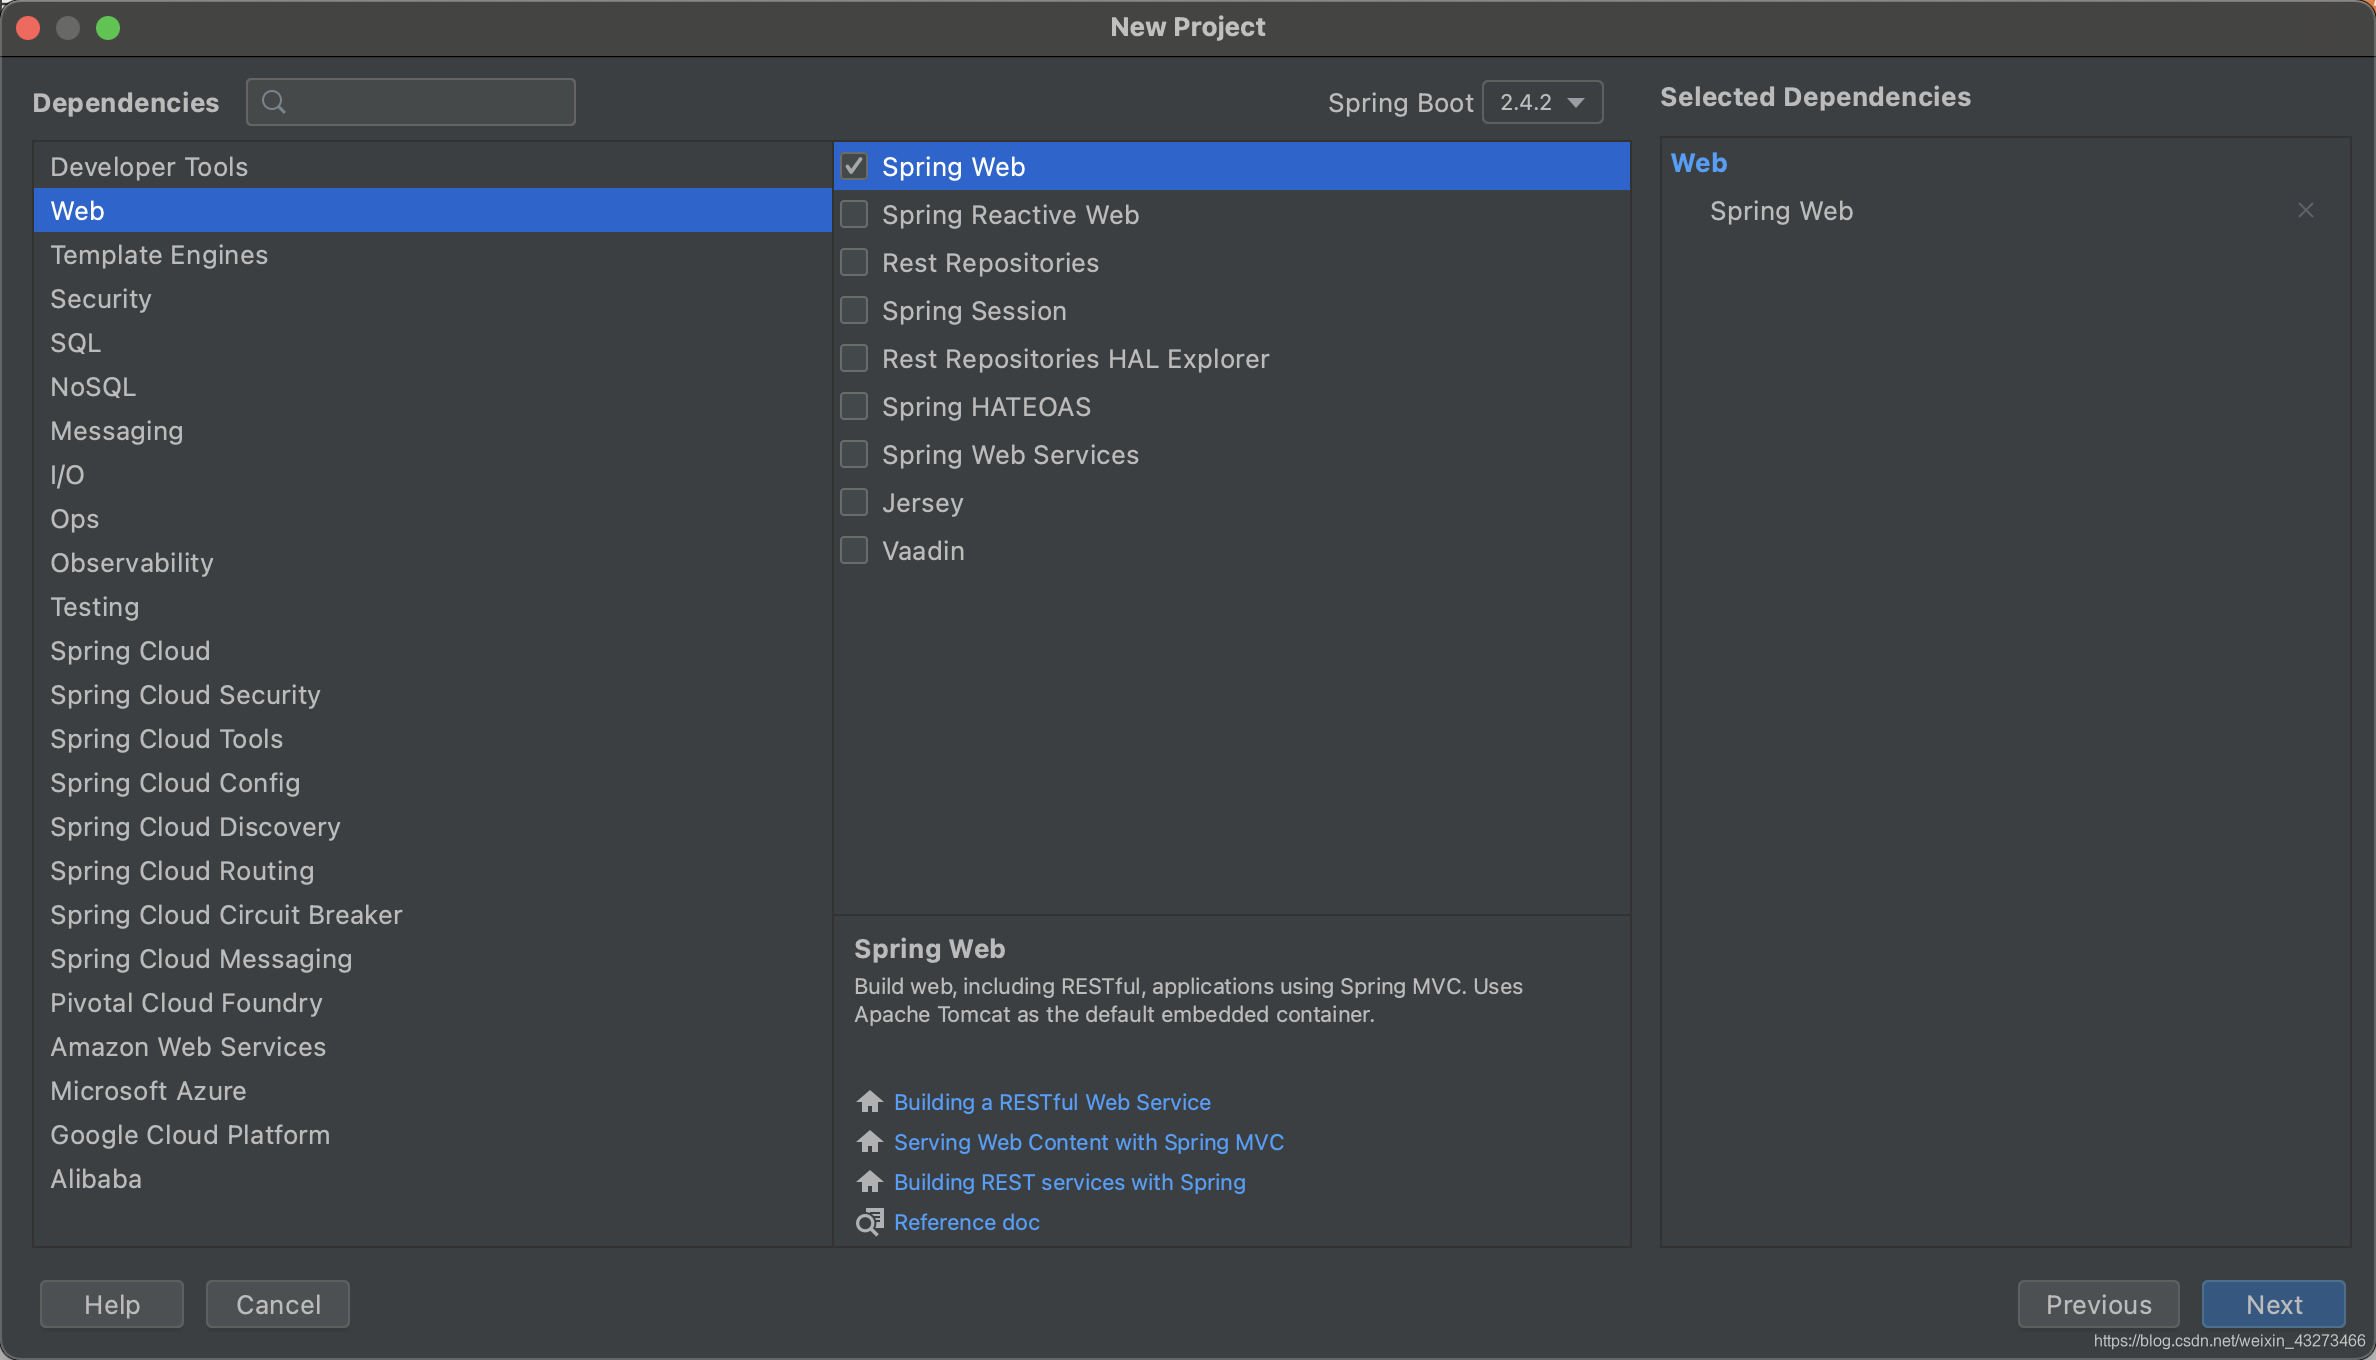
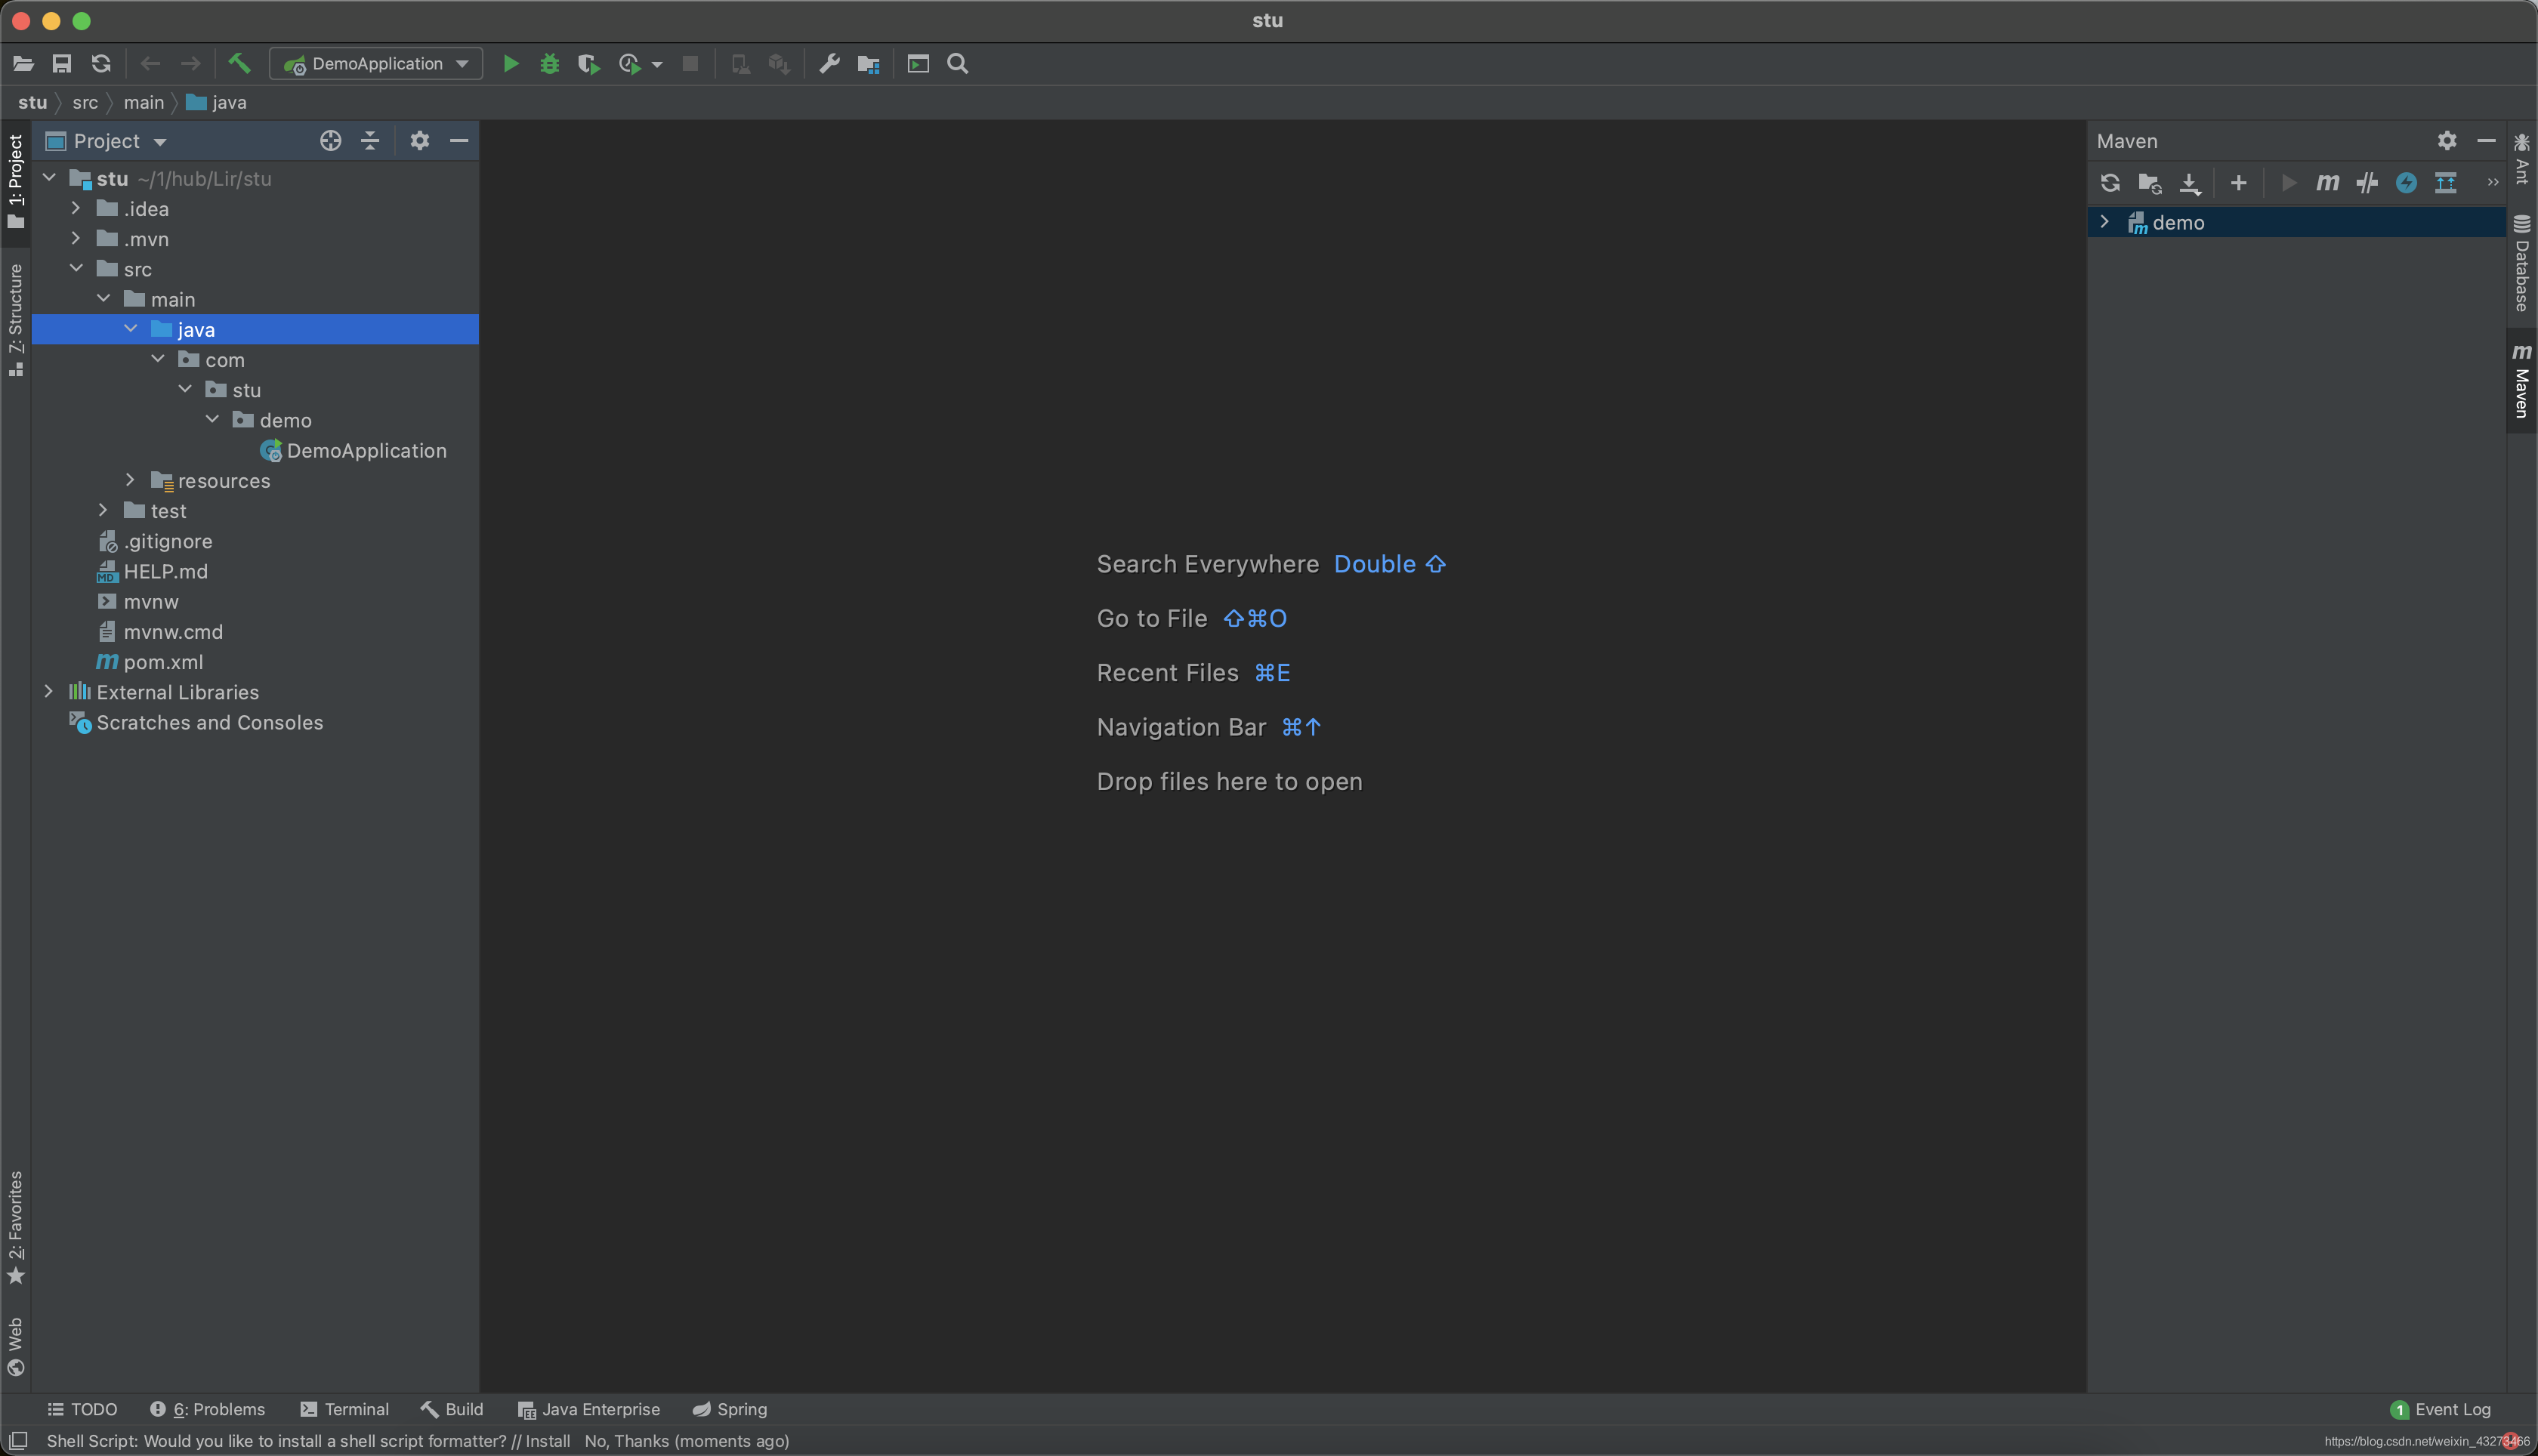
1,创建springboot项目

选择一个web就行
2,编写Controller
package com.stu.demo.controller;


import org.springframework.stereotype.Controller;
import org.springframework.web.bind.annotation.GetMapping;
import org.springframework.web.bind.annotation.RequestMapping;
import org.springframework.web.bind.annotation.ResponseBody;

@Controller
@ResponseBody
@RequestMapping("/user")
public class userController {


    @GetMapping("/get_user")
    public String getUser() {


        return "Hello!";
    }


}
先测试一下能不能正常访问
启动服务器
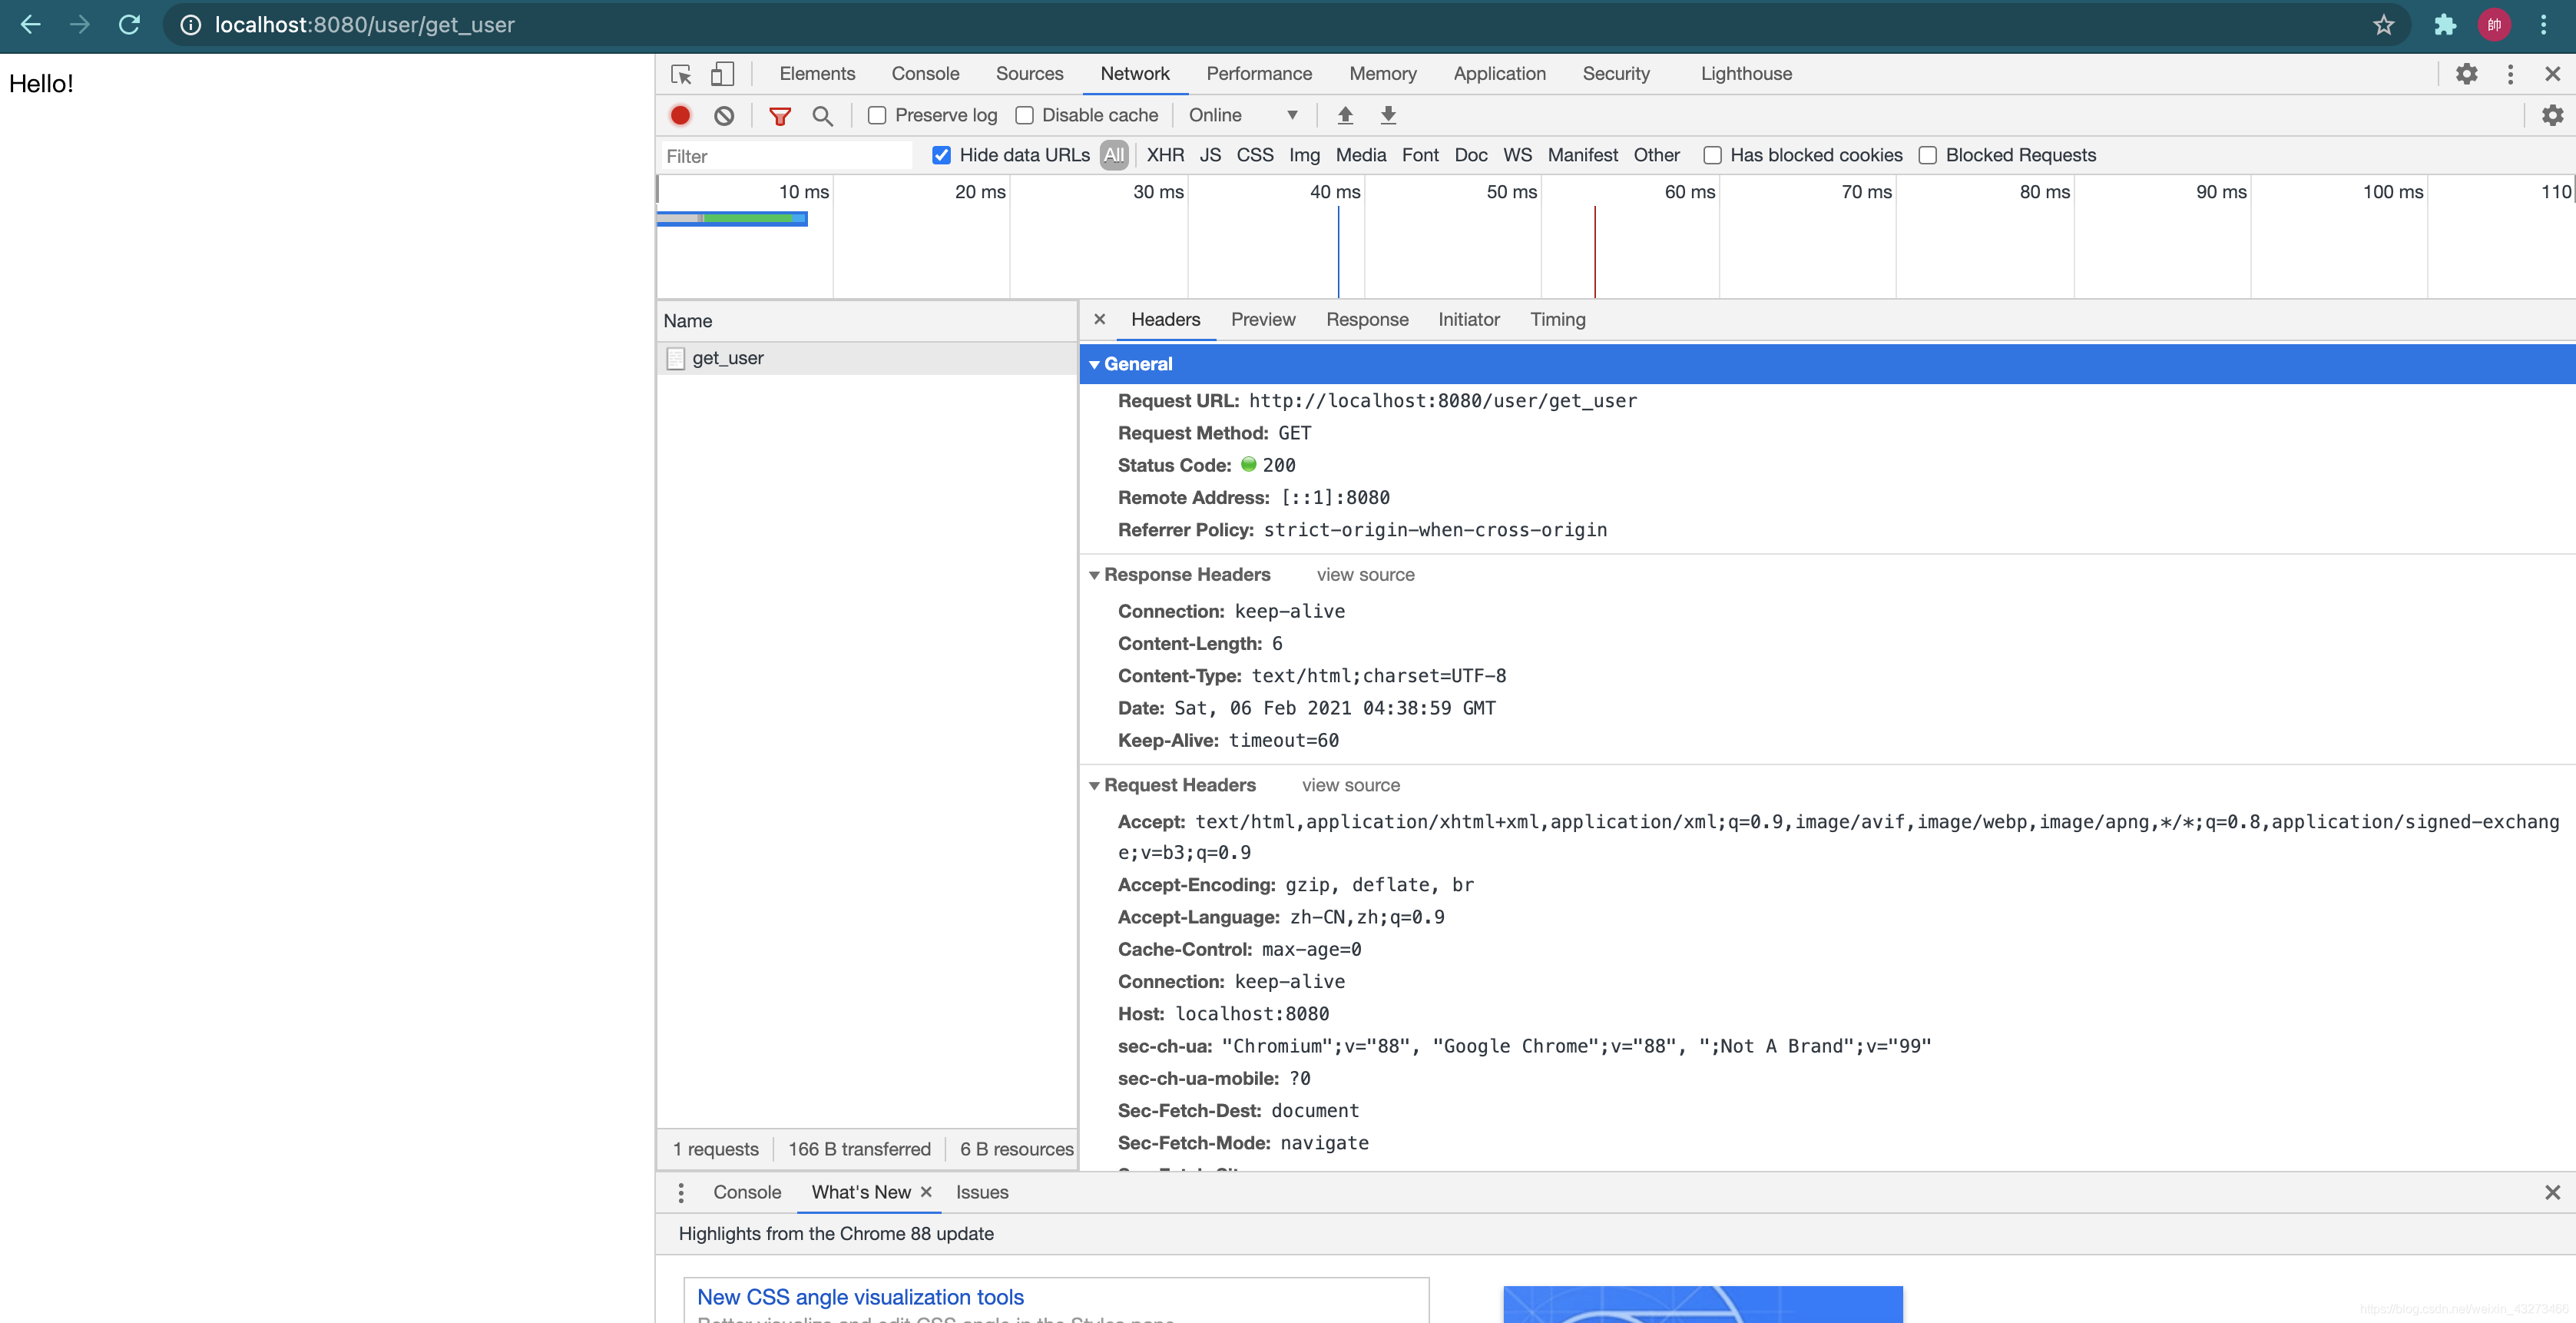
OK!正常访问
3,编写实体类
package com.stu.demo.domain;

public class user {


    private String name;
    private Integer age;
    private String sex;


    public String getName() {


        return name;
    }

    public void setName(String name) {


        this.name = name;
    }

    public Integer getAge() {


        return age;
    }

    public void setAge(Integer age) {


        this.age = age;
    }

    public String getSex() {


        return sex;
    }

    public void setSex(String sex) {


        this.sex = sex;
    }

    public user() {


    }

    public user(String name, Integer age, String sex) {


        this.name = name;
        this.age = age;
        this.sex = sex;
    }
}
编写DTO传递数据
package com.stu.demo.domain;

public class ResponseDTO {


    private boolean success;
    private String message;
    private Object data;

    public boolean isSuccess() {


        return success;
    }

    public void setSuccess(boolean success) {


        this.success = success;
    }

    public String getMessage() {


        return message;
    }

    public void setMessage(String message) {


        this.message = message;
    }

    public Object getData() {


        return data;
    }

    public void setData(Object data) {


        this.data = data;
    }

    public ResponseDTO() {


    }

    public ResponseDTO(boolean success, String message, Object data) {


        this.success = success;
        this.message = message;
        this.data = data;
    }
}
继续编写controller
package com.stu.demo.controller;


import com.stu.demo.domain.ResponseDTO;
import com.stu.demo.domain.user;
import org.springframework.stereotype.Controller;
import org.springframework.web.bind.annotation.GetMapping;
import org.springframework.web.bind.annotation.RequestMapping;
import org.springframework.web.bind.annotation.ResponseBody;

@Controller
@ResponseBody
@RequestMapping("/user")
public class userController {


    @GetMapping("/get_user")
    public ResponseDTO getUser() {


        ResponseDTO dto = new ResponseDTO();

        user user = new user();
        user.setName("刚子");
        user.setAge(20);
        user.setSex("女");

        dto.setSuccess(true);
        dto.setData(user);

        return dto;
    }


}
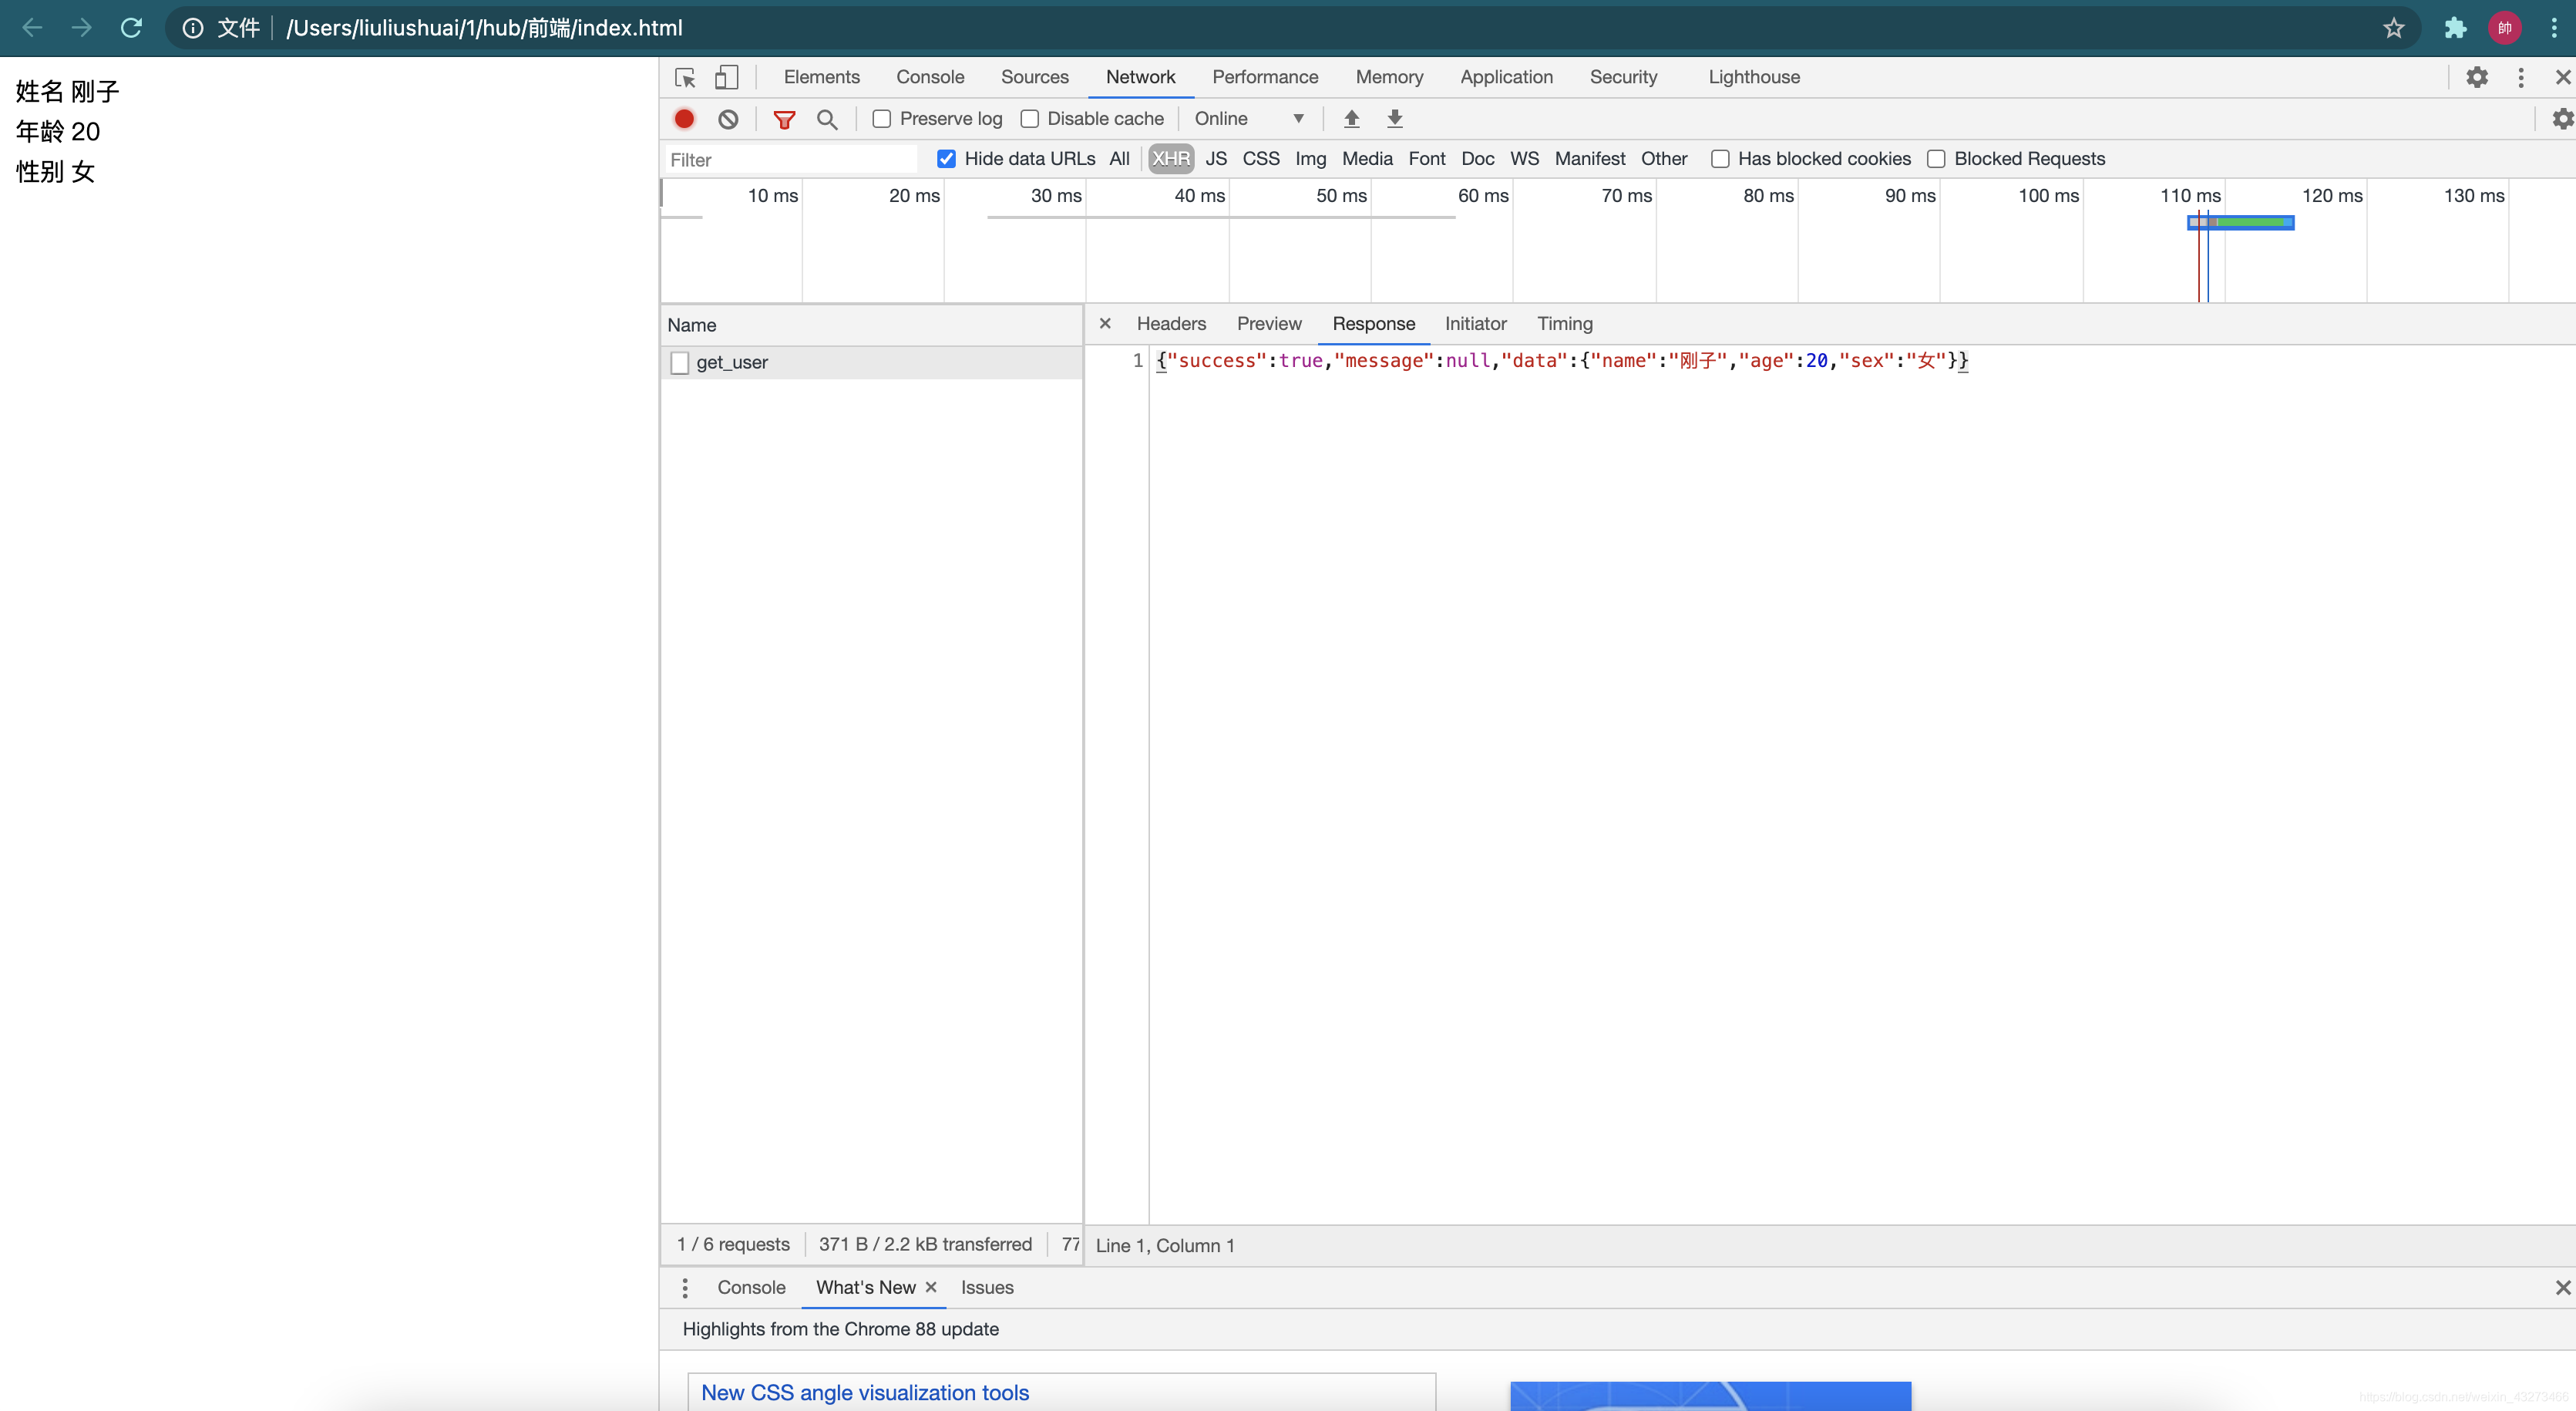
重启服务器访问是否有小狗
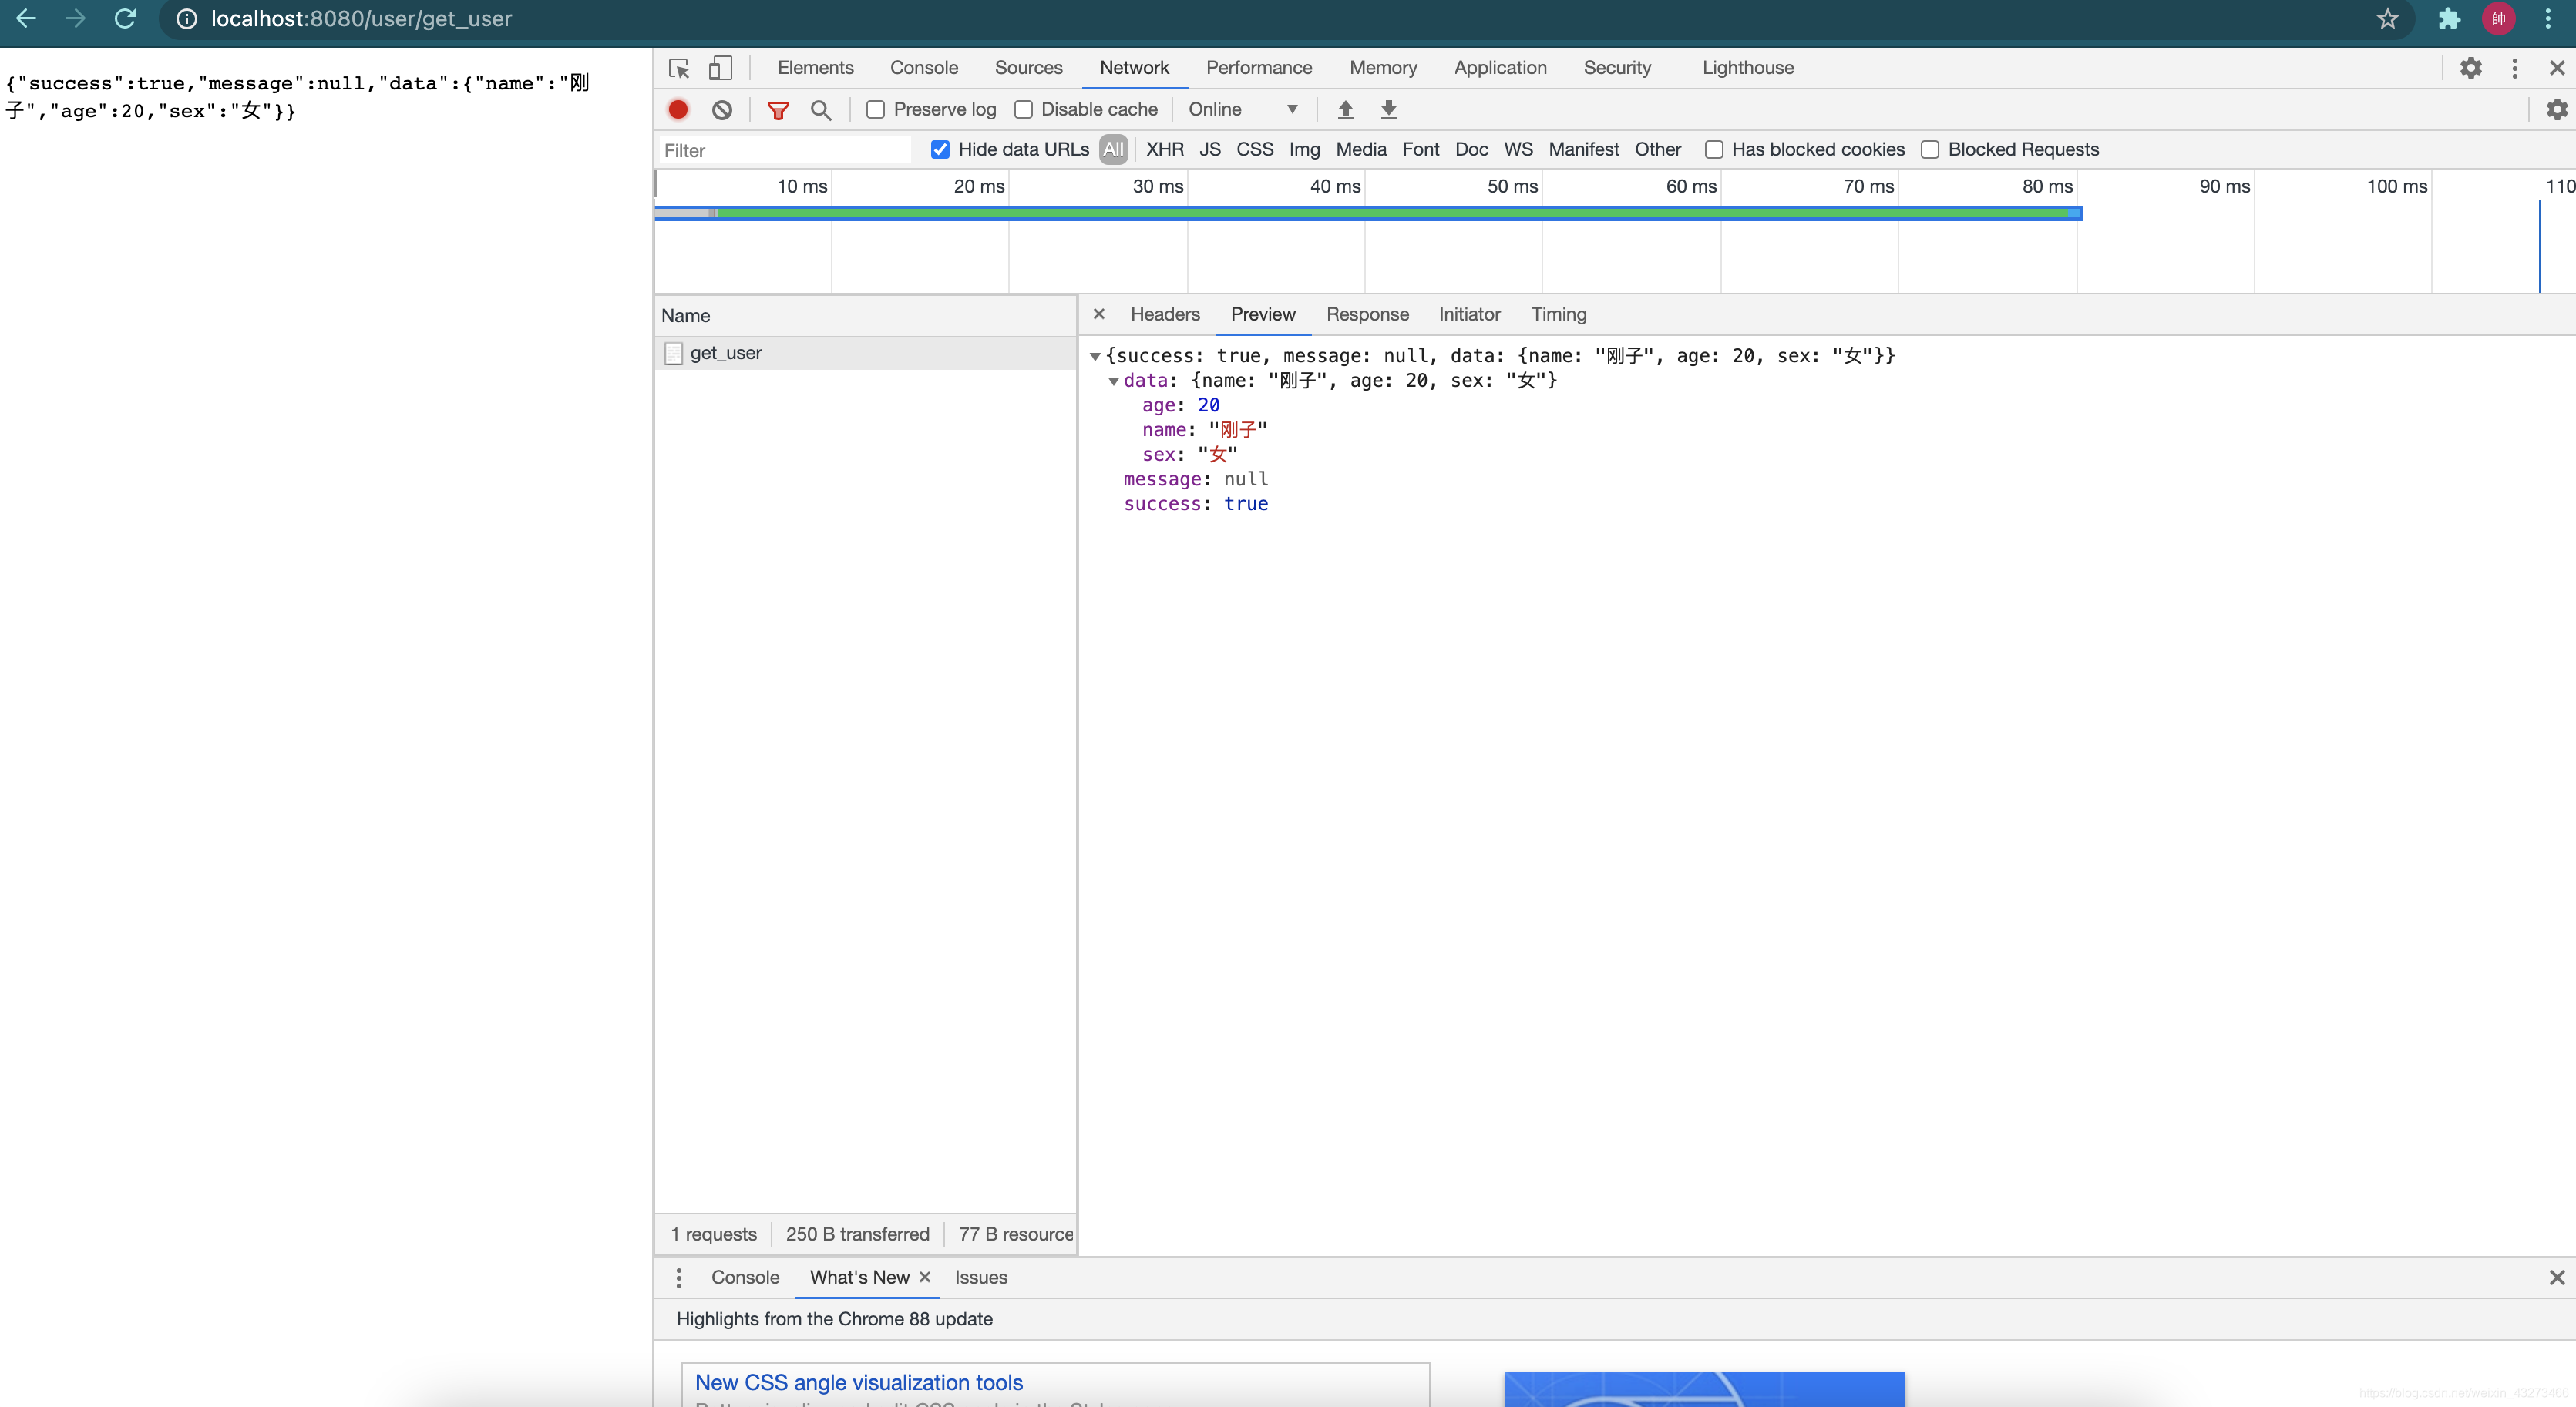
耶!没毛病继续
二、前端操作
1.编写配置文件.js
代码如下(示例):文件名:config.js
var admin = axios.create({


    baseURL:'http://192.168.1.1:8080'//这里填写你要接受数据的服务器的地址/端口
});
代码如下(示例):文件名:common.js
function check(res){


    //对获取到json数据进行格式上的检查
    if (!res.data.hasOwnProperty('success')  || !res.data.hasOwnProperty('message') ||!res.data.hasOwnProperty('data'))return false;
    if (typeof res.data.data !== 'object') return false;
    return true;
}
2.前端操作
编写html
代码如下(示例):首先引入这两个
    <script src="https://cdn.jsdelivr.net/npm/vue/dist/vue.js"></script>
    <script src="https://cdn.staticfile.org/axios/0.18.0/axios.min.js"></script>
再引入
    <script src="config.js"></script>
    <script src="common.js"></script>
写个table
id为“get_user”与后端方法名一致
<table border="1" id="get_user">
    <tr>
        <td>邮箱</td>
        <td>{

   {info.name}}</td>
    </tr>
    <tr>
        <td>手机号</td>
        <td>{

   {info.age}}</td>
    </tr>
    <tr>
        <td>姓名</td>
        <td>{

   {info.sex}}</td>
    </tr>
</table>
下方再写个script
<script>
var vm = new Vue({


        el: '#get_user',
        data: {


            info: {

    }
        },
        mounted() {


                admin
                    .get('user/get_user')
                    .then(response => {


                       if (!check(response)) alert("获取用户信息时后他数据返回异常");
                       if (response.data.success === false) alert(response.data.message);
                       this.info = response.data.data;
                    })
                    .catch(function (error){

       //请求失败处理
                        console.log(error)
                    });
            }
    });
</script>
然后打开该html页面
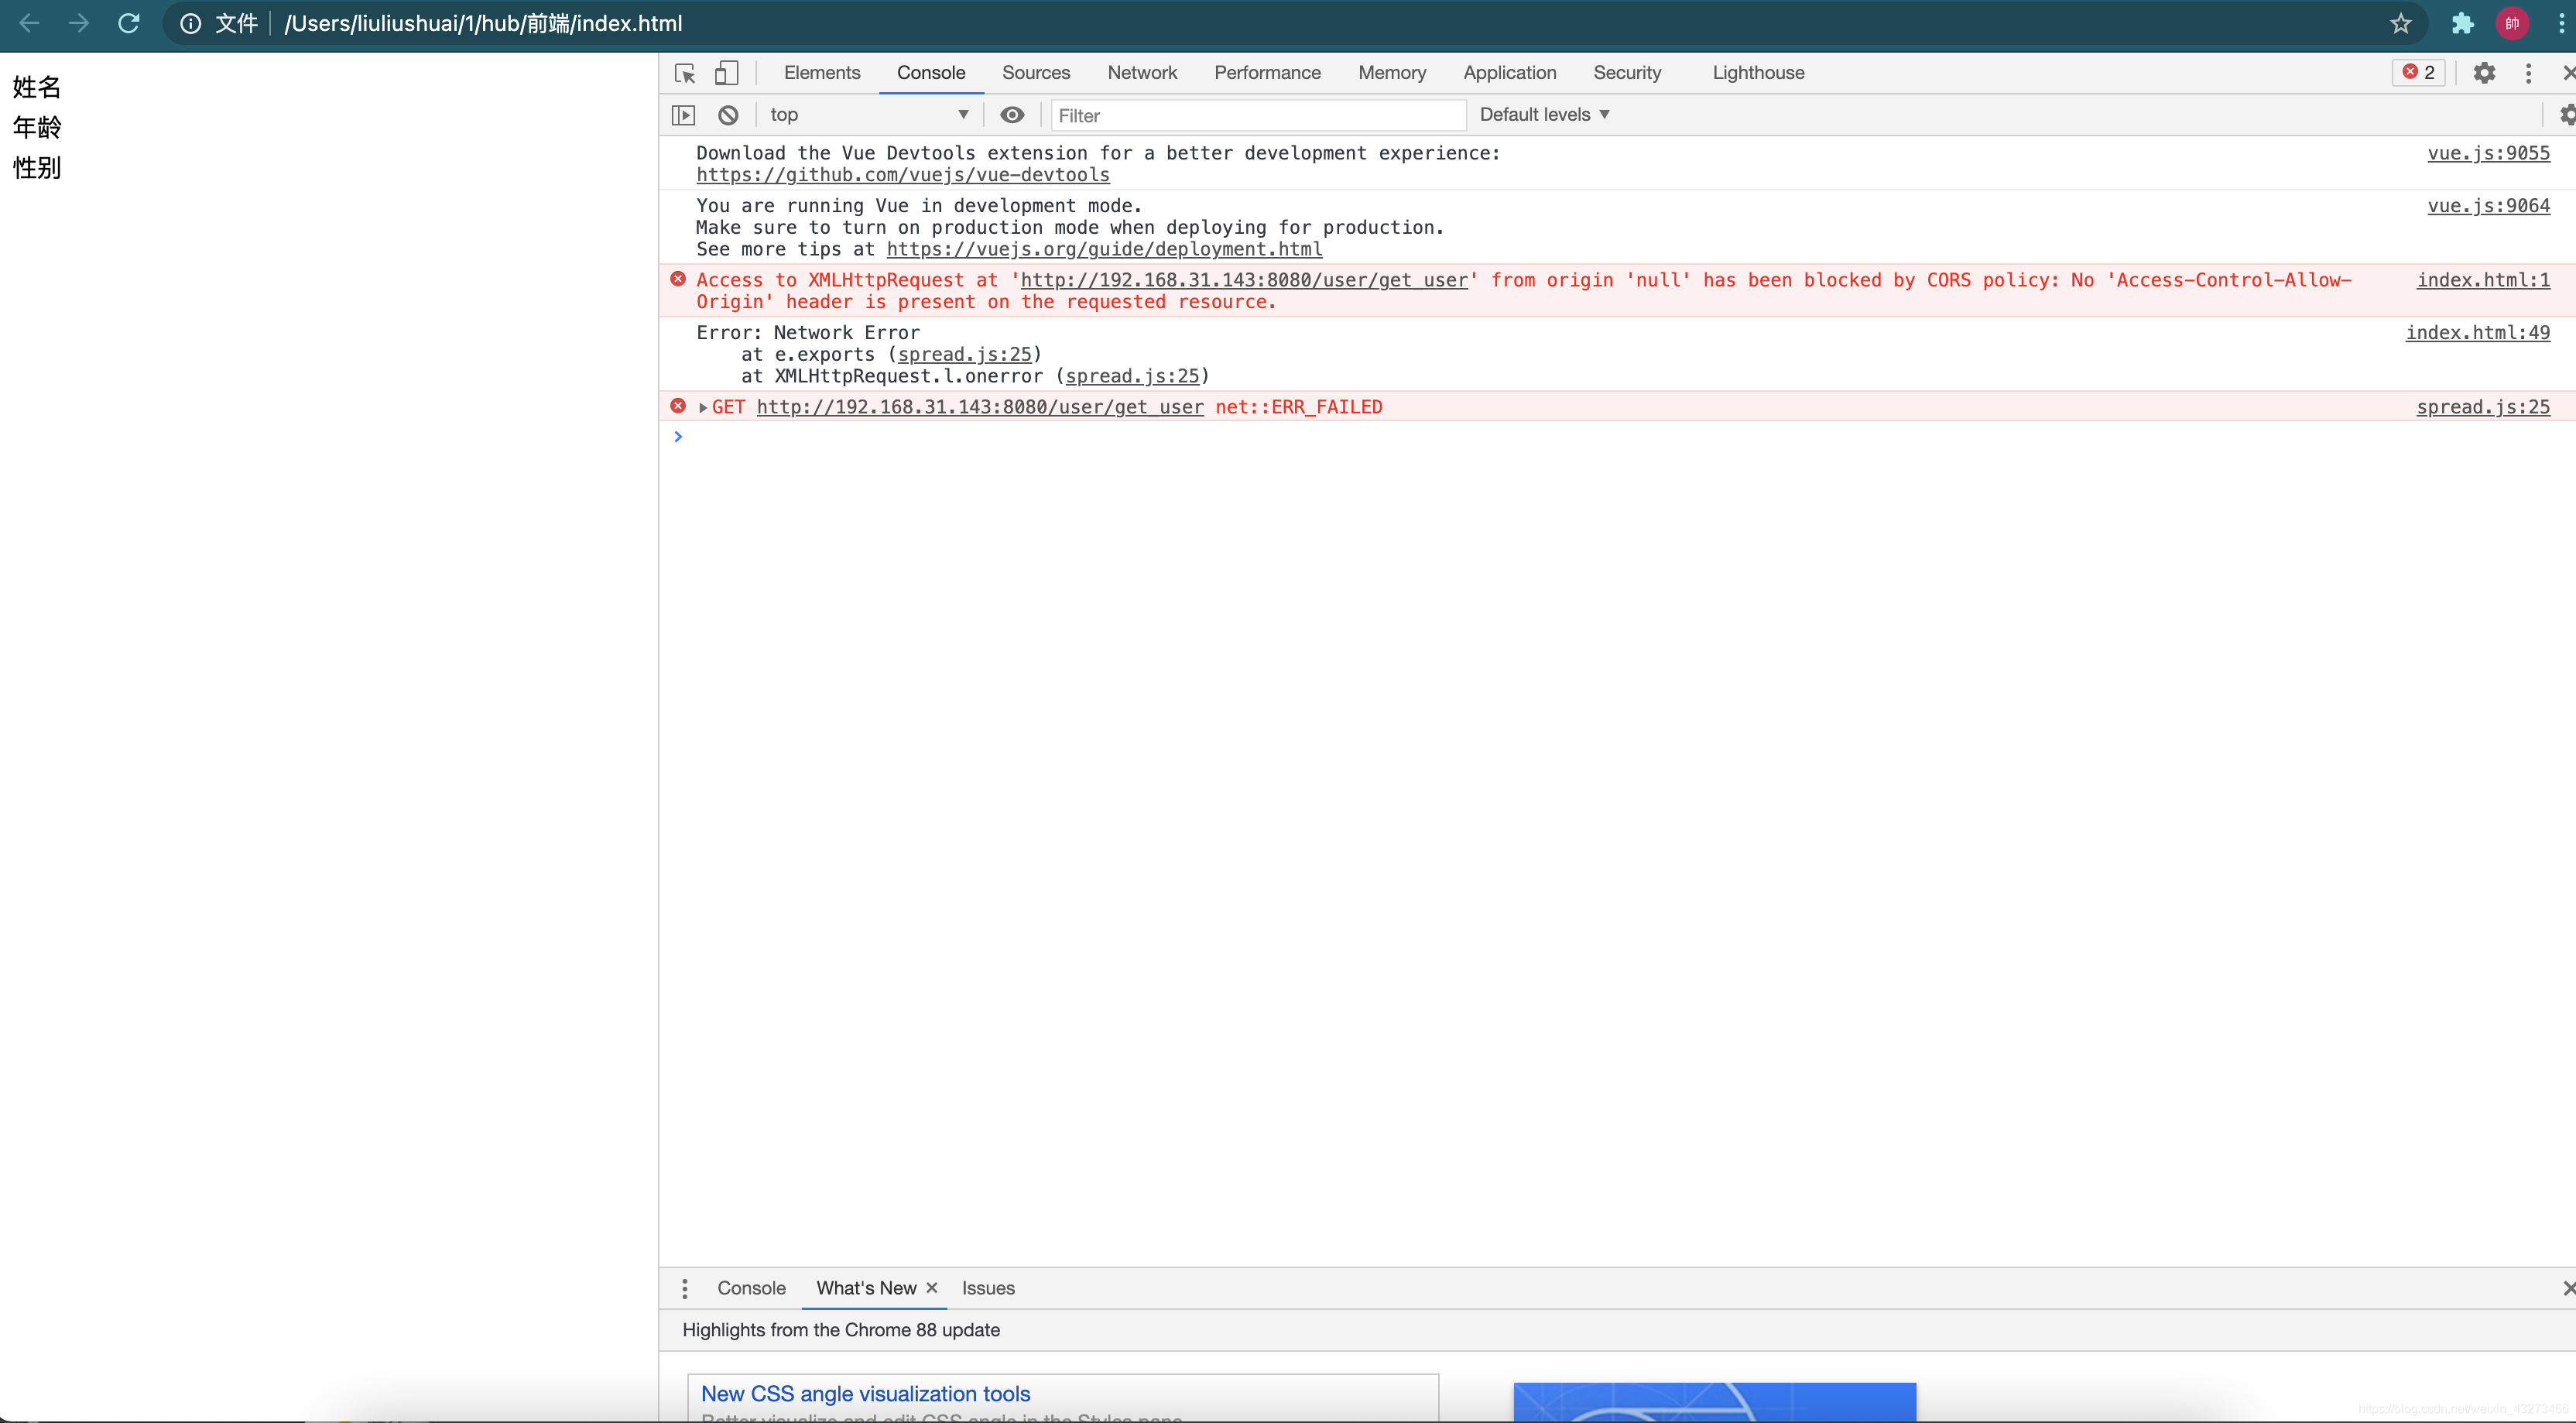
跨域了,
现在来解决跨域问题
编写配置类
package com.stu.demo.config;

import org.springframework.context.annotation.Bean;
import org.springframework.context.annotation.Configuration;
import org.springframework.web.cors.CorsConfiguration;
import org.springframework.web.cors.UrlBasedCorsConfigurationSource;
import org.springframework.web.filter.CorsFilter;

@Configuration
public class CorsConfig {


    @Bean
    public CorsFilter corsFilter() {


        UrlBasedCorsConfigurationSource source = new UrlBasedCorsConfigurationSource();
        source.registerCorsConfiguration("/**", buildConfig());
        return new CorsFilter(source);
    }

    private CorsConfiguration buildConfig() {


        CorsConfiguration corsConfiguration = new CorsConfiguration();
        // 1允许任何域名使用
        corsConfiguration.addAllowedOrigin("*");
        // 2允许任何头
        corsConfiguration.addAllowedHeader("*");
        // 3允许任何方法(post、get等)
        corsConfiguration.addAllowedMethod("*");
        return corsConfiguration;
    }
}
OK!搞定