Webot 与ROS通讯
1 Webot Ubuntu客户端与ROS通讯
1.1 配置webots_ros包
Step1: 在github上下载webot代码 :https://github.com/cyberbotics/webots (这个文件大约在4GB左右,如果在github上下载失败可以在百度网盘中下载)
Step2: 在目录 projects/languages/ros 找到 webots_ros 目录,将整个 webots_ros 目录拷贝到你自己的ros工作空间中。
Step3: 将目录 projects/default/controllers/ros/include 目录下的 srv 和 msg 文件夹拷贝到 catkin_ws/src/webots_ros/ 中
1.2 启动webots_ros包
Step1: 编译工作空间
cd catkin_ws
catkin_make
Step2:新建终端启动
roscore
Step3:在客服端中加载模型
在ubuntu客户端中打开新的世界模型选中的 pioneer3at.wbt 模型,确保加载模型以后界面最下面显示已经连接到ROS. 这时候小车应该是静止的状态


Step4:启动节点
返回ROS环境中,新建一个终端
source devel/setup.bash
rosrun webots_ros pioneer3at
可以看到这时候小车已经动起来了。我们使用rostopic llist 可以看到webot发布的话题:


1.3 gmapping建图测试
接下来我们利用仿真环境输出的激光雷达数据建立一个2D的地图:
step1: 新建一个终端 启动ros
roscore
step 2: 启动webot客户端
step 3: 新建一个终端
source devel/setup.bash
rosrun webots_ros pioneer3at
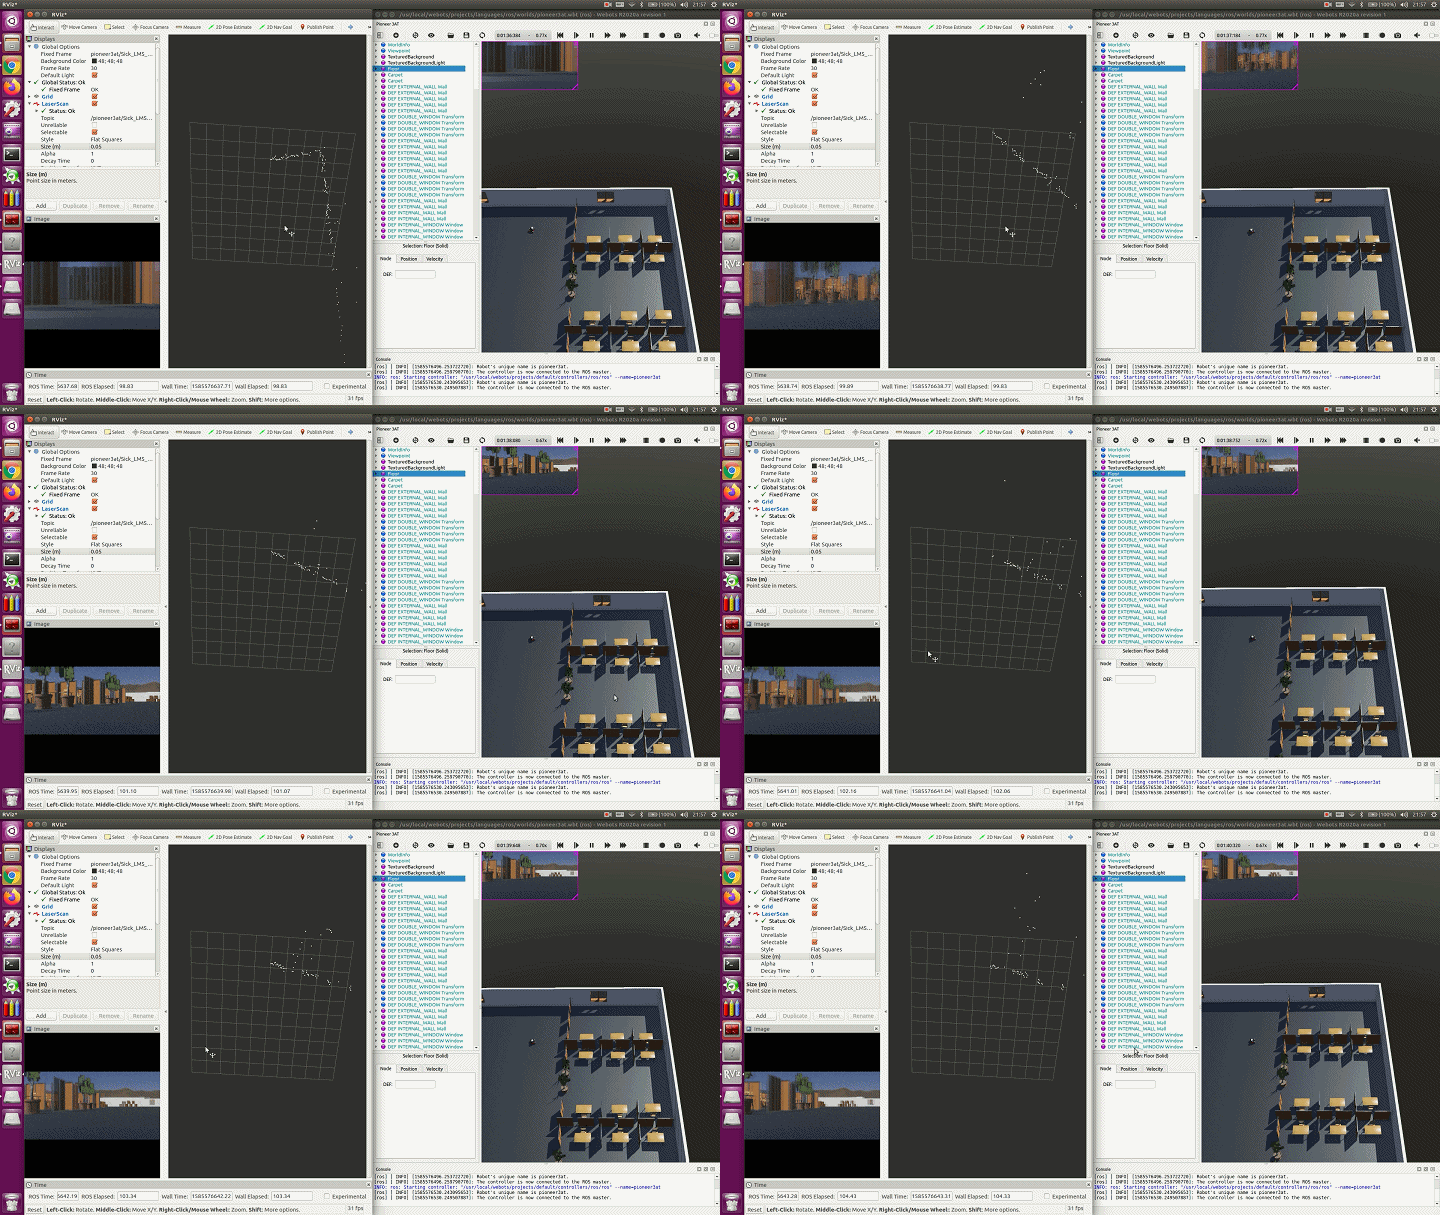
step 4: 启动gmapping节点,并订阅激光雷达话题(/pioneer3at/Sick_LMS_291/laser_scan/layer0)
rosrun gmapping slam_gmapping scan:=/pioneer3at/Sick_LMS_291/laser_scan/layer0 _xmax:=30 _xmin:=-30 _ymax:=30 _ymin:=-30 _delta:=0.2
在RVIZ中添加地图的topic就可以看到以下现象了

1.4 键盘遥控webot机器人
新建一个终端 ,注意这里需要设置环境变量[4]
source devel/setup.bash
export WEBOTS_HOME=/usr/local/webots
roslaunch webots_ros keyboard_teleop.launch
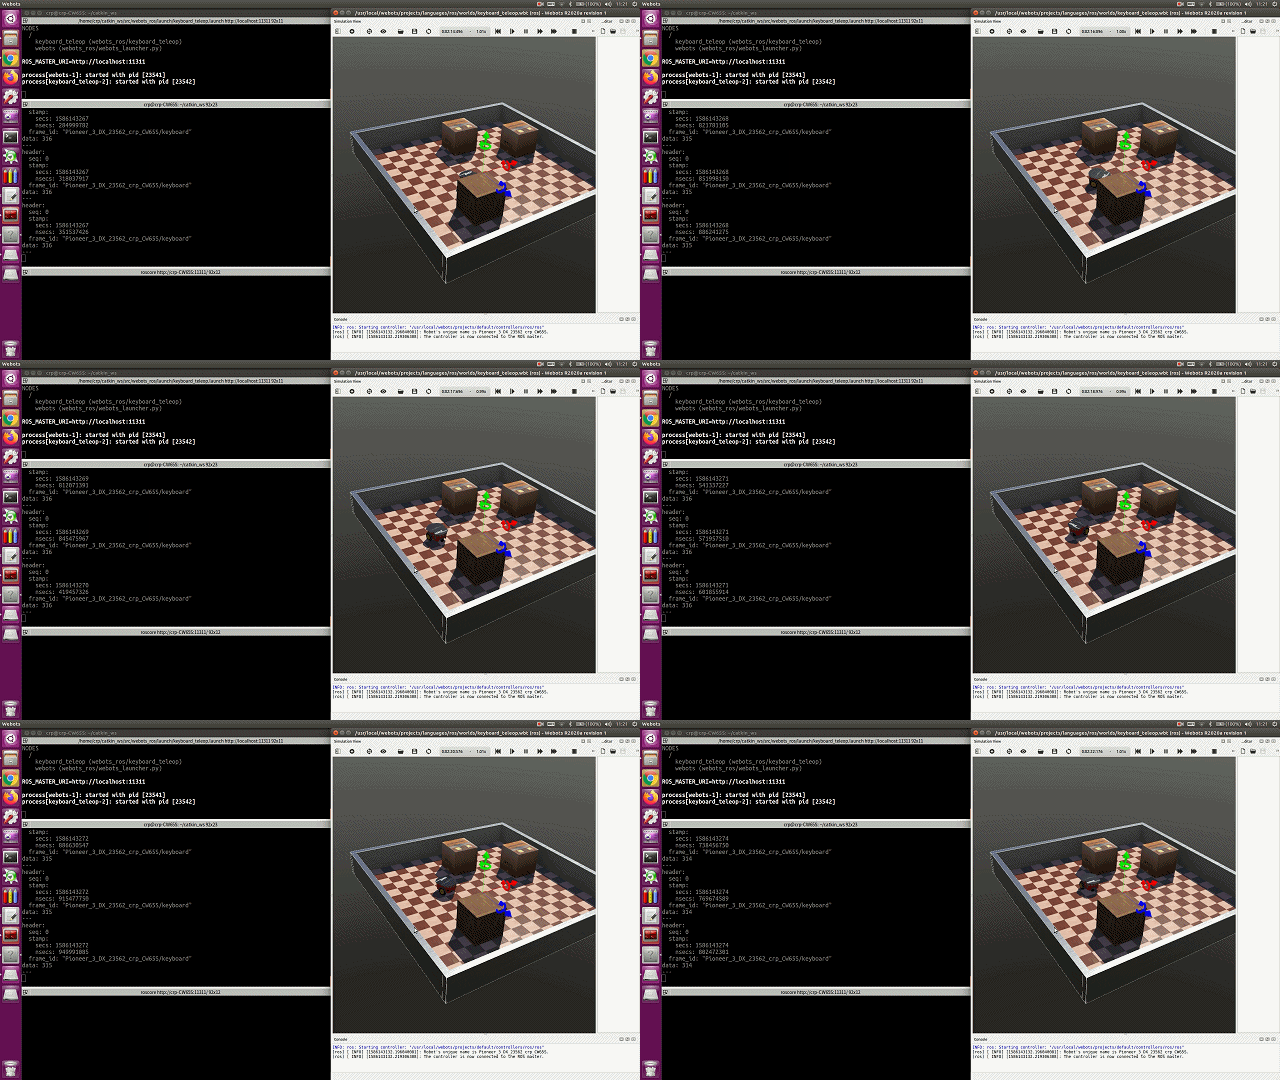
通过这个命令会自动启动webots客户端,然后用鼠标选中webots界面,这时候利用键盘上的方向键就可以控制机器人前后左右移动了。而键盘的数据会发送在一个名为 “/XXX/keyboard/key” 的话题上。

2 Webot Windows客户端与ROS通讯
Webots设备之间共享的ROS服务, 在ubuntu上配置webots_ros 代码,如前面的 step1-step5。
Step1:在github上下载webot代码 :https://github.com/cyberbotics/webots (这个文件大约在4GB左右,如果在github上下载失败可以在百度网盘中下载)
Step2: 在目录 projects/languages/ros 找到 webots_ros 目录,将整个 webots_ros 目录拷贝到你自己的ros工作空间中。
Step3: 将目录 projects/default/controllers/ros/include 目录下的 srv 和 msg 文件夹拷贝到 catkin_ws/src/webots_ros/ 中
Step4: 编译工作空间
cd catkin_ws
catkin_make
Step5:在客服端中加载模型
在windows客户端中打开新的世界模型(地址:C:\Program Files\Webots\projects\languages\ros\worlds) 中的 pioneer3at.wbt 模型

Step6:启动节点
返回ROS环境中,新建一个终端
source devel/setup.bash
rosrun webots_ros pioneer3at
这里注意:ROS中启动的节点和我们加载的模型的名字是一样的,比如在上面的情况中,我们加载的模型名称是 pioneer3at ,我们使用的ROS启动命令为 rosrun webots_ros [node_name]
step7: 修改环境中的ROS主机地址:
修改控制器,选择ros(需要自行从ubuntu端拷贝)或者ros_python,修改控制器中的主机地址;

3 参考资料
[1] http://docs.ros.org/kinetic/api/webots_ros/html/index-msg.html
[2] webots手册:https://www.cyberbotics.com/doc/reference/index
[3] webots 用户指南:https://www.cyberbotics.com/doc/guide/using-ros
[4] https://blog.csdn.net/weixin_38172545/article/details/105212645
上一篇:Webot机器人仿真平台(一) 系统安装 下一篇:Webot机器人仿真平台(三) 新建环境模型
如果大家觉得文章对你有所帮助,麻烦大家帮忙点个赞。O(∩_∩)O
欢迎大家在评论区交流讨论([email protected])