方法一:以一定规律命名的图像,
通过stringstream由int型变换为string型,
对图像进行读取;

// 批量处理图片.cpp : 定义控制台应用程序的入口点。
//

#include "stdafx.h"
#include <opencv2/opencv.hpp>
#include <opencv2\imgproc\imgproc.hpp>
#include <opencv2\core\core.hpp>
#include <opencv2\highgui\highgui.hpp>
#include <opencv2\legacy\legacy.hpp>
#include <iostream>
#include <fstream>
#include <vector>
#include <list>
#include <iterator>
#include <cstdio>
#include <string>

using namespace cv;
using namespace std;

typedef unsigned int uint;


//将要读取的图片路径存储在fileList中
vector<string> fileList;
void initFileList(string dir, int first, int last){
	fileList.clear();
	for(int cur = first; cur <= last; cur++){
		//string str_file = dir + "/" + to_string(cur) + ".jpg";
		string str_file = dir + "/" + to_string((long long)cur) + ".jpg";
		fileList.push_back(str_file);
	}
}

//将要读取的图片路径存储在fileList2中
vector<string> fileList2;
void initFileList2(string dir, int first, int last){
	fileList2.clear();
	for(int cur = first; cur <= last; cur++){
		//string str_file = dir + "/" + to_string(cur) + ".jpg";
		string str_file = dir + "/" + to_string((long long)cur) + ".png";
		fileList2.push_back(str_file);
	}
}


int main()
{
	initFileList("src_image", 1, 4);
	//将要读取的图片路径存储在fileList中
	initFileList2("dst_image", 1, 4);
	//将要保存的图片路径存储在fileList2中
	//vector<string> fileList;
	for(uint i = 0; i < fileList.size();++i)
	{
		Mat rawImg = imread(fileList[i]);	//原始图像
		if(rawImg.empty())
		{
			std::cout<<"the Image is empty..."<<fileList[i]<<endl;
			continue;
		}

		Mat dstMat;
		if(rawImg.type() == CV_8UC3)
			cvtColor(rawImg, dstMat, CV_BGR2GRAY);  //转为灰度图
		else
			dstMat = rawImg.clone();
		imwrite(fileList2[i], dstMat);
	}
	return 0;
}
方法二:以文本文件的格式批量读取图像:
如以.txt格式,则.txt的内容如下:
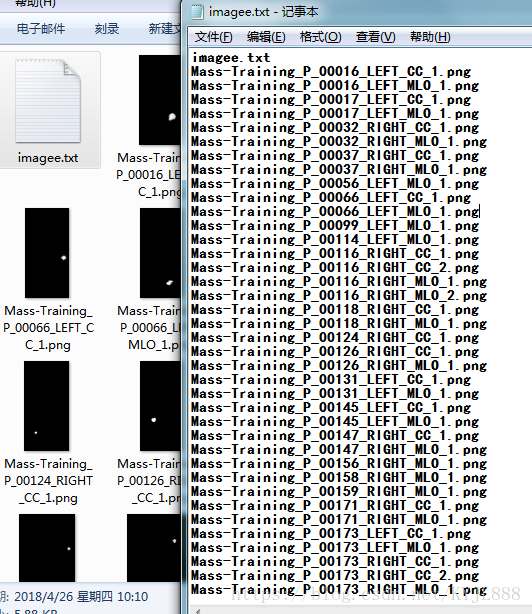
【注】:每行为一个图像名;
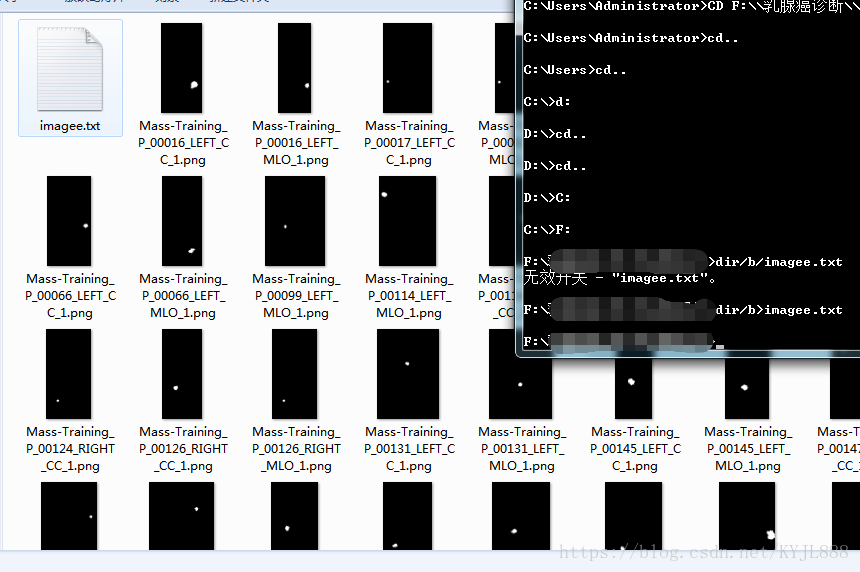
1.生成图片描述文件
对于有多幅图像的文件夹,首先生成txt文件,保存图片路径。
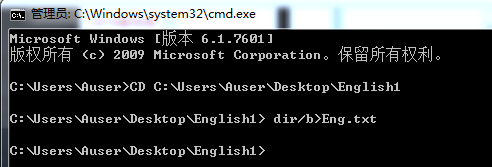
利用cmd进入dos
https://jingyan.baidu.com/article/6b182309a8e6bcba59e15943.html
Windows键+R打开运行 输入cmd敲回车,打开命令提示符程序

利用路径进入指定文件夹后生成txt文件

然后可以利用txt列表读入图像并做处理。
处理图像数据集时通常要读写整个文件夹里的图像,这时就会用的图像的批量读写。
比较常用的方法就是生成一个包含所有图像的txt列表
生成txt文件的方法如下:
2.通过TXT批量处理图片
然后可以利用txt列表读入图像并做处理。
参考https://www.cnblogs.com/klitech/p/5955500.html
// 批量处理图片2.cpp : 定义控制台应用程序的入口点。
//
#include "stdafx.h"

#include "opencv2/opencv.hpp"
#include "iostream"
#include <fstream>
#include <windows.h>
#include <string>

using namespace std;
using namespace cv;

int main()
{
	Mat image;
	string ImgName;
	string savefile;
	int count = 1;
	ifstream fin("E:/opencv/opencvlx/批量处理图片2/预处理图片/imagelist.txt");//打开原始样本图片文件列表
	while (getline(fin, ImgName)) //逐行读取文件列表
	{

		cout << "processing:" << ImgName << endl;
		ImgName = "E:/opencv/opencvlx/批量处理图片2/预处理图片/" + ImgName;
		savefile = "E:/opencv/opencvlx/批量处理图片2/预处理图片/saved/" + to_string((long long)count) + ".jpg"; //指定存储路径
			image = imread(ImgName);//读取图片
		//imshow("1", image);
		if (image.data == 0)
		{
			printf("[error] 没有图片\n");
			return -1;
		}
		count++;
		imwrite(savefile, image);

	}

	waitKey(600000); //存储图像
	return 0;
}
#include<opencv2/opencv.hpp>
#include<iostream>
#include<time.h>
#include<fstream>

using namespace std;
using namespace cv;

void main()
{
	ifstream file("C:/Users/Administrator/Desktop/date/MIT/MIT人脸库/faces/face.txt");

	int img_index = 0;

	while (!file.eof())
	{
		char txt_cont[200];
		file.getline(txt_cont,200);

		char img_file[200],save_file[200];

		sprintf(img_file, "C:/Users/Administrator/Desktop/date/MIT/MIT人脸库/faces/%s", txt_cont);
		sprintf(save_file, "C:/Users/Administrator/Desktop/date/MIT/MIT人脸库/save/%d.jpg", img_index);

		Mat src = imread(img_file);

		img_index++;

		imwrite(save_file,src);
	}

}
方法三:
利用Directory类实现文件夹中特定格式图像的遍历,Directory的头文件是windows.h。
参考https://blog.csdn.net/hei_ya/article/details/51387624
// 批量图片处理3.cpp : 定义控制台应用程序的入口点。
//
#include "stdafx.h"
#include<opencv2/opencv.hpp>
#include<iostream>
#include<vector>
#include<string>
#include <windows.h>
using namespace std;
using namespace cv;
void main()
{
Directory dir;
//string path1 = "C:\\Users\\Administrator\\Desktop\\date\\MIT\\MIT人脸库\\faces";
string path1 = "E:\\opencv\\opencvlx\\批量图片处理3\\预处理图片";
string exten1 = "*.png";
vector<string> filenames = dir.GetListFiles(path1, exten1, false);
int size = filenames.size();
for (int i = 0; i < size;i++)
{
cout << filenames[i] << endl;
}
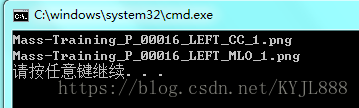
}
图像批量读取——规则
在进行图片序列处理时,我们常常需要读取文件夹下的每一个图片,然后再进行分析处理,因此需要对文件名连续及无规则情况分开讨论。对于文件名连续的情况,文件读取就简单得多,可以利用sprintf函数实现在窗口中连续读取同一文件夹下的图片序列参考https://www.cnblogs.com/zhuwei1988/p/5746637.html
利用sprintf将对应的图像文件路径转换为char*,在这种文件名连续的时候可以选中文件夹中的所有图像文件,然后用鼠标右键选定并重命名,键入1后,文件夹的所有文件自动命名为1 (k).jpg,其中k取值为1,2……然后就可以根据本方法进行批量读取了。
// 图片批量处理4.cpp : 定义控制台应用程序的入口点。
//

#include "stdafx.h"

#include <iostream>
#include <stdio.h>
#include <stdlib.h>
#include <opencv2/highgui/highgui.hpp>
#include <opencv2/imgproc/imgproc.hpp>
using namespace cv;
using namespace std;
int main()
{
	// 定义相关参数
	const int num = 4;
	char fileName[50];
	char windowName[50];
	cv::Mat srcImage;
	for (int i = 1; i <= num; i++)
	{
		// sprintf读入指定路径下图片序列
		sprintf_s(fileName, "..\\images\\1 (%d).jpg", i);
		sprintf_s(windowName, "NO%d", i);
		// 按照图像文件名读取
		srcImage = cv::imread(fileName);
		if (!srcImage.data)
		{
			std::cout << "No data!" << std::endl;
			return -1;
		}
		cv::namedWindow(windowName);
		cv::imshow(windowName, srcImage);
		std::cout << "NO: " << i << std::endl;
		//cv::waitKey(0);
		/* 该处可以添加处理步骤 */
	}
	cv::waitKey(0);
	return 0;
}

图像批量读取——无规则
文件名无规则的情况读取
参考 -没有尝试-https://www.cnblogs.com/zhuwei1988/p/5746637.html
// 图片批量处理5.cpp : 定义控制台应用程序的入口点。
//

#include "stdafx.h"
// 来源:《OpenCV图像处理编程实例》
// 博客:http://blog.csdn.net/zhuwei1988
// 更新:2016-8-1
// 说明:版权所有,引用或摘录请联系作者,并按照上面格式注明出处,谢谢。//
#include <opencv2/core/core.hpp>
#include <opencv2/highgui/highgui.hpp>
#include <opencv2/imgproc/imgproc.hpp>
#include <iostream>
#include <stdio.h>
#include <windows.h>
using namespace std;
// LPCWSTR转string
std::string WChar2Ansi(LPCWSTR pwszSrc)
{
    int nLen = WideCharToMultiByte(CP_ACP, 0, pwszSrc, -1, NULL, 0, NULL, NULL);

    if (nLen <= 0) return std::string("");

    char* pszDst = new char[nLen];
    if (NULL == pszDst) return std::string("");

    WideCharToMultiByte(CP_ACP, 0, pwszSrc, -1, pszDst, nLen, NULL, NULL);
    pszDst[nLen - 1] = 0;

    std::string strTemp(pszDst);
    delete[] pszDst;

    return strTemp;
}

// 利用winWIN32_FIND_DATA读取文件下的文件名
void readImgNamefromFile(char* fileName, vector <string> &imgNames)
{
    // vector清零 参数设置
    imgNames.clear();
    WIN32_FIND_DATA file;
    int i = 0;
    char tempFilePath[MAX_PATH + 1];
    char tempFileName[50];
    // 转换输入文件名
    sprintf_s(tempFilePath, "%s/*", fileName);
    // 多字节转换
    WCHAR   wstr[MAX_PATH] = { 0 };
    MultiByteToWideChar(CP_ACP, 0, tempFilePath, -1, wstr, sizeof(wstr));
    // 查找该文件待操作文件的相关属性读取到WIN32_FIND_DATA
    HANDLE handle = FindFirstFile(wstr, &file);
    if (handle != INVALID_HANDLE_VALUE)
    {
        FindNextFile(handle, &file);
        FindNextFile(handle, &file);
        // 循环遍历得到文件夹的所有文件名
利用winWIN32_FIND_DATA读取文件夹下文件的思路:首先转换文件夹名,利用FindFirstFile获取当前文件夹名的句柄;然后遍历当前文件夹名下的所有文件,将得到的所有文件名称转换后赋值于图像文件向量;最后遍历完当前文件下的所有文件,生成相应图像文件索引名称,用于文件夹中所有图像文件的读取,在读取单个图像文件后可进行相关的图像处理操作。