1.引入依赖
<dependency>
    <groupId>org.springframework.boot</groupId>
    <artifactId>spring-boot-starter-thymeleaf</artifactId>
</dependency>
2.配置视图解析器
Thymeleaf默认开启了页面缓存,在开发的时候,应该关闭缓存.
具体可以配置的参数可以查看 org.springframework.boot.autoconfigure.thymeleaf.ThymeleafProperties这个类,上面的配置实际上就是注入到该类中的属性值.
application.yml

spring:
  thymeleaf:
    prefix:classpath:/templates/
    suffix:.html
    mode:HTML5
    encoding:UTF-8
    content-type:text/html
#   开发时关闭缓存,不然没法看到实时页面
    cache:false
3.编写HTML
首先, 引入thymeleaf命名空间 :
<html xmlns:th="http://www.thymeleaf.org" >完整代码如下:
src/main/resources/templates/userList.html
<!DOCTYPE html>
<!-- 引入thymeleaf命名空间 -->
<html xmlns="http://www.w3.org/1999/xhtml"
xmlns:th="http://www.thymeleaf.org"
xmlns:sec="http://www.thymeleaf.org/thymeleaf-extras-springsecurity3">
<head>
<title>User List</title>
</head>
<body>
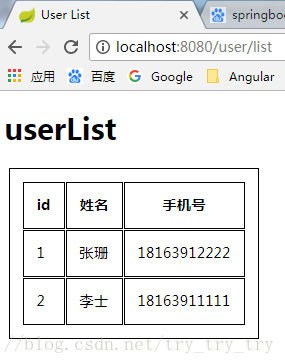
<h1 th:inline="text">userList</h1>
<table>
<thead>
<th>id</th>
<th>姓名</th>
<th>手机号</th>
</thead>
<tbody>
<tr th:each="user,iterStat:${userList}">
<td th:text="${user.userId}"></td>
<td th:text="${user.nickname}"></td>
<td th:text="${user.phoneNumber}"></td>
</tr>
</tbody>
</table>
</body>
</html>
4.Controller
@Controller
@RequestMapping(value="/user")
public class UserController {

    @Resource
    UserService userService;

    @RequestMapping(value="/list",method=RequestMethod.GET)
    public String list(Map<String,Object> map){
        map.put("userList", userService.getUserList());
        return "userList";
    }
}