Druid是阿里研发的数据源 自带监控功能 建议使用!
在pom文件中引入依赖
 <!-- https://mvnrepository.com/artifact/com.alibaba/druid -->
        <dependency>
            <groupId>com.alibaba</groupId>
            <artifactId>druid</artifactId>
            <version>1.1.21</version>
        </dependency>
        <!-- 因为druidj中配置了lo4j的日志功能,所以需要引入log4j -->
        <dependency>
            <groupId>log4j</groupId>
            <artifactId>log4j</artifactId>
            <version>1.2.17</version>
        </dependency>
在application.yml文件中配置我们的数据源
server:
port: 8888
spring:
datasource:
url: jdbc:mysql://localhost:3306/mybatis?useUnicode=true&&useSSL=false&&characterEncoding=UTF-8&&serverTimezone=GMT%2B8
driver-class-name: com.mysql.jdbc.Driver
username: root
password: 123456
type: com.alibaba.druid.pool.DruidDataSource
initialSize: 5
minIdle: 5
maxActive: 20
maxWait: 60000
timeBetweenEvictionRunsMillis: 60000
minEvictableIdleTimeMillis: 300000
validationQuery: SELECT 1 FROM DUAL
testWhileIdle: true
testOnBorrow: false
testOnReturn: false
poolPreparedStatements: true
# 配置监控统计拦截的filters , stat:监控统计、wall:防止SQL注入、log4j:日志记录
filters: stat,wall,log4j
maxPoolPreparedStatementPerConnectionSize: 20
useGlobalDataSourceStat: true
connectionProperties: druid.stat.mergeSql=true;druid.stat.slowSqlMillis=500
配置一个DruidConfig的配置类 用来自定义配置我们的Druid数据源(死代码 不需要记住 直接用就行)
package com.jee.config;

import com.alibaba.druid.pool.DruidDataSource;
import com.alibaba.druid.support.http.StatViewServlet;
import com.alibaba.druid.support.http.WebStatFilter;
import org.springframework.boot.context.properties.ConfigurationProperties;
import org.springframework.boot.web.servlet.FilterRegistrationBean;
import org.springframework.boot.web.servlet.ServletRegistrationBean;
import org.springframework.context.annotation.Bean;
import org.springframework.context.annotation.Configuration;
import javax.sql.DataSource;
import java.util.Arrays;
import java.util.HashMap;
import java.util.Map;

@Configuration
public class DruidConfig {
    @ConfigurationProperties(prefix = "spring.datasource")
    @Bean
    public DataSource druid(){
        return new DruidDataSource();
    }
    //配置Druid的监控
    //1、配置一个管理后台的Servlet
    @Bean
    public ServletRegistrationBean statViewServlet(){
        ServletRegistrationBean bean = new ServletRegistrationBean(new StatViewServlet(), "/druid/*");
        Map<String,String> initParams = new HashMap<>();

        initParams.put("loginUsername","admin");
        initParams.put("loginPassword","123456");
        initParams.put("allow","");//默认就是允许所有访问
        initParams.put("deny","192.168.15.21");

        bean.setInitParameters(initParams);
        return bean;
    }


    //2、配置一个web监控的filter
    @Bean
    public FilterRegistrationBean webStatFilter(){
        FilterRegistrationBean bean = new FilterRegistrationBean();
        bean.setFilter(new WebStatFilter());

        Map<String,String> initParams = new HashMap<>();
        initParams.put("exclusions","*.js,*.css,/druid/*");

        bean.setInitParameters(initParams);

        bean.setUrlPatterns(Arrays.asList("/*"));

        return  bean;
    }
}
我们去web页面查看一下Druid的监控页面
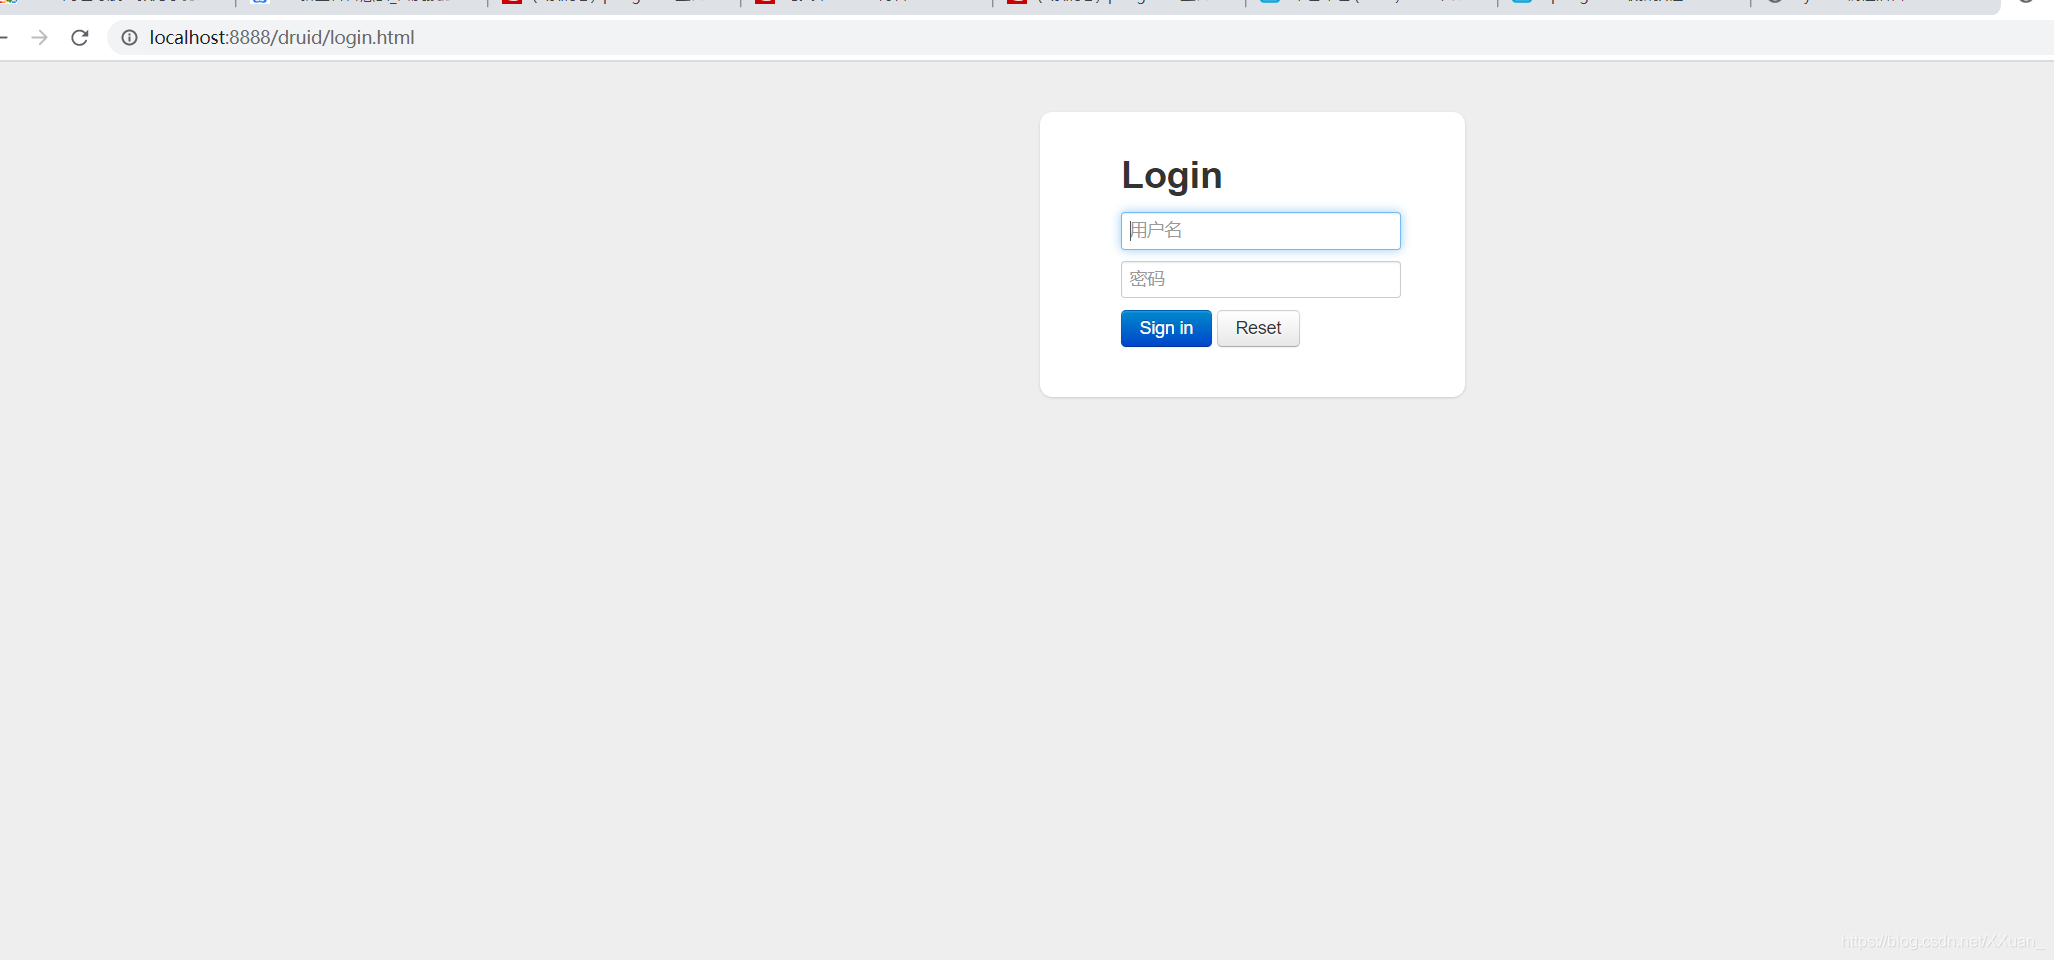
输入我们再配置类中设置的用户名和密码 即可登入:
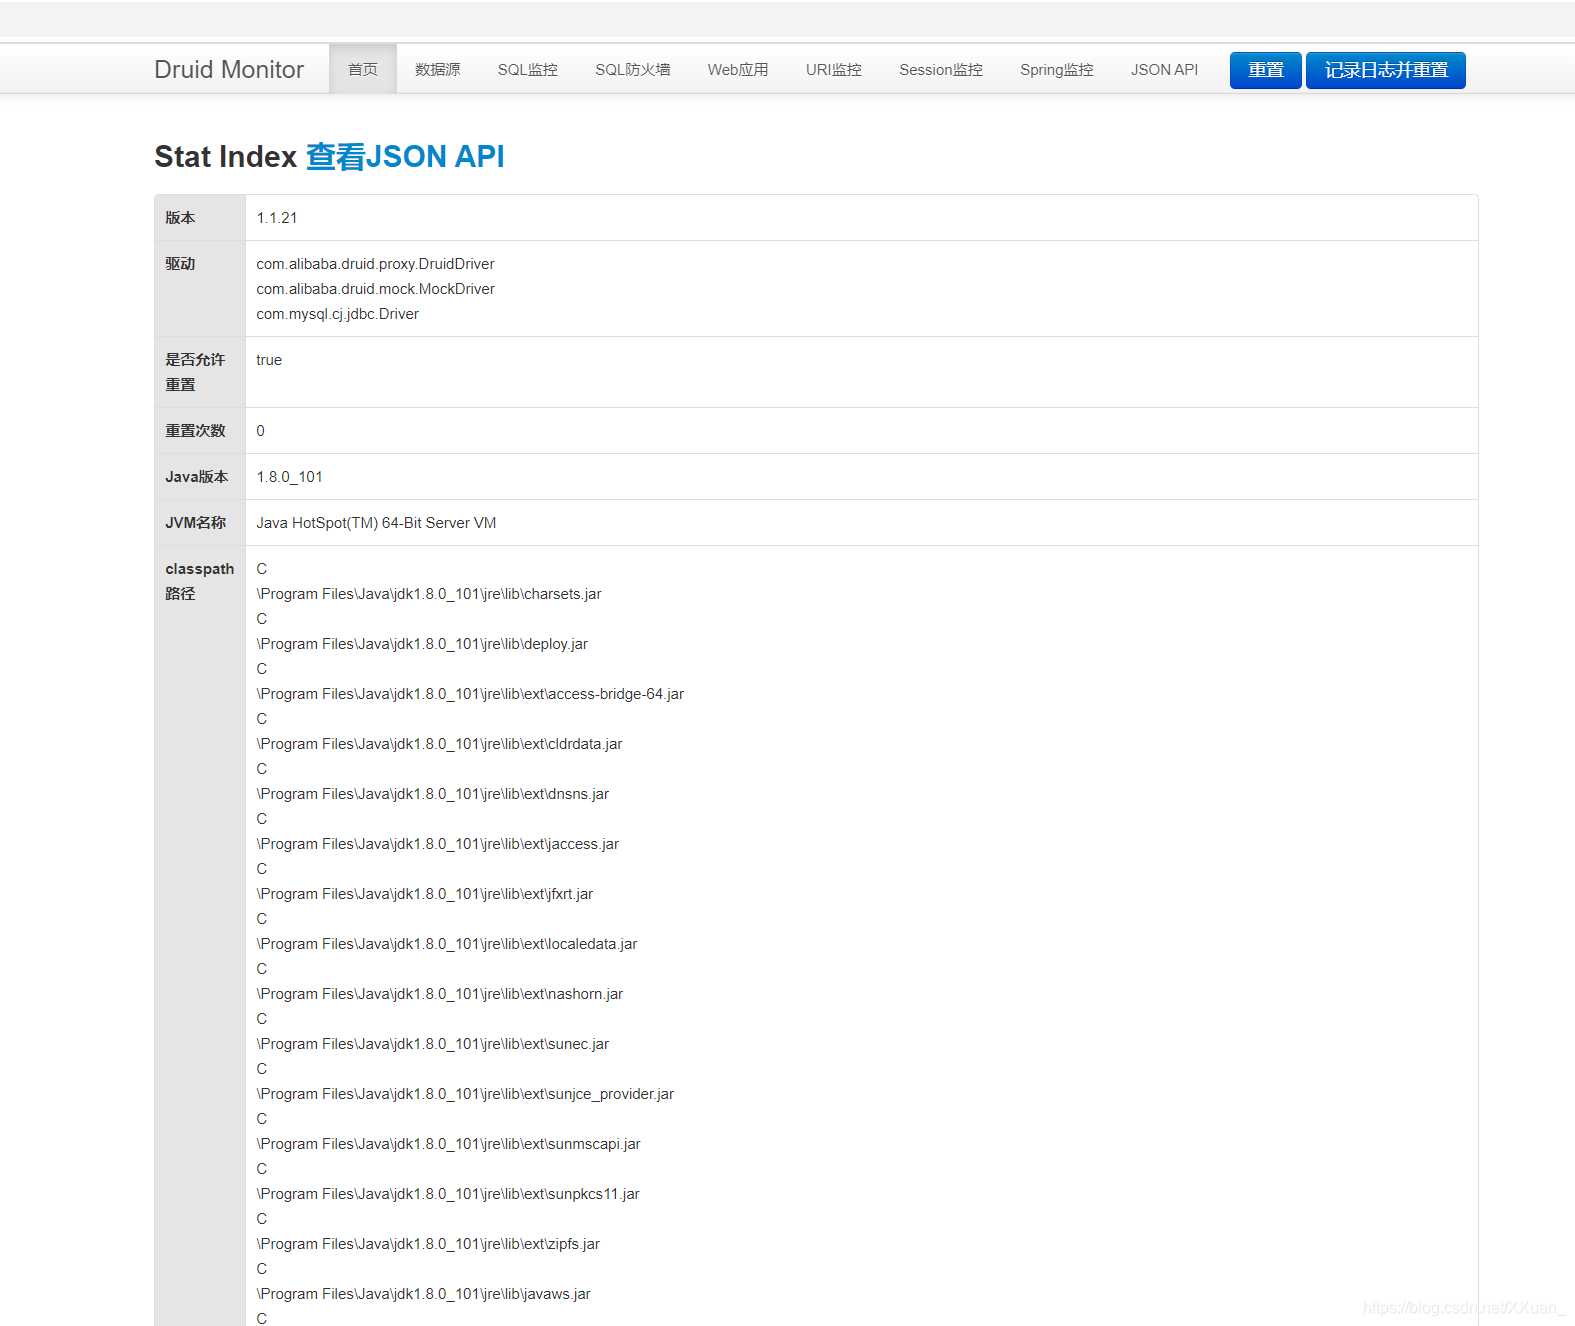
以上 我们的Druid数据源就配置完毕了
配置完数据源后 我们就来配置Mybatis框架 十分简单
先导入依赖:
<!-- https://mvnrepository.com/artifact/org.mybatis.spring.boot/mybatis-spring-boot-starter -->
<dependency>
    <groupId>org.mybatis.spring.boot</groupId>
    <artifactId>mybatis-spring-boot-starter</artifactId>
    <version>1.3.2</version>
</dependency>
创建和数据库表对应的实体类
public class User {
    private int id;
    private String name;
    private String password;

    public User() {
    }
}
创建mapper类
@Mapper   //@Mapper注解表示这个接口是Mybatis中的Mapper类
@Repository  //@Repository注解表示这个类是输入dao层的
public interface UserMapper {
    //查找所有用户
    public List<User> getAllUser();
}
去resource目录下创建mybatis/mapper目录,用于存放mapper.xml文件
<?xml version="1.0" encoding="UTF-8" ?>
<!DOCTYPE mapper
        PUBLIC "-//mybatis.org//DTD Mapper 3.0//EN"
        "http://mybatis.org/dtd/mybatis-3-mapper.dtd">
        <!--注意  这里我们的resultType用了别名 而不是全类名  这是我们再application.yml中配置的 我们待会就去配置-->
<mapper namespace="com.jee.mapper.UserMapper">
    <select id="selectAllUser" resultType="User">
         select * from user
    </select>
</mapper>
最后再去application.yml中配置一些我们的mybatis
mybatis:
  type-aliases-package: com.jee.entity   #起别名的包  该包下所有的类都会自动设置别名 就是类本身的名字
  mapper-locations: classpath:mybatis/mapper/*Mapper.xml  #mapper.xml文件的存放位置
我们使用的时候 将mapper接口 自动注入进代码即可
@Controller
public class MyController {

    @Autowired
    private UserMapper userMapper;

    @RequestMapping("/aa")
    @ResponseBody
    public String fun1() throws JsonProcessingException {
        List<User> allUser = userMapper.getAllUser();
        ObjectMapper mapper = new ObjectMapper();
        return (mapper.writeValueAsString(allUser));
    }
}
