SpringCloud+git配置中心(Kafka+bus消息总线实现全局刷新)
git创建全局配置文件
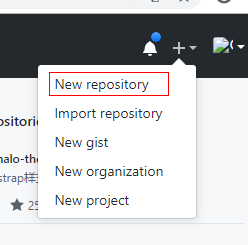
- 登陆git账户,然后新建一个仓库
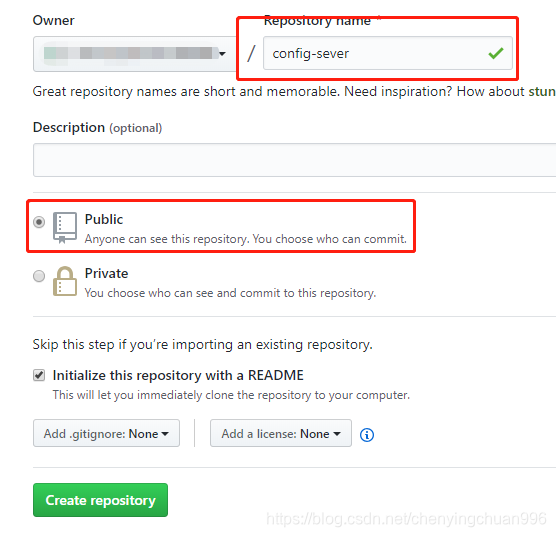
- 填写仓库名称,选公有仓库
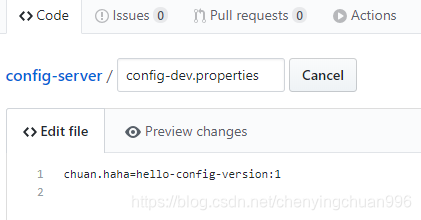
3.创建一个新文件,命名为config-dev.properties(注意这里名称有讲究),我这里个人习惯用properties配置,喜欢yml配置的同理修改即可,文件内容可以根据实际项目配置,我这里随便配个玩一玩儿

zoopkepper+kafka搭建
搭建config服务配置中心
- pom文件导入,这里我不写版本号是因为在父工程已经继承了依赖,这一块对微服务搭建不了解的可以先去了解一下微服务环境搭建和版本搭配相关问题
<!--actuator监控-->
        <dependency>
            <groupId>org.springframework.boot</groupId>
            <artifactId>spring-boot-starter-web</artifactId>
        </dependency>
        <dependency>
            <groupId>org.springframework.boot</groupId>
            <artifactId>spring-boot-starter-actuator</artifactId>
        </dependency>

        <!--这三个包配套导入万无一失-->
        <dependency>
            <groupId>org.springframework.cloud</groupId>
            <artifactId>spring-cloud-starter-bus-kafka</artifactId>
        </dependency>
        <dependency>
            <groupId>org.springframework.cloud</groupId>
            <artifactId>spring-cloud-starter-stream-kafka</artifactId>
        </dependency>
        <dependency>
            <groupId>org.springframework.cloud</groupId>
            <artifactId>spring-cloud-bus</artifactId>
        </dependency>

       <!--服务配置中心-->
        <dependency>
            <groupId>org.springframework.cloud</groupId>
            <artifactId>spring-cloud-config-server</artifactId>
        </dependency>
- application.properties配置文件
server.port=3355

spring.application.name=service-config-server
##注册eureka
eureka.client.service-url.defaultZone=http://eureka7001.com:7001/eureka/

##uri就是前面创建的仓库地址
spring.cloud.config.server.git.uri=https://github.com/*******/config-server.git

##当然远程访问需要你的git账号和密码
spring.cloud.config.server.git.username=78**3****@qq.com
spring.cloud.config.server.git.password=c**n****

##这个表示远程仓库的配置文件在什么路径下
spring.cloud.config.server.git.search-paths=config-server

#文件在远程仓库哪个分支下
spring.cloud.config.server.git.default-label=master

#指定kafka的代理地址,装好kafka默认端口号就是9092
spring.kafka.bootstrap-servers=localhost:9092

# 指定默认消费者group id
spring.kafka.consumer.group-id=test

#actuator监控器暴露端口,不指定的话默认只暴露/health和/info,将不能实现全局监控效果
management.endpoints.web.exposure.include=*

#打开自动刷新功能
spring.cloud.bus.refresh.enabled=true
- 启动类
@SpringBootApplication
@EnableEurekaClient
@EnableConfigServer
public class configServer3355 {
    public static void main(String[] args) {
        SpringApplication.run(configServer3355.class,args);
    }
}
搭建微服务客户端
- pom.xml
<dependency>
            <groupId>org.springframework.boot</groupId>
            <artifactId>spring-boot-starter-web</artifactId>
        </dependency>
        <dependency>
            <groupId>org.springframework.boot</groupId>
            <artifactId>spring-boot-starter-actuator</artifactId>
        </dependency>

        <dependency>
            <groupId>org.springframework.cloud</groupId>
            <artifactId>spring-cloud-starter-bus-kafka</artifactId>
        </dependency>
        <dependency>
            <groupId>org.springframework.cloud</groupId>
            <artifactId>spring-cloud-starter-stream-kafka</artifactId>
        </dependency>
        <dependency>
            <groupId>org.springframework.cloud</groupId>
            <artifactId>spring-cloud-bus</artifactId>
        </dependency>

        <!--跟配置中心的差不多,区别在这里-->
        <dependency>
            <groupId>org.springframework.cloud</groupId>
            <artifactId>spring-cloud-starter-config</artifactId>
        </dependency>

        <dependency>
            <groupId>org.springframework.boot</groupId>
            <artifactId>spring-boot-test</artifactId>
            <version>2.2.2.RELEASE</version>
            <scope>test</scope>
        </dependency>
        <dependency>
            <groupId>org.springframework.cloud</groupId>
            <artifactId>spring-cloud-starter-netflix-eureka-client</artifactId>
        </dependency>
- application.properties配置文件
server.port=3333
spring.application.name=consumer-config-client-3333
eureka.client.service-url.defaultZone=http://eureka7001.com:7001/eureka/
- bootstrap.properties配置文件,注意客户端多了一个这个配置文件,spring boot的加载属由文件的优先级决定的,你想要在加载属性之前去config server配置中心上取配置文件,意思也就是说bootstrap.properties的加载是先于application.properties的。
#指定git上的分支
spring.cloud.config.label=master

#指定git上的配置文件名,前面说过git上的配置文件命名是有说法的config-dev
spring.cloud.config.name=config
spring.cloud.config.profile=dev

#指定向谁取配置文件,这里是向前面做的配置中心3355取配置
spring.cloud.config.uri=http://localhost:3355/

#暴露端口
management.endpoints.web.exposure.include=*

#打开自动刷新
spring.cloud.bus.refresh.enabled=true

#指定kafka的地址
spring.kafka.bootstrap-servers=localhost:9092
- 启动类+controller
@SpringBootApplication
@EnableEurekaClient
public class ConfigClient3333 {
   public static void main(String[] args) {
       SpringApplication.run(ConfigClient3333.class,args);
   }
}
@RestController
@RefreshScope
public class HelloController {
       @Value("${chuan.haha}")
       private String hello;

       @RequestMapping("/hello")
       public String from() {
           return this.hello;
       }
}
相同的方法再做一个客户端(为了体现一处配置中心修改处处生效,所以再做一个客户端)
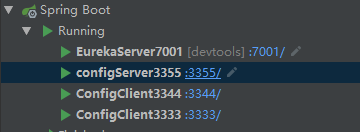
- 最后的启动效果,先启动Eureka服务,再启动3355配置中心,再启动剩下两个客户端。
工作完成我们来进行测试一下
-
配置中心访问git仓库的规则,application相当如本案例的“config”,profie相当于“dev”,lable就是指git分支
/{application}/{profile}/[label]
/{application}-{profile}.yml
/{label}/{application}-{profile}.yml
/{application}-{profile}.properties
/{label}/{application}-{profile}.properties -
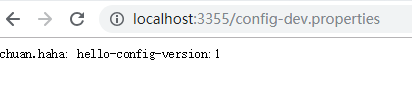
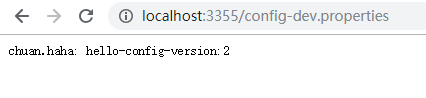
如图配置中心访问成功
-
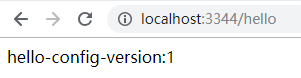
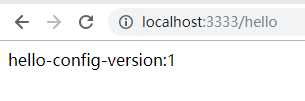
两个客户端的访问结果怎么样子呢?
-
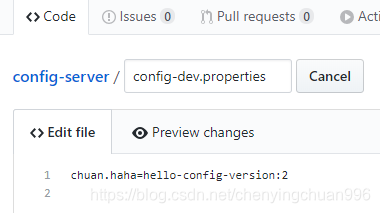
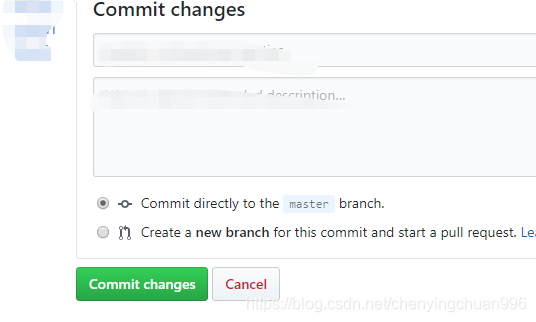
看来都访问到了配置中心的配置了,结束了吗?还没有,我们的目的是修改配置时候让每个客户端都生效,此时我们打开我们的github,把配置文件的内容修改一下,把版本号修改为2然后提交。
-
点开3355配置中心的的web进行刷新,果然变为2了
-
点开3344和3333客户端刷新呢?会怎么样?

此时发现无论怎么刷新,3344和3333客户端都还是1版本,怎么回事,说好的全局配置呢,是哪里配置出错了吗?
别慌还有最后一步
-
其实这里并不是配置或者代码有问题,先总结一下,我们的流程是怎么走的,首先我们是3355配置中心向git仓库拉去配置文件,然后3344和3333客户端分别向3355再拉配置文件,也就是github->3355->3344&3333
-
借用一个图可以看清楚点
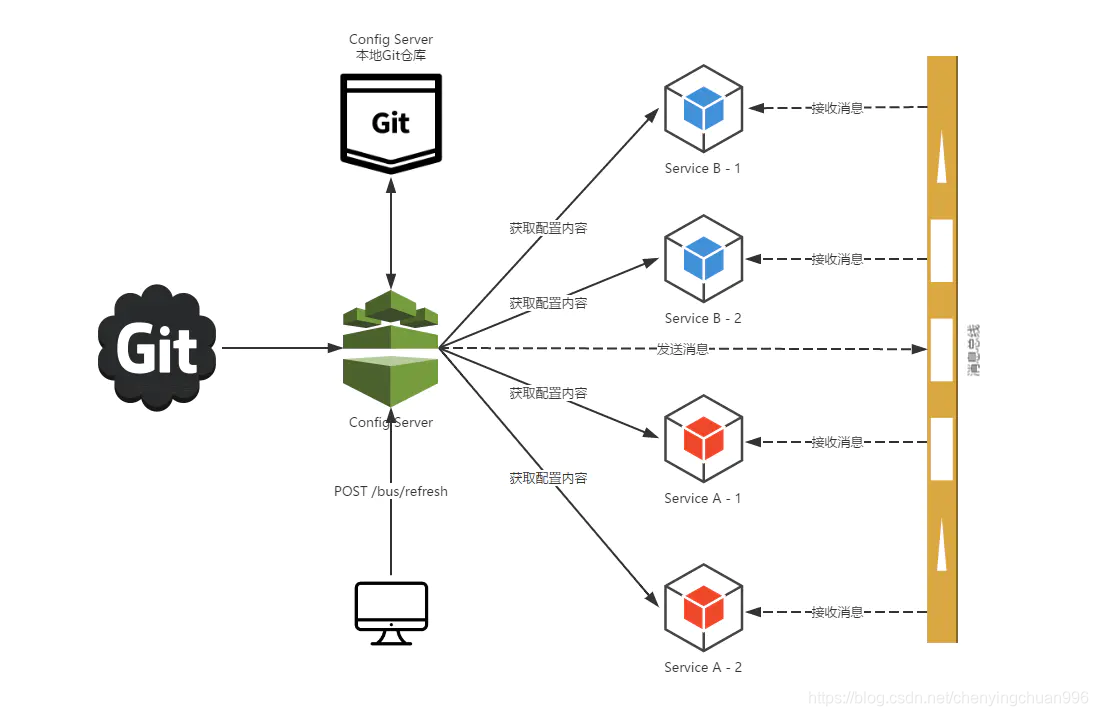
这里可以看到,我们绿色这个配置中心做了,上面的git仓库也有了,右边的2个客户端我们也有了(当然图里有4个客户端),那我们还缺什么?显然下面还有一个小电脑图标写着POST /bus/refresh
下载一个postman
- 下载一个postman,没听说这个工具的可以了解一下,应该很简单,可以百度直接下载到,免费的,就是模拟发送post请求的一个工具。

这里我们根据图,向3355配置中心发送一个post请求
最后的最后测试
- 刷新3333和3344
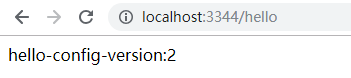
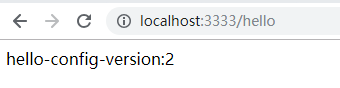
终于出现我们要的效果啦!
总结
- 首先我是一个新人,这是我写的第一篇博客,我也是自己学习做的一个小案例做为练手,顺便写写学习笔记,能够帮助大家一点点的话我也是心满意足了,
- 还有关于应该注意的坑,我也没想到有什么坑,只要细心一点相信都不会有什么太大问题,主要是这里github修改后不要重启客户端,因为重启的话一定是会读取最新的配置,我们的目的就是为了不重启客户端自动读取配置嘛,重启了就没有意义了,在工作中也是,总不能修改完配置文件几十个微服务全部重启吧。
