本章介绍如何使用SpringBoot发送邮件,关于发邮件基本知识,可以参考【Mail】JavaMail介绍及发送邮件(一)
邮件的自动配置
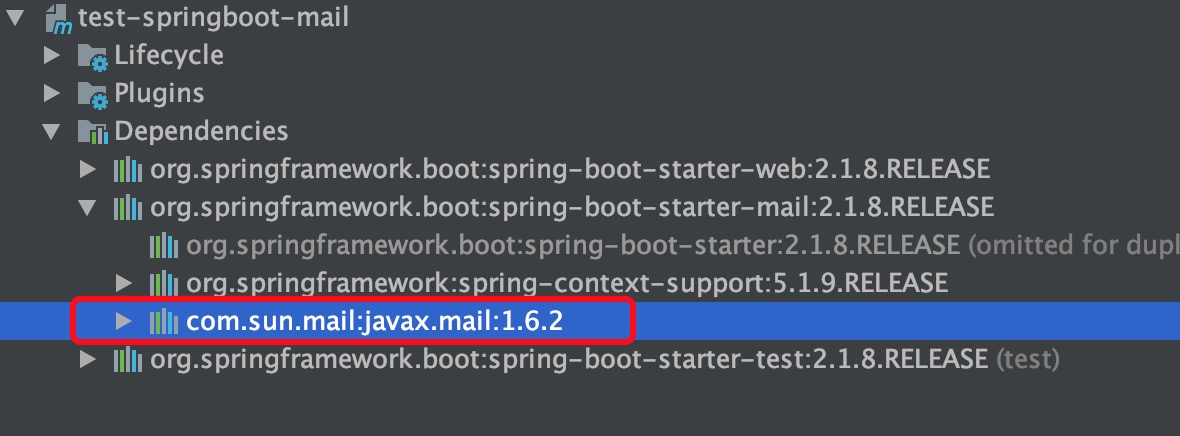
1、新建一个SpringBoot Web项目,引入邮件依赖(spring-boot-starter-mail)如下:
1 <dependency>
2     <groupId>org.springframework.boot</groupId>
3     <artifactId>spring-boot-starter-mail</artifactId>
4 </dependency>
其中spring-boot-starter-mail也是依赖了javax.mail jar包
完整pom.xml如下:


 1 <?xml version="1.0" encoding="UTF-8"?>
 2 <project xmlns="http://maven.apache.org/POM/4.0.0"
 3          xmlns:xsi="http://www.w3.org/2001/XMLSchema-instance"
 4          xsi:schemaLocation="http://maven.apache.org/POM/4.0.0 http://maven.apache.org/xsd/maven-4.0.0.xsd">
 5     <modelVersion>4.0.0</modelVersion>
 6
 7     <groupId>com.test</groupId>
 8     <artifactId>test-springboot-mail</artifactId>
 9     <version>1.0-SNAPSHOT</version>
10
11     <parent>
12         <groupId>org.springframework.boot</groupId>
13         <artifactId>spring-boot-starter-parent</artifactId>
14         <version>2.1.8.RELEASE</version>
15     </parent>
16
17     <properties>
18
19         <project.build.sourceEncoding>UTF-8</project.build.sourceEncoding>
20         <project.reporting.outputEncoding>UTF-8</project.reporting.outputEncoding>
21         <java.version>1.8</java.version>
22     </properties>
23
24     <dependencies>
25
26         <dependency>
27             <groupId>org.springframework.boot</groupId>
28             <artifactId>spring-boot-starter-web</artifactId>
29         </dependency>
30
31         <dependency>
32             <groupId>org.springframework.boot</groupId>
33             <artifactId>spring-boot-starter-mail</artifactId>
34         </dependency>
35
36         <dependency>
37             <groupId>org.springframework.boot</groupId>
38             <artifactId>spring-boot-starter-test</artifactId>
39             <scope>test</scope>
40         </dependency>
41
42     </dependencies>
43
44
45     <!-- SpringBoot打包插件,可以将代码打包成一个可执行的jar包 -->
46     <build>
47         <plugins>
48             <plugin>
49                 <groupId>org.springframework.boot</groupId>
50                 <artifactId>spring-boot-maven-plugin</artifactId>
51             </plugin>
52         </plugins>
53     </build>
54
55 </project>
2、查看MailSenderAutoConfiguration自动配置类,它自动导入了MailSenderJndiConfiguration配置类
 1 @Configuration
 2 @ConditionalOnClass({ MimeMessage.class, MimeType.class, MailSender.class })
 3 @ConditionalOnMissingBean(MailSender.class)
 4 @Conditional(MailSenderCondition.class)
 5 @EnableConfigurationProperties(MailProperties.class)
 6 @Import({ MailSenderJndiConfiguration.class, MailSenderPropertiesConfiguration.class })
 7 public class MailSenderAutoConfiguration {
 8
 9     ...
10
11 }
3、MailSenderJndiConfiguration配置类,其中给容器注入了JavaMailSenderImpl对象,此对象就是用来发邮件的
 1 @Configuration
 2 @ConditionalOnClass(Session.class)
 3 @ConditionalOnProperty(prefix = "spring.mail", name = "jndi-name")
 4 @ConditionalOnJndi
 5 class MailSenderJndiConfiguration {
 6
 7     private final MailProperties properties;
 8
 9     MailSenderJndiConfiguration(MailProperties properties) {
10         this.properties = properties;
11     }
12
13     // 用来发送邮件
14     @Bean
15     public JavaMailSenderImpl mailSender(Session session) {
16         JavaMailSenderImpl sender = new JavaMailSenderImpl();
17         sender.setDefaultEncoding(this.properties.getDefaultEncoding().name());
18         sender.setSession(session);
19         return sender;
20     }
21
22     ...
23 }
3、配置邮件信息
spring:
  mail:
    host: smtp.163.com
    port: 25
    username: [email protected]
    password: xxxxx
    properties:
      # 开启debug调试  ,打印信息
      mail.debug: true
测试发送邮件
发送简单邮件
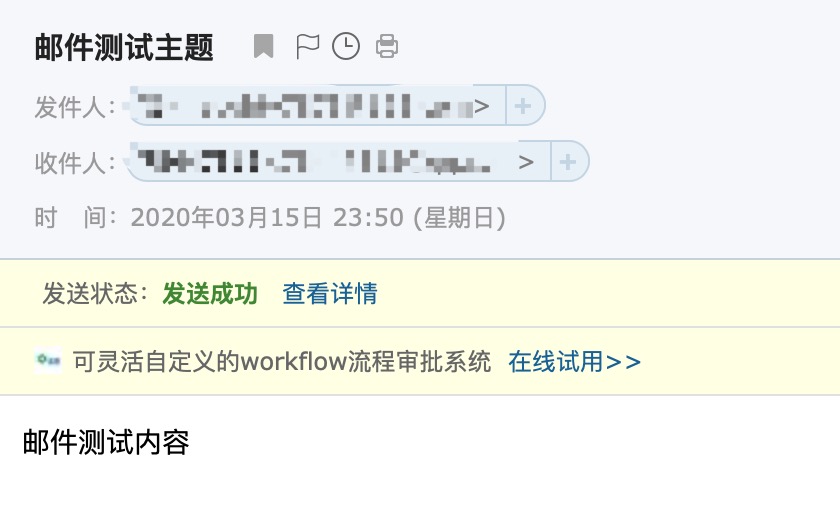
1、编辑发送邮件测试类,如下:
 1 @RunWith(SpringRunner.class)
 2 @SpringBootTest
 3 public class TestApplication {
 4
 5     @Autowired
 6     JavaMailSenderImpl javaMailSenderImpl;
 7
 8     @Test
 9     public void test01(){
10         SimpleMailMessage simpleMailMessage = new SimpleMailMessage();
11         simpleMailMessage.setSubject("邮件测试主题");
12         simpleMailMessage.setText("邮件测试内容");
13         simpleMailMessage.setTo("[email protected]");
14         simpleMailMessage.setFrom("[email protected]");
15
16         javaMailSenderImpl.send(simpleMailMessage);
17     }
18 }
2、测试,执行test01()方法,查看邮件内容
发送复杂邮件
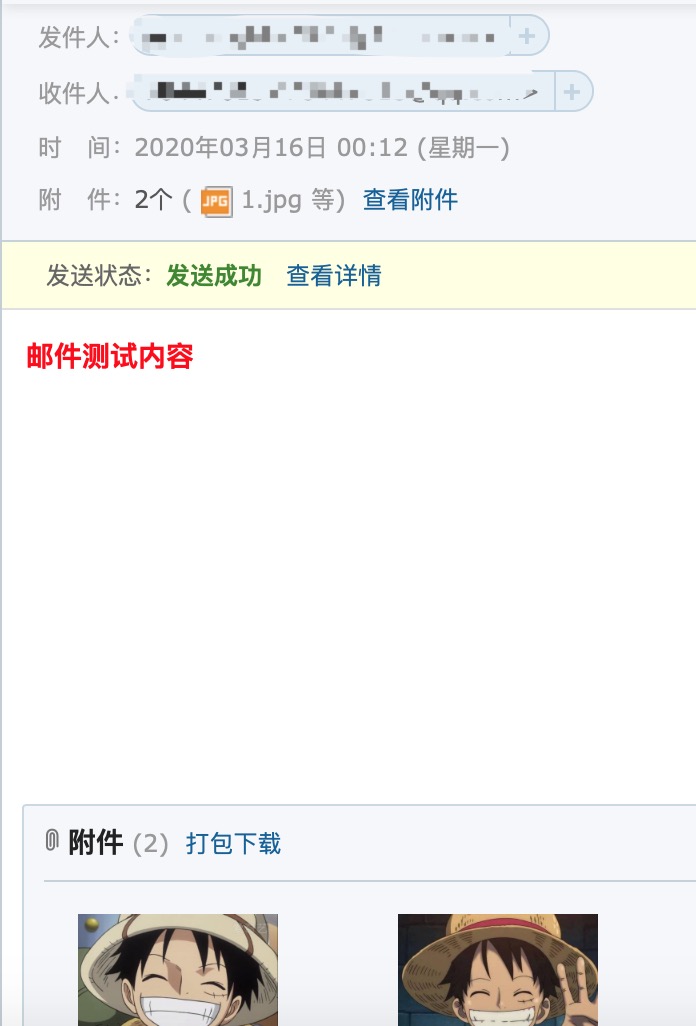
3、编辑发送复杂邮件的方法
 1 @Test
 2 public void test02() throws MessagingException {
 3
 4     // 创建一个复杂邮件
 5     MimeMessage mimeMessage = javaMailSenderImpl.createMimeMessage();
 6     // 第二个参数为true表示支持附件
 7     MimeMessageHelper mimeMessageHelper = new MimeMessageHelper(mimeMessage, true);
 8
 9     // 邮件设置
10     mimeMessageHelper.setSubject("邮件测试主题");
11     // 第二个参数为true表示内容为html
12     mimeMessageHelper.setText("<b style=\"color:red\">邮件测试内容</b>",true);
13     mimeMessageHelper.setTo("[email protected]");
14     mimeMessageHelper.setFrom("[email protected]");
15
16     // 添加附件
17     mimeMessageHelper.addAttachment("1.jpg", new File("/Users/h__d/Downloads/1.jpg"));
18     mimeMessageHelper.addAttachment("2.jpg", new File("/Users/h__d/Downloads/2.jpg"));
19
20     javaMailSenderImpl.send(mimeMessage);
21 }
4、测试运行test02()方法。效果如下: