FastDFS部署
1.拉取镜像
docker pull delron/fastdfs
2.构建tracker容器
跟踪服务器,起到调度作用,这里tracker服务将会自动映射到宿主机上。注意:docker的-v参数们可以自动的挂载宿主机的文件到容器中去。
docker run -d --network=host --name tracker -v /root:/var/root delron/fastdfs tracke
3. 构建storage容器
存储服务器,提供容量的备份服务,这里storage容器依赖tracker服务,传入你的tracker服务的ip地址,端口默认是22122,地址也就是你的宿主机的ip(若是服务器即是你的公网ip)
docker run -d --network=host --name storage -e TRACKER_SERVER=[你自己的ip]:22122 -v /root:/var/root -e GROUP_NAME=group1 delron/fastdfs storage
若docker容器中启动启动容器中存在上述容器,这表示fastdfs容器启动成功。

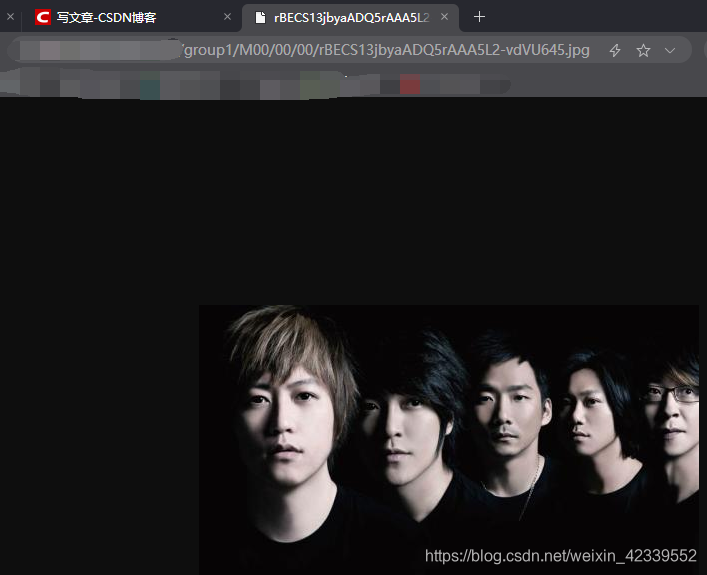
4.上传图片测试
4.1引入依赖
<dependency>
            <groupId>com.github.tobato</groupId>
            <artifactId>fastdfs-client</artifactId>
            <version>1.26.1-RELEASE</version>
</dependency>
4.2配置属性
fdfs:
  so-timeout: 2500
  connect-timeout: 6000
  thumb-image: #缩略图
    width:  60
    height: 60
  tracker-list: #tracker地址
    - [你自己的ip]:22122	#可以配置多个
#自定义属性,用来把图片信息传递到数据库或缓存中
air:
  upload:
    baseUrl:[你自己的ip]:8888
    allowTypes:
      - image/jpeg
      - image/png
      - image/bmp
      - image/jpg
4.3测试代码
@RunWith(SpringRunner.class)
@SpringBootTest
public class UploadServiceTest {
    @Autowired
    private FastFileStorageClient storageClient;
    @Autowired
    private ThumbImageConfig thumbImageConfig;

    @Test
    public void testUpload() throws IOException {
        File file = new File("C:/Users/13510/Desktop/master.jpg");
        //上传并生成缩略图
        StorePath storePath = this.storageClient.uploadFile(new FileInputStream(file), file.length(), "jpg", null);
        //此处的分则是指linux下的分组
        //带分组的路径
        System.out.println(storePath.getFullPath());
        //不带分组的路径
        System.out.println(storePath.getPath());
    }