最新6.5.1版本传送门:6.5.1版本学习笔记
安装
参考官方文档提供的安装教程:https://www.elastic.co/guide/en/elasticsearch/reference/current/_installation.html
启动
在win7上用msi文件进行的安装,进入安装目录中的bin目录执行elasticsearch.exe
使用REST API操作Elasticsearch
使用postman来调用Elasticsearch的REST API接口进行交互
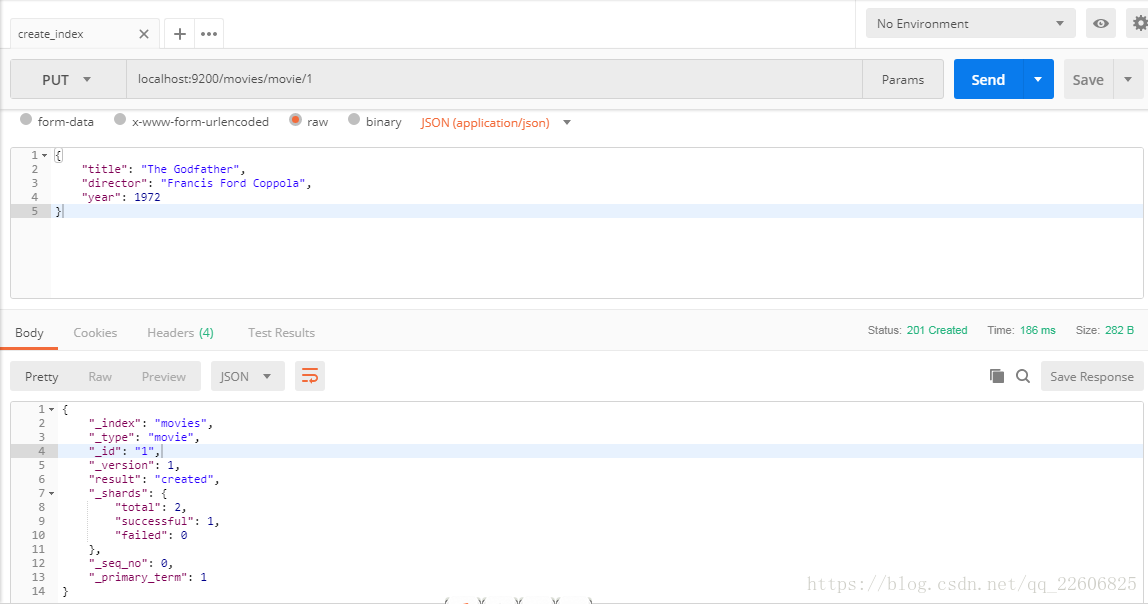
创建索引
PUT localhost:9200/索引名称/类型名称/ID
个人理解为ES中可以存在多个索引
索引中可以存在多种类型
类型中可以存放不同ID的数据
body中以json格式写入要绑定该ID的数据
创建成功后的结果:
更多详情请参考:https://www.elastic.co/guide/en/elasticsearch/reference/current/docs-index_.html
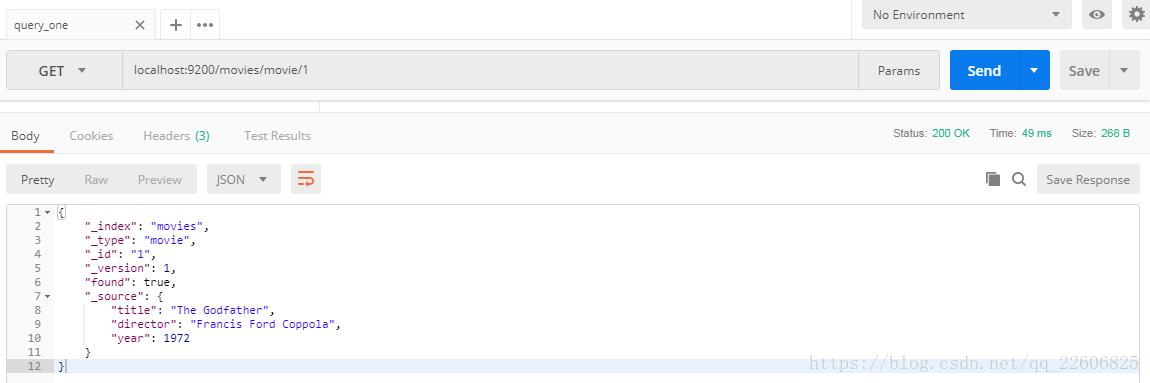
获取索引
GET localhost:9200/查询索引名称/查询类型名称/查询ID
查询结果:
参考:https://www.elastic.co/guide/en/elasticsearch/reference/current/docs-get.html
更新索引
脚本更新
POST localhost:9200/movies/movie/1/_update

结果为movies索引下的movie类型下ID为1的year字段增加1000:

部分文档更新
POST localhost:9200/movies/movie/1/_update
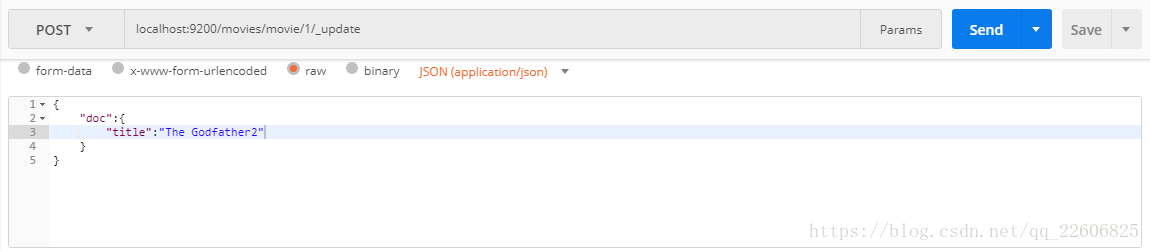
更新title字段
参考:https://www.elastic.co/guide/en/elasticsearch/reference/current/docs-update.html
删除索引
DELETE localhost:9200/movies/movie/1
参考:https://www.elastic.co/guide/en/elasticsearch/reference/current/docs-delete.html
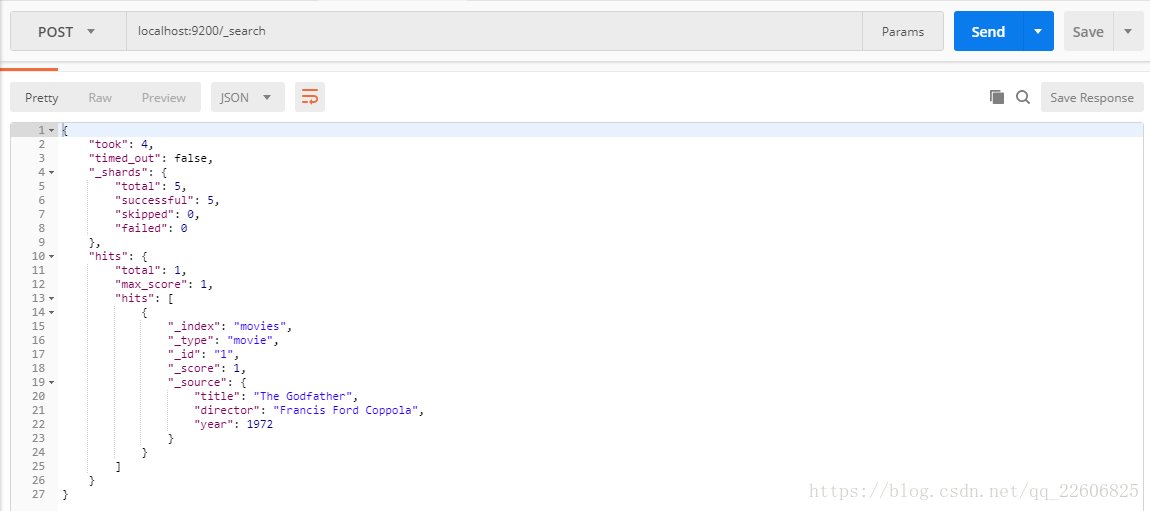
查询索引
POST localhost:9200/[索引名称]/[类型名称]/_search
[ ]表示可选项