安装Elasticsearch至少需要JAVA1.8以上的版本,这里直接用yum安装
1 # yum -y install java-1.8.0-openjdk.x86_64 java-1.8.0-openjdk-devel.x86_64
ELasticsearch官方下载,这里使用的tar包安装,官网也有做好的RPM包直接安装
1 # wget https://artifacts.elastic.co/downloads/elasticsearch/elasticsearch-6.3.0.tar.gz
配置sysctl.conf
 1 #修改sysctl配置
 2 vim /etc/sysctl.conf

 3 #添加如下配置
 4 vm.max_map_count=262144

 5 #让配置生效
 6 sysctl -p

 7 #查看配置的数目 8 sysctl -a|grep vm.max_map_count
elasticsearch从5.0版本之后不允许root账户启动
 1 #添加用户
 2 adduser elsearch
 3
 4 #设定密码
 5 passwd elsearch
 6
 7 #添加权限
 8 chown -R research:research /data/elasticsearch-6.3.0
 9
10 #切换用户
11 su elsearch
12
13 #启动elasticsearch
14
15 ./elasticsearch-6.3.0/bin/elasticsearch
16 配置limits.conf
17
18 vim /etc/security/limits.conf
19 把
20 * soft nofile 65535
21 * hard nofile 65535
22
23 改为
24 * soft nofile 65536
25 * hard nofile 65536
26
27 #切换用户
28 su elsearch
29
30 配置所有用户访问
31 vim /data/elasticsearch-6.3.0/config/elasticsearch.yml
32 添加一下内容
33 network.host: 0.0.0.0
curl查看9200端口,笔记本使用Chrome浏览器打不开换火狐可以,不知为何
 1 [root@node2 ~]# curl localhost:9200
 2 {
 3   "name" : "XifVC-v",
 4   "cluster_name" : "elasticsearch",
 5   "cluster_uuid" : "xasjIJiDSM6bAOeMHeF2GQ",
 6   "version" : {
 7     "number" : "6.3.0",
 8     "build_flavor" : "default",
 9     "build_type" : "tar",
10     "build_hash" : "424e937",
11     "build_date" : "2018-06-11T23:38:03.357887Z",
12     "build_snapshot" : false,
13     "lucene_version" : "7.3.1",
14     "minimum_wire_compatibility_version" : "5.6.0",
15     "minimum_index_compatibility_version" : "5.0.0"
16   },
17   "tagline" : "You Know, for Search"
18 }
安装Elasticsearch head插件
1 wget https://npm.taobao.org/mirrors/node/latest-v4.x/node-v4.5.0-linux-x64.tar.gz
2
3 [elsearch@node2 ~]$ sudo tar zxvf node-v4.5.0-linux-x64.tar.gz -C /usr/local/
4 配置环境变量
5 export NODE_HOME=/usr/local/node-v4.5.0-linux-x64
6 export PATH=$PATH:$NODE_HOME/bin
7 export NODE_PATH=$NODE_HOME/lib/node_modules
安装npm
[root@node2 ~]# npm install -g cnpm --registry=https://registry.npm.taobao.org

下载head插件
[elsearch@node2 ~]$ wget https://github.com/mobz/elasticsearch-head/archive/master.zip
[elsearch@node2 ~]$ sudo unzip master.zip
[root@node2 ~]# npm install -g grunt

[root@node2 ~]# npm install -g grunt-cli --registry=https://registry.npm.taobao.org --no-proxy
下载依赖包
[root@node2 ~]# cd /usr/local/elasticsearch-head-master/
[root@node2 elasticsearch-head-master]# npm install
接下来是漫长的等待时间
启动head
[elsearch@node2 elasticsearch-head-master]$ sudo vim Gruntfile.js
                connect: {
                        server: {
                                options: {
                                        hostname:'0.0.0.0',
                                        port: 9100,
                                        base: '.',
                                        keepalive: true
                                }
                        }
                }

        });

在当前目录启动head
通过命令grunt server 启动head
[root@node2 elasticsearch-head-master]# grunt server
Running "connect:server" (connect) task
Waiting forever...
Started connect web server on http://localhost:9100
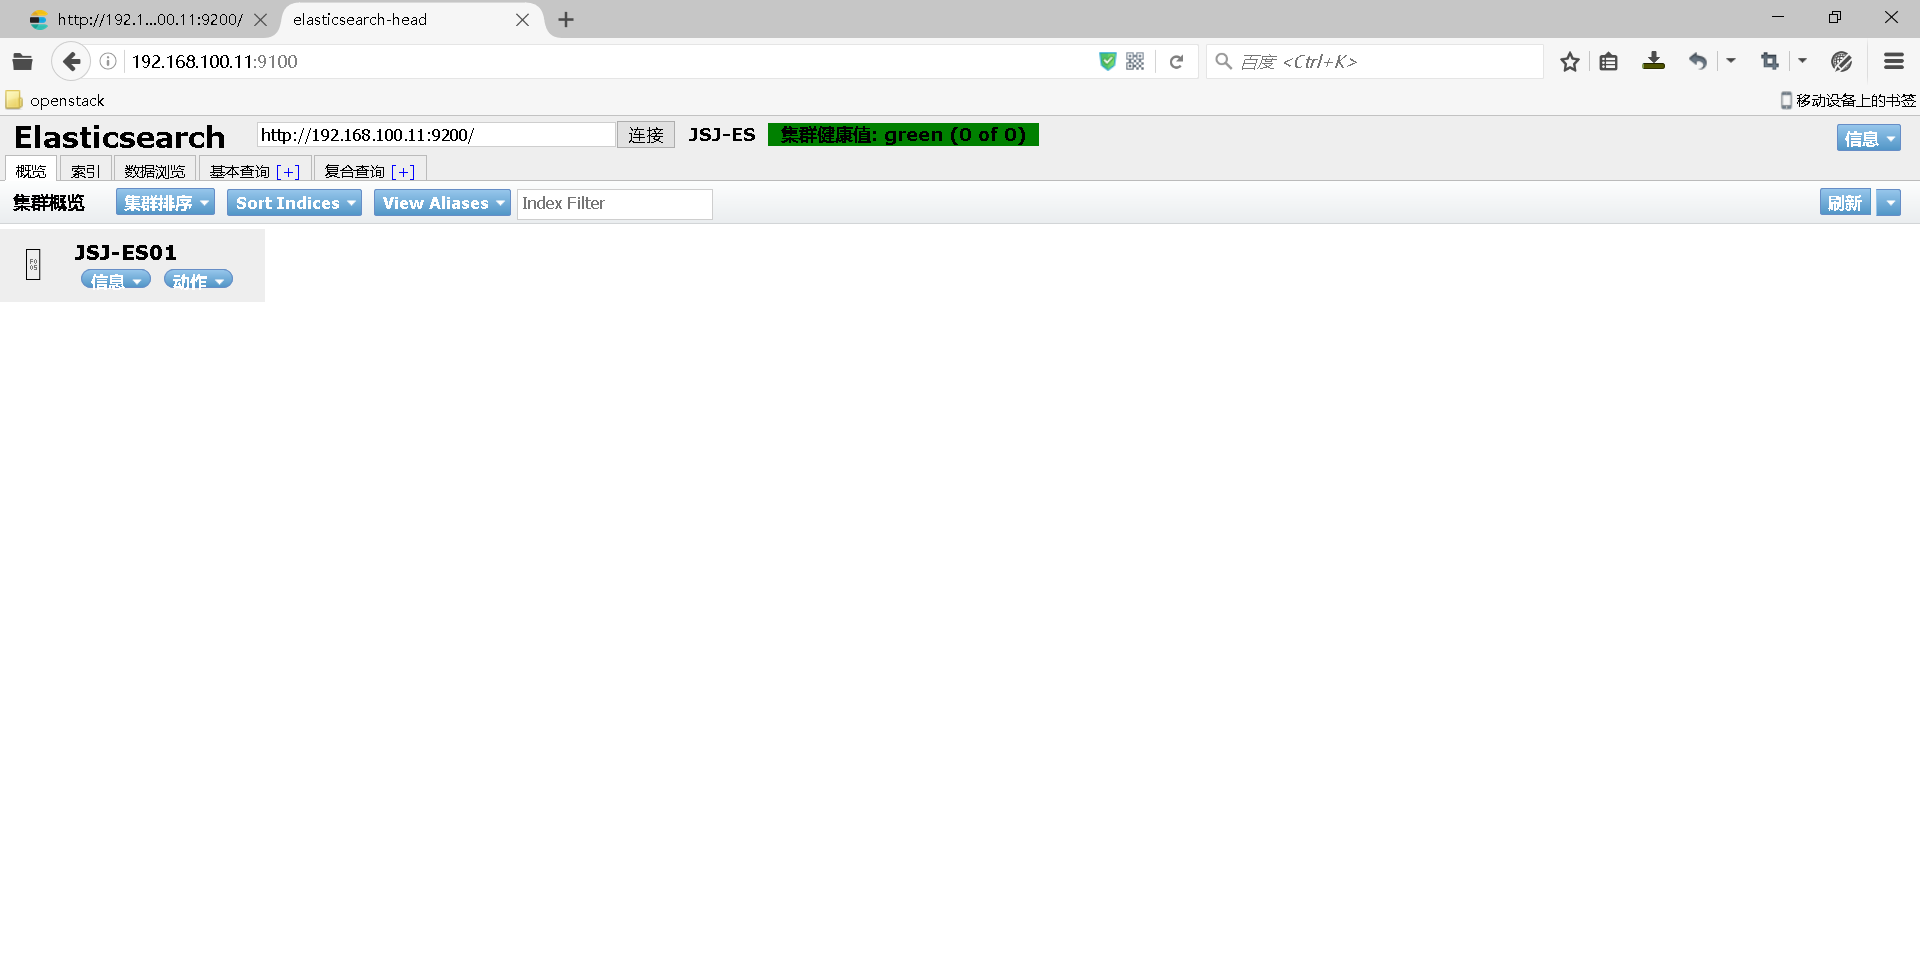
启动之后打开链接发现集群状态未连接,网上查了资料是
Cross-origin resource sharing (CORS) is a mechanism that allows restricted resources ,即跨域访问。
这个字段默认为false,在Elasticsearch安装集群之外的一台机上用Sense、Head等监控插件访问Elasticsearch是不允许的。这个字段最早可以追溯到1.4.x版本,而非5.x特有。
具体这个http.cors.x字段还有哪些用途和用法,见下表:
| http.cors.enabled | 是否支持跨域,默认为false |
| http.cors.allow-origin | 当设置允许跨域,默认为*,表示支持所有域名,如果我们只是允许某些网站能访问,那么可以使用正则表达式。比如只允许本地地址。 /https?:\/\/localhost(:[0-9]+)?/ |
| http.cors.max-age | 浏览器发送一个“预检”OPTIONS请求,以确定CORS设置。最大年龄定义多久的结果应该缓存。默认为1728000(20天) |
| http.cors.allow-methods | 允许跨域的请求方式,默认OPTIONS,HEAD,GET,POST,PUT,DELETE |
| http.cors.allow-headers | 跨域允许设置的头信息,默认为X-Requested-With,Content-Type,Content-Length |
| http.cors.allow-credentials | 是否返回设置的跨域Access-Control-Allow-Credentials头,如果设置为true,那么会返回给客户端。 |
所以我在配置文件中添加
http.cors.enabled: true
http.cors.allow-origin: "*"
摘自https://www.cnblogs.com/zklidd/p/6433123.html
重启ELasticSearch之后再启动head
Bigdesk直接可以通过python提供的http服务器,
python -m SimpleHTTPServer运行,服务器运行,端口号是8000,默认情况下linux系统下安装过了python,所以下载下来压缩包,直接运行服务就可以了。
下载地址
#官网地址
https://github.com/hlstudio/bigdesk

#我的七牛地址
http://yellowcong.qiniudn.com/bigdesk-master.zip
安装
#下载
wget http://yellowcong.qiniudn.com/bigdesk-master.zip

#解压
unzip bigdesk-master.zip

#进入到sit目录
cd /bigdesk-master/_site

#启动web服务器 #监听端口号是 8000 python -m SimpleHTTPServer