CV2实践所用到的图片
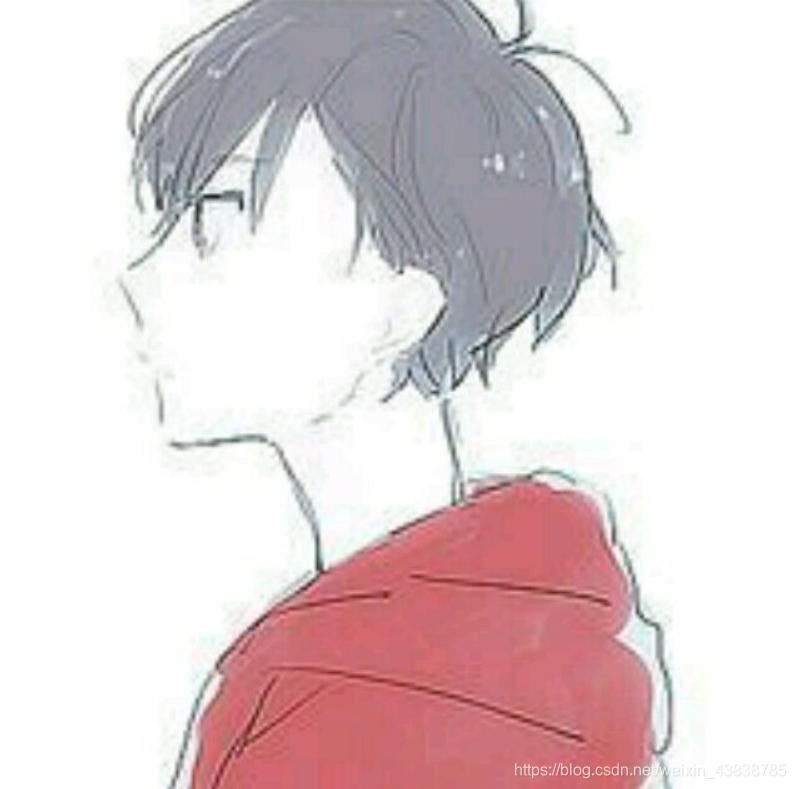
bug.png
1、简单读写
import cv2

# 读入图像
img = cv2.imread("source/bug.png")

# 显示图像
cv2.imshow("bug", img)
cv2.waitKey(0)  # 单位毫秒
cv2.destroyWindow("bug")

# 复制图像
new_img = img.copy()

# 保存图像
cv2.imwrite("bug-new.png", new_img)
2、图片翻转
im = cv2.imread("source/bug.png")
new_img = cv2.flip(im, flipCode=0)
cv2.imwrite("source/bug-flip-0.png", new_img)


Horizontal水平翻转(沿Y轴)flipCode=1、
horizontal and vertical 水平和垂直翻转(沿中心点) flipCode=-1
3、色彩变换
彩色图像转为灰度图像
im = cv2.imread("source/bug.png")
new_img = cv2.cvtColor(im, cv2.COLOR_RGB2GRAY)
cv2.imwrite("source/bug-gray.png", new_img)
cv2.COLOR_X2Y
其中X,Y = RGB, BGR, GRAY, HSV, YCrCb, XYZ, Lab, Luv, HLS
4、给图片加文本
img = cv2.imread("source/bug.png", cv2.IMREAD_COLOR)

# 图片对象、文本、像素、字体、字体大小、颜色、字体粗细
new_img = cv2.putText(
    img=img,
    text="OOXX",
    org=(60, 50),
    fontFace=cv2.FONT_HERSHEY_SIMPLEX,
    fontScale=1,
    color=(255, 0, 0),
    thickness=2
)
cv2.imwrite("source/bug-text.png", new_img)
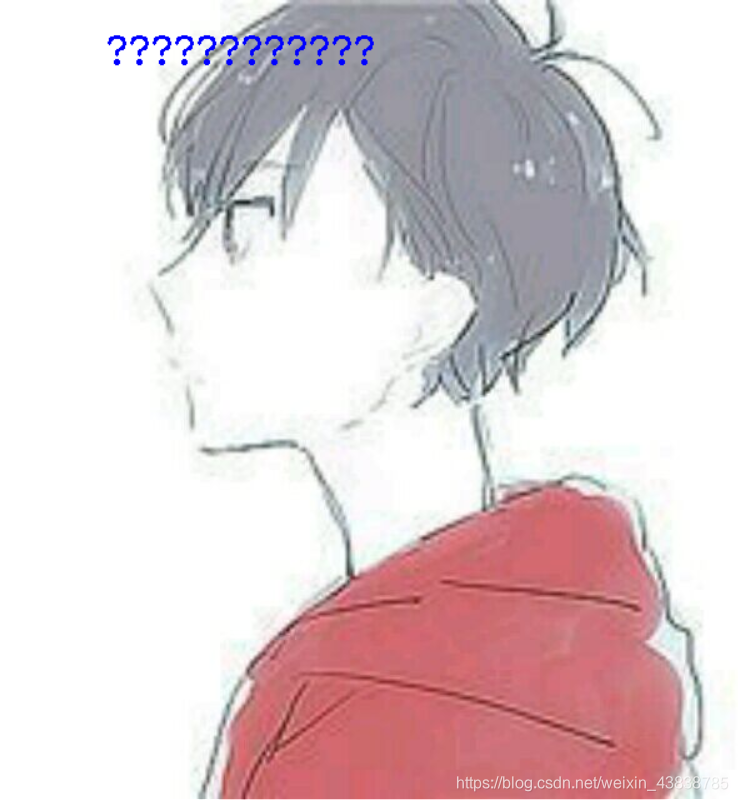
添加中文字符
opencv自带的putText函数无法输出中文字符,需要借助Pillow
安装
pip install pillow numpy
代码示例
import cv2
import numpy as np
from PIL import Image, ImageDraw, ImageFont

# 1、将cv2转为PIL
img = cv2.imread("source/bug.png")
# cv2和PIL中颜色的hex码的储存顺序不同
img = cv2.cvtColor(img, cv2.COLOR_BGR2RGB)
pil_img = Image.fromarray(img)

# 2、PIL图片上打印中文
draw = ImageDraw.Draw(pil_img)
font = ImageFont.truetype(font="华文黑体.ttf", size=20, encoding="utf-8")
draw.text(xy=(50, 20), text="爱我中华", fill=(0, 0, 255), font=font)

# 3、PIL图片转cv2
new_img = cv2.cvtColor(np.array(pil_img), cv2.COLOR_RGB2BGR)
cv2.imwrite("source/bug-text.png", new_img)
Mac本字体路径,选一个已有的字体
1、/System/Library/Fonts
2、/Library/Fonts
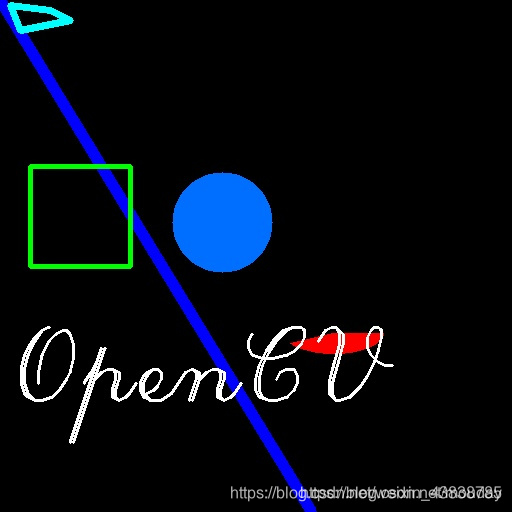
5、绘图
import numpy as np
import cv2

# 常用颜色值
RED = (0, 0, 255)
GREEN = (0, 255, 0)
BLUE = (255, 0, 0)

np.set_printoptions(threshold='nan')

# 创建一个宽512高512的黑色画布,RGB(0,0,0)即黑色
img = np.zeros(shape=(512, 512, 3), dtype=np.uint8)

# 画直线,图片对象,起始坐标(x轴,y轴),结束坐标,颜色,宽度
cv2.line(
    img=img,
    pt1=(0, 0),
    pt2=(311, 511),
    color=BLUE,
    thickness=10
)

# 画矩形,图片对象,左上角坐标,右下角坐标,颜色,宽度
cv2.rectangle(
    img=img,
    pt1=(30, 166),
    pt2=(130, 266),
    color=GREEN,
    thickness=3
)

# 画圆形,图片对象,中心点坐标,半径大小,颜色,宽度
cv2.circle(
    img=img,
    center=(222, 222),
    radius=50,
    color=(255.111, 111),
    thickness=-1
)

# 画椭圆形,图片对象,中心点坐标,长短轴,顺时针旋转度数,开始角度(右长轴表0度,上短轴表270度),颜色,宽度
cv2.ellipse(
    img=img,
    center=(333, 333),
    axes=(50, 20),
    angle=0,
    startAngle=0,
    endAngle=150,
    color=RED,
    thickness=-1
)

# 画多边形,指定各个点坐标,array必须是int32类型
pts = np.array(
    [[10, 5], [20, 30], [70, 20], [50, 10]],
    dtype=np.int32
)

# -1表示该纬度靠后面的纬度自动计算出来,实际上是4
pts = pts.reshape((-1, 1, 2,))
# print(pts)

# 画多条线,False表不闭合,True表示闭合,闭合即多边形
cv2.polylines(
    img=img,
    pts=[pts],
    isClosed=True,
    color=(255, 255, 0),
    thickness=5
)


# 添加文字 图片对象,要写的内容,左边距,字的底部到画布上端的距离,字体,大小,颜色,粗细
cv2.putText(
    img=img,
    text="OpenCV",
    org=(10, 400),
    fontFace=cv2.FONT_HERSHEY_SCRIPT_COMPLEX,
    fontScale=3.5,
    color=(255, 255, 255),
    thickness=2
)

cv2.imwrite("picture.jpg", img)
6、图像的表示
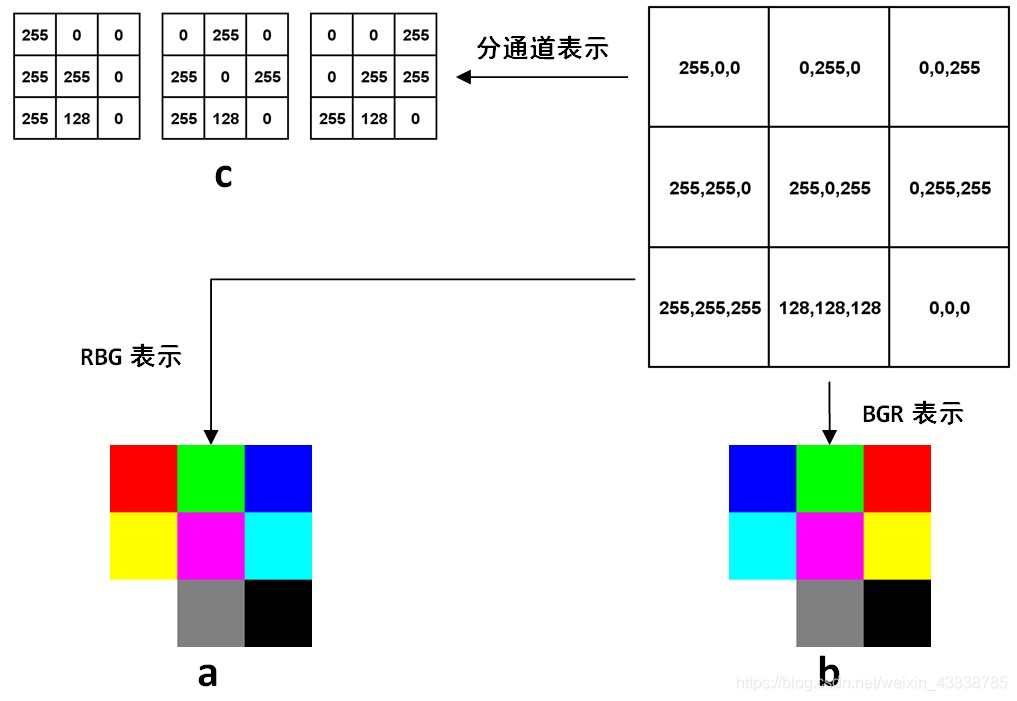
图A
来自:https://www.cnblogs.com/shizhengwen/p/8719062.html
扫描二维码关注公众号,回复:
9614267 查看本文章

3维数组
单通道的灰度图像在计算机中的表示:一个8位无符号整形的矩阵
多通道表示 : 第一个维度是高度,第二个维度是高度,第三个维度是通道
表达方式: 高度×宽度×通道数,H×W×C
深度学习: C×H×W (就是把每个通道都单独表达成一个二维矩阵, 如图A-c)
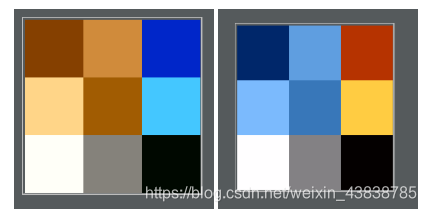
OpenCV默认图像表示:BGR
import numpy as np
import cv2
import matplotlib.pyplot as plt

# 矩阵
img = np.array([
    [[255, 0, 0], [0, 255, 0], [0, 0, 255]],
    [[255, 255, 0], [255, 0, 255], [0, 255, 255]],
    [[255, 255, 255], [128, 128, 128], [0, 0, 0]],
], dtype=np.uint8)

# 用matplotlib存储
plt.imsave('img_pyplot.jpg', img)

# 用OpenCV存储
cv2.imwrite('img_cv2.jpg', img)
左边:img_pyplot.jpg
右边:img_cv2.jpg