python opencv 人脸识别
人脸识别个人理解就是分几个步骤,1 找素材,让程序学习得到不同人的不同人脸特点,2,传入图片开始识别
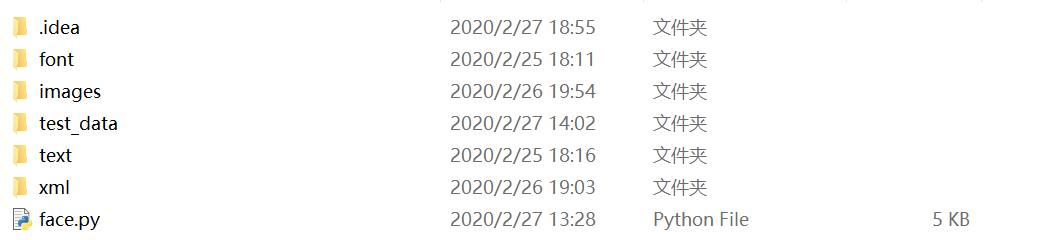
这里先展示一下文件目录
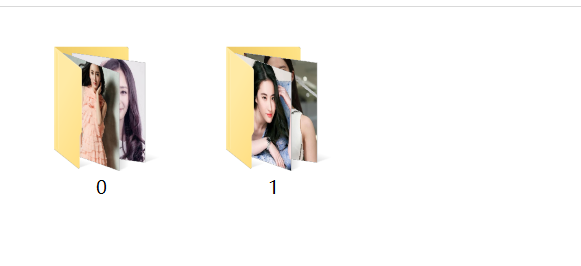
test_data是测试人脸的图片,images里有两个文件夹,每一个文件夹对应着一个人,里面都是那个人的人脸图像
使用opencv开发人脸识别,首先下载对应的包
pip install opencv-python
pip install opencv-contrib-python
然后开始上代码
# # -*- coding:utf-8 -*-
import cv2
import os
import numpy as np


# 检测人脸
def detect_face(img):
    # 将测试图像转换为灰度图像,因为opencv人脸检测器需要灰度图像
    gray = cv2.cvtColor(img, cv2.COLOR_BGR2GRAY)
    # 加载OpenCV人脸检测分类器Haar
    face_cascade = cv2.CascadeClassifier('./xml/haarcascade_frontalface_default.xml')
    # 检测多尺度图像,返回值是一张脸部区域信息的列表(x,y,宽,高)
    face = face_cascade.detectMultiScale(gray, scaleFactor=1.2, minNeighbors=5)
    # 如果未检测到面部,则返回原始图像
    if len(face) > 0:
        # 目前假设只有一张脸,xy为左上角坐标,wh为矩形的宽高
        (x, y, w, h) = face[0]
        # 返回图像的正面部分
        return gray[y:y + w, x:x + h], face[0]
    else:
        return None, None


# 该函数将读取所有的训练图像,从每个图像检测人脸并将返回两个相同大小的列表,分别为脸部信息和标签
def prepare_training_data(data_folder_path):
    # 获取数据文件夹中的目录(每个主题的一个目录)
    dirs = os.listdir(data_folder_path)
    # 两个列表分别保存所有的脸部和标签
    faces = []
    labels = []
    # 浏览每个目录并访问其中的图像
    for dir_name in dirs:
        # dir_name(str类型)即标签
        label = int(dir_name)
        # 建立包含当前主题主题图像的目录路径
        subject_dir_path = data_folder_path + "/" + dir_name
        # 获取给定主题目录内的图像名称
        subject_images_names = os.listdir(subject_dir_path)
        # 浏览每张图片并检测脸部,然后将脸部信息添加到脸部列表faces[]
        for image_name in subject_images_names:
            # 建立图像路径
            image_path = subject_dir_path + "/" + image_name
            # 读取图像
            image = cv2.imread(image_path)
            # 显示图像0.1s
            cv2.imshow("Training on image...", image)
            cv2.waitKey(100)
            # 检测脸部
            face, rect = detect_face(image)
            # # 我们忽略未检测到的脸部
            if face is not None:
                # 将脸添加到脸部列表并添加相应的标签
                faces.append(face)
                labels.append(label)
                cv2.waitKey(1)
                cv2.destroyAllWindows()
    # 最终返回值为人脸和标签列表
    return faces, labels


# 调用prepare_training_data()函数
faces, labels = prepare_training_data("images")
# 创建LBPH识别器并开始训练,当然也可以选择Eigen或者Fisher识别器
face_recognizer = cv2.face.LBPHFaceRecognizer_create()
face_recognizer.train(faces, np.array(labels))


# 根据指定的坐标和宽高在图片上绘制矩形
def draw_rectangle(img, rect):
    (x, y, w, h) = rect
    cv2.rectangle(img, (x, y), (x + w, y + h), (128, 128, 0), 2)


# 根据给定的(x,y)坐标标识出人名
def draw_text(img, text, x, y):
    cv2.putText(img, text, (x, y), cv2.FONT_HERSHEY_COMPLEX, 1, (128, 128, 0), 2)


# 建立标签和人名的映射表
subjects = ["yangmi", "liuyifei"]


def predict(test_img):
    # 生成图片的副本,这样就可以保留原始图片
    img = test_img.copy()
    # 检测人脸
    face, rect = detect_face(img)
    print(face)
    print(rect)
    # 预测人脸
    label = face_recognizer.predict(face)
    print(label)
    # 判断是否识别成功
    if label:
        # 获取由人脸识别器返回的相应的标签名称
        label_text = subjects[label[0]]
        # 在检测到的脸部周围绘制一个矩形
        draw_rectangle(img, rect)
        # 标出预测的名字
        draw_text(img, label_text, rect[0], rect[1] - 5)
        # 返回预测图像
        return img
    # else:
    #     print(img)
    #     # 在检测到的脸部周围绘制一个矩形
    #     draw_rectangle(img, rect)
    #     # 标出预测的名字
    #     draw_text(img, "unkonwn", rect[0], rect[1] - 5)
    #     # 返回预测图像
    #     return img


test_img1 = cv2.imread("test_data/5.jpg")
test_img2 = cv2.imread("test_data/6.jpg")
predicted_img1 = predict(test_img1)
predicted_img2 = predict(test_img2)
cv2.imshow(subjects[0], predicted_img1)
cv2.imshow(subjects[1], predicted_img2)
cv2.waitKey(0)
cv2.destroyAllWindows()
最后结果为
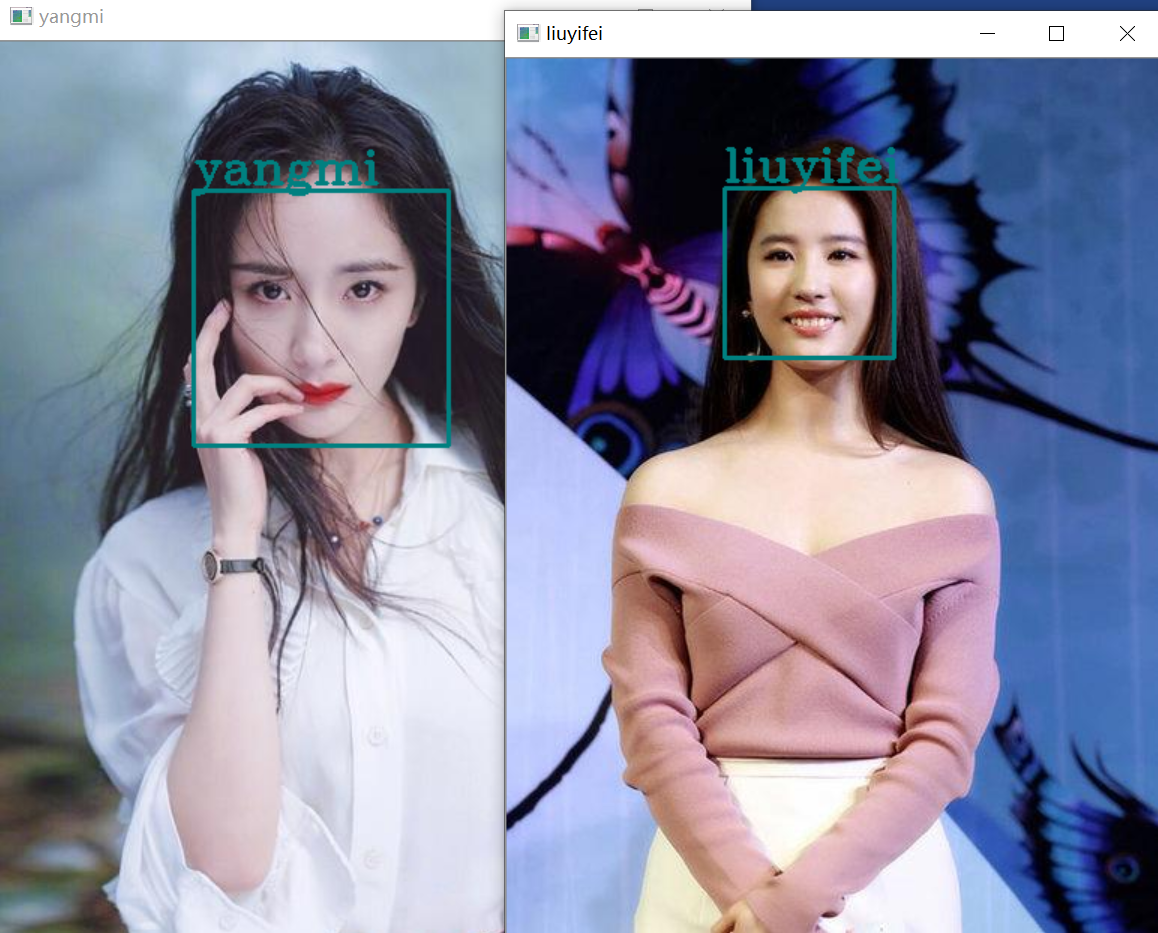
这个是识别率很低很低