一、自定义日志工具
比level大的日志都不会显示,让level等于Nothing那么所有的日志都不会显示,开发和上线都不耽搁
import android.util.Log;

public class LogUtil {
    public static final int VERBOSE = 1;
    public static final int DEBUG = 2;
    public static final int INFO = 3;
    public static final int WARN = 4;
    public static final int ERROR = 5;
    public static final int NOTHING = 6;
    public static int level = VERBOSE;

    public static void v(String tag, String msg){
        if (level <= VERBOSE){
            Log.v(tag, msg);
        }
    }
    public static void d(String tag, String msg){
        if (level <= DEBUG){
            Log.d(tag, msg);
        }
    }
    public static void i(String tag, String msg){
        if (level <= INFO){
            Log.i(tag, msg);
        }
    }
    public static void w(String tag, String msg){
        if (level <= WARN){
            Log.w(tag, msg);
        }
    }
    public static void e(String tag, String msg){
        if (level <= ERROR){
            Log.e(tag, msg);
        }
    }
}
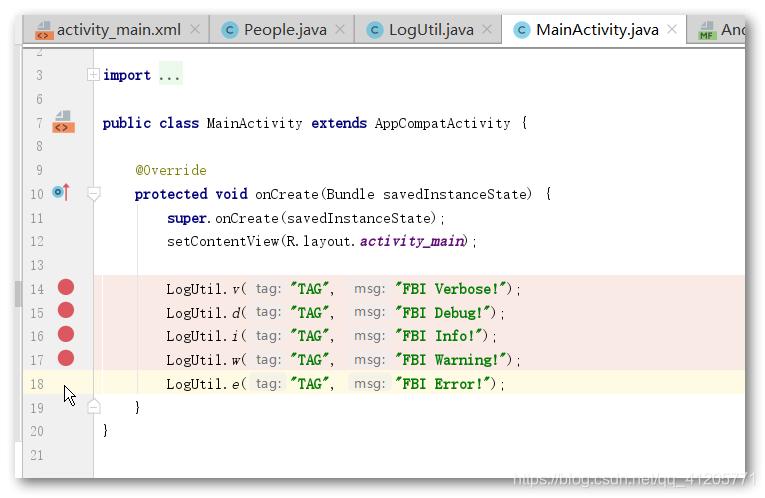
打印日志:
LogUtil.d("TAG", "debug log");
二、调试
加入断点:
调试按钮:
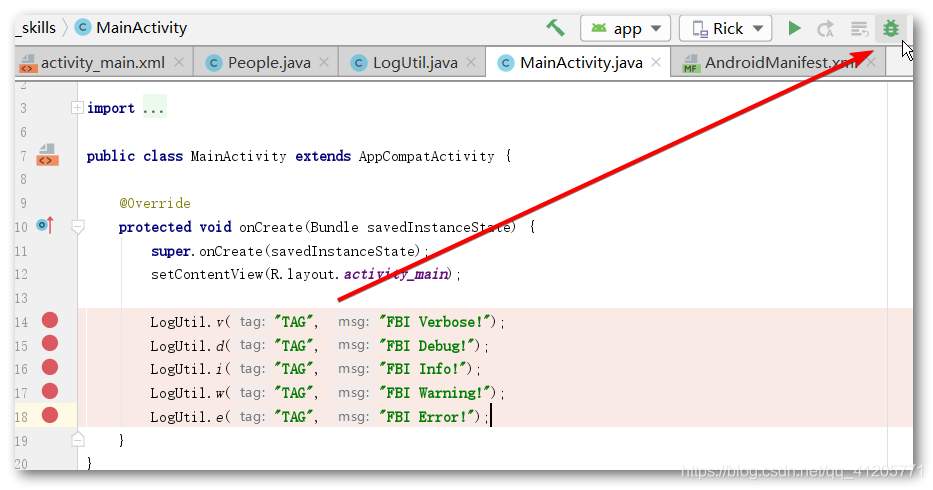
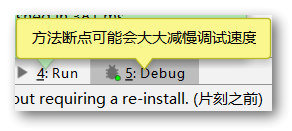
开始调试会有提示:

每次F8就是步过一个断点:
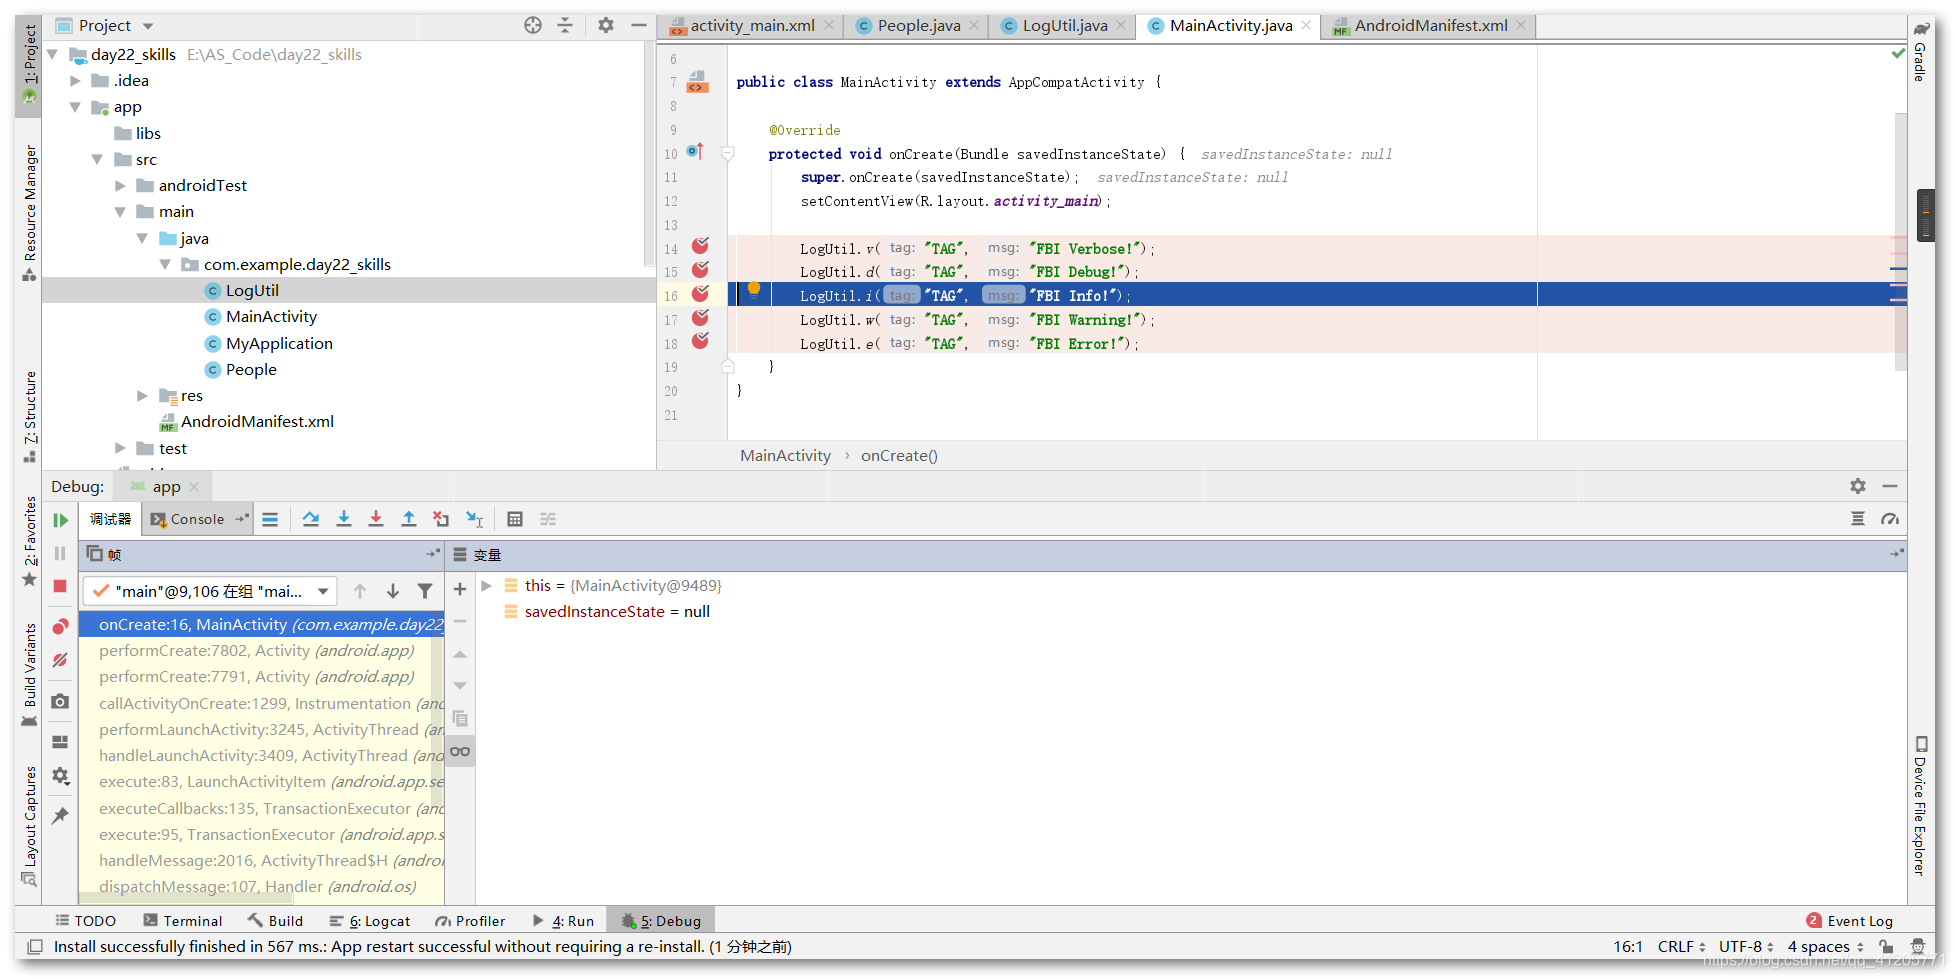
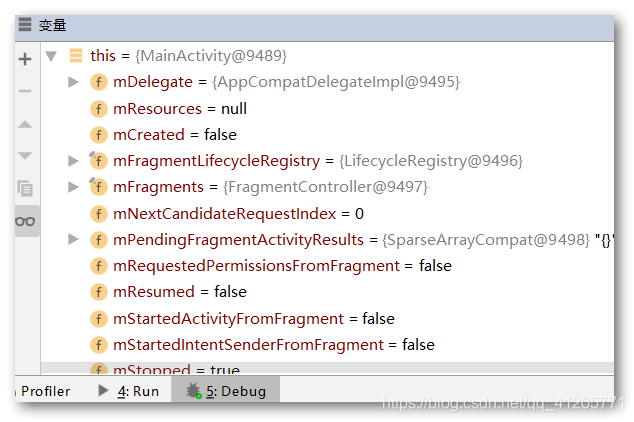
下面可以看到每一步的变量值:
不过添加断点的方式:
还有一种动态调试的方式,点击工具栏的运行,在最下面找到attach Deugger to Android Process
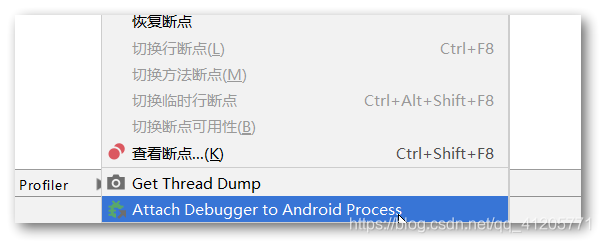
会弹出窗口:
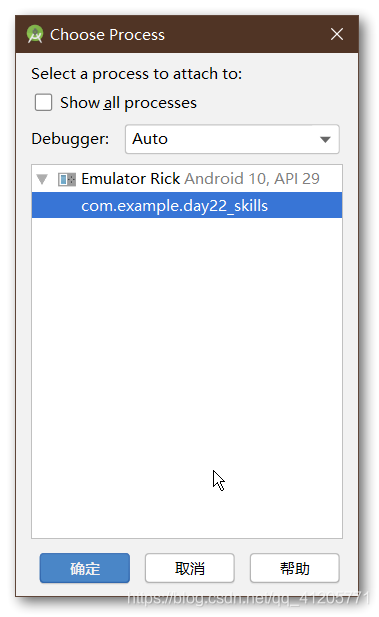
选中要调试的进程即可调试。
这种方式更加灵活快速,也更加常用,但相应应用需要先正常启动。
