前言
手动编写一个HelloWorld的项目,并深入理解@SpringBootApplication这个注解的使用
1.项目需求:
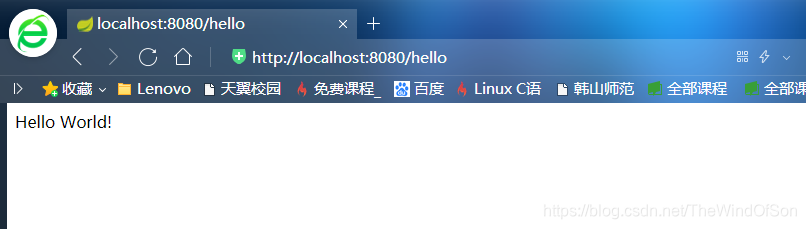
浏览器发送Hello请求,服务器接收并处理,响应Hello World字符串
2.使用IDEA完成相应开发
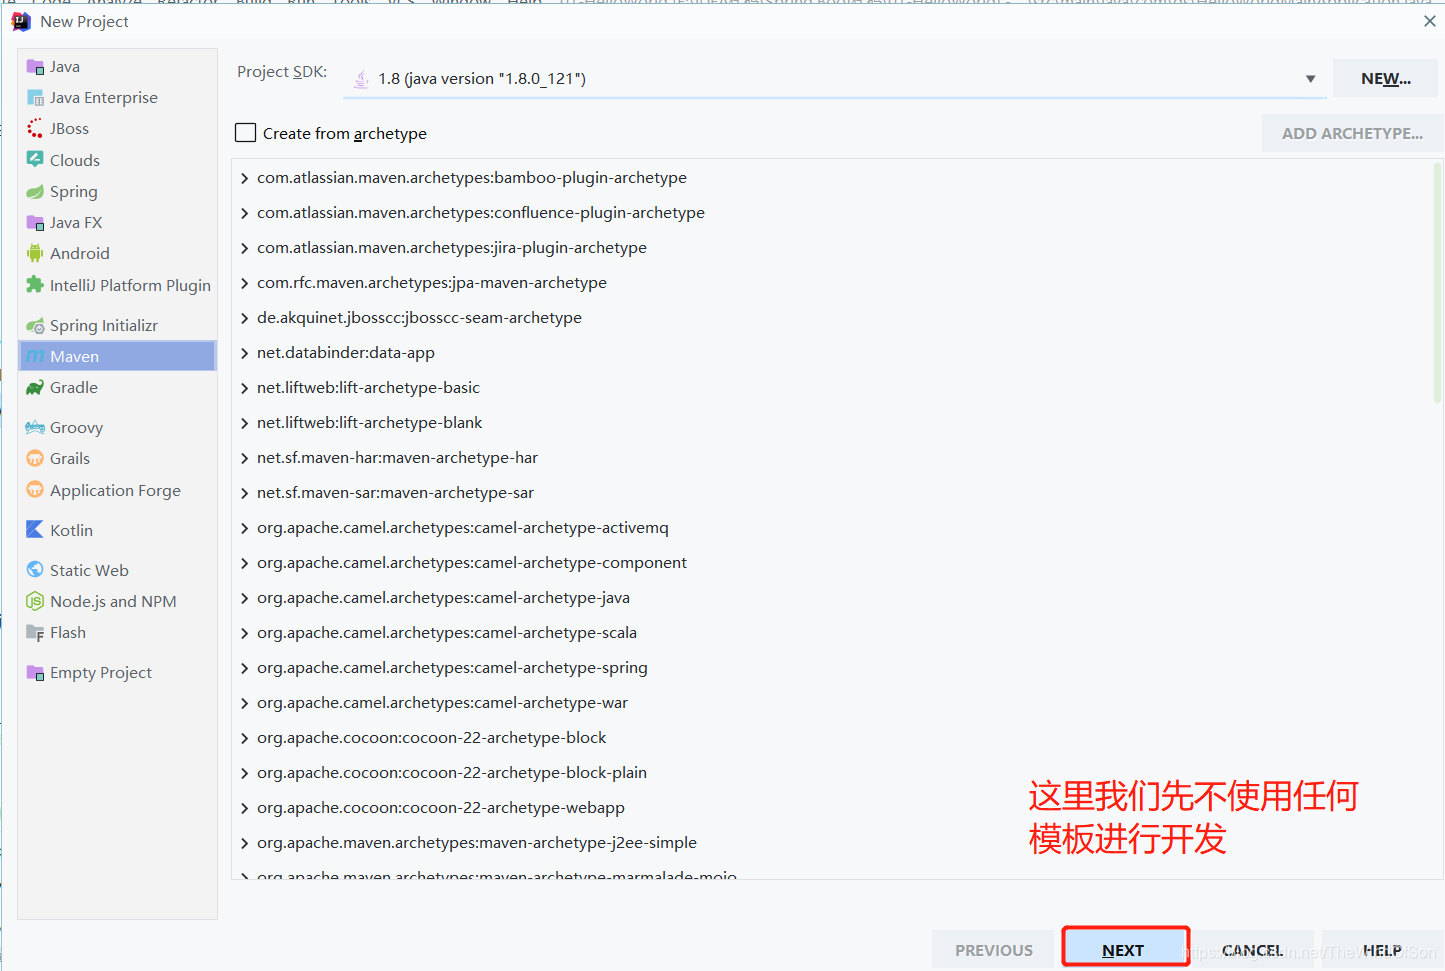
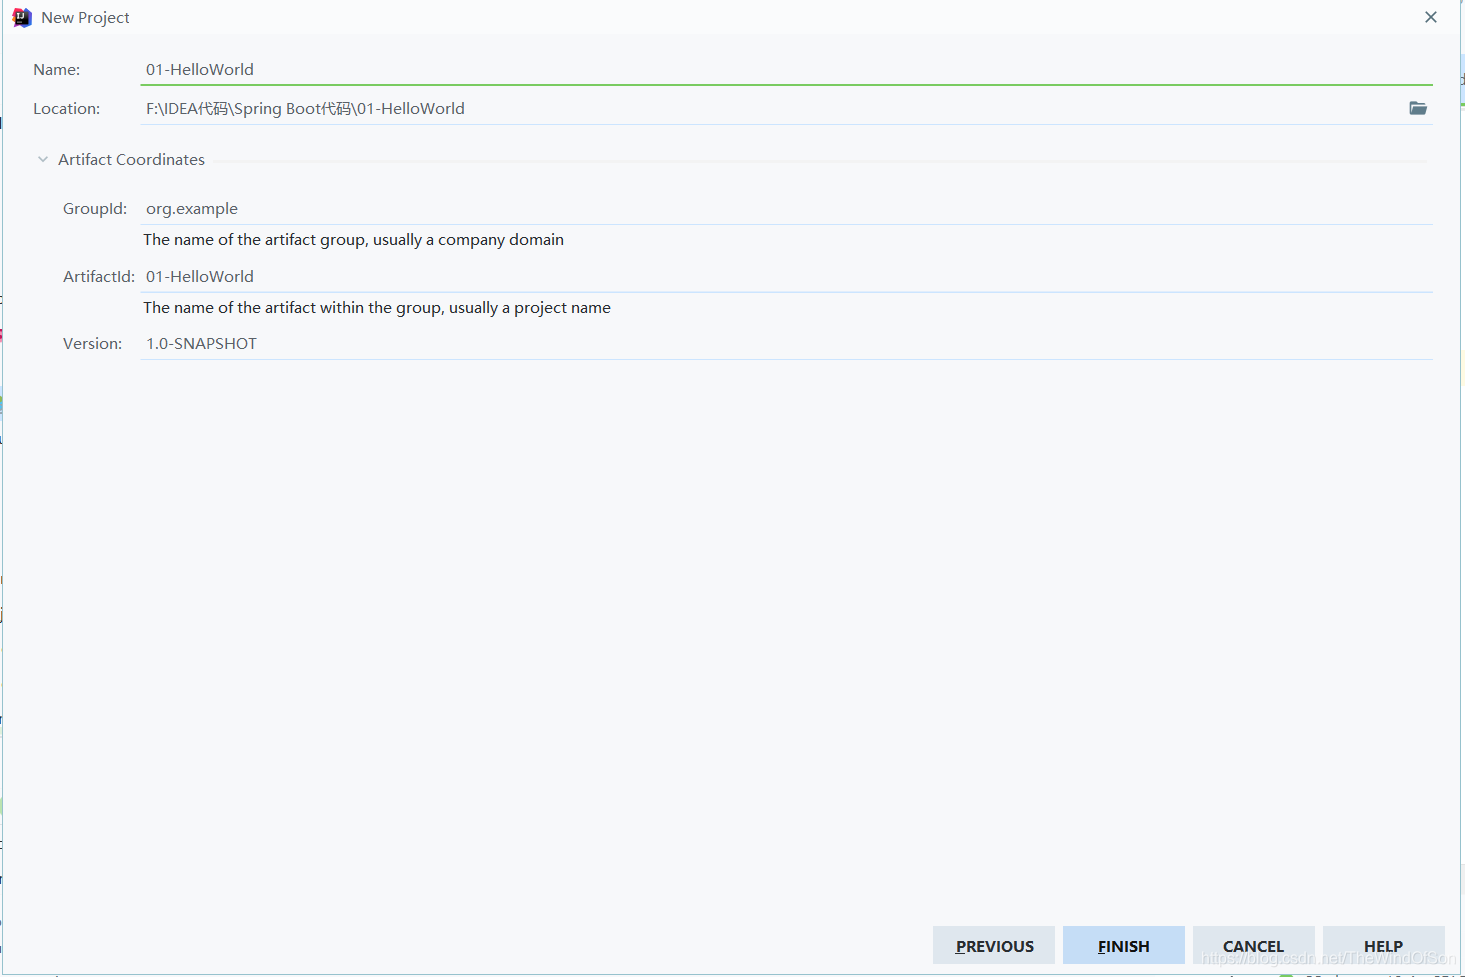
2.1 创建一个Maven工程(jar)
2.2 在pom.xml中导入spring boot相关的依赖(在后面我们将对这个配置进行说明)
<!--导入相应的父工程-->
<parent>
        <groupId>org.springframework.boot</groupId>
        <artifactId>spring-boot-starter-parent</artifactId>
        <version>1.5.9.RELEASE</version>
  </parent>
  <!--导入相应的web启动器-->
  <dependencies>
        <dependency>
            <groupId>org.springframework.boot</groupId>
            <artifactId>spring-boot-starter-web</artifactId>
        </dependency>
  </dependencies>
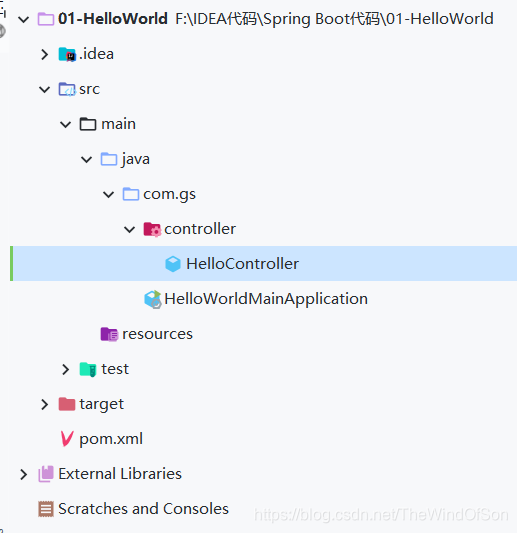
编写后的目录结构为:
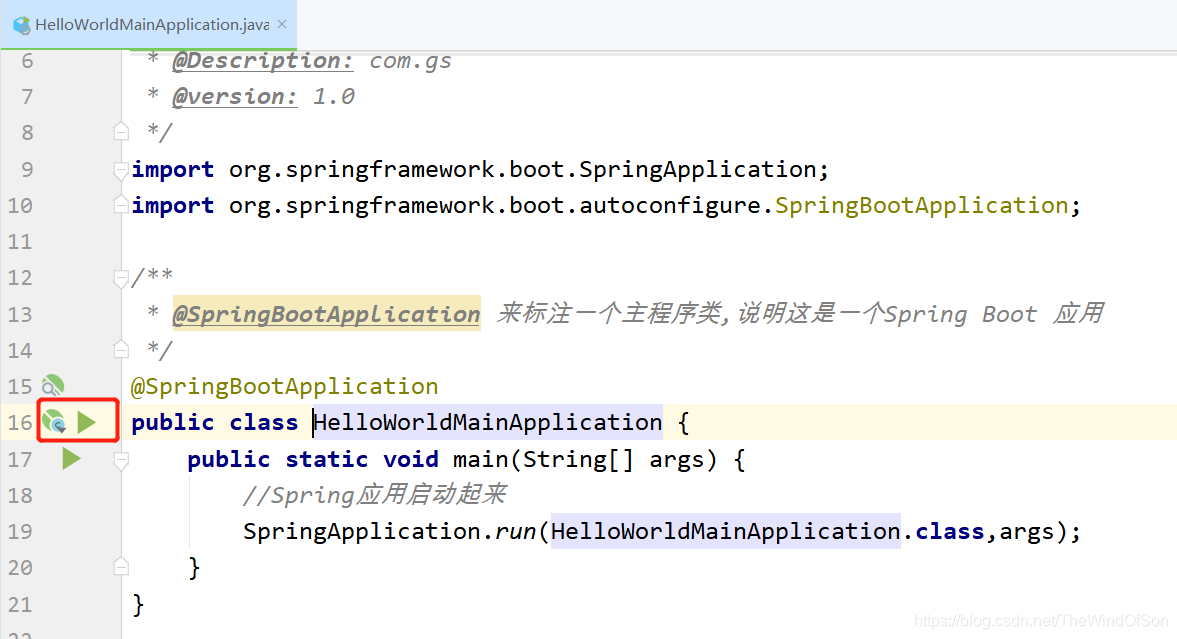
2.3 编写一个主程序:启动Spring Boot应用
package com.gs;

import org.springframework.boot.SpringApplication;
import org.springframework.boot.autoconfigure.SpringBootApplication;

/**
 * @SpringBootApplication 来标注一个主程序类,说明这是一个Spring Boot 应用
 */
@SpringBootApplication
public class HelloWorldMainApplication {
    public static void main(String[] args) {
        //Spring应用启动起来
        SpringApplication.run(HelloWorldMainApplication.class,args);
    }
}
2.4 编写相关的Controller类
package com.gs.controller;

import org.springframework.stereotype.Controller;
import org.springframework.web.bind.annotation.RequestMapping;
import org.springframework.web.bind.annotation.ResponseBody;
@Controller
public class HelloController {

    @ResponseBody   //把返回值隐射到页面上
    @RequestMapping("/hello")
    public String hello(){
        return "Hello World!";
    }
}
2.5 启动主程序进行测试
2.6 对我们pom.xml文件的解析
1)声明父项目
<parent>
        <groupId>org.springframework.boot</groupId>
        <artifactId>spring-boot-starter-parent</artifactId>
        <version>1.5.9.RELEASE</version>
  </parent>
这个依赖注入再往上还有一个父项目
 <parent>
		<groupId>org.springframework.boot</groupId>
		<artifactId>spring-boot-dependencies</artifactId>
		<version>1.5.9.RELEASE</version>
		<relativePath>../../spring-boot-dependencies</relativePath>
</parent>
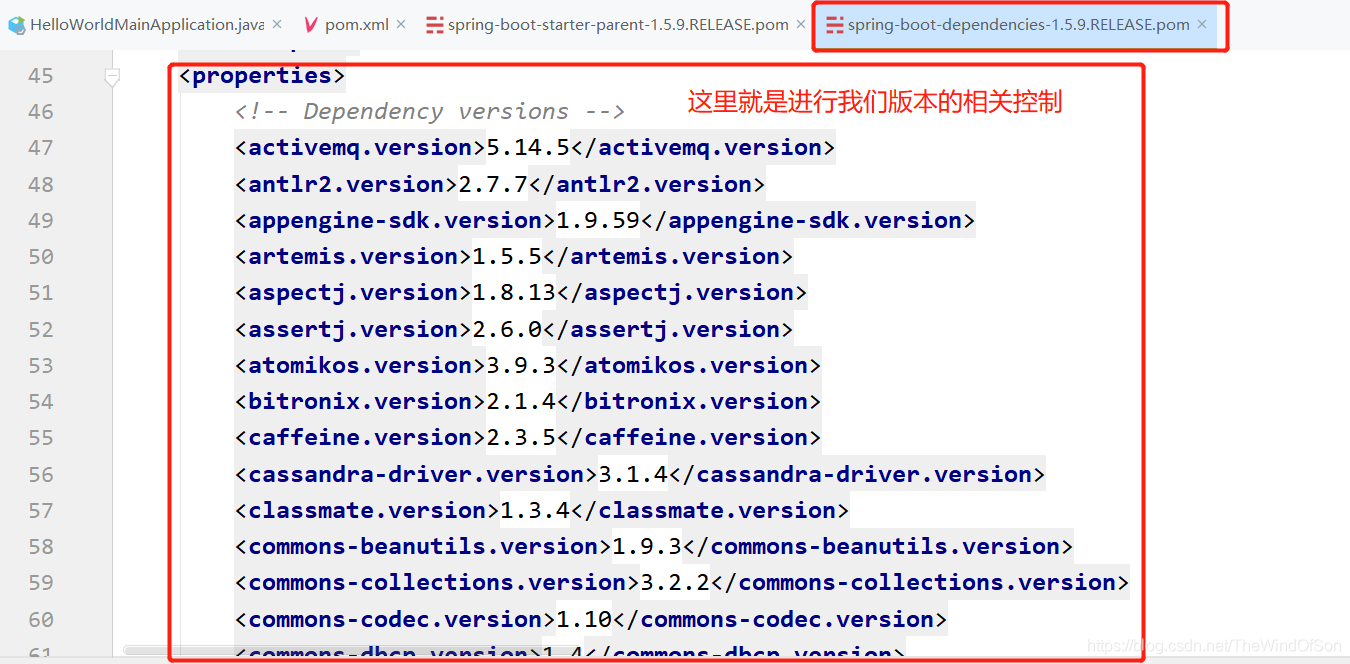
点进进入这个spring-boot-dependencies
你会发现它是用来来真正管理Spring Boot应用的所有版本,也就是所谓的Spring Boot的版本仲裁中心,以后我们导入依赖默认是不需要写版本的,(但是没有在我们dependencies里面的管理的依赖自然需要声明版本号)
2)启动器
<dependencies>
        <dependency>
            <groupId>org.springframework.boot</groupId>
            <artifactId>spring-boot-starter-web</artifactId>
        </dependency>
   </dependencies>
当你阅读了Spring Boot的相关官方文档后你后发现Spring Boot 将所有的功能场景都抽取出来,做成一个个starters(启动器),这个starter启动器包含了这个场景的所有依赖,因此要用什么功能就导入什么场景的启动器即可。
Spring-boot-starter-web: spring boot场景启动器,帮助我们导入了Web模块正常运行依赖的组件;
